The Drawing Machine
Dev Diary
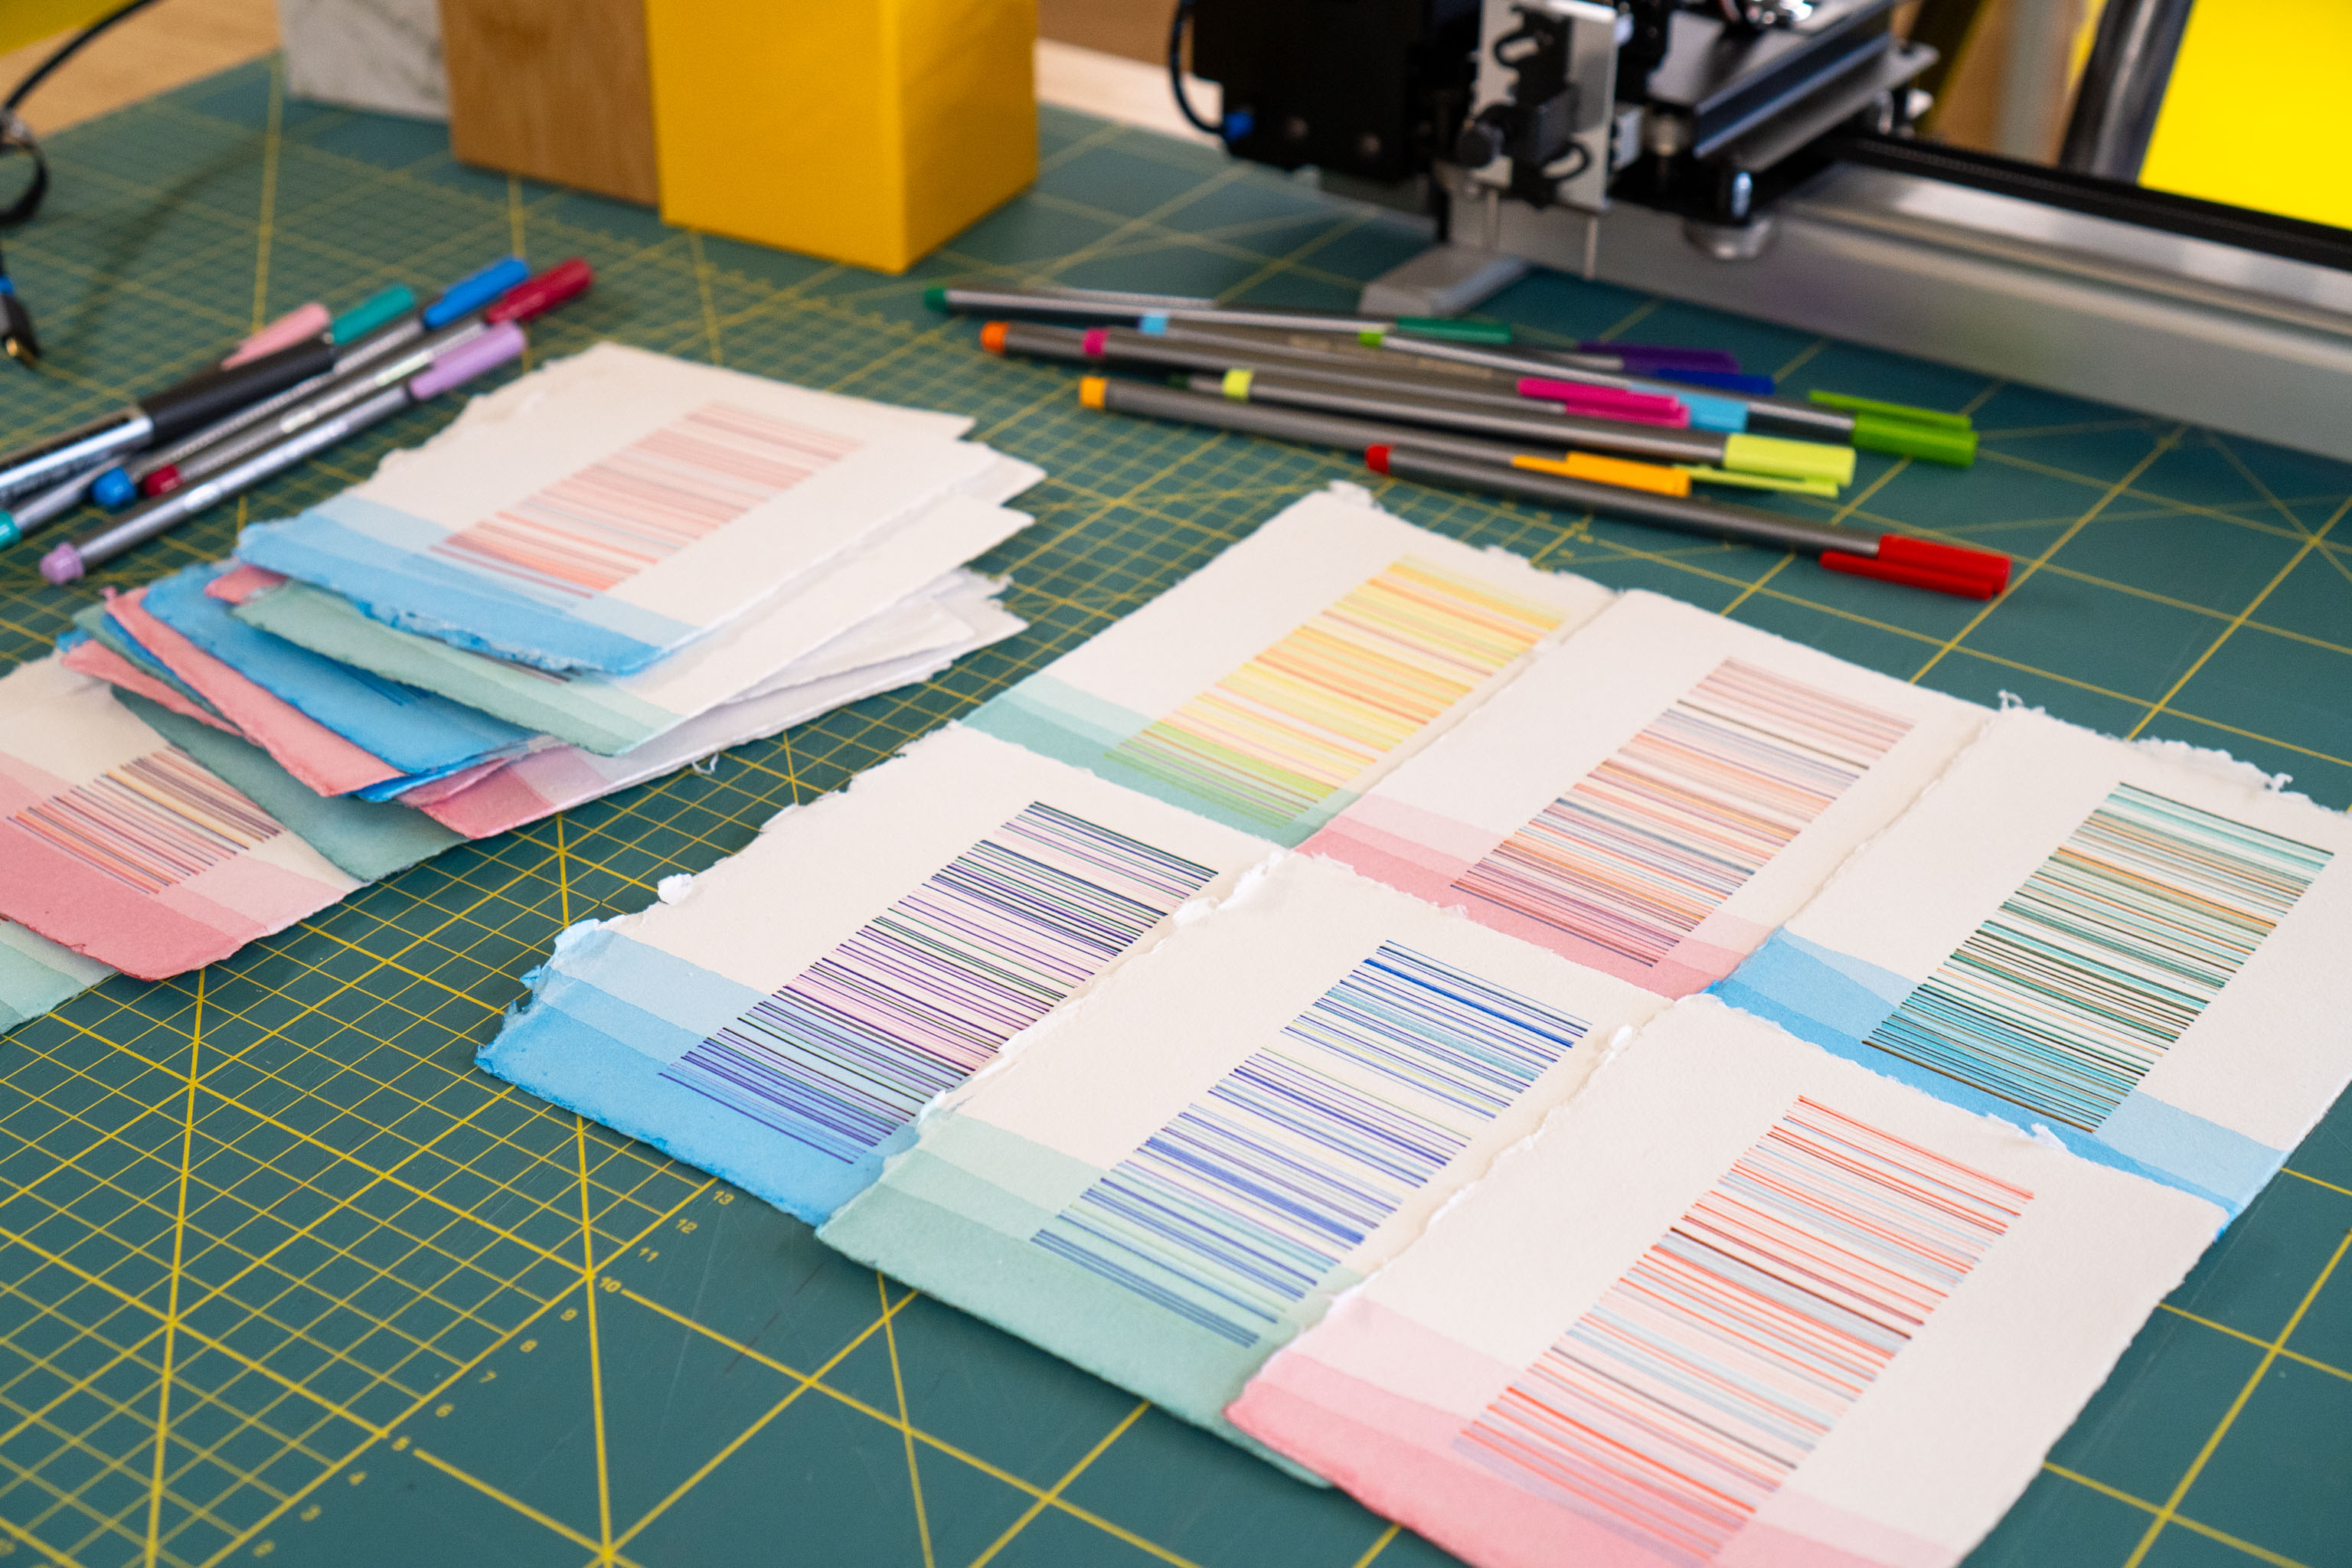
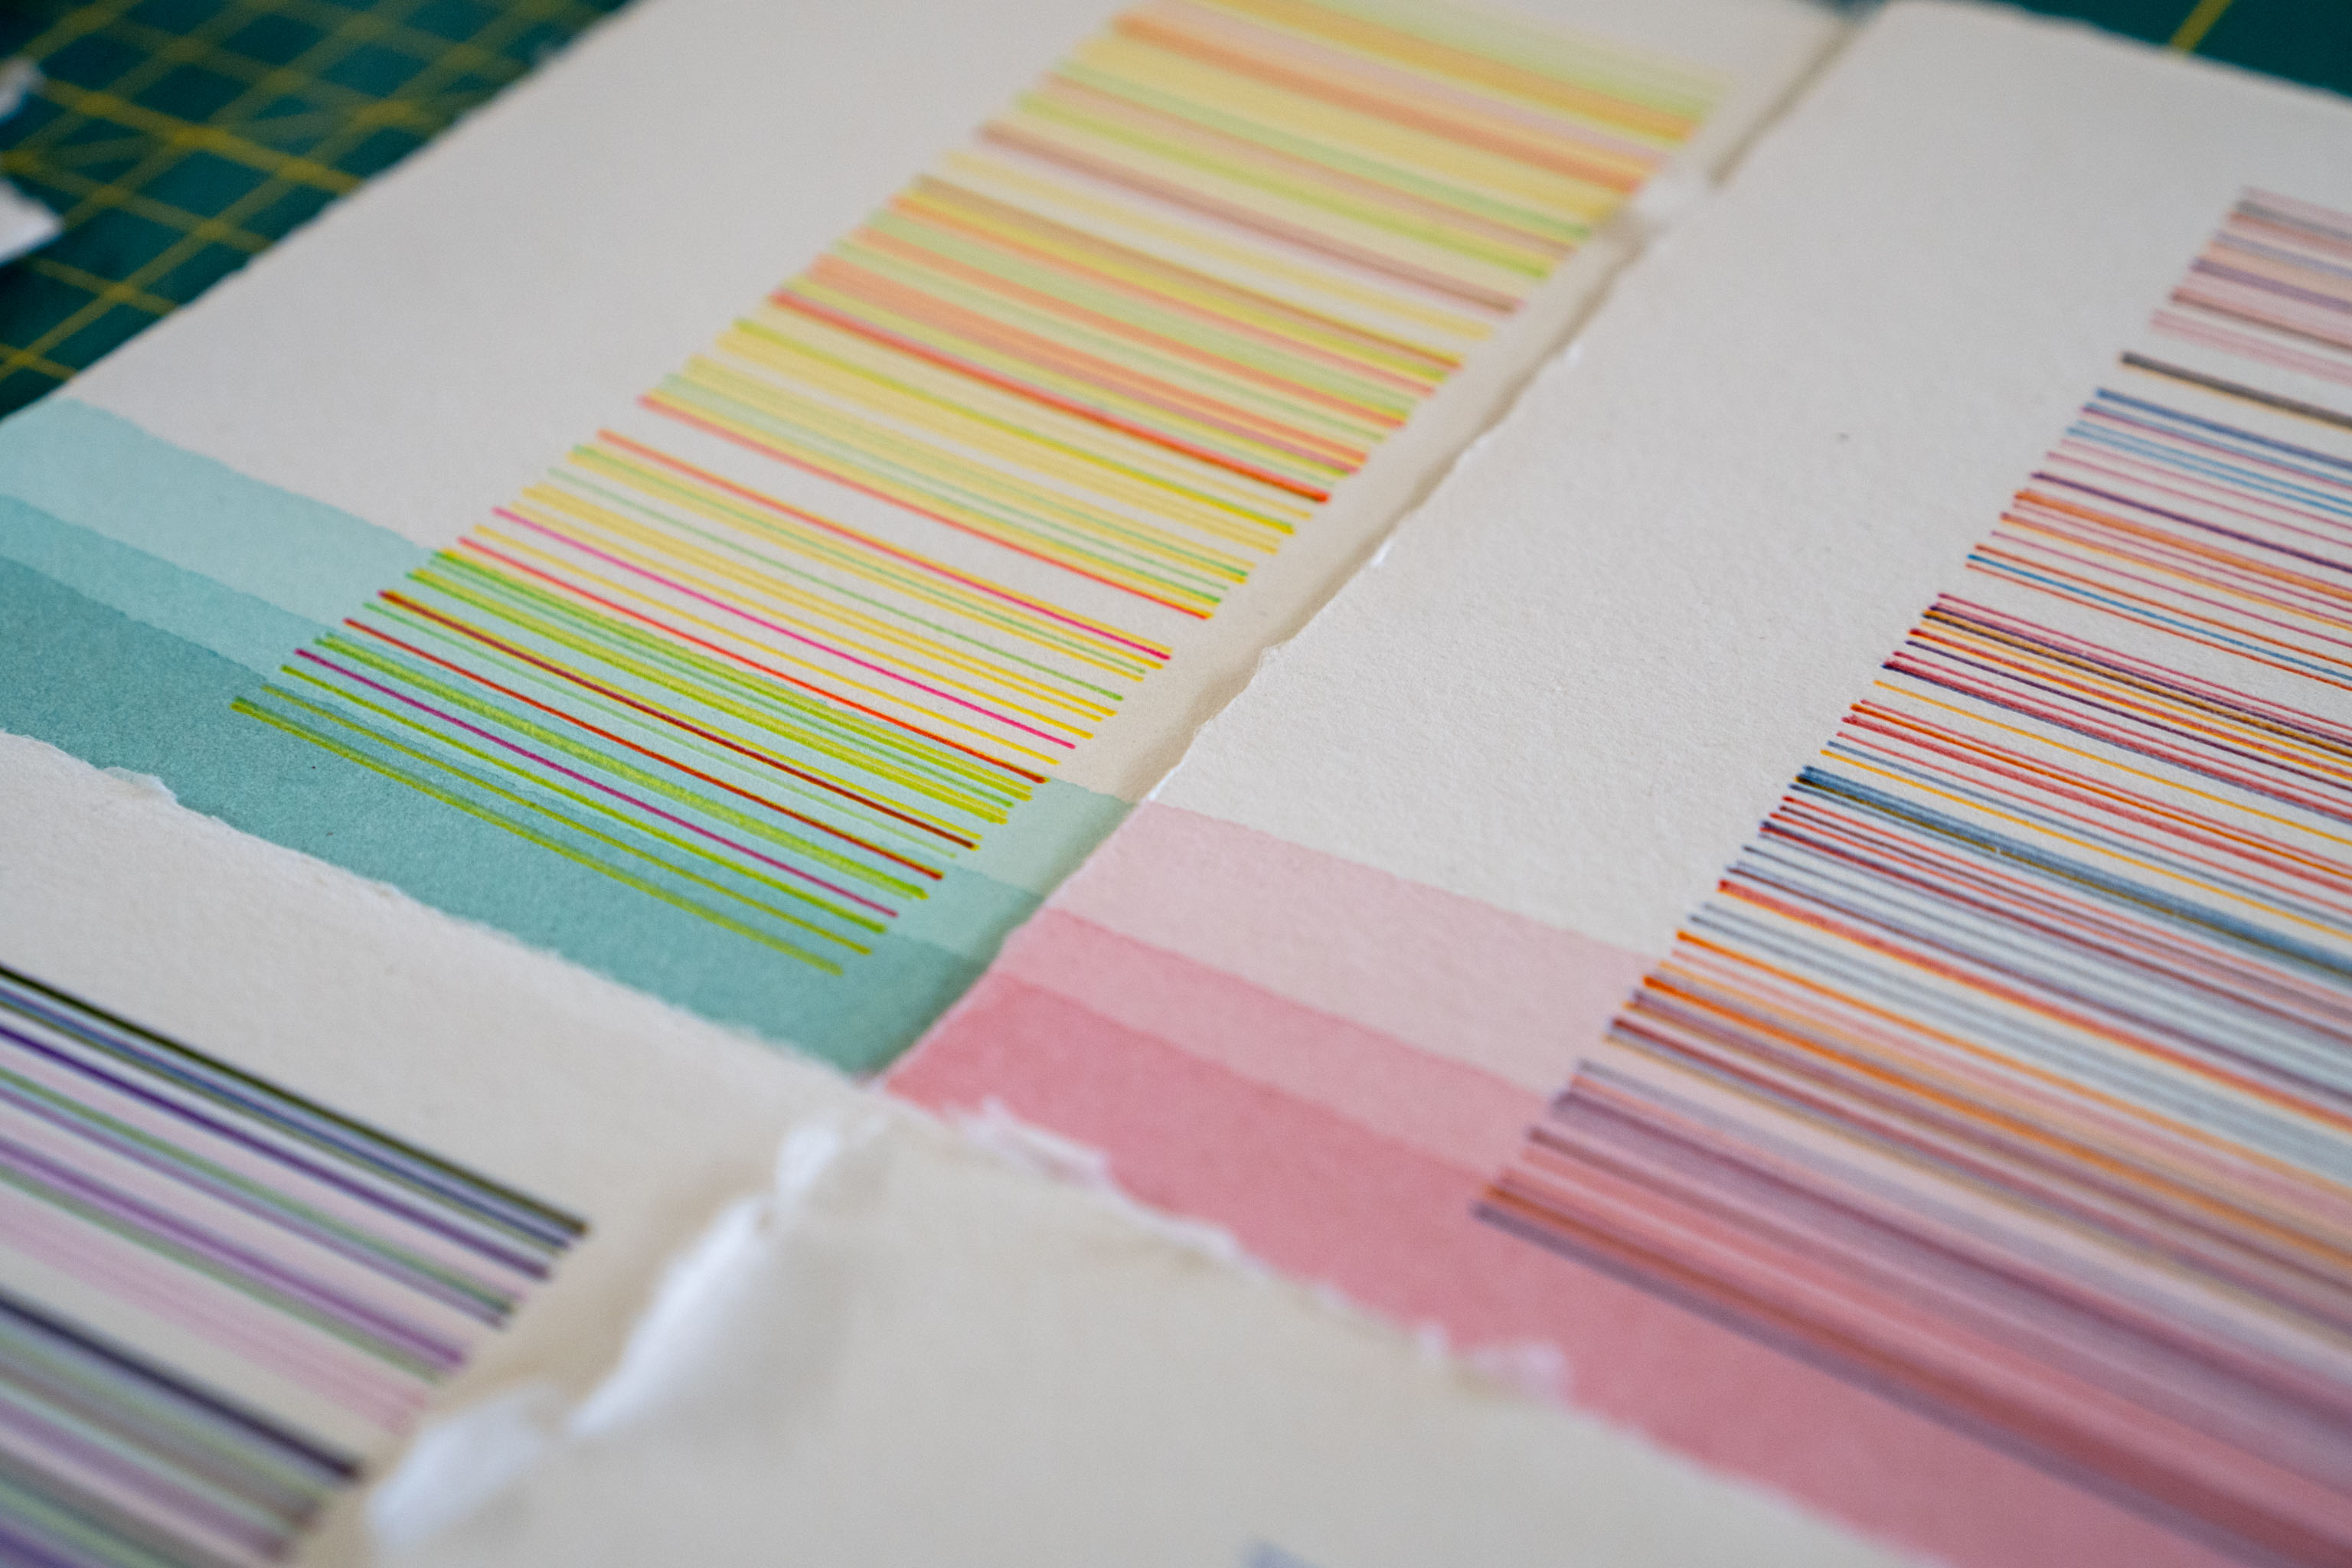
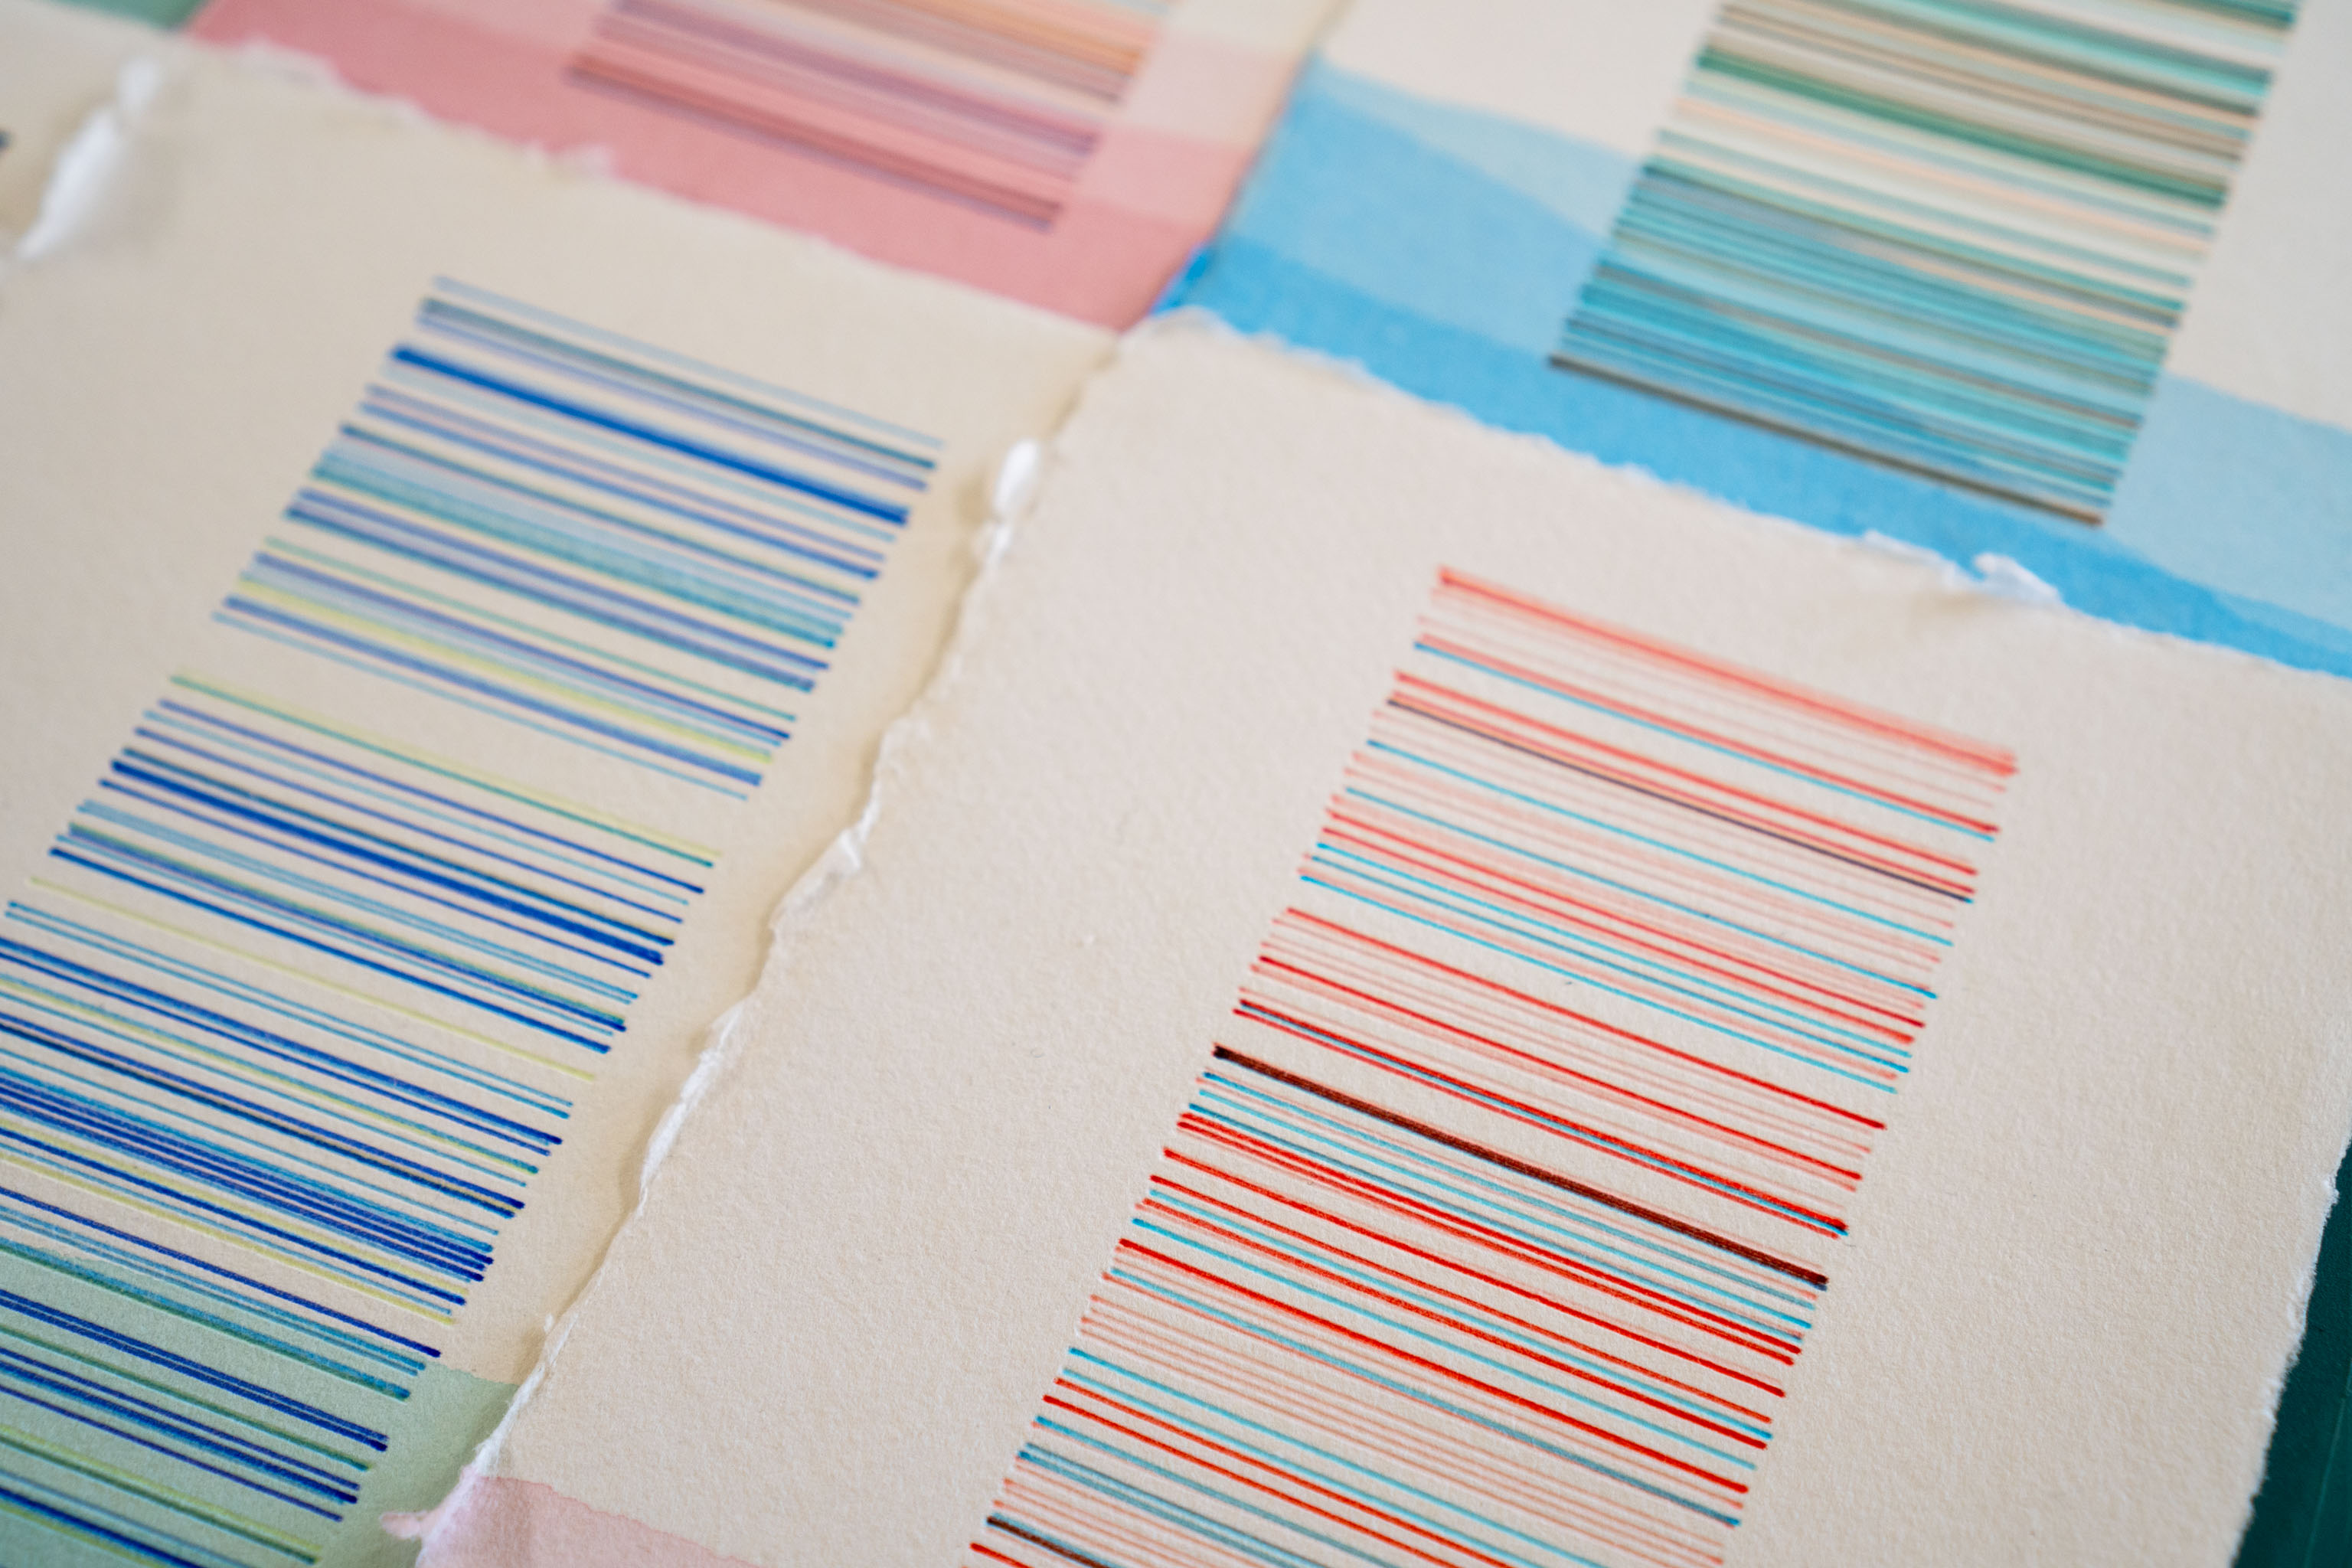
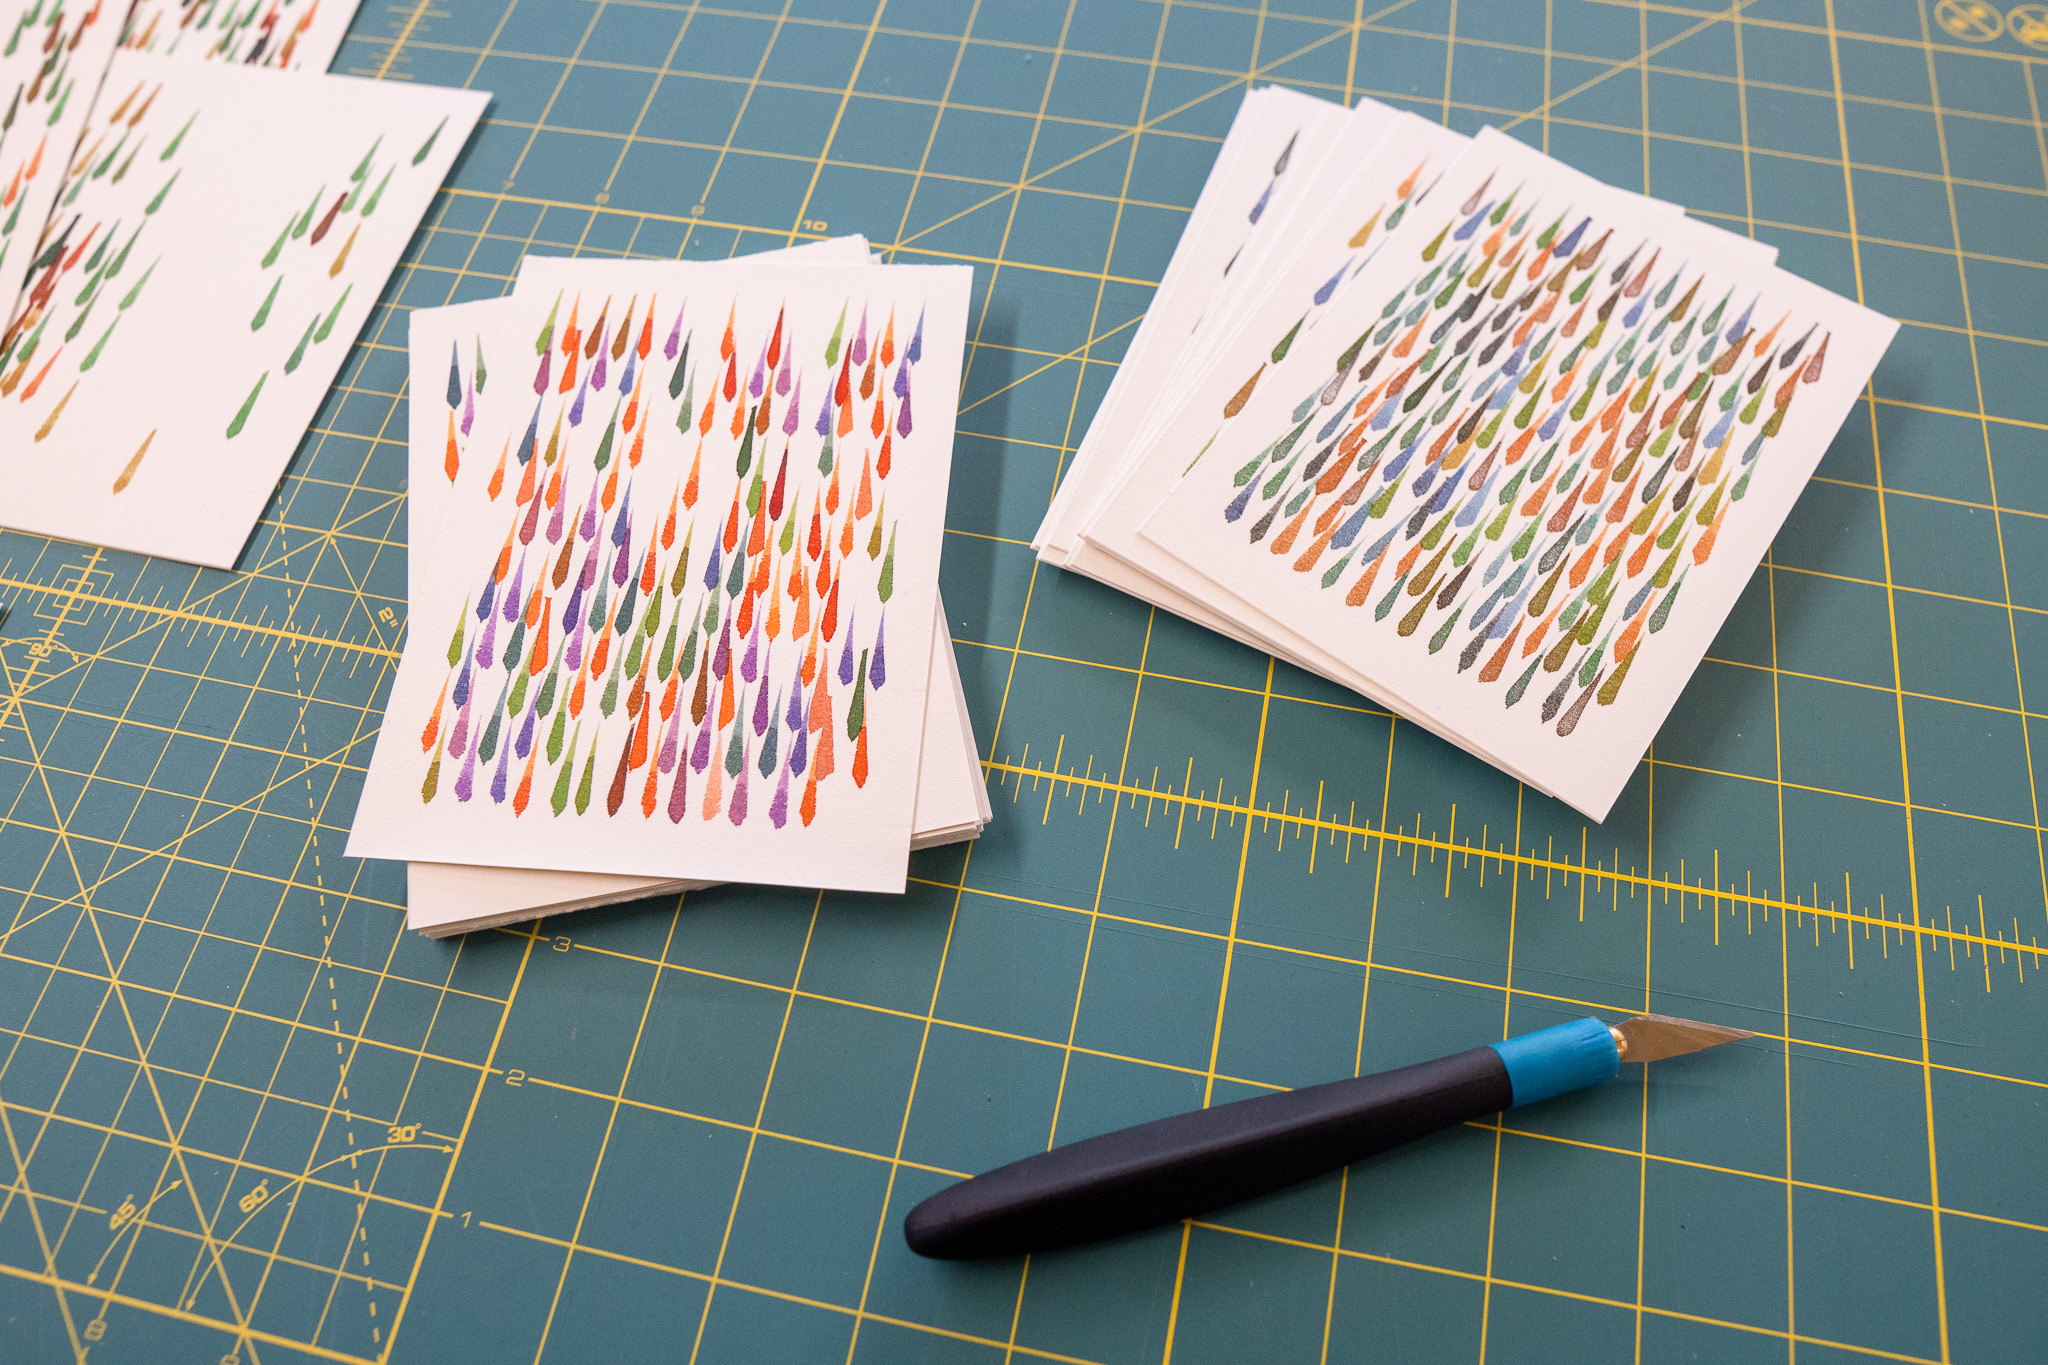
Spent some of the day plotting more cards for the Patreon peeps, using a bit of maths to 'blend' from one set of colours to the next, turning each one of these into nine colour pen plots, which is... a lot, and had me wishing I had an automatic pen changer
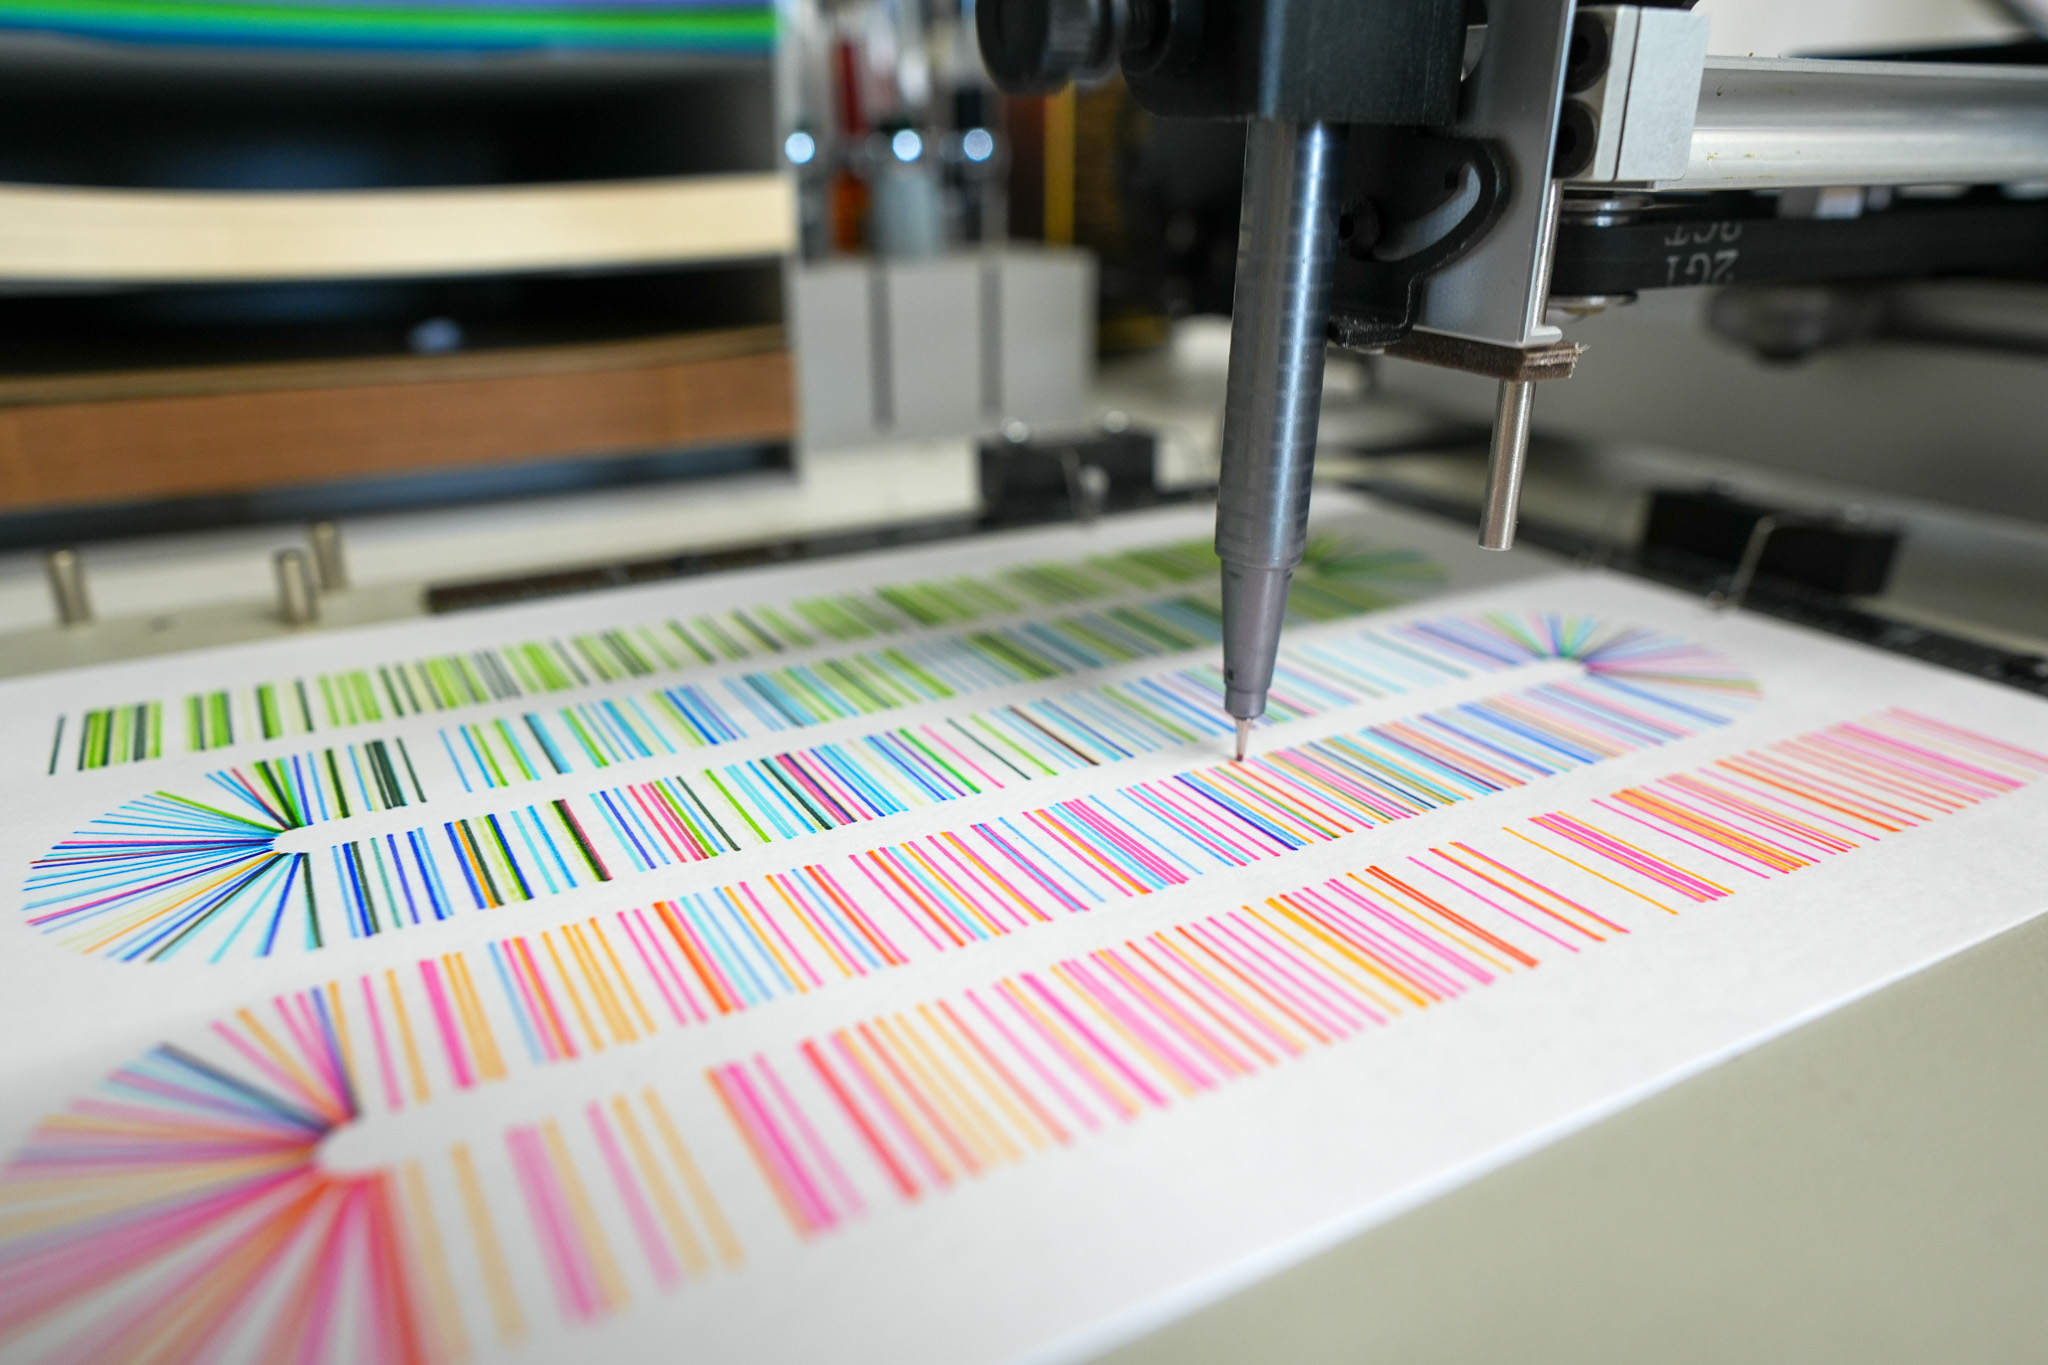
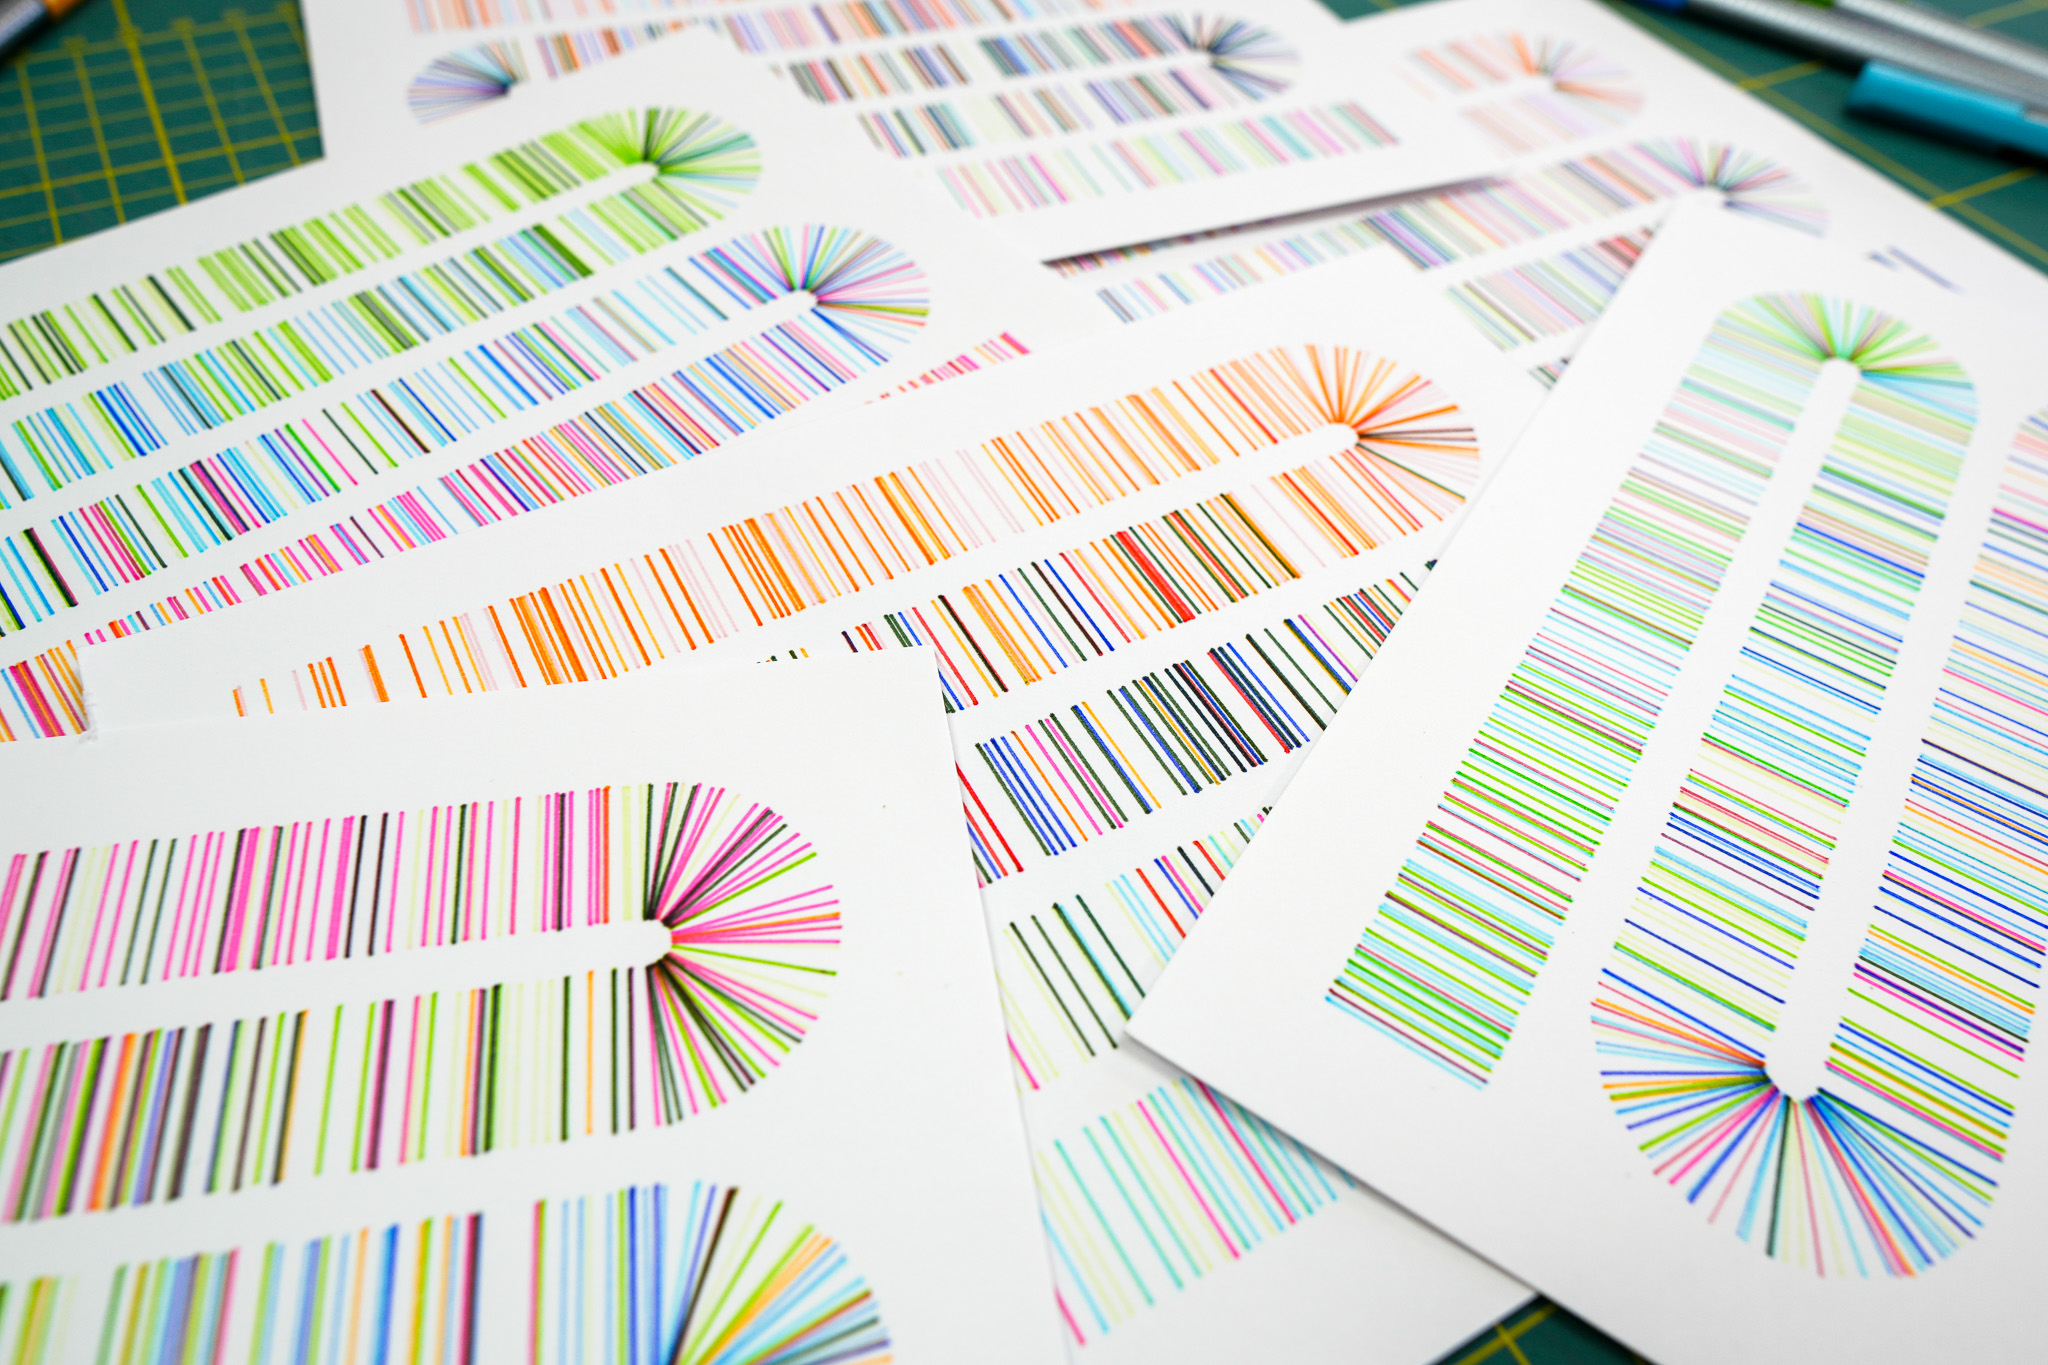
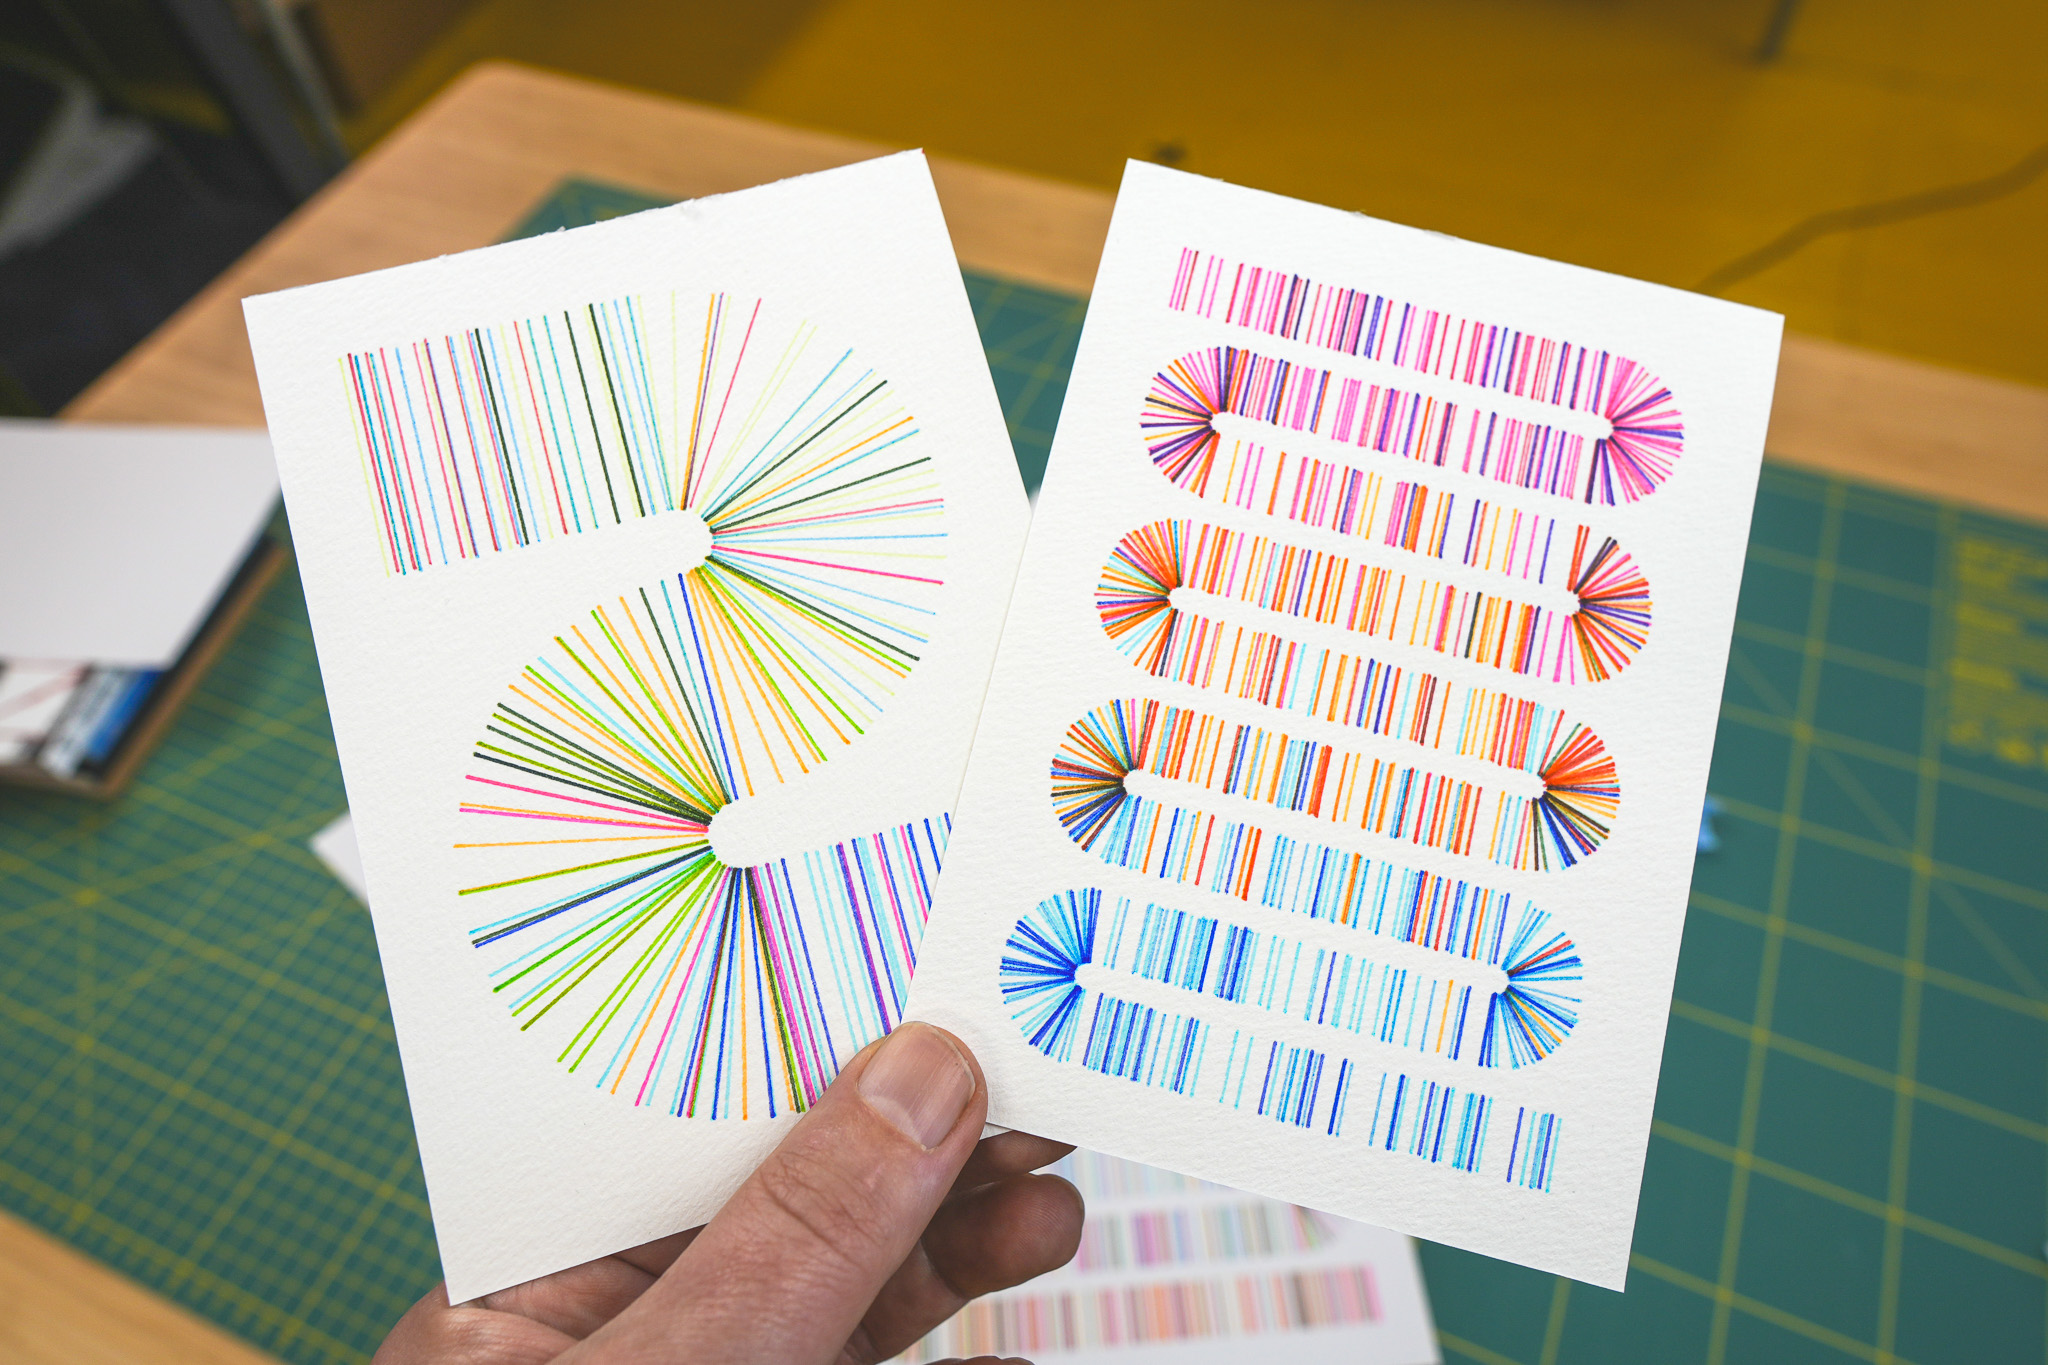
As the most recent Drawing Machine 101 video was about randomness, which included when to draw these lines - I've been plotting a bunch for the Patreon members. They're very simple, but I love how the colours work together.

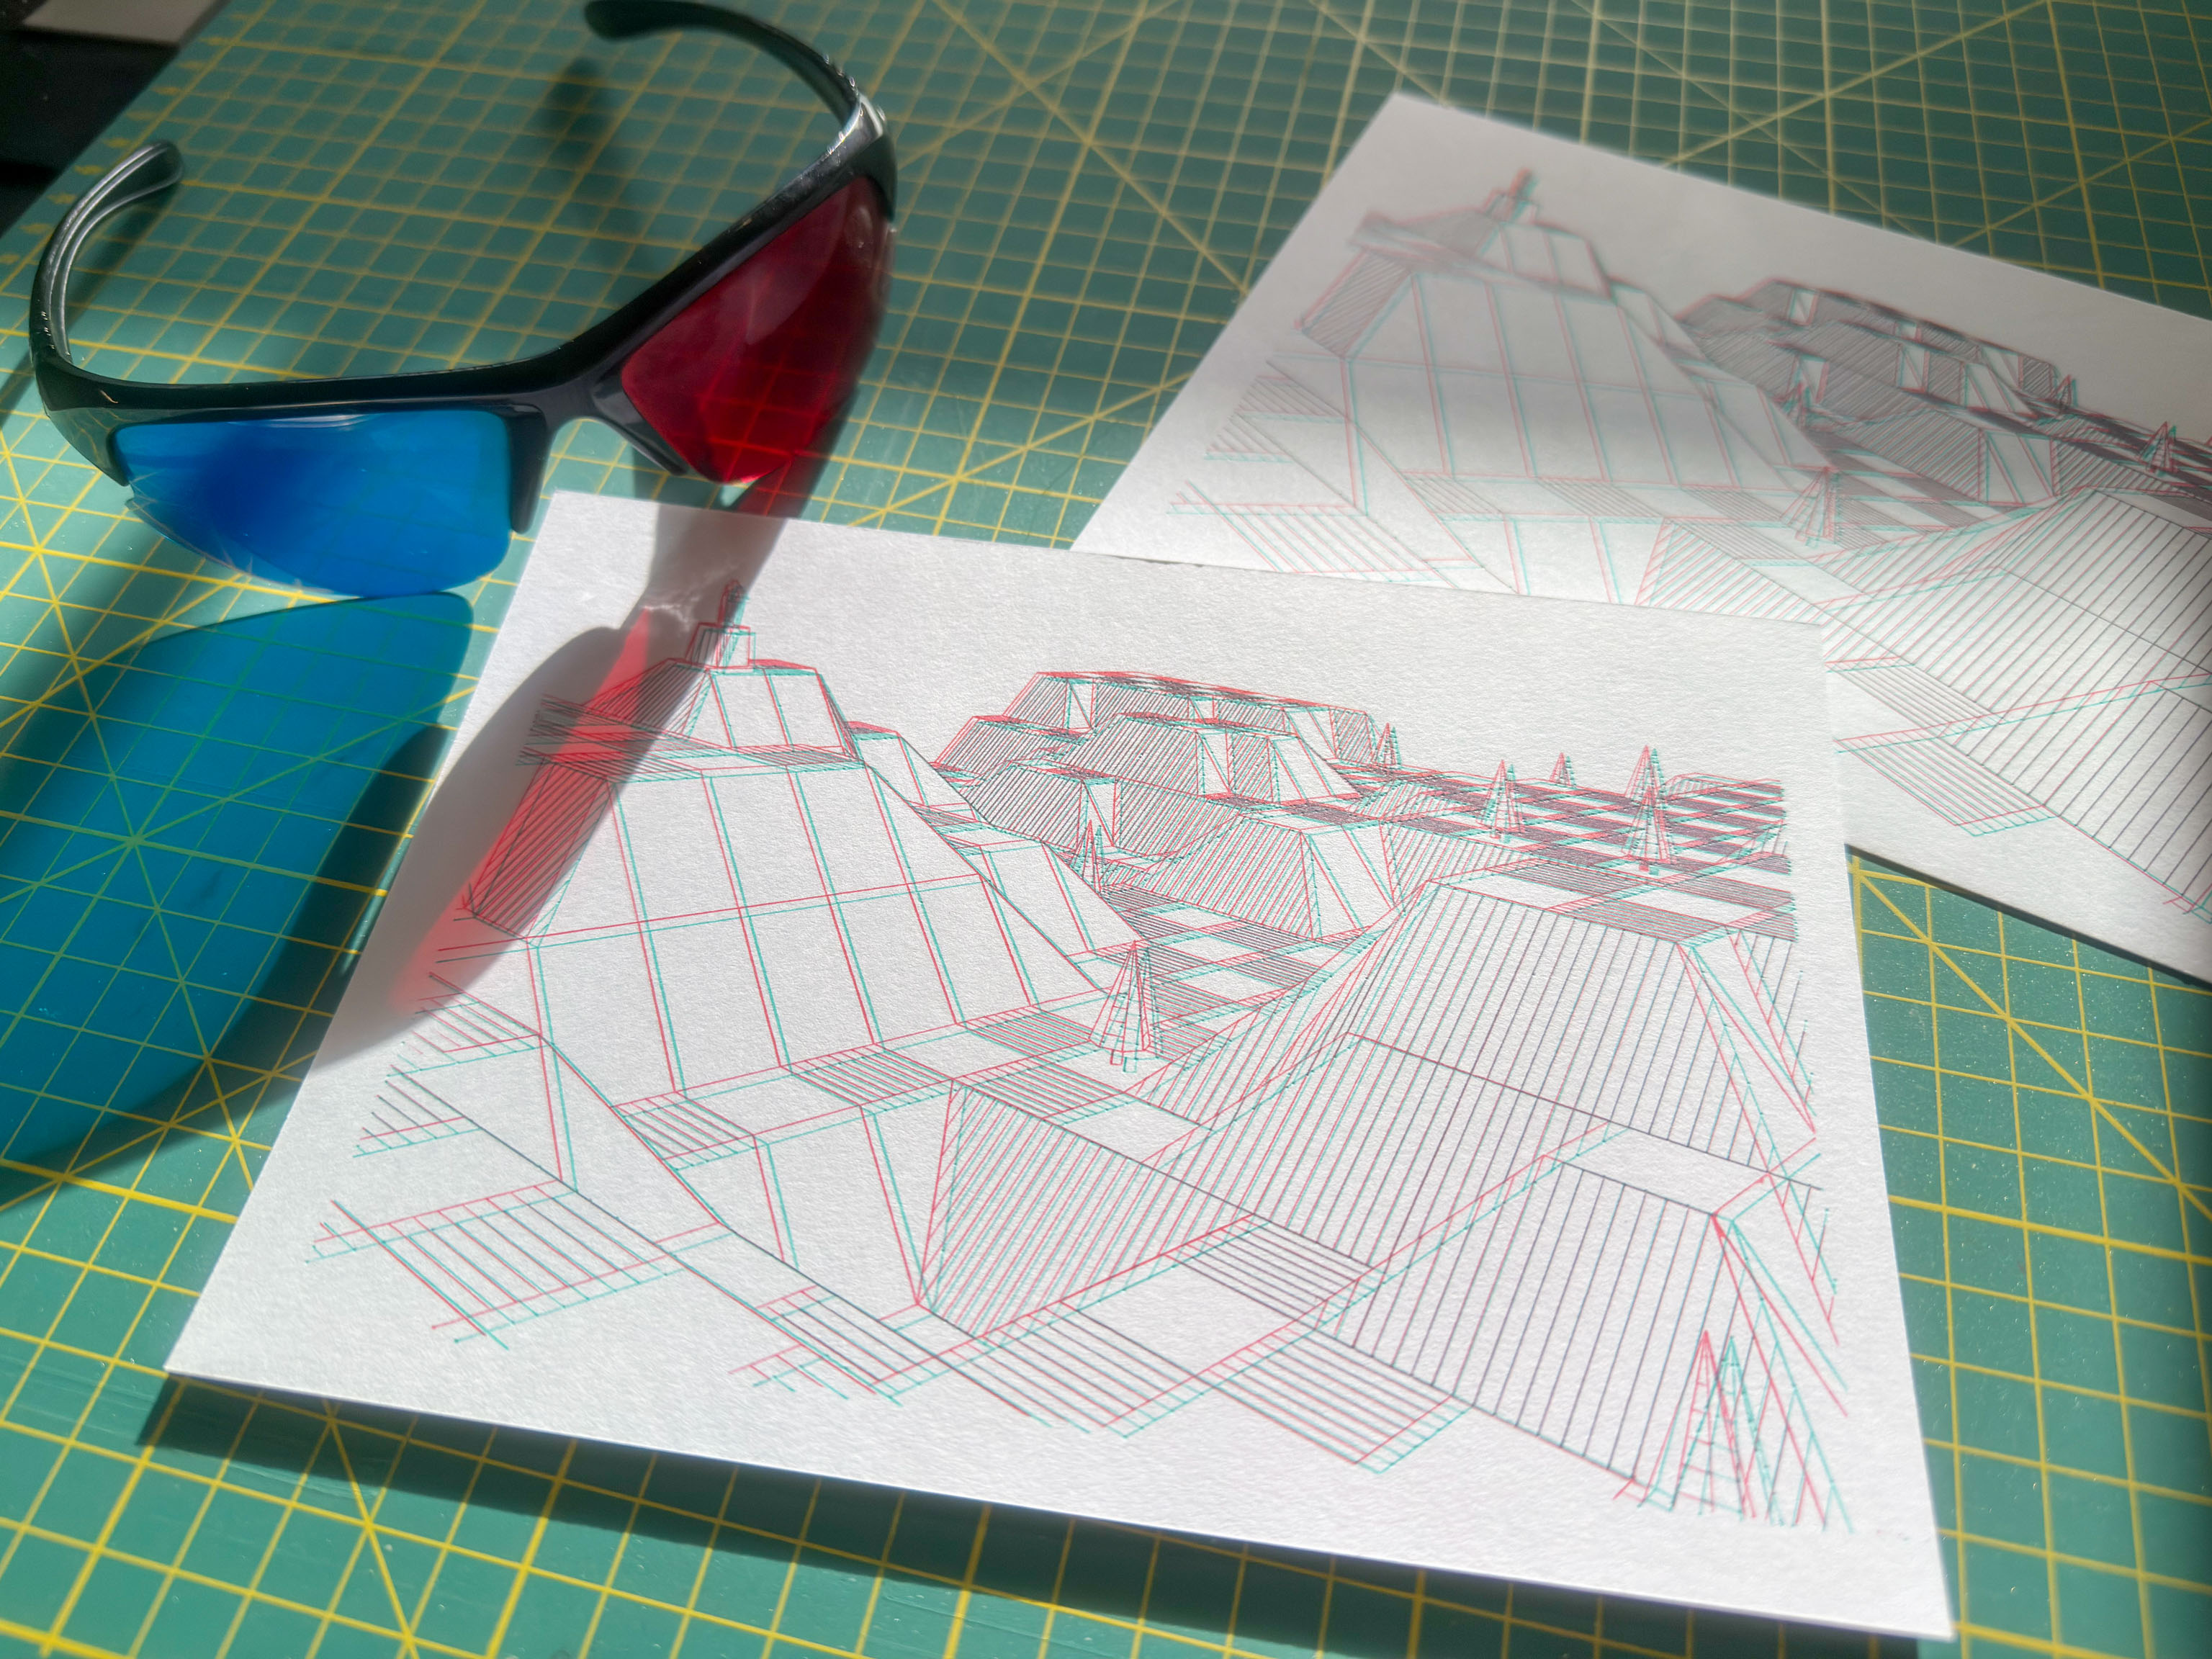
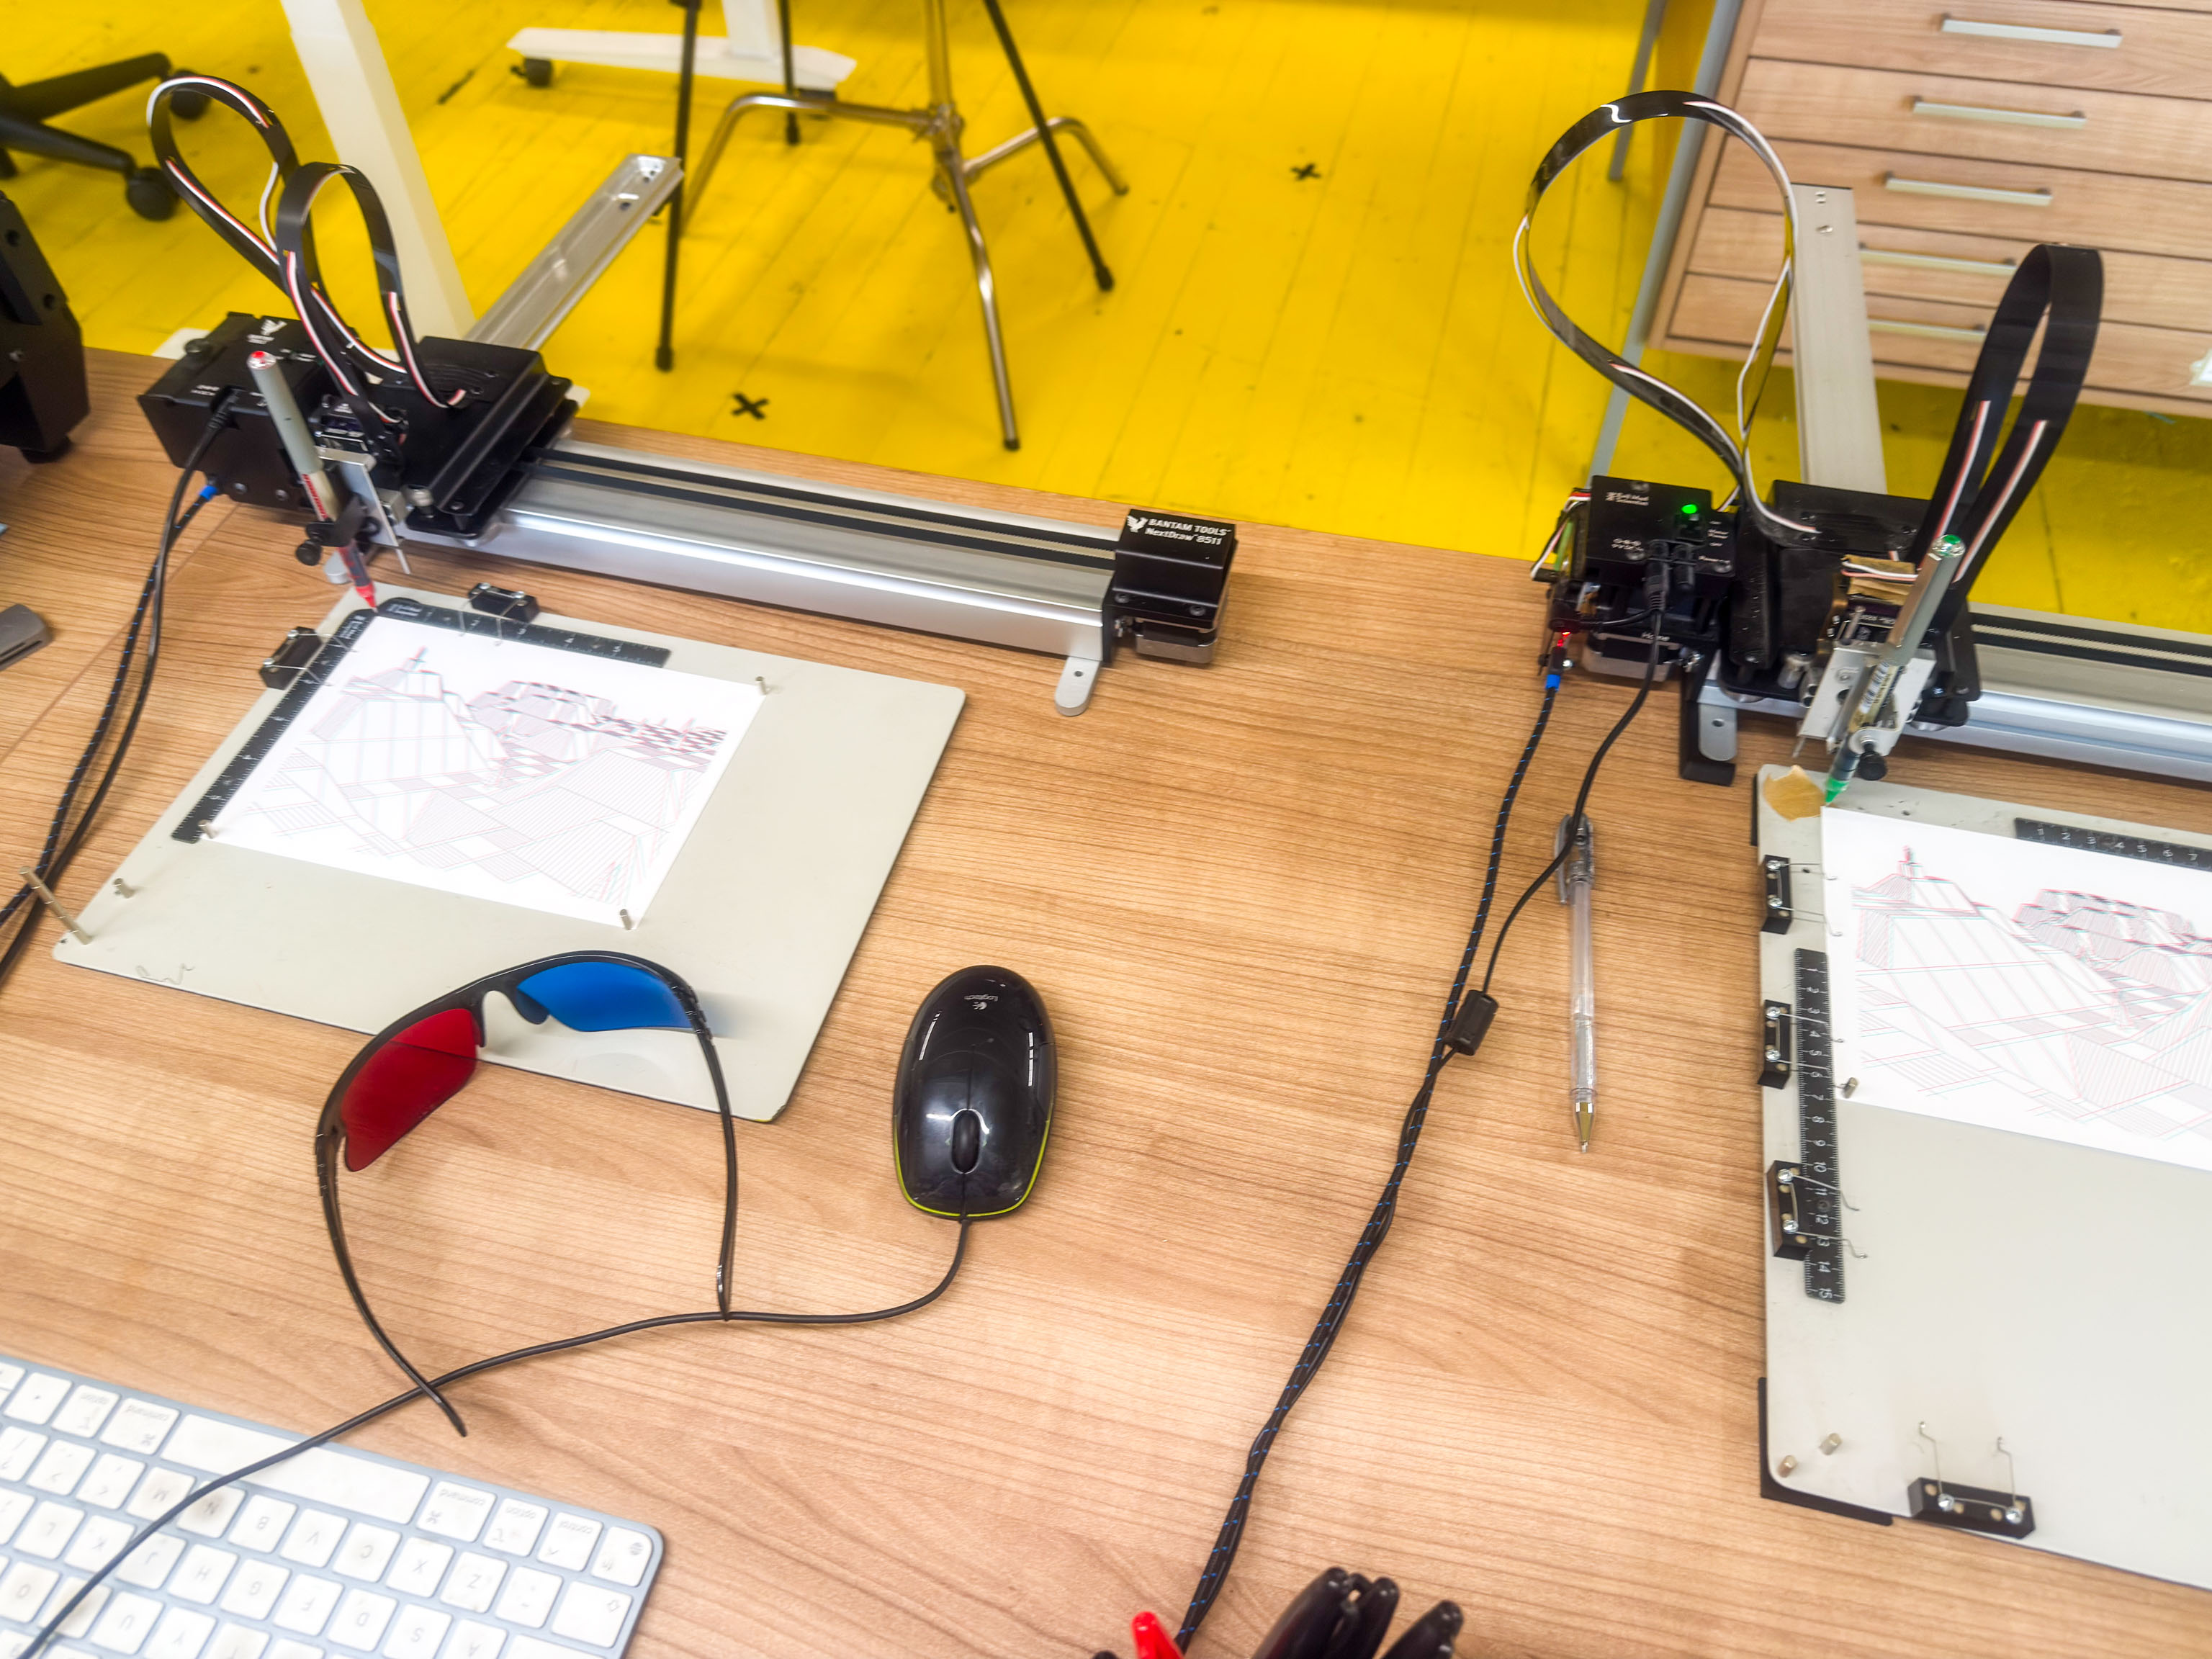
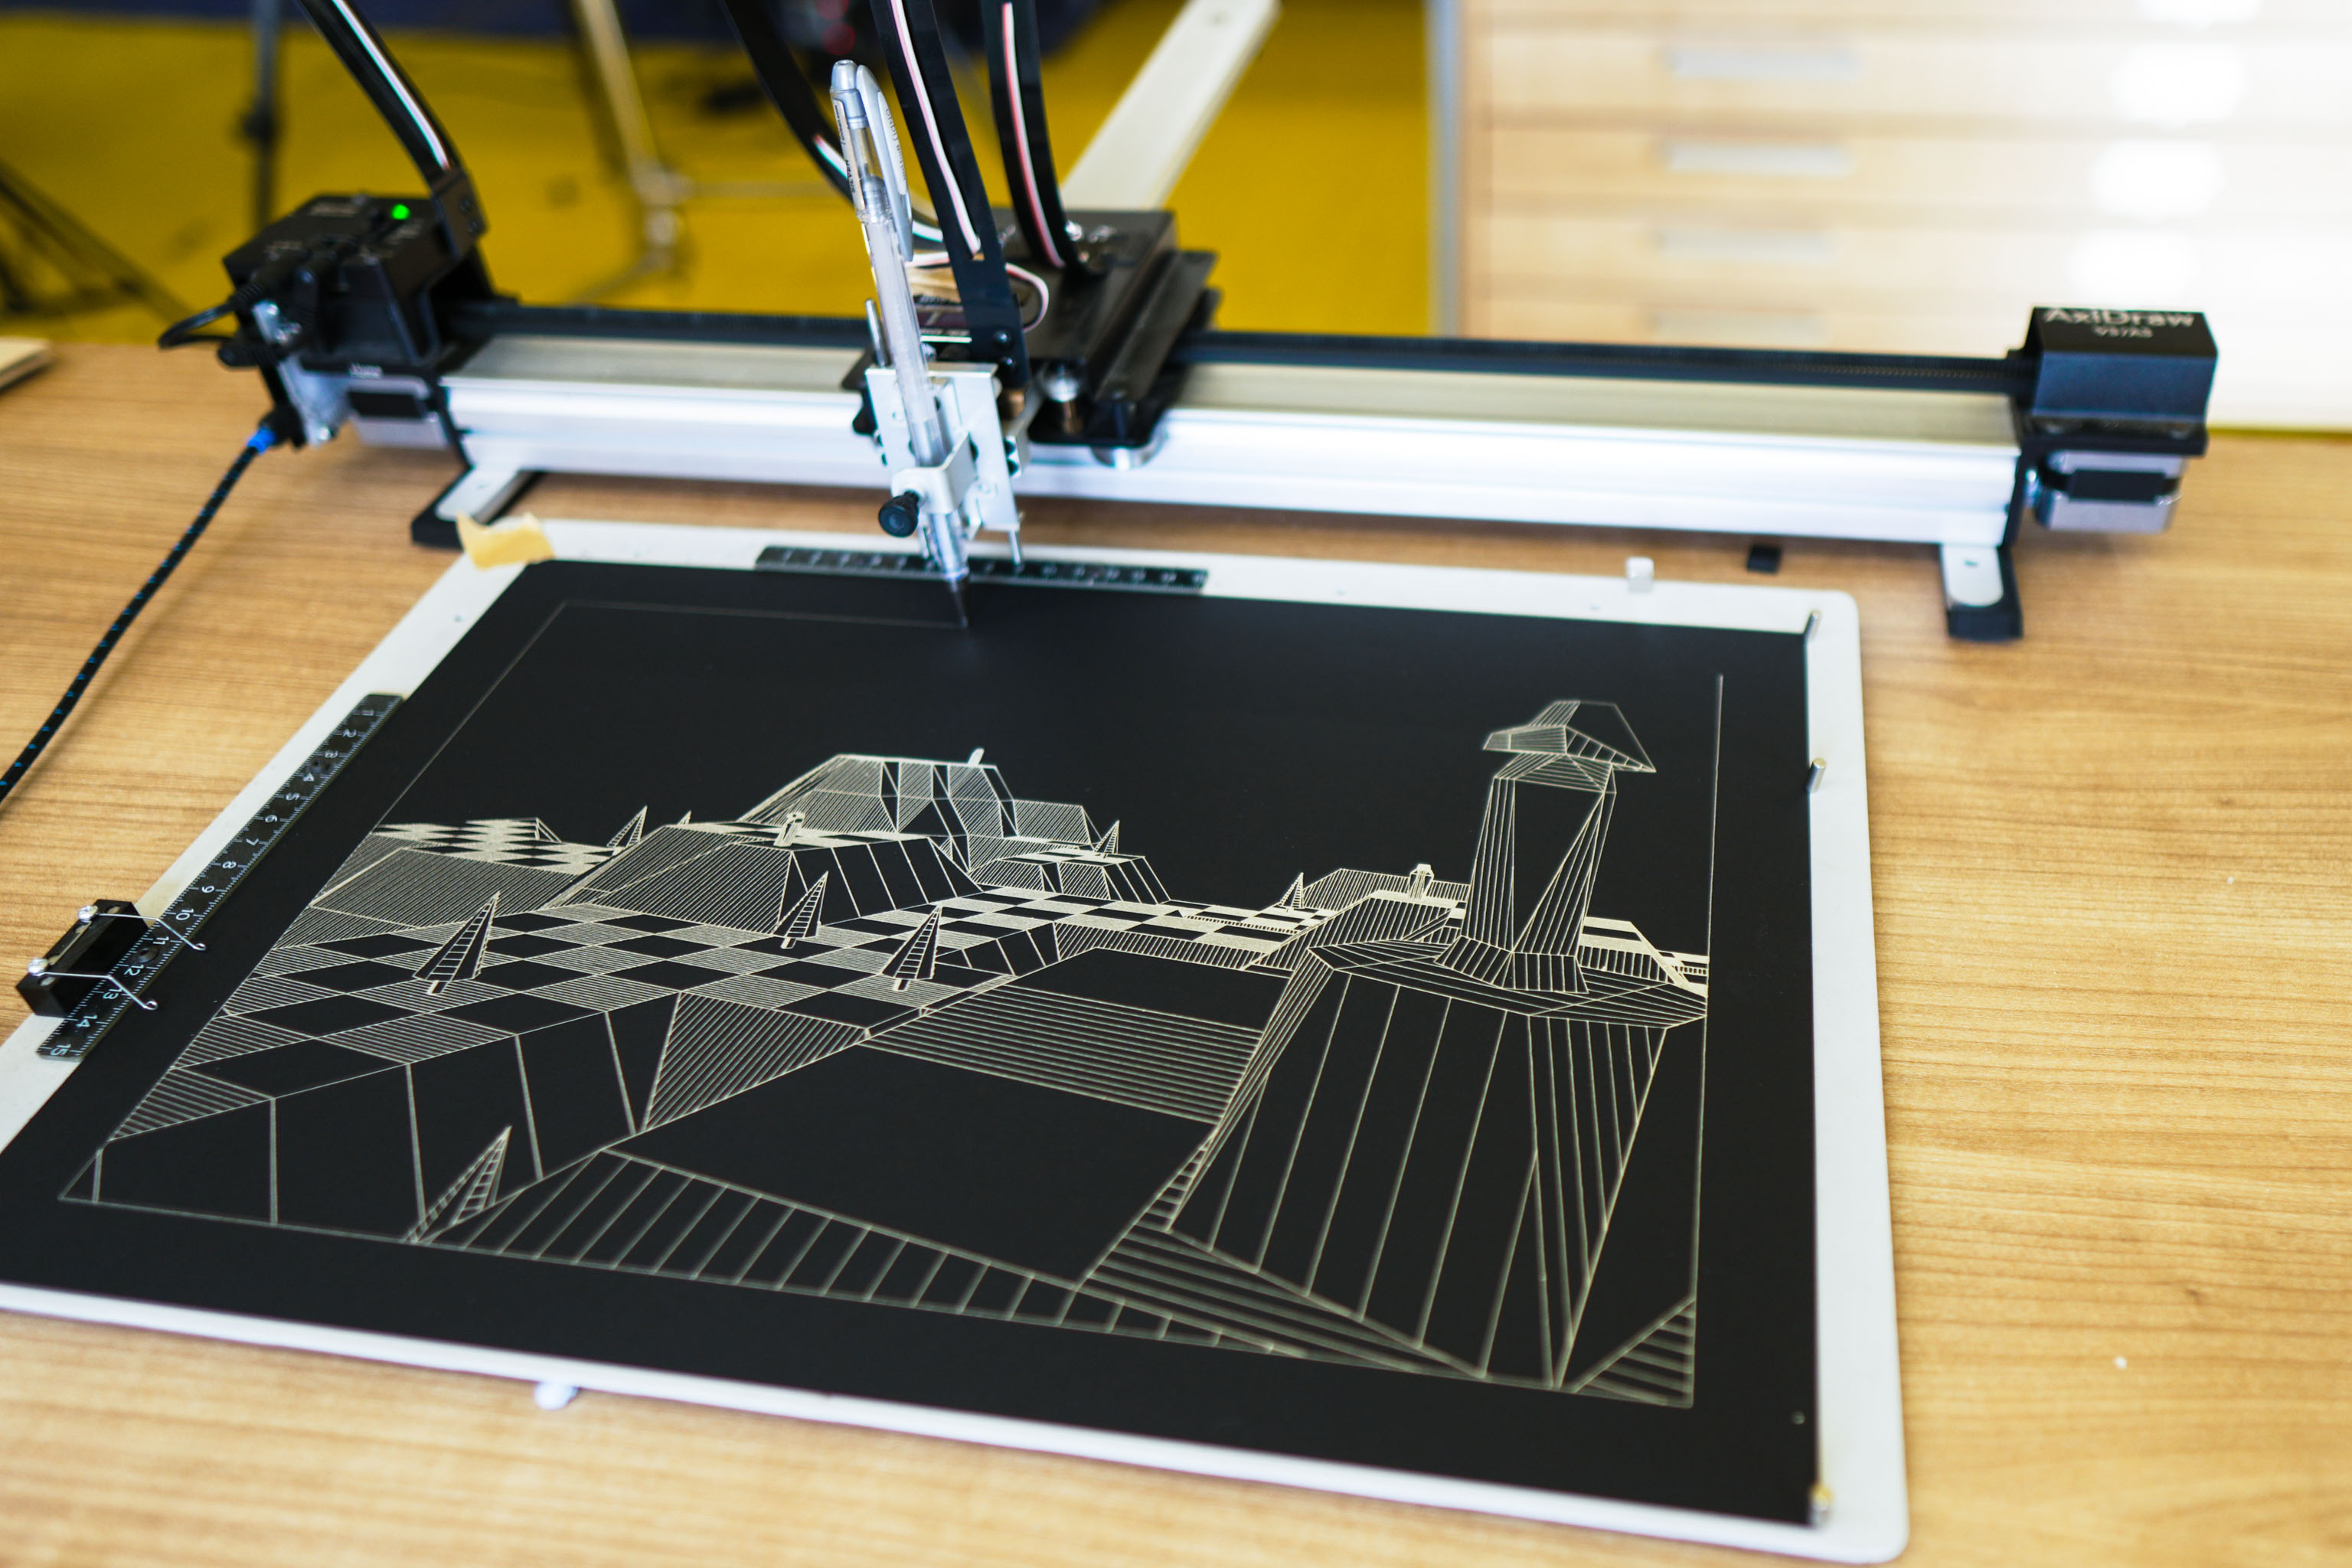
Bought a whole bunch of 3d glasses, so when I send these 3d plots to the Patreon members they'll actually be able to see them in 3d.

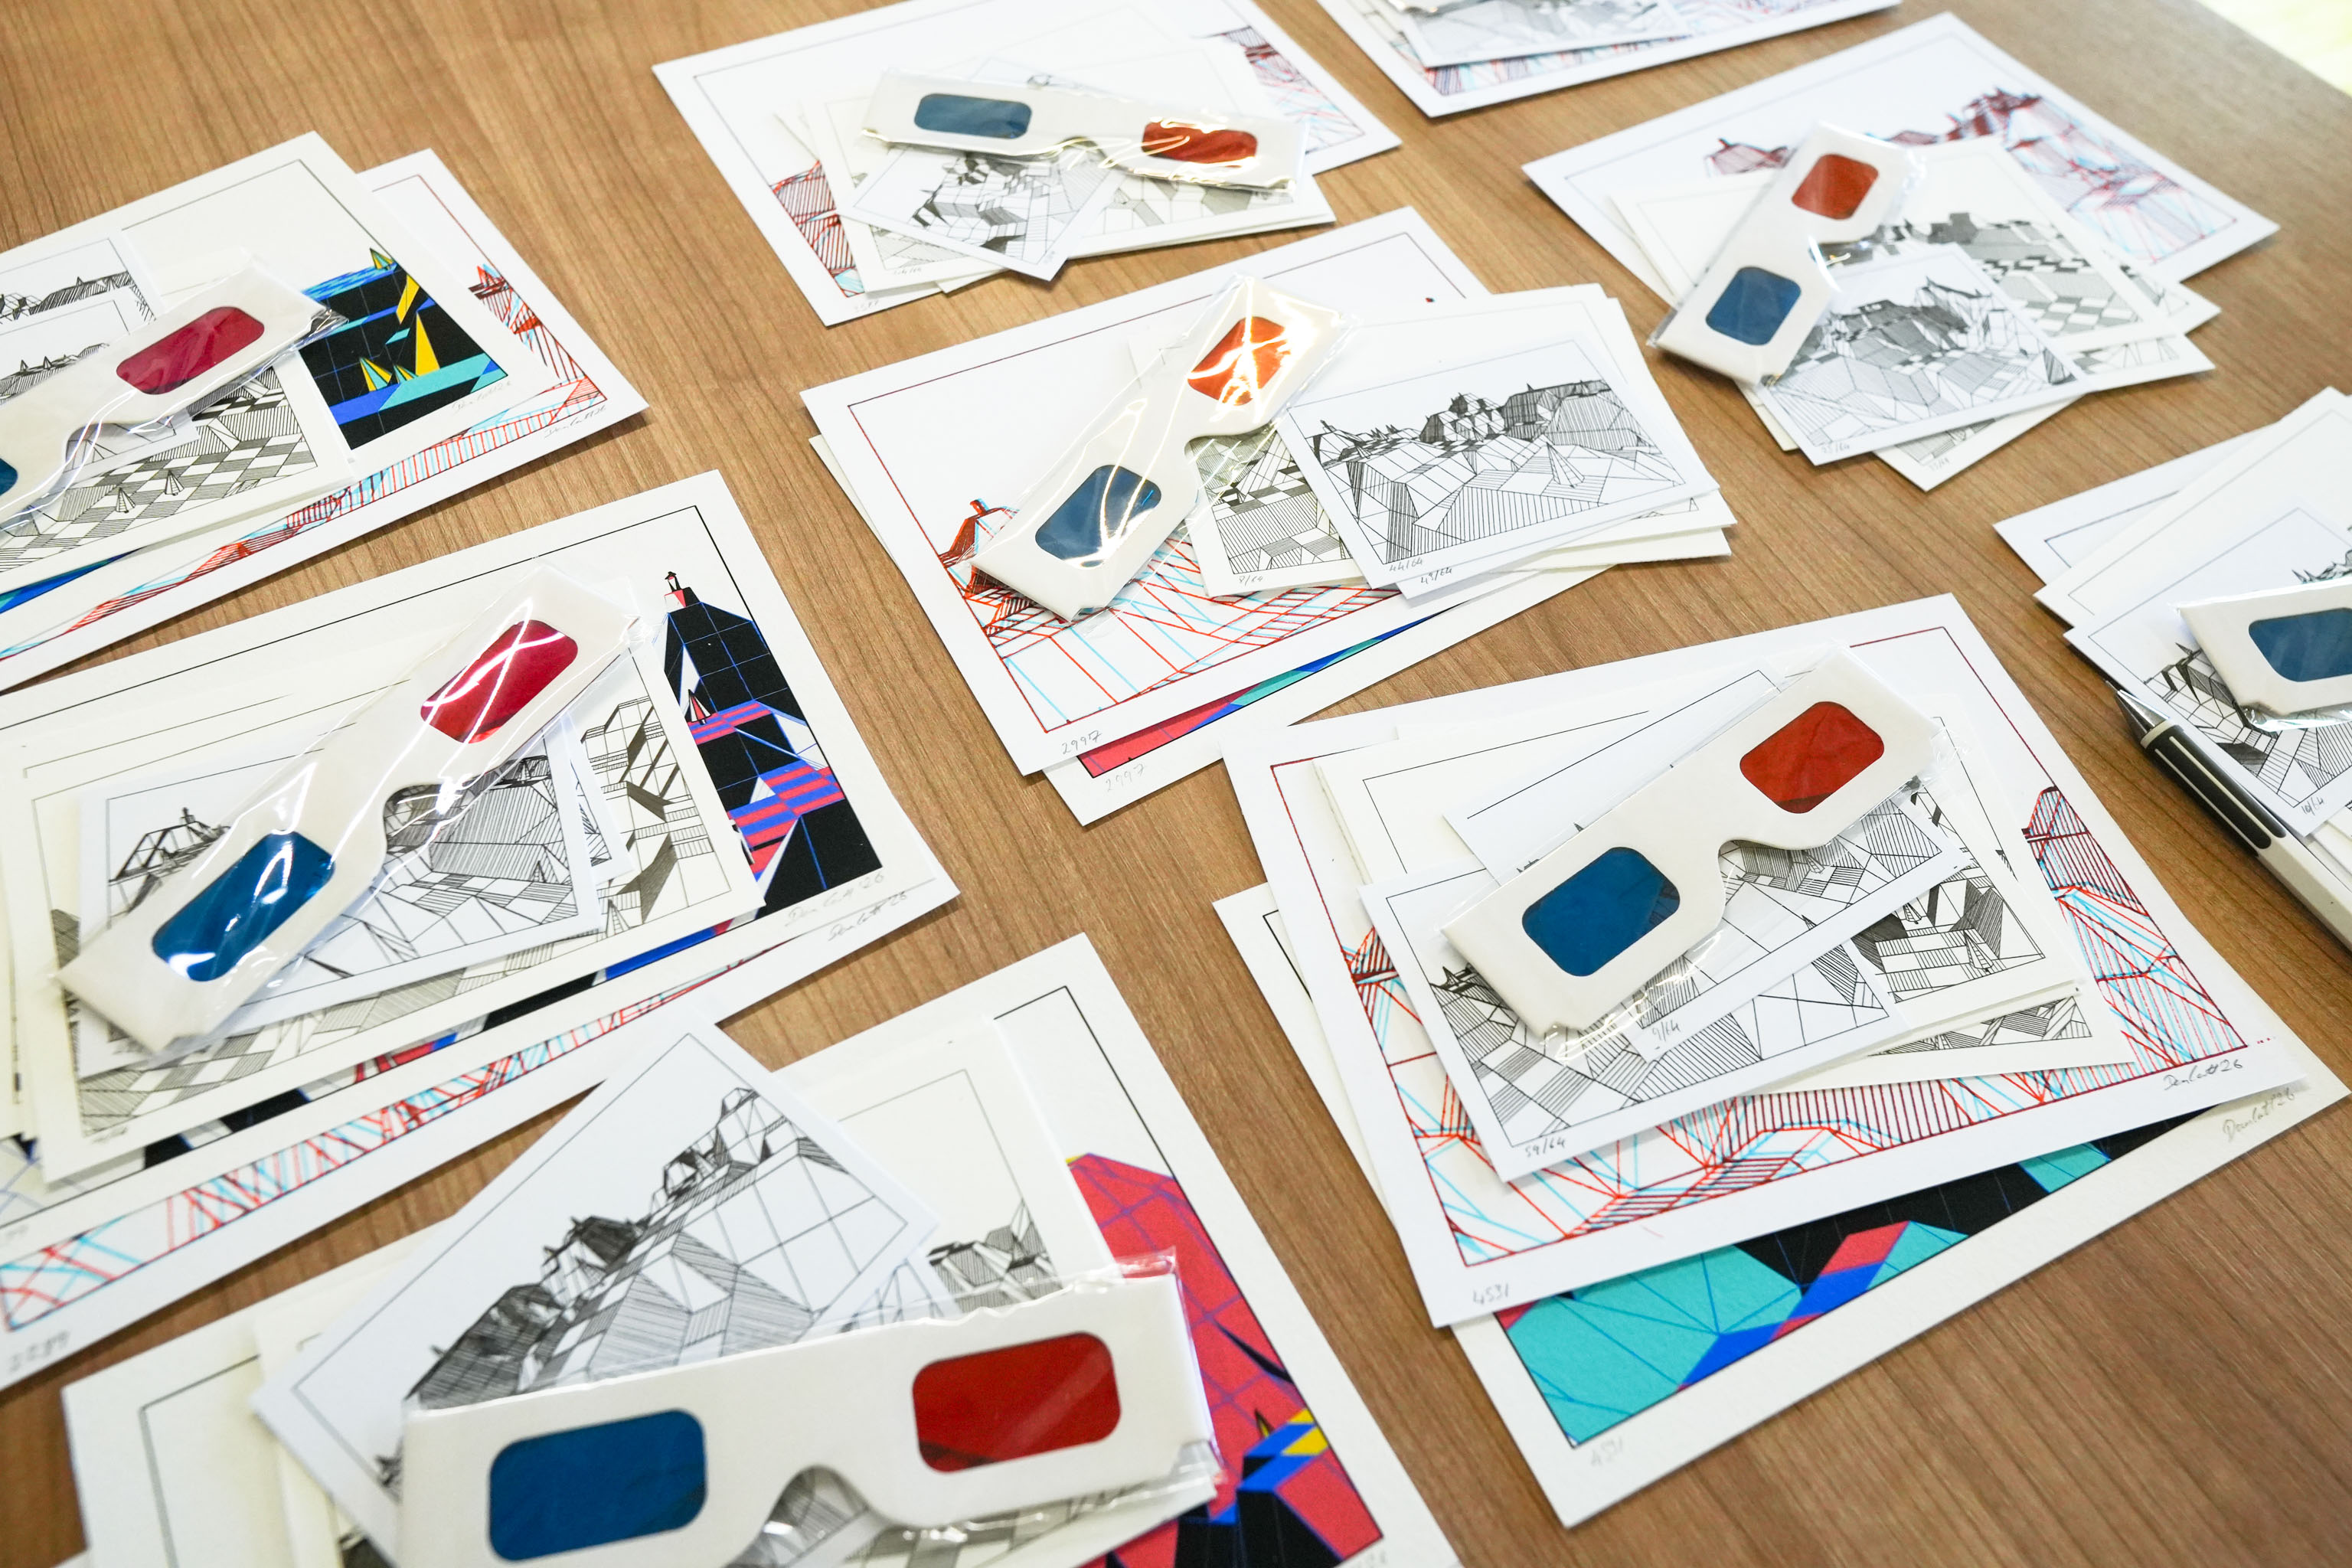
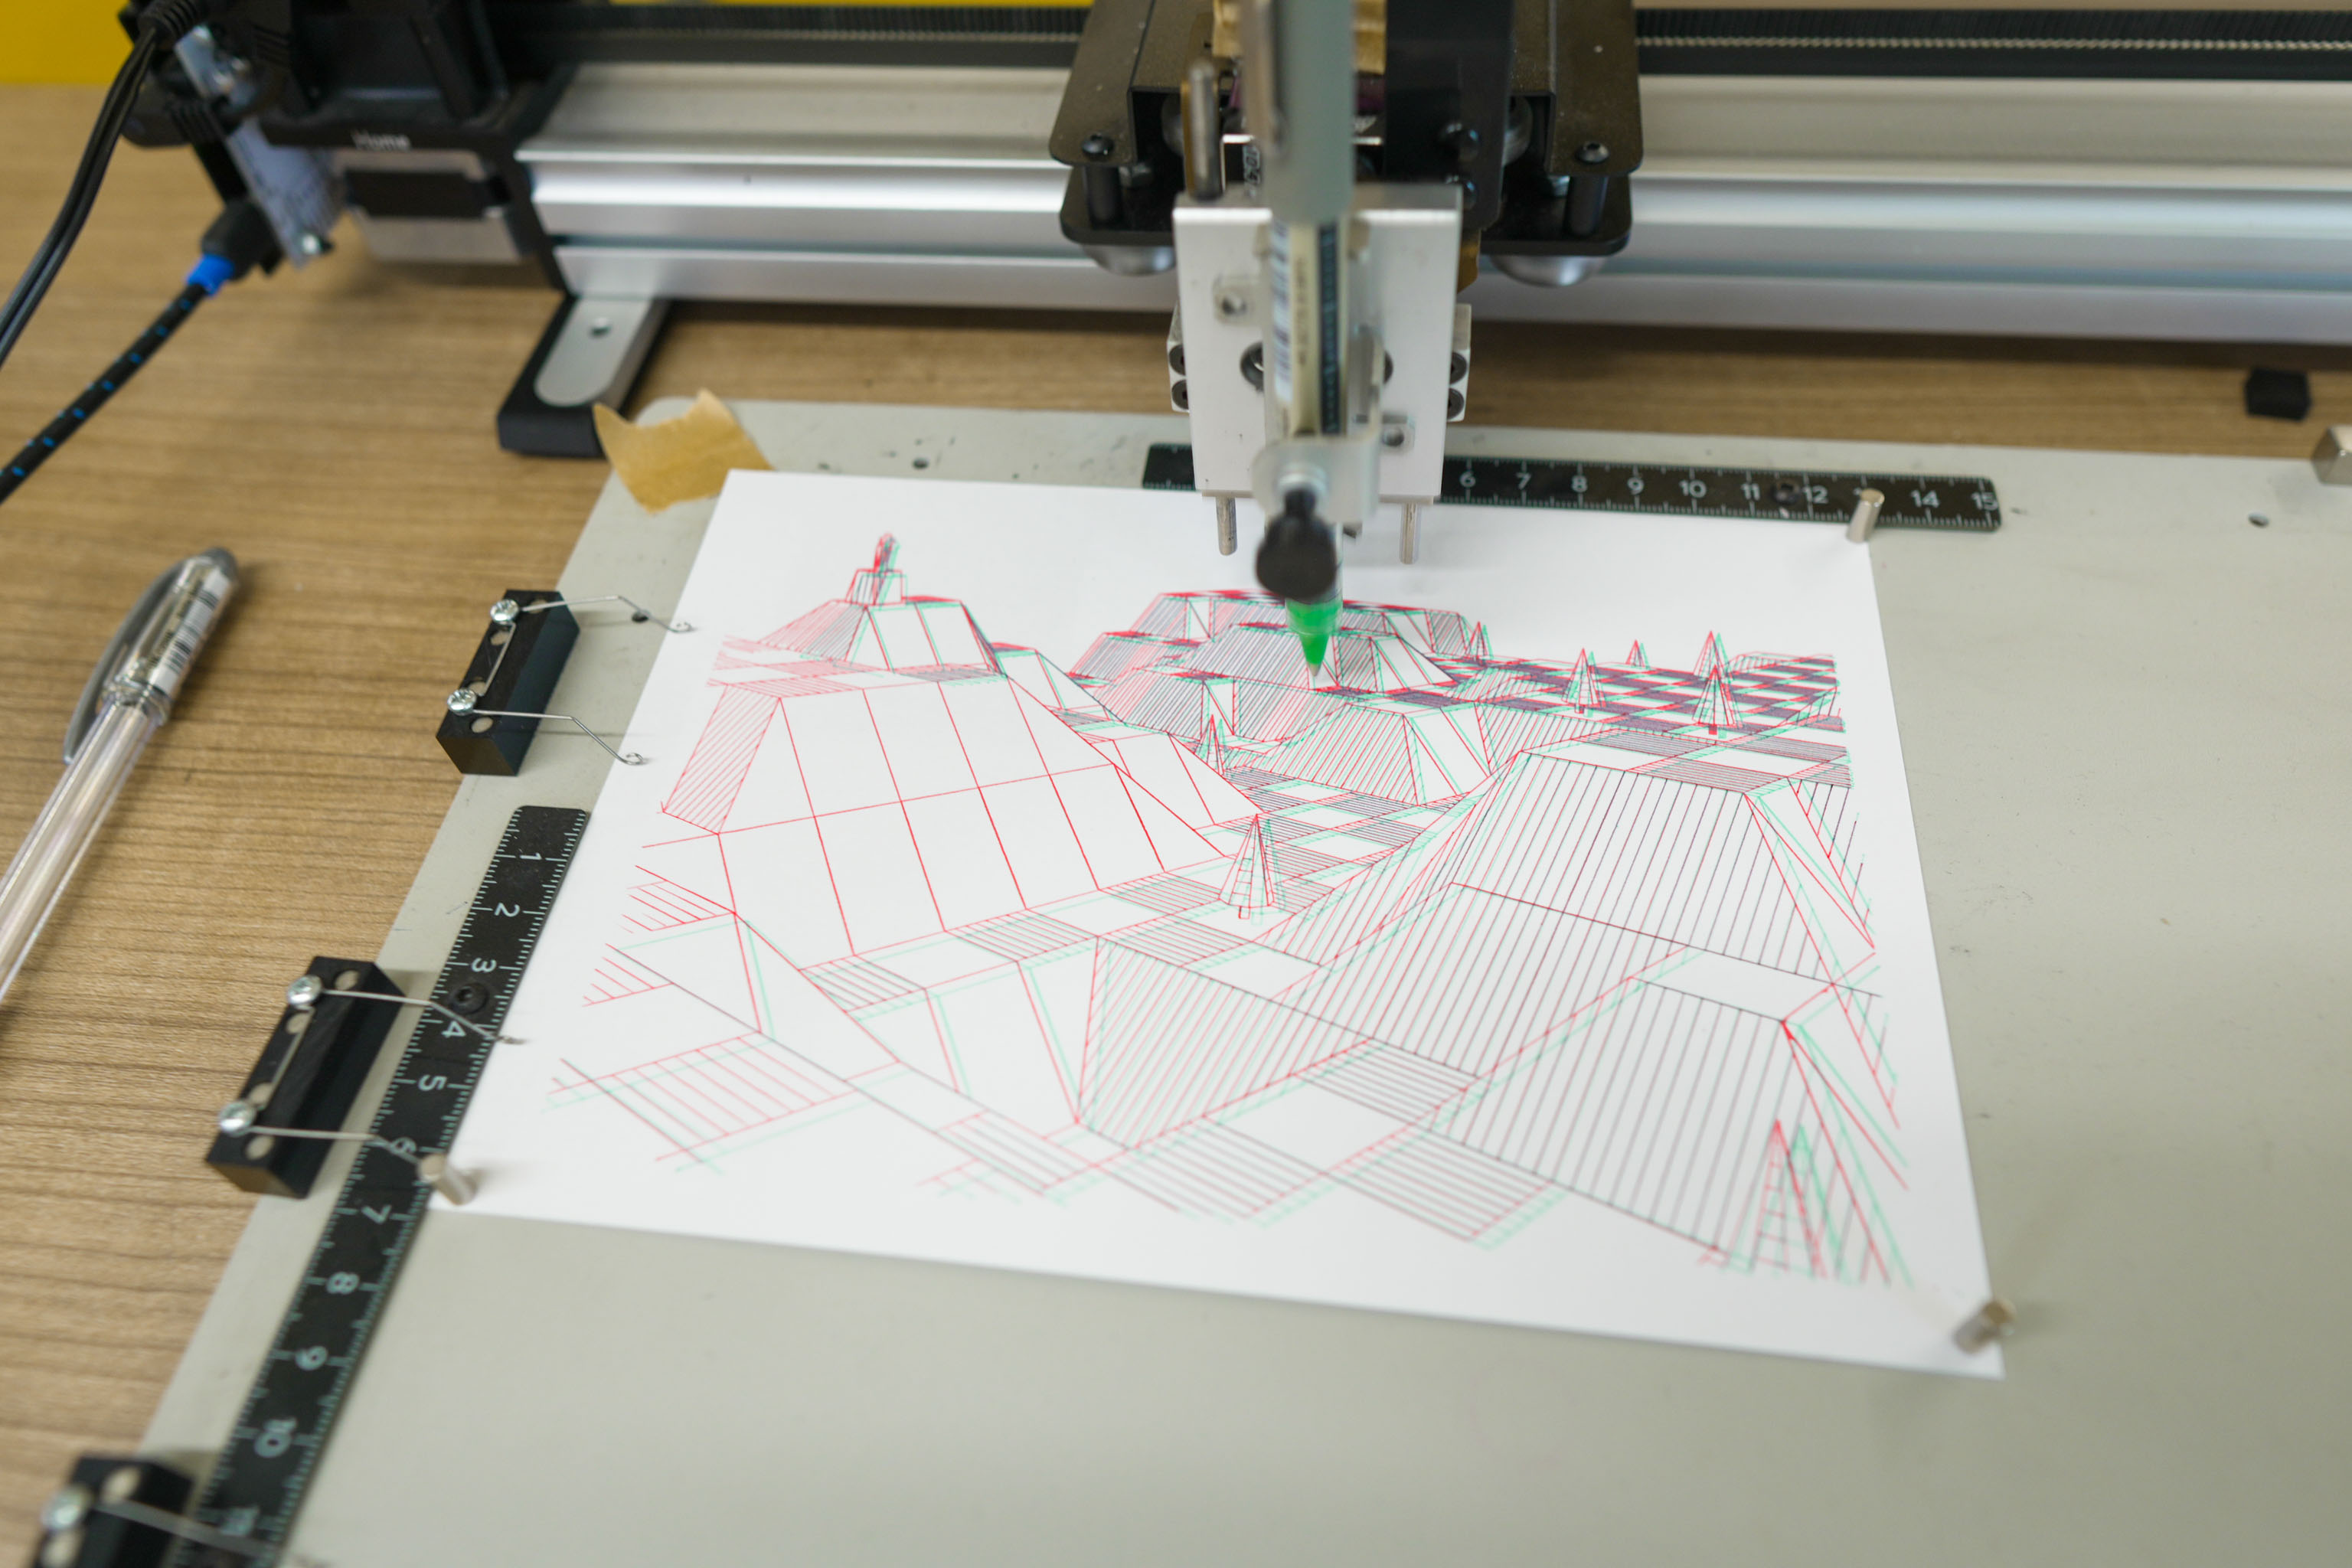
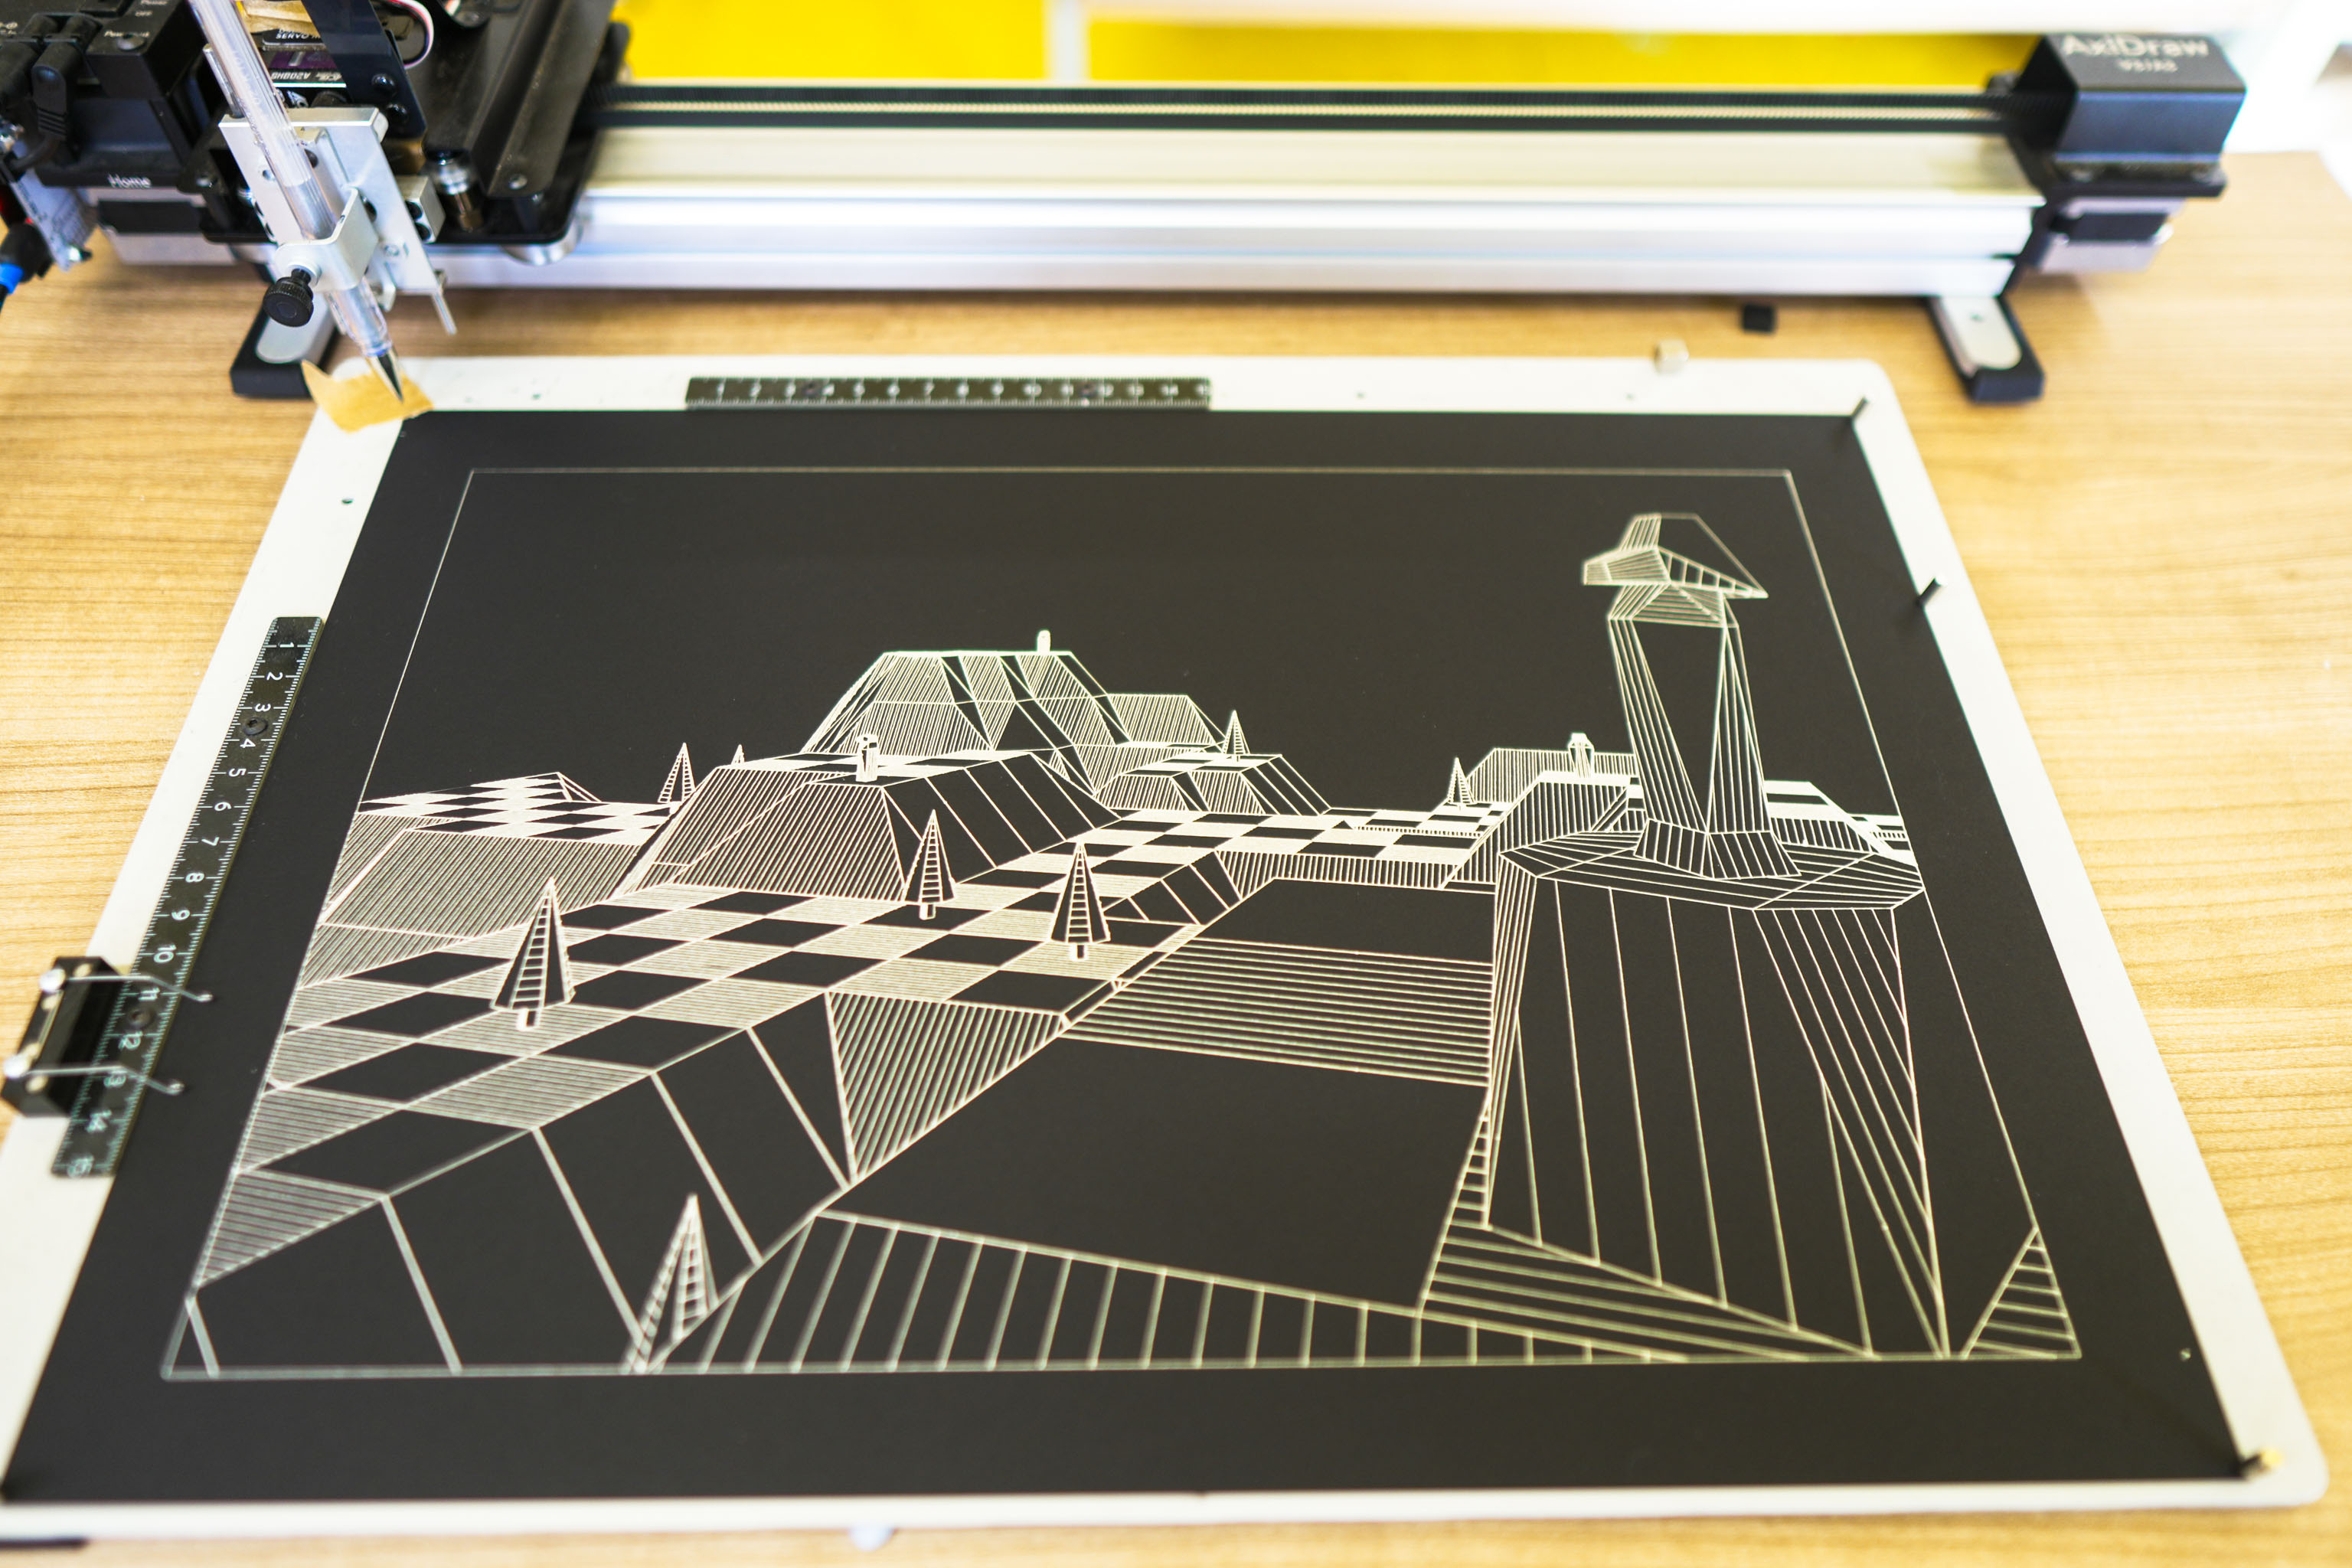
Refined the 3d plotting a bit more and switched up the pen to something that shows up a lot better.
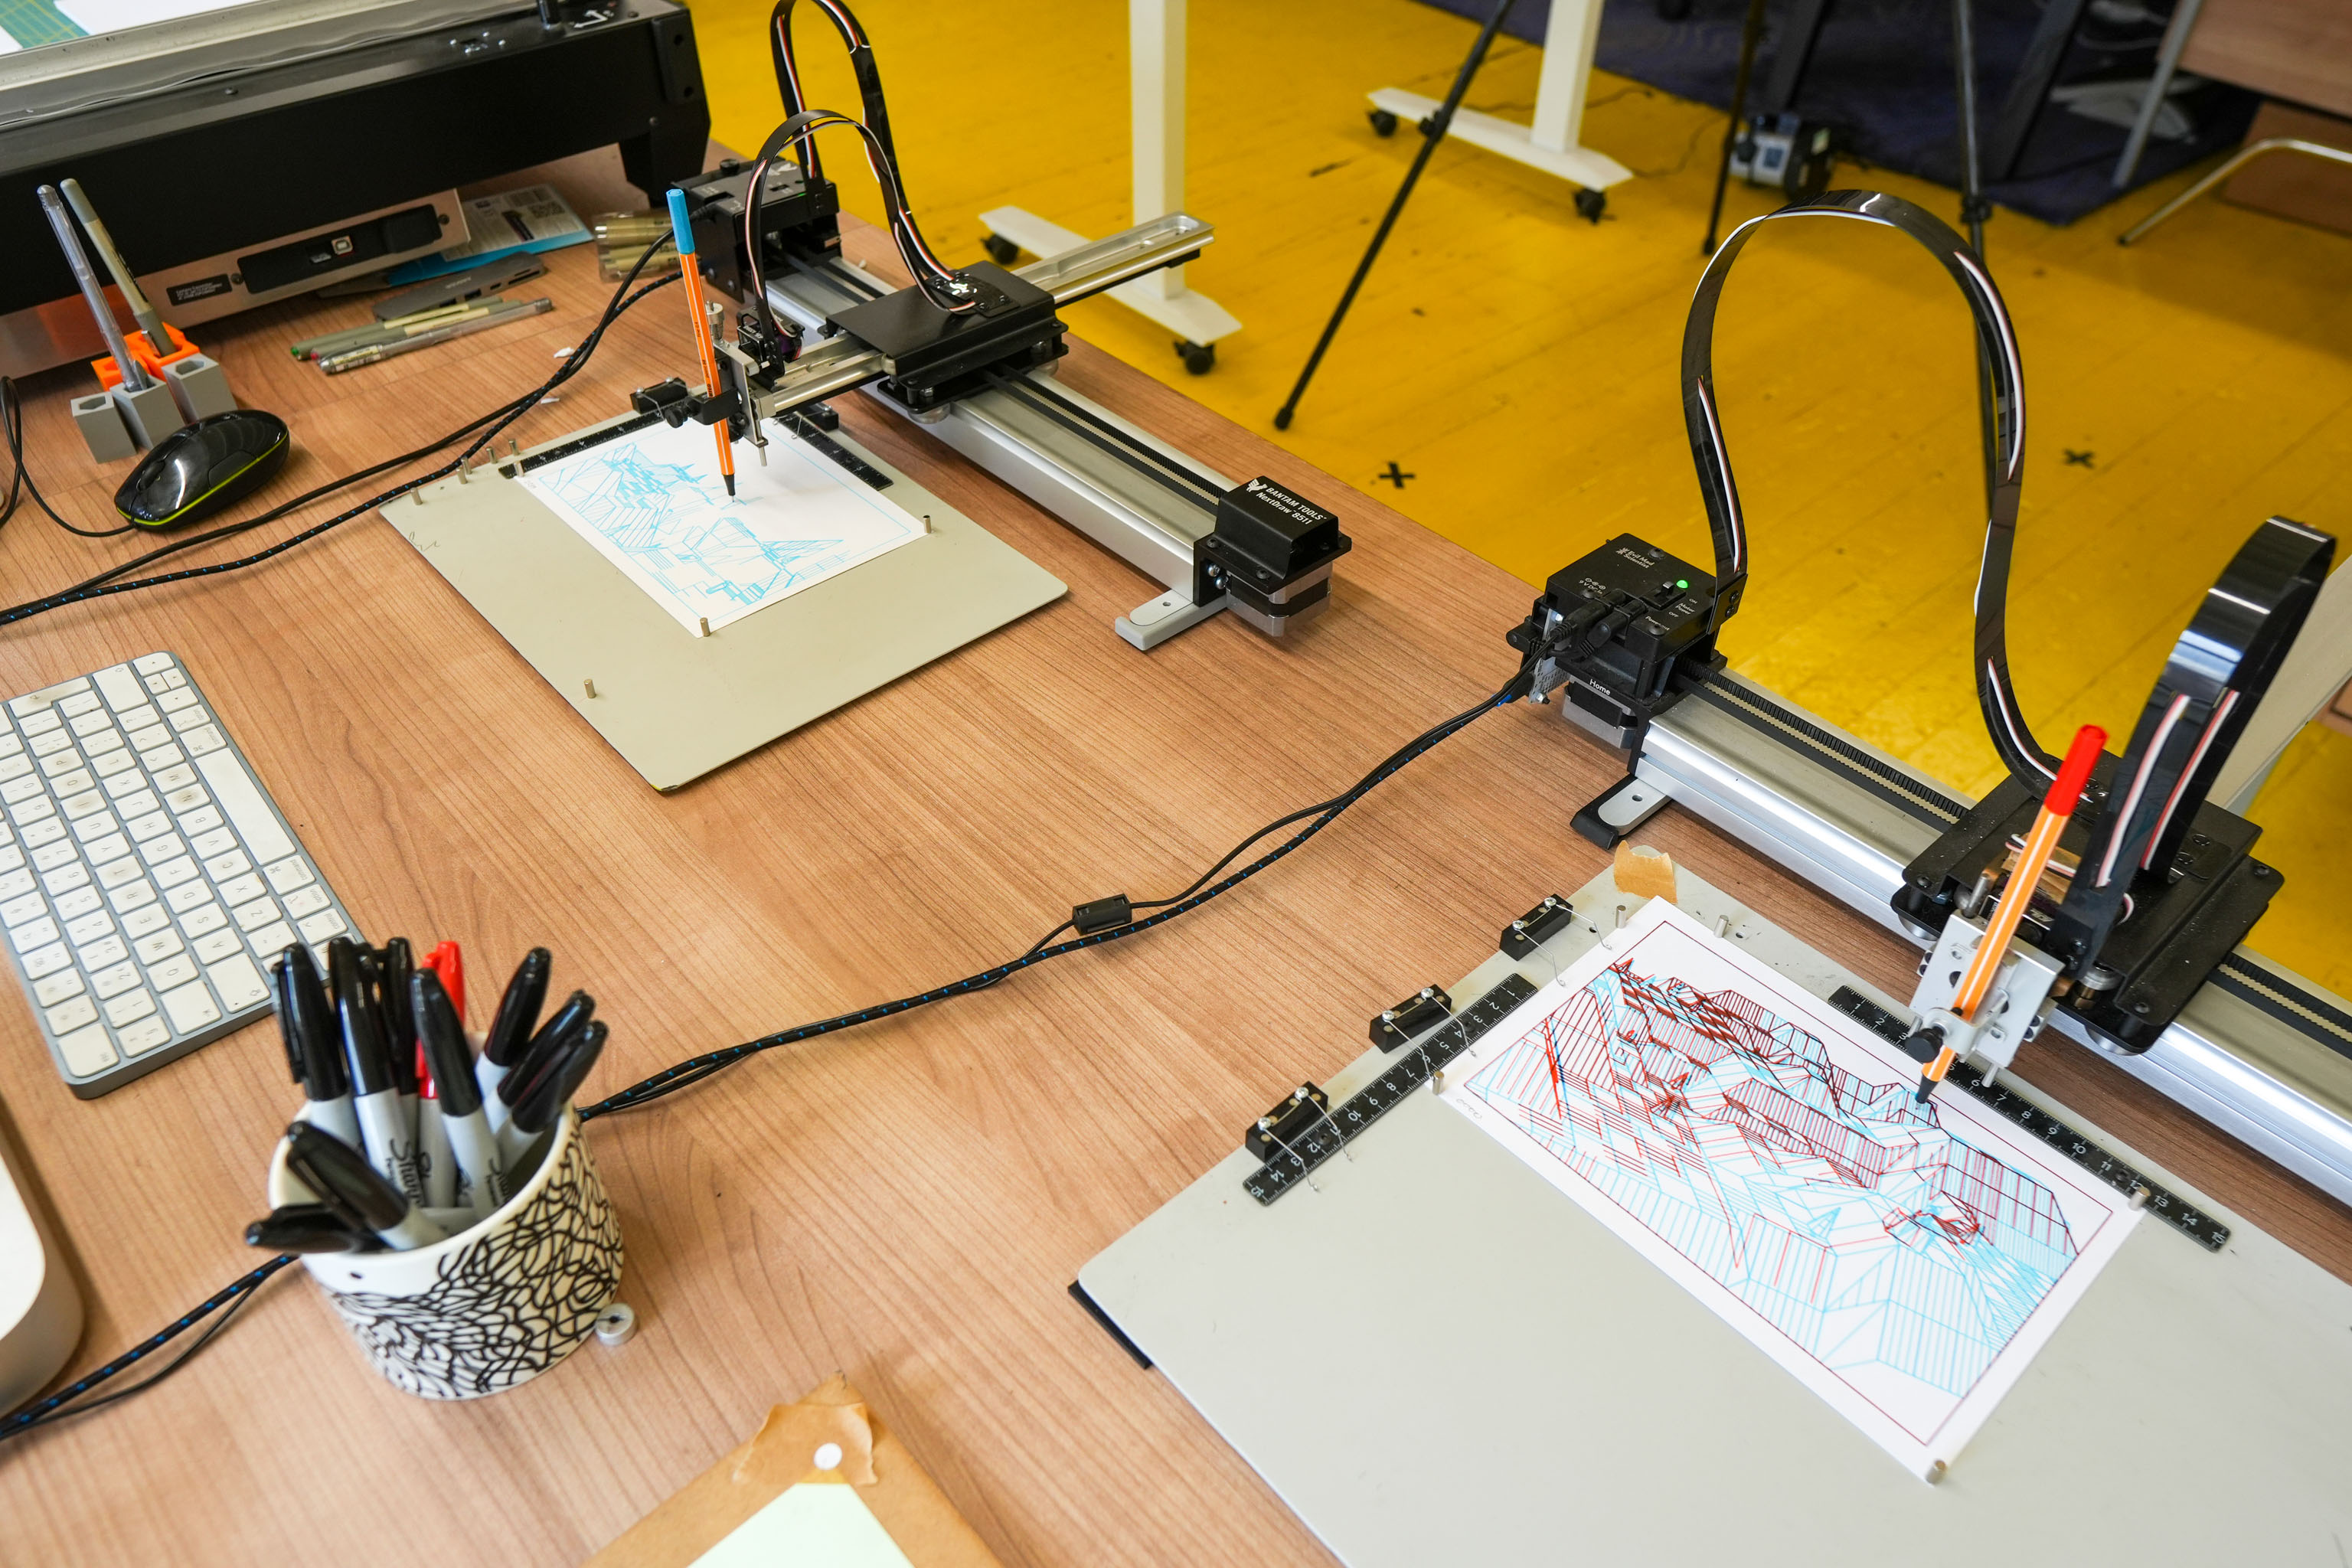
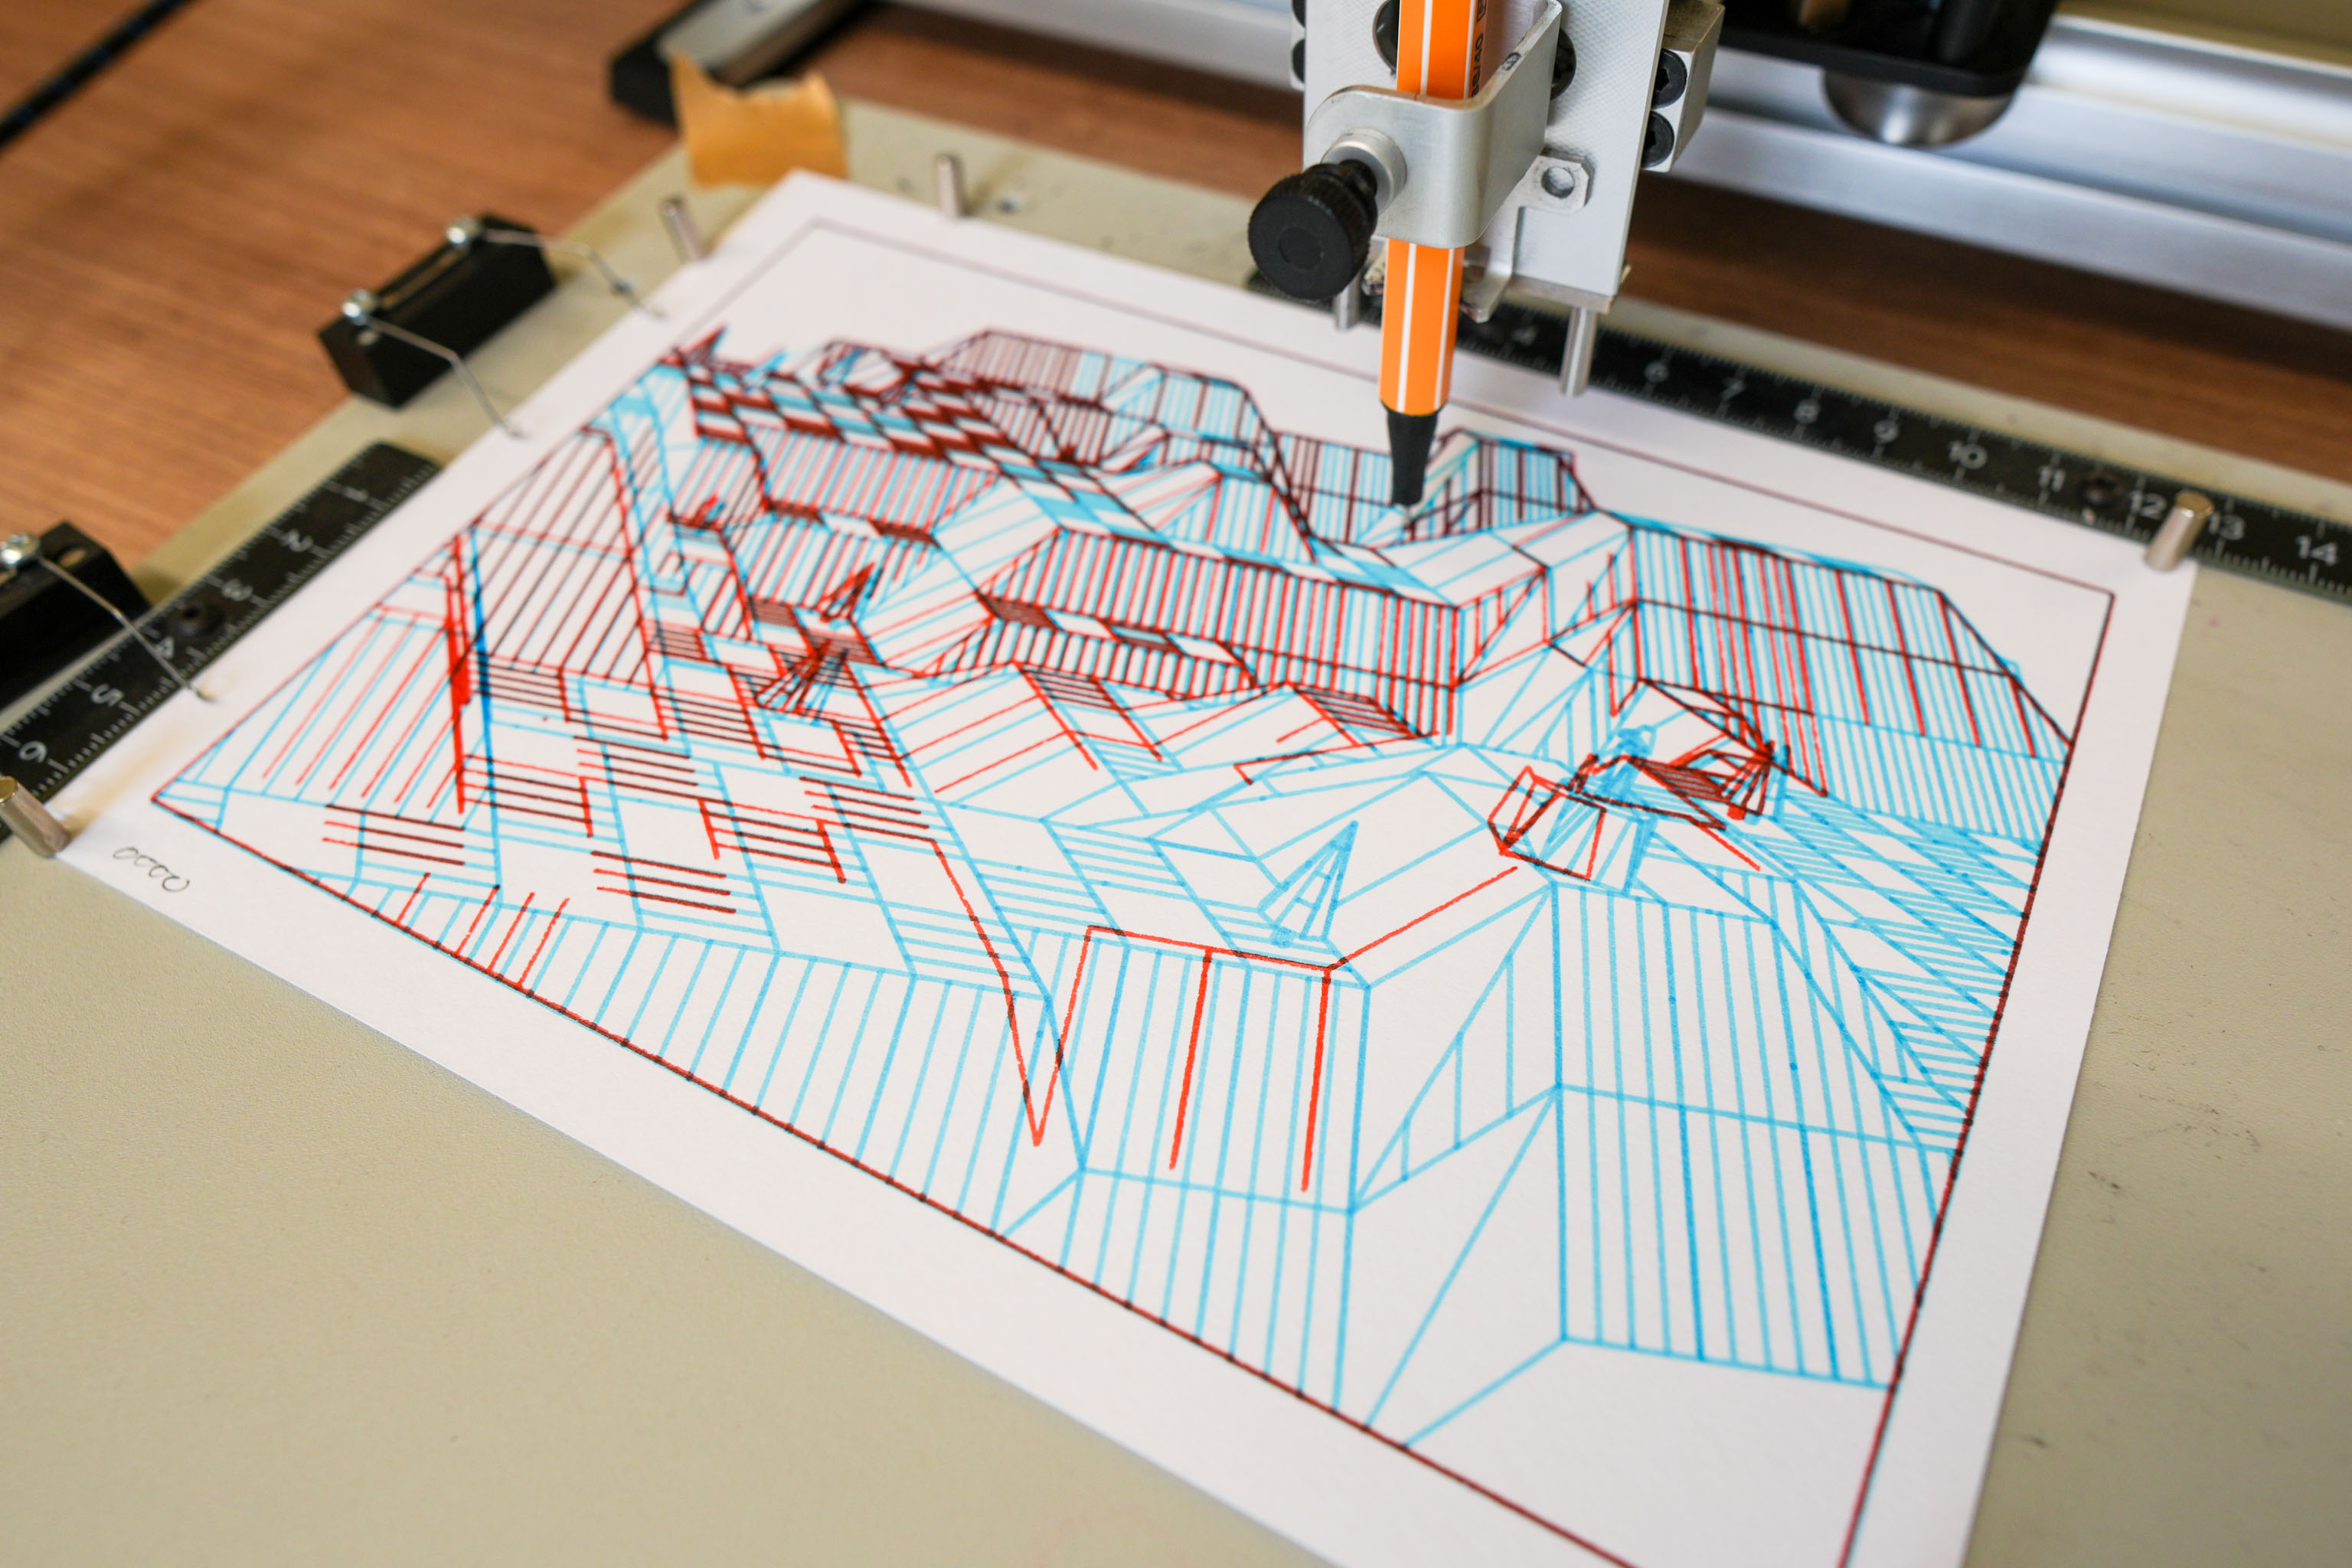
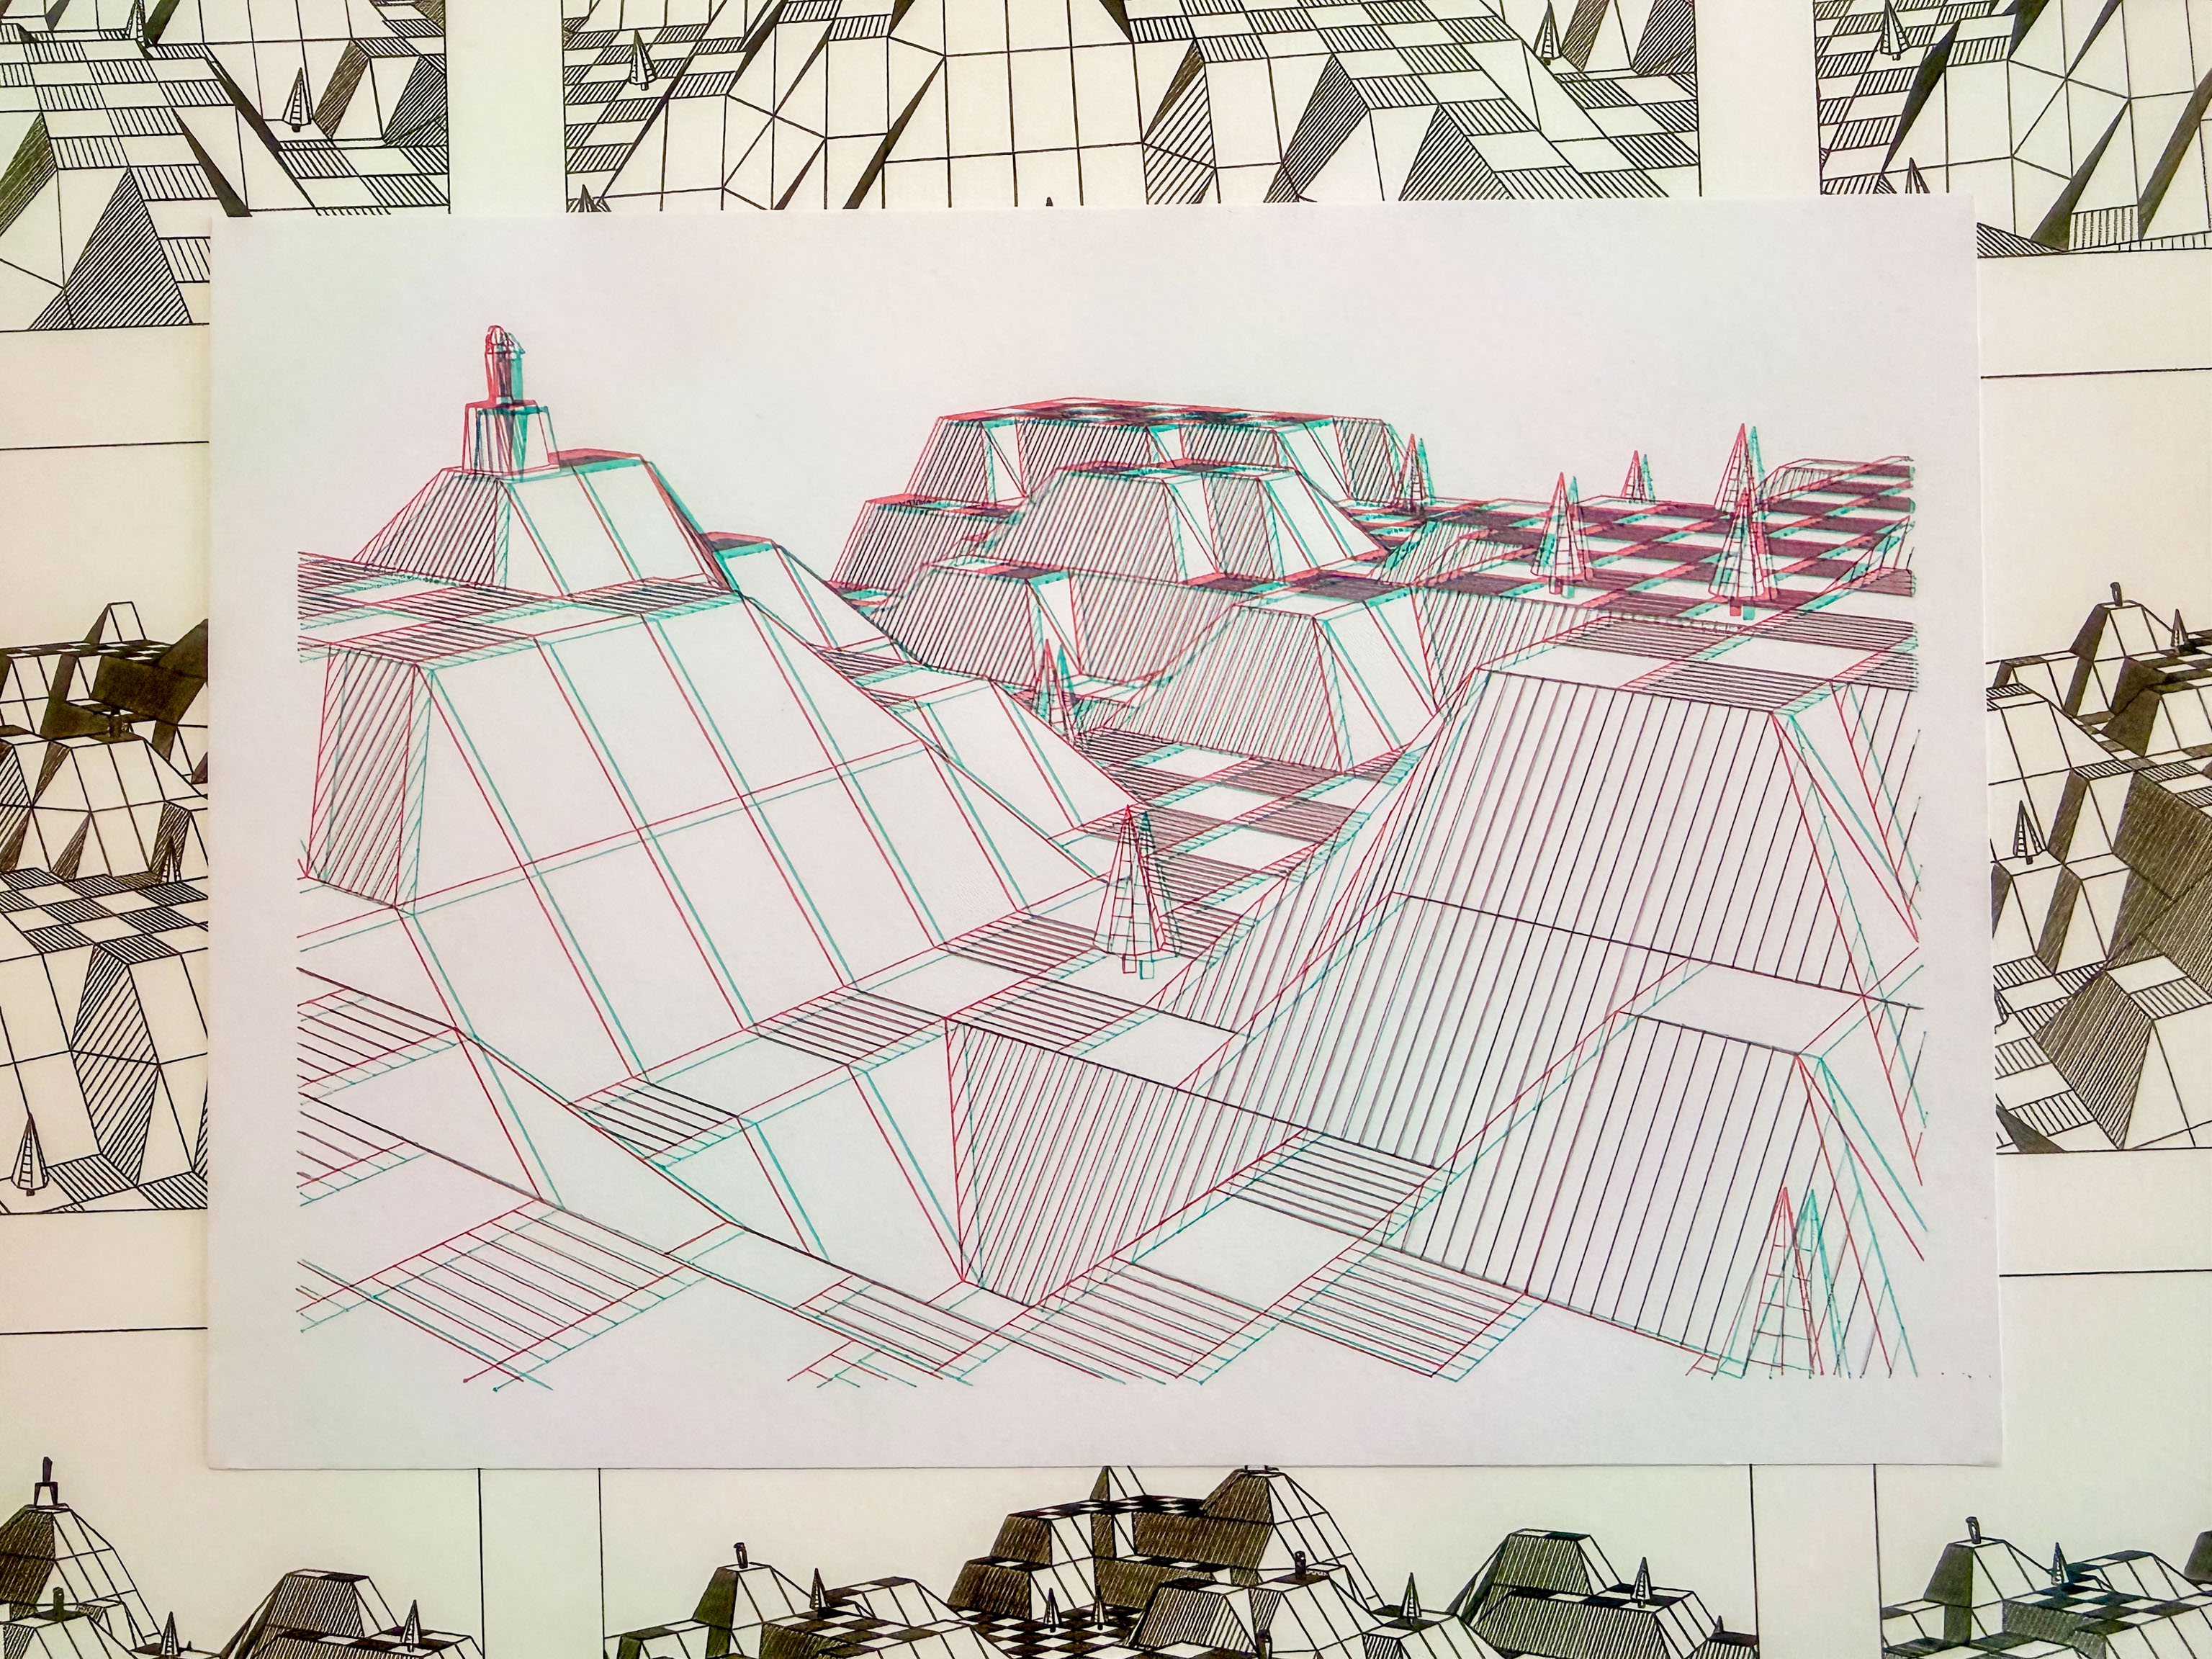
I got thinking, that if I could output a single SVG file of a view across the landscape, I should be able to shift the "camera" to the left and right of that point and get a stereo pair of SVG files.
A quick bit of plotting later and some 3d glasses and here we go.
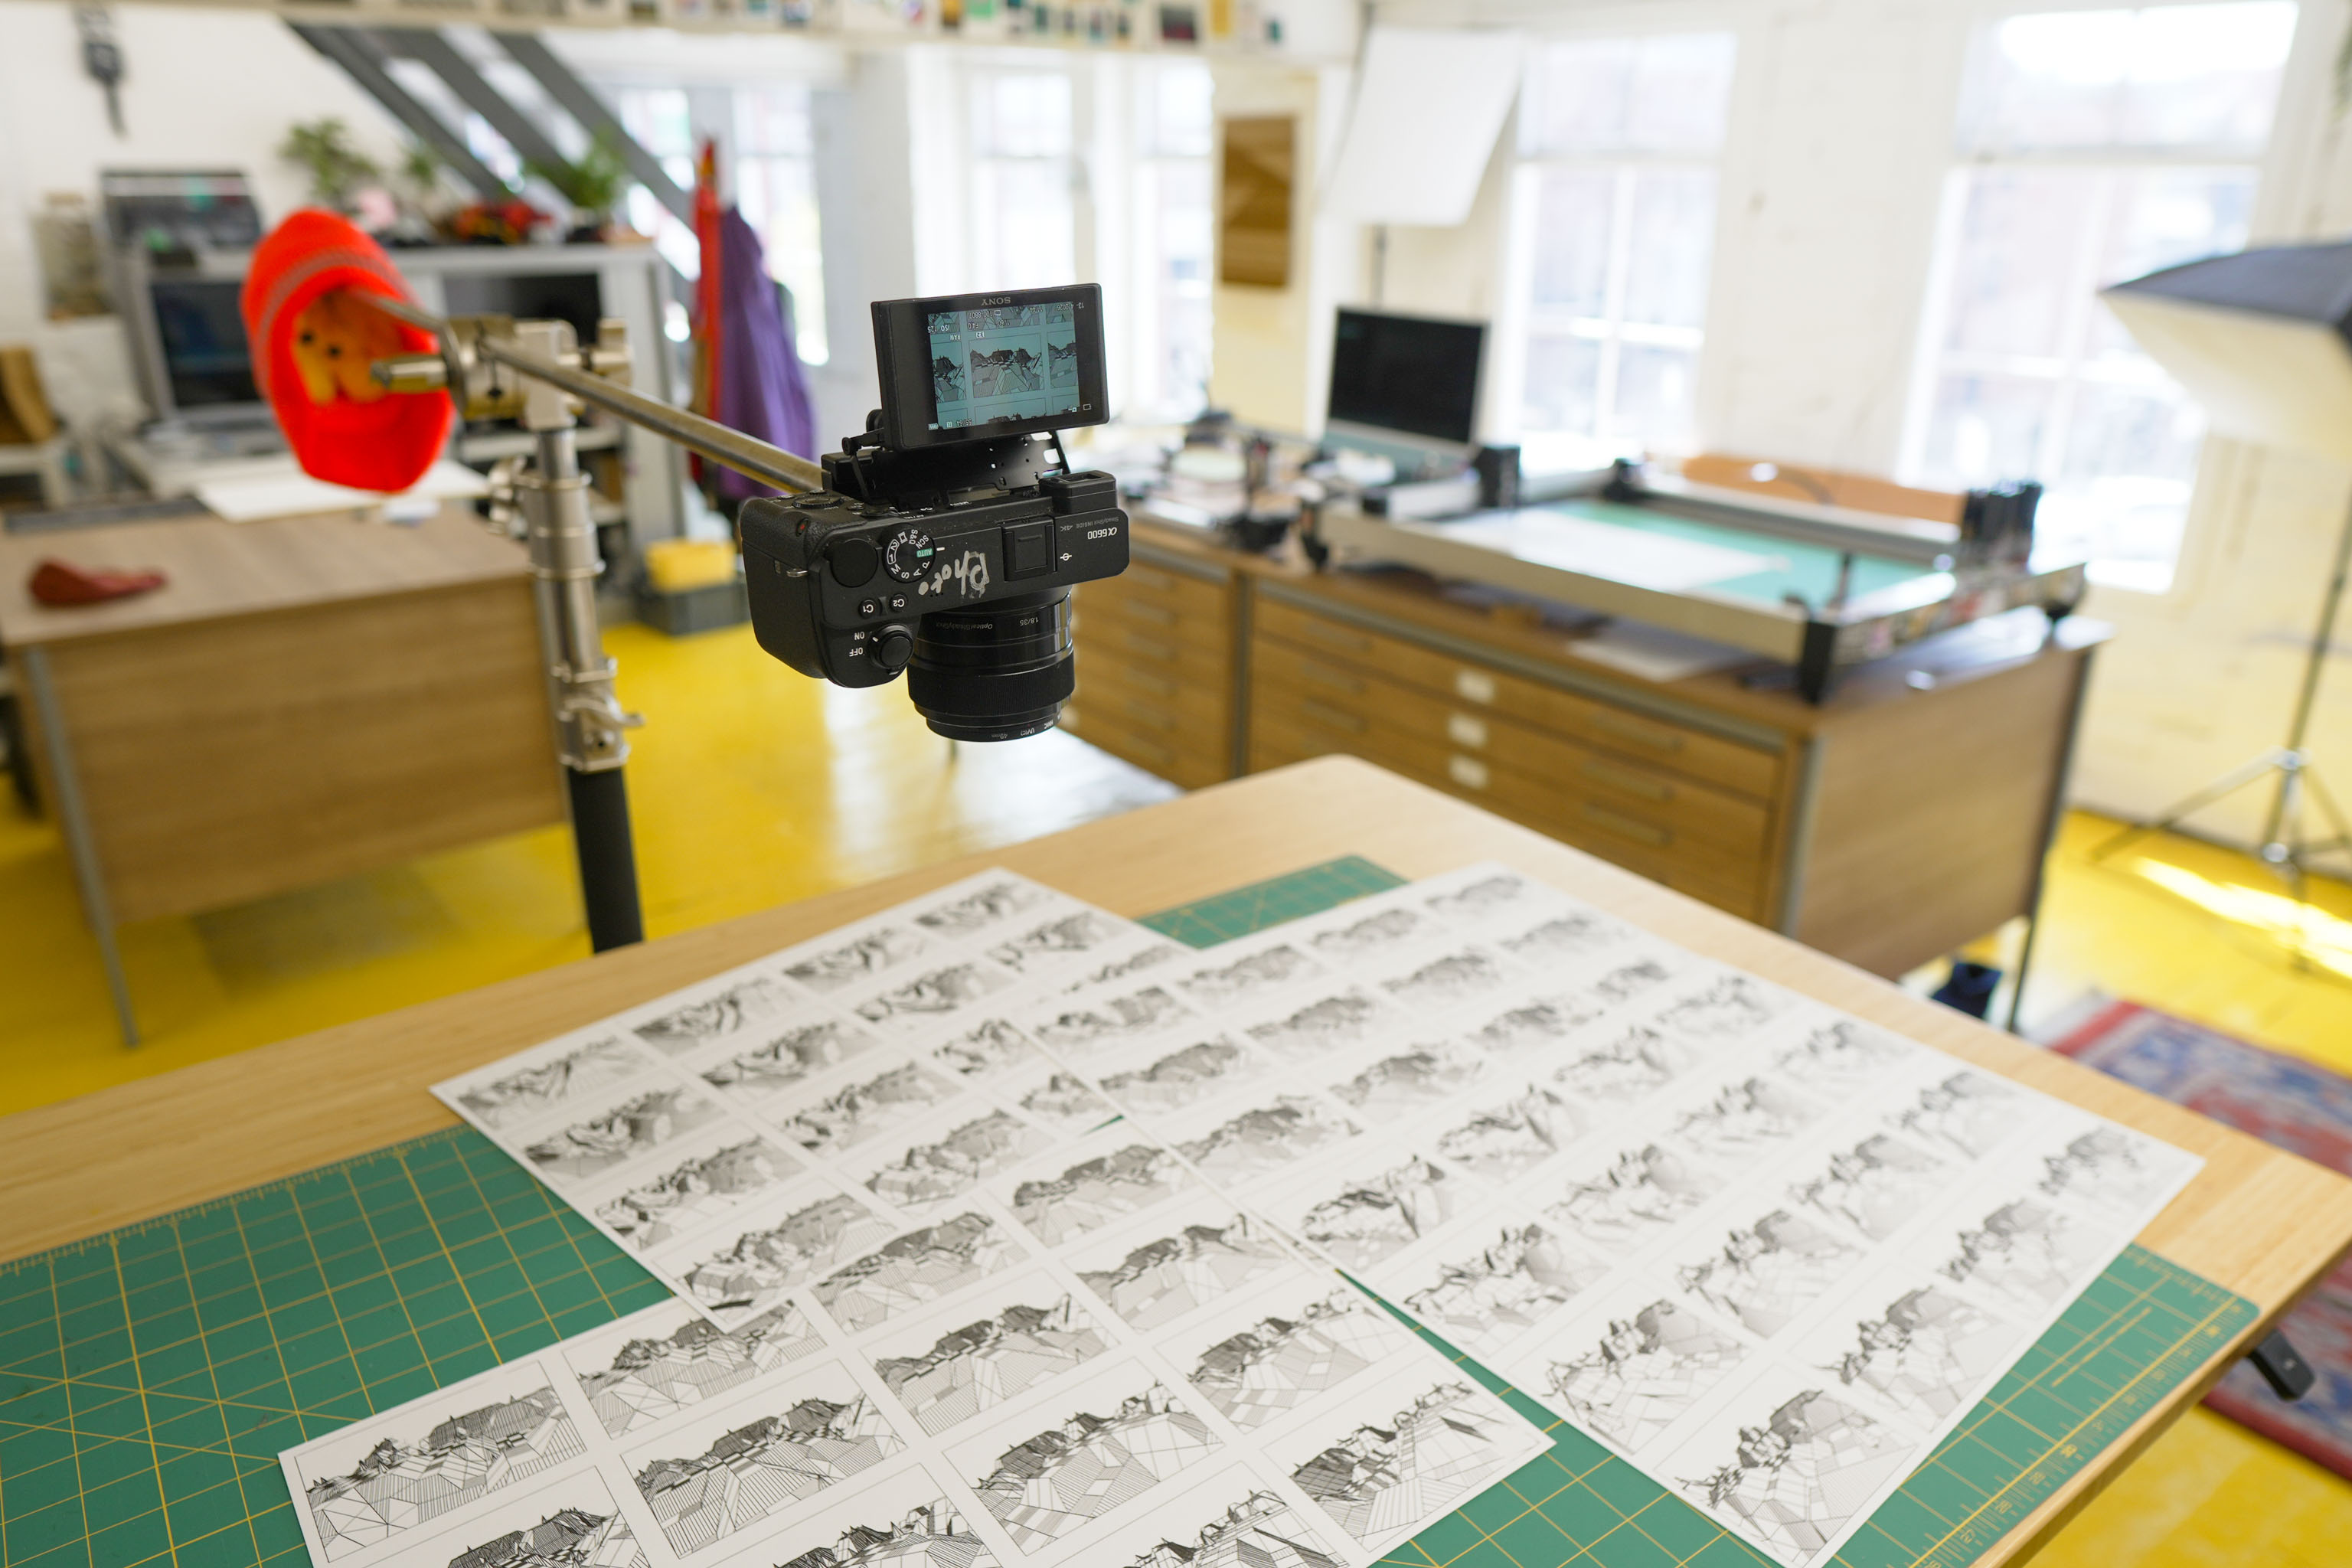
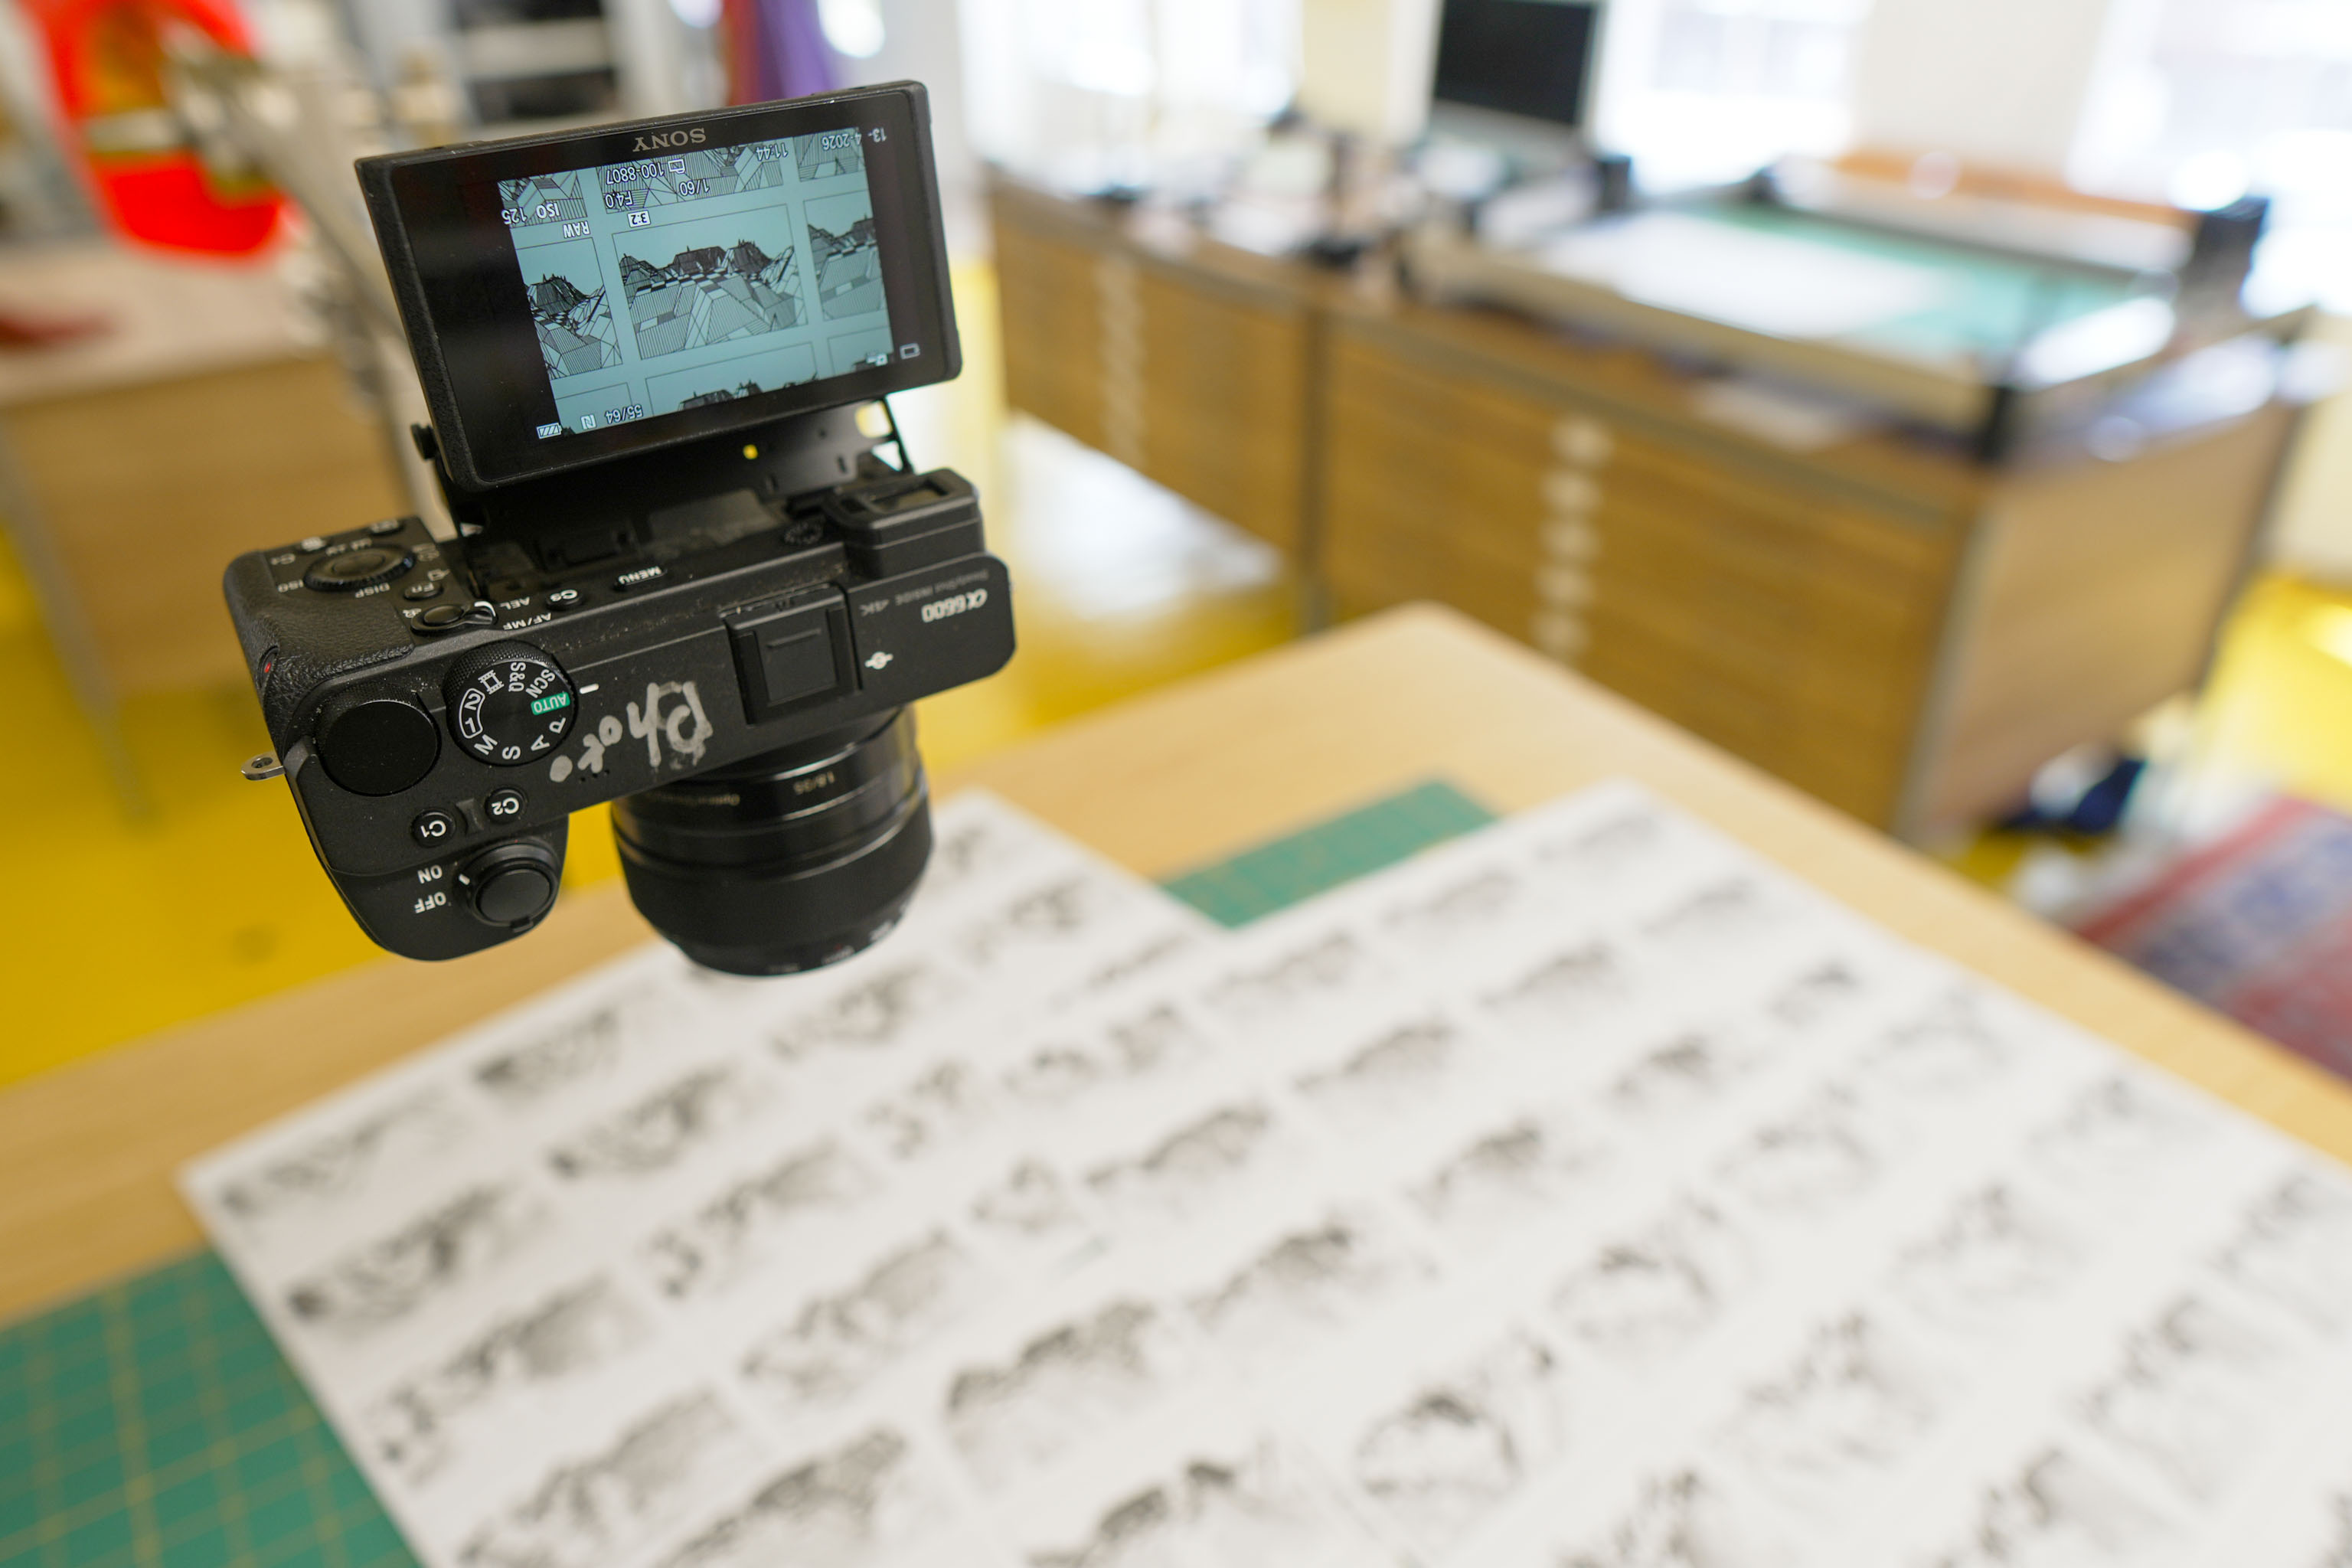
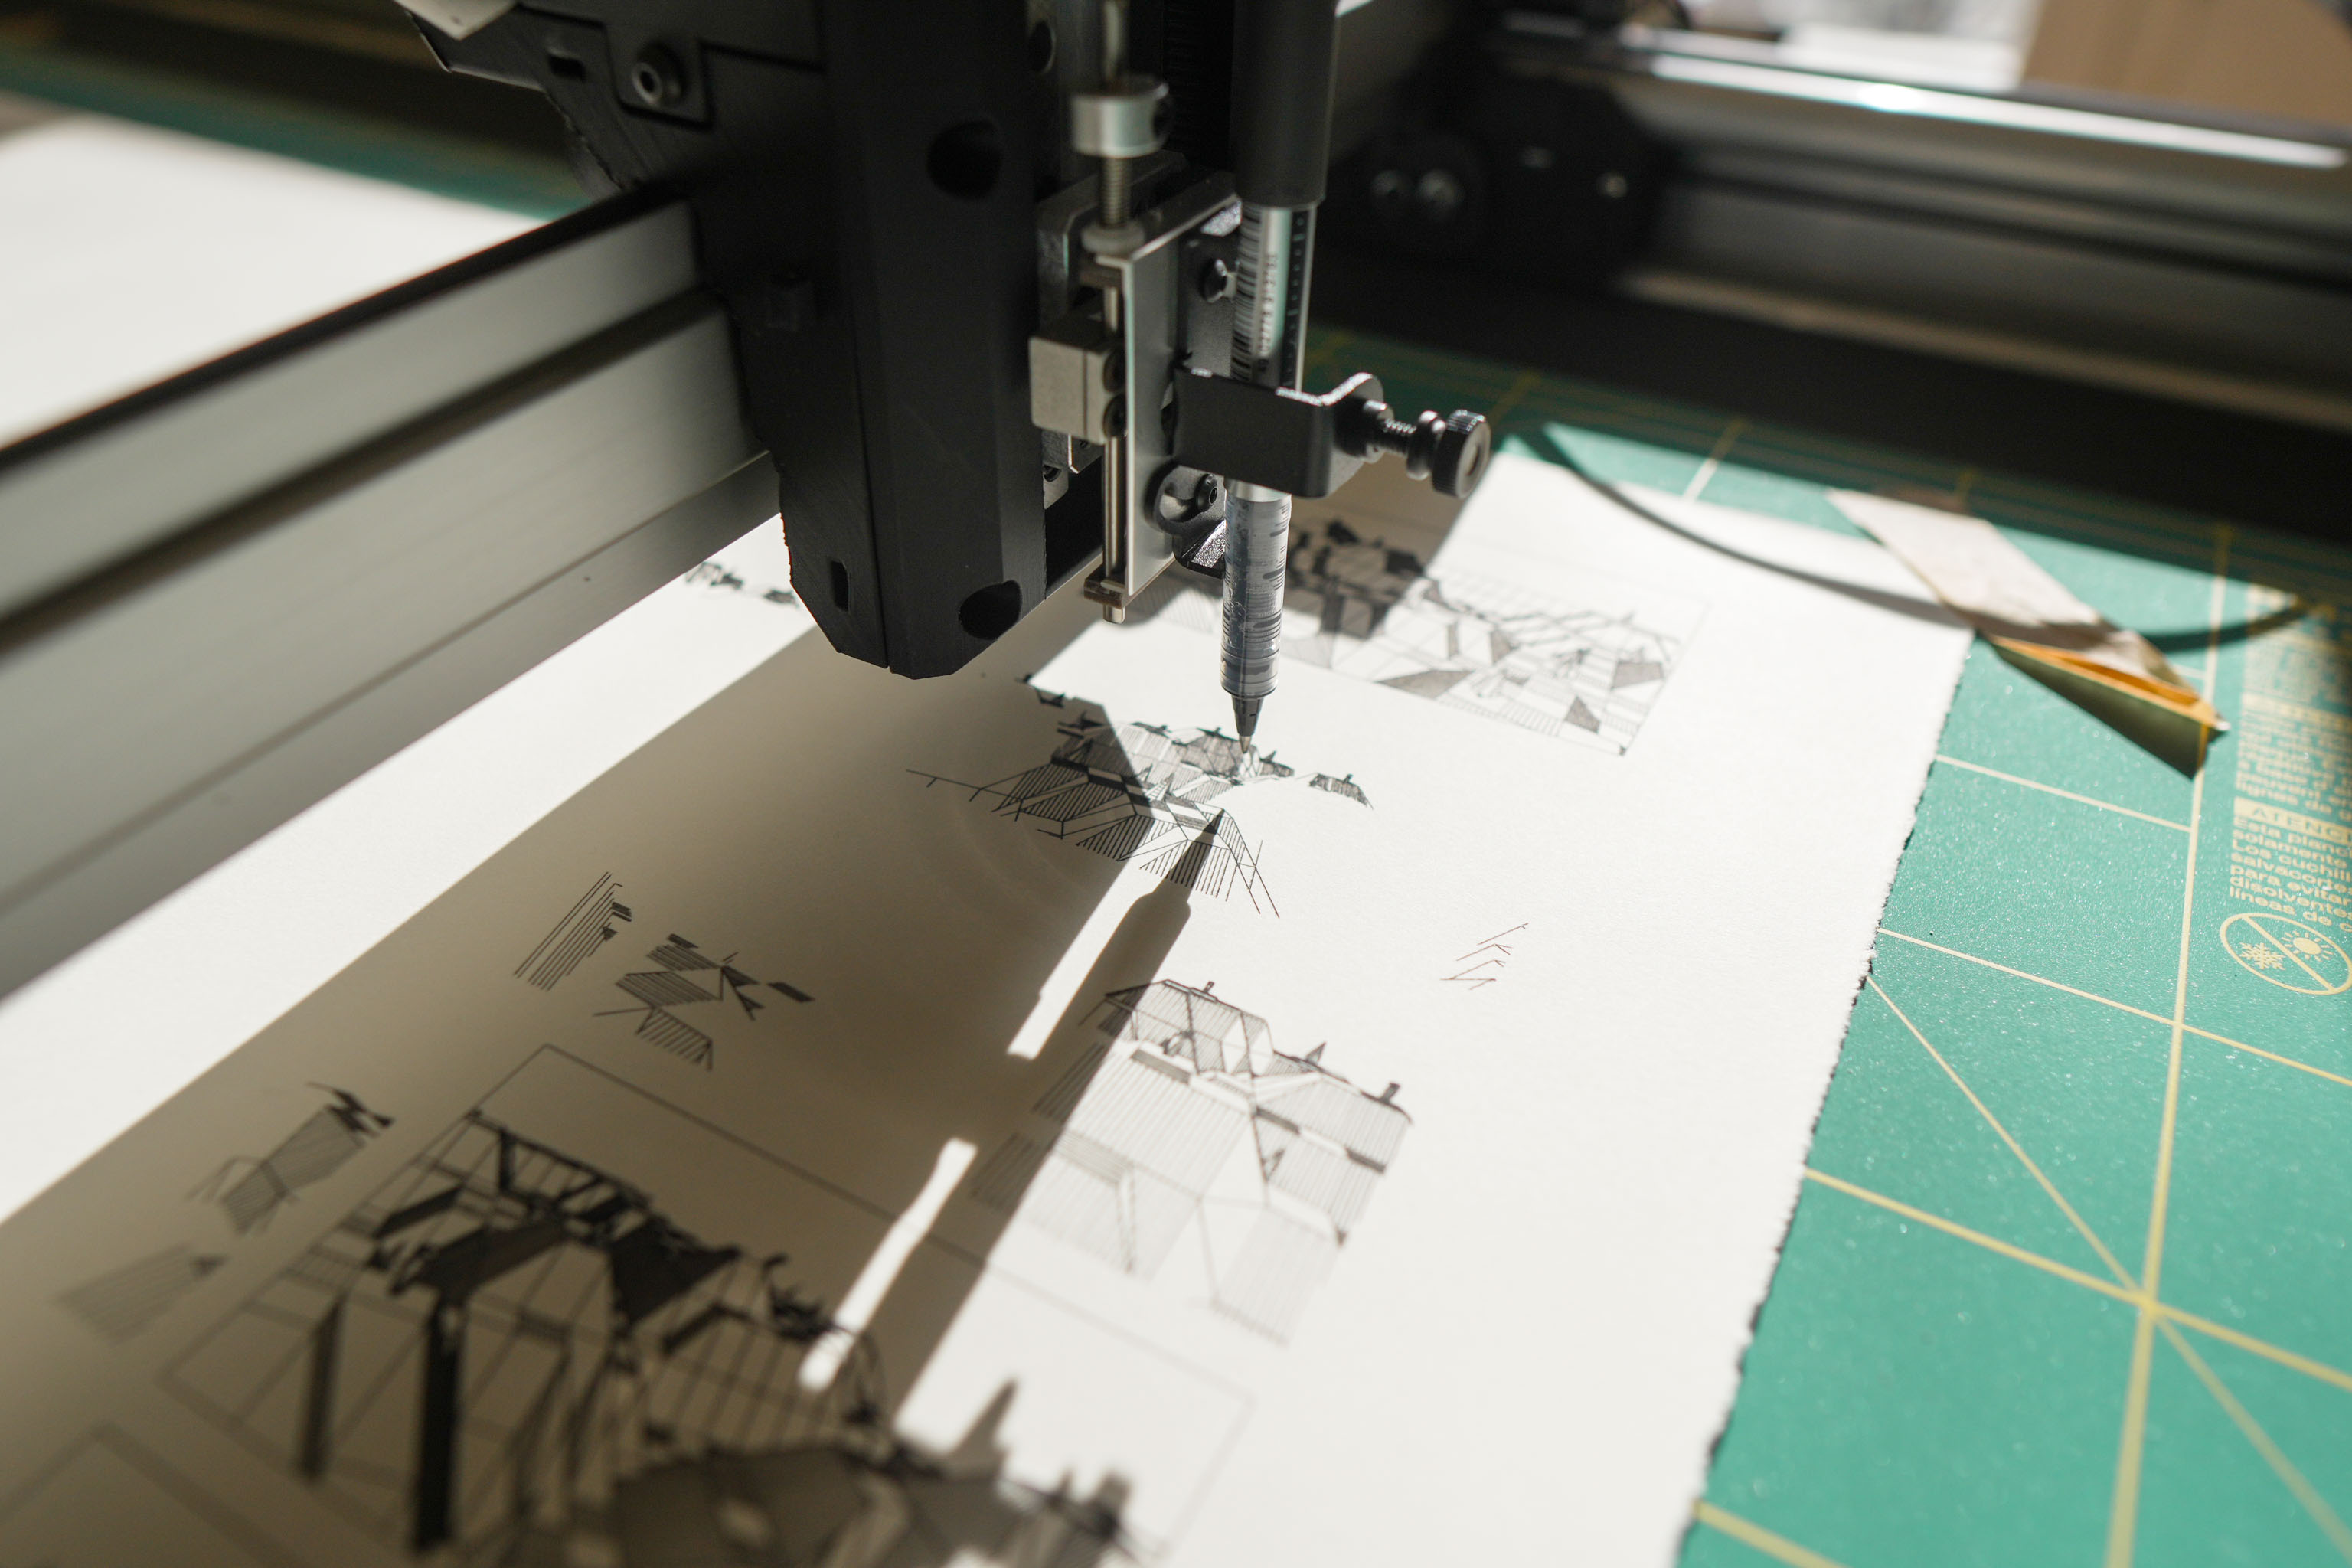
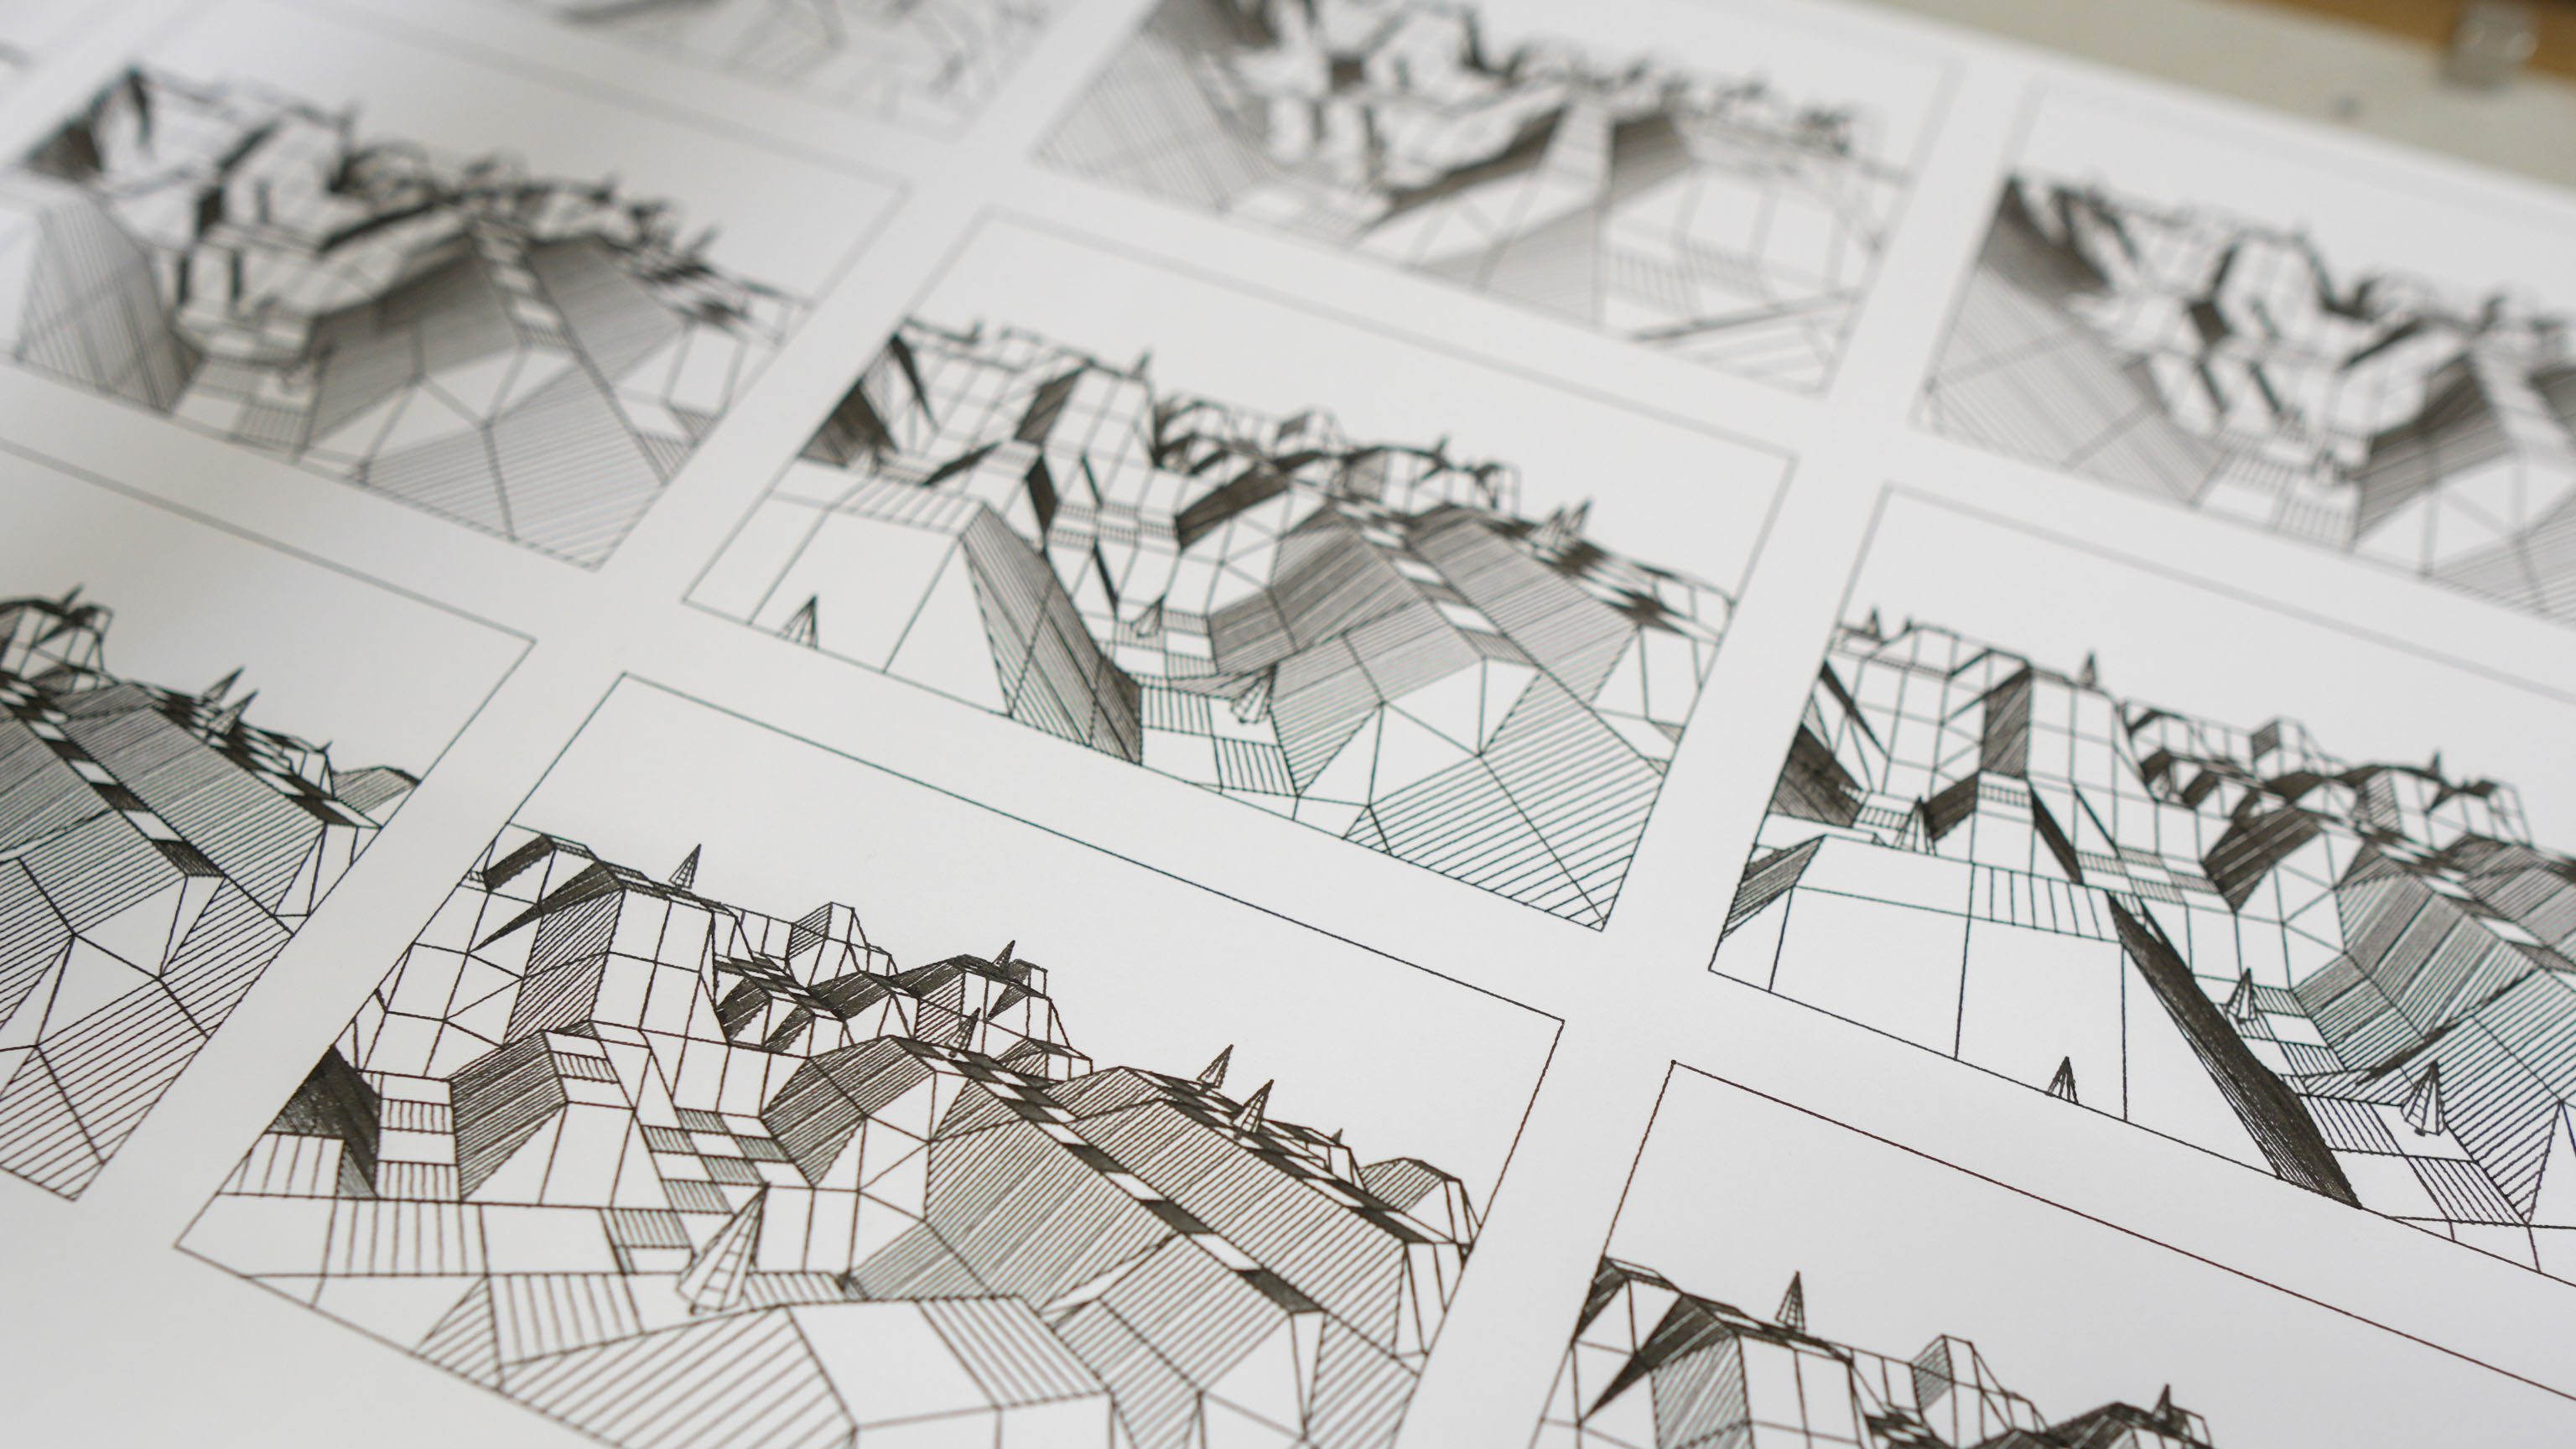
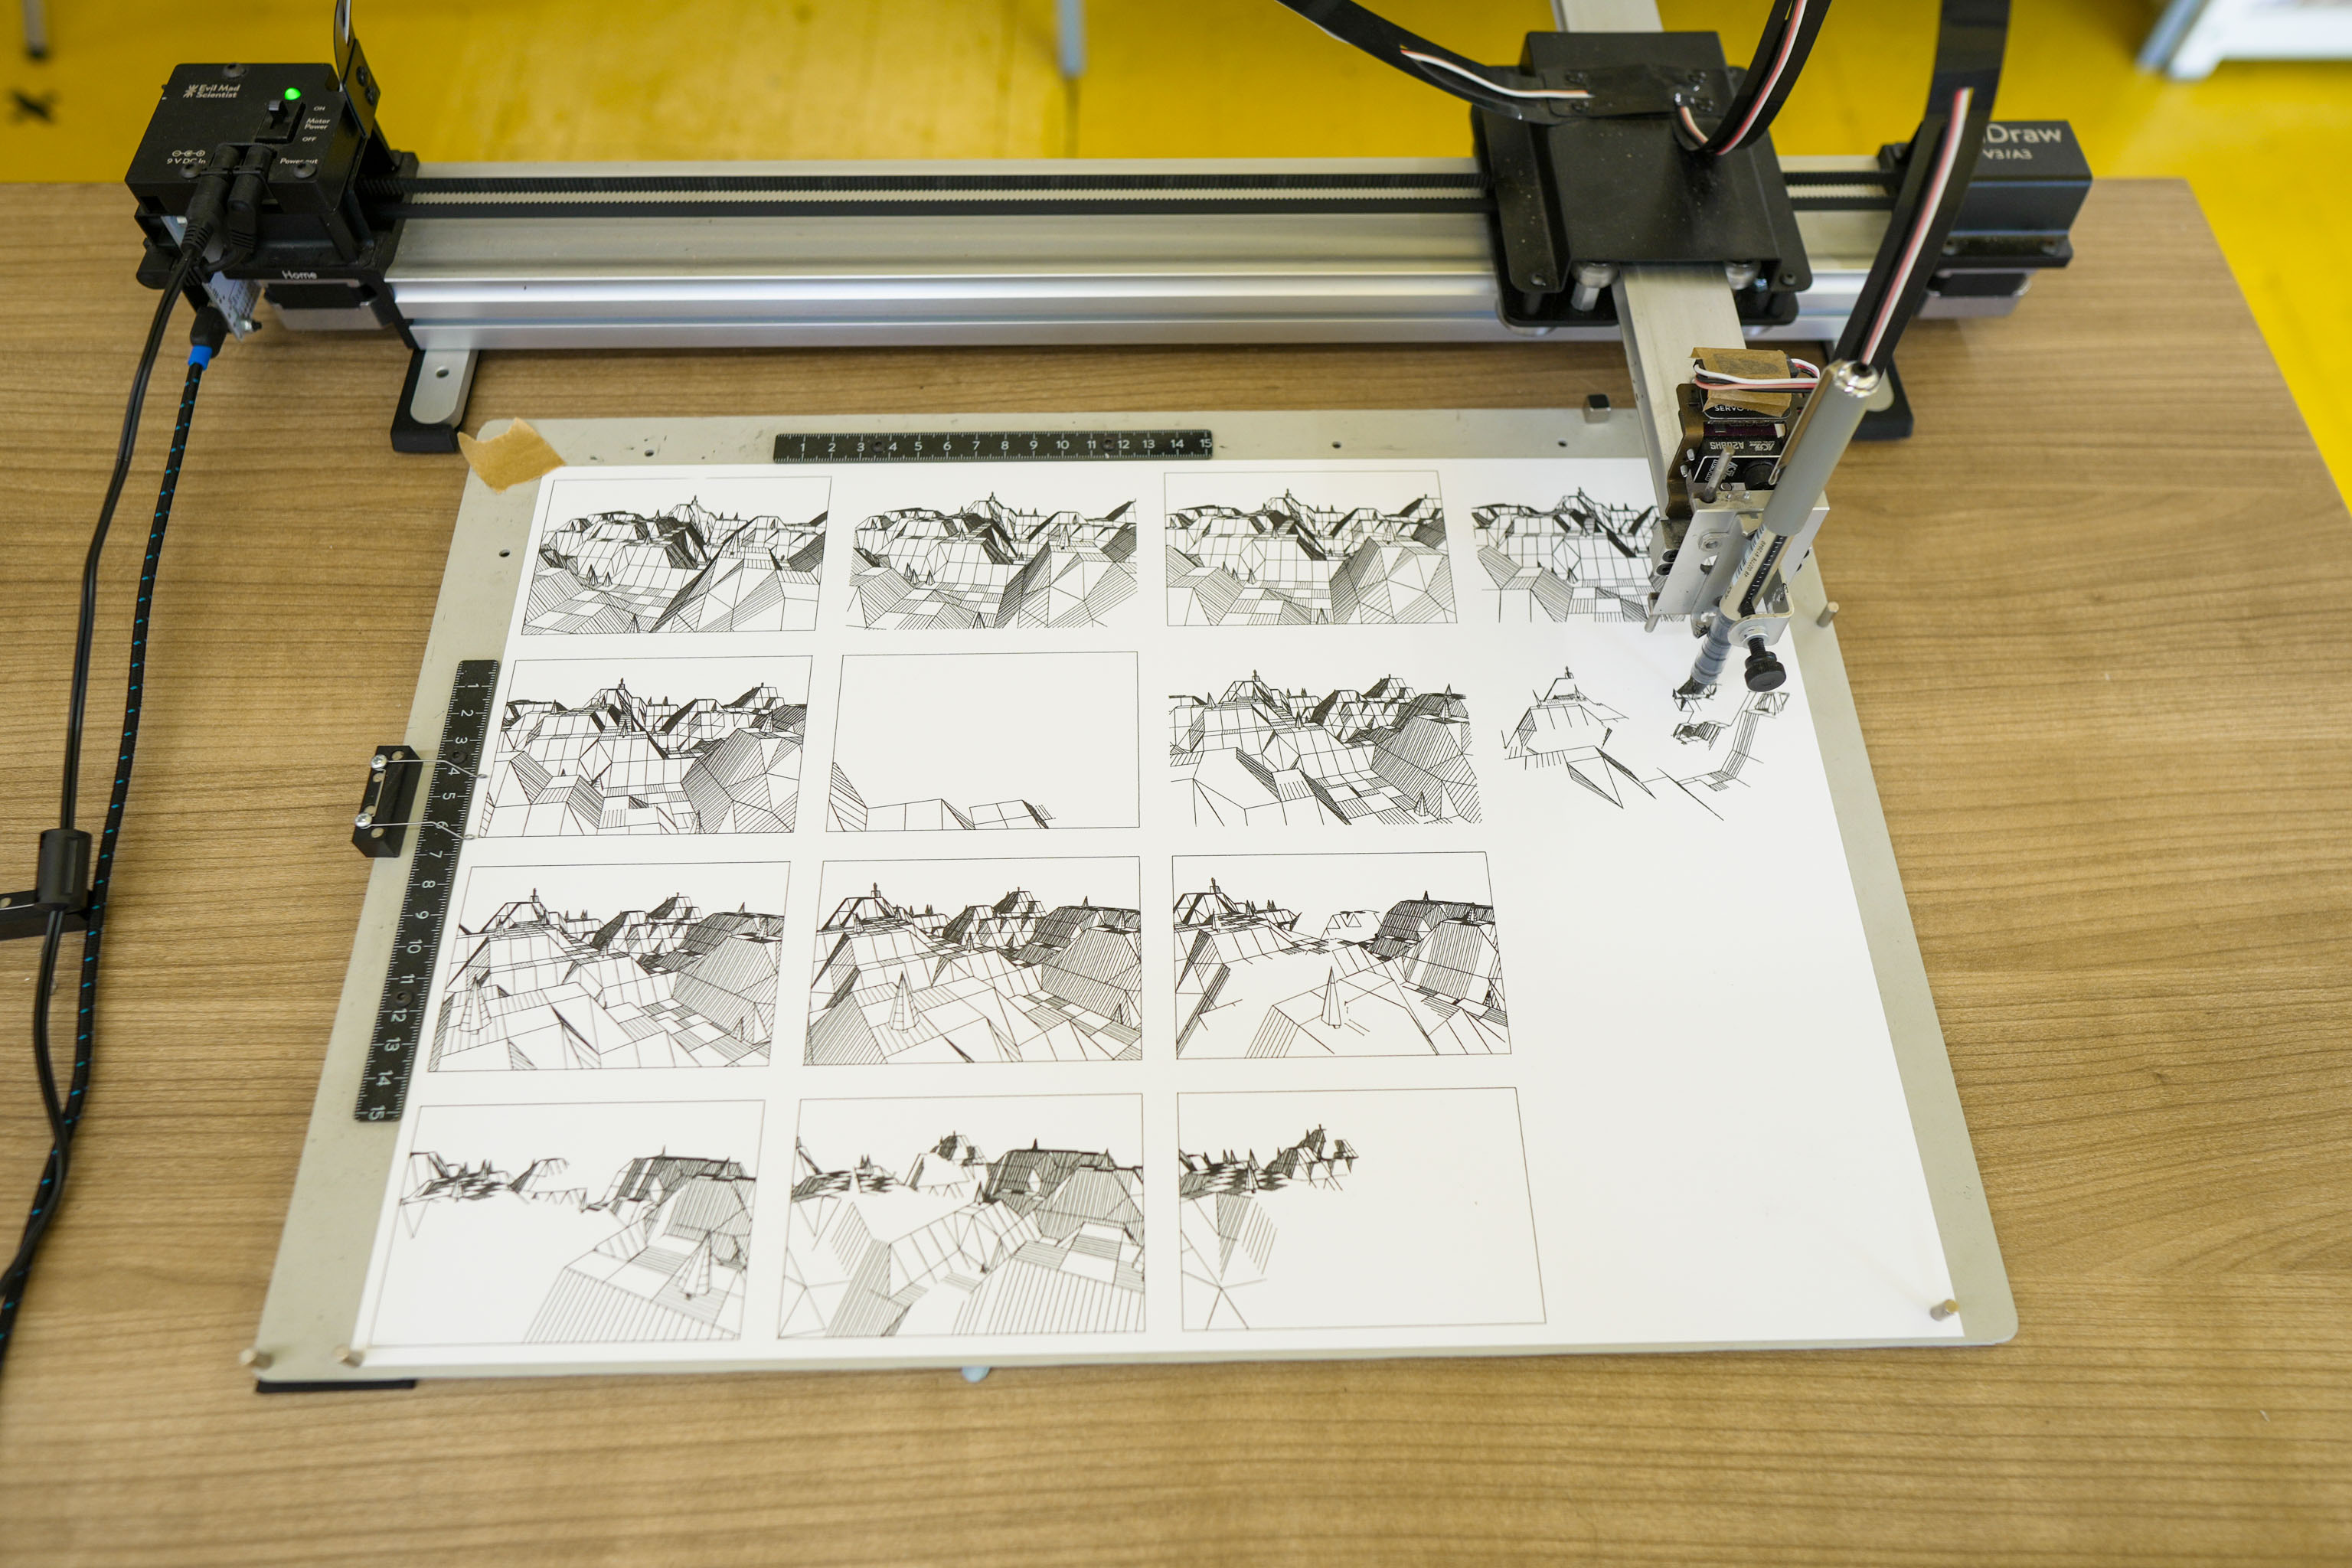
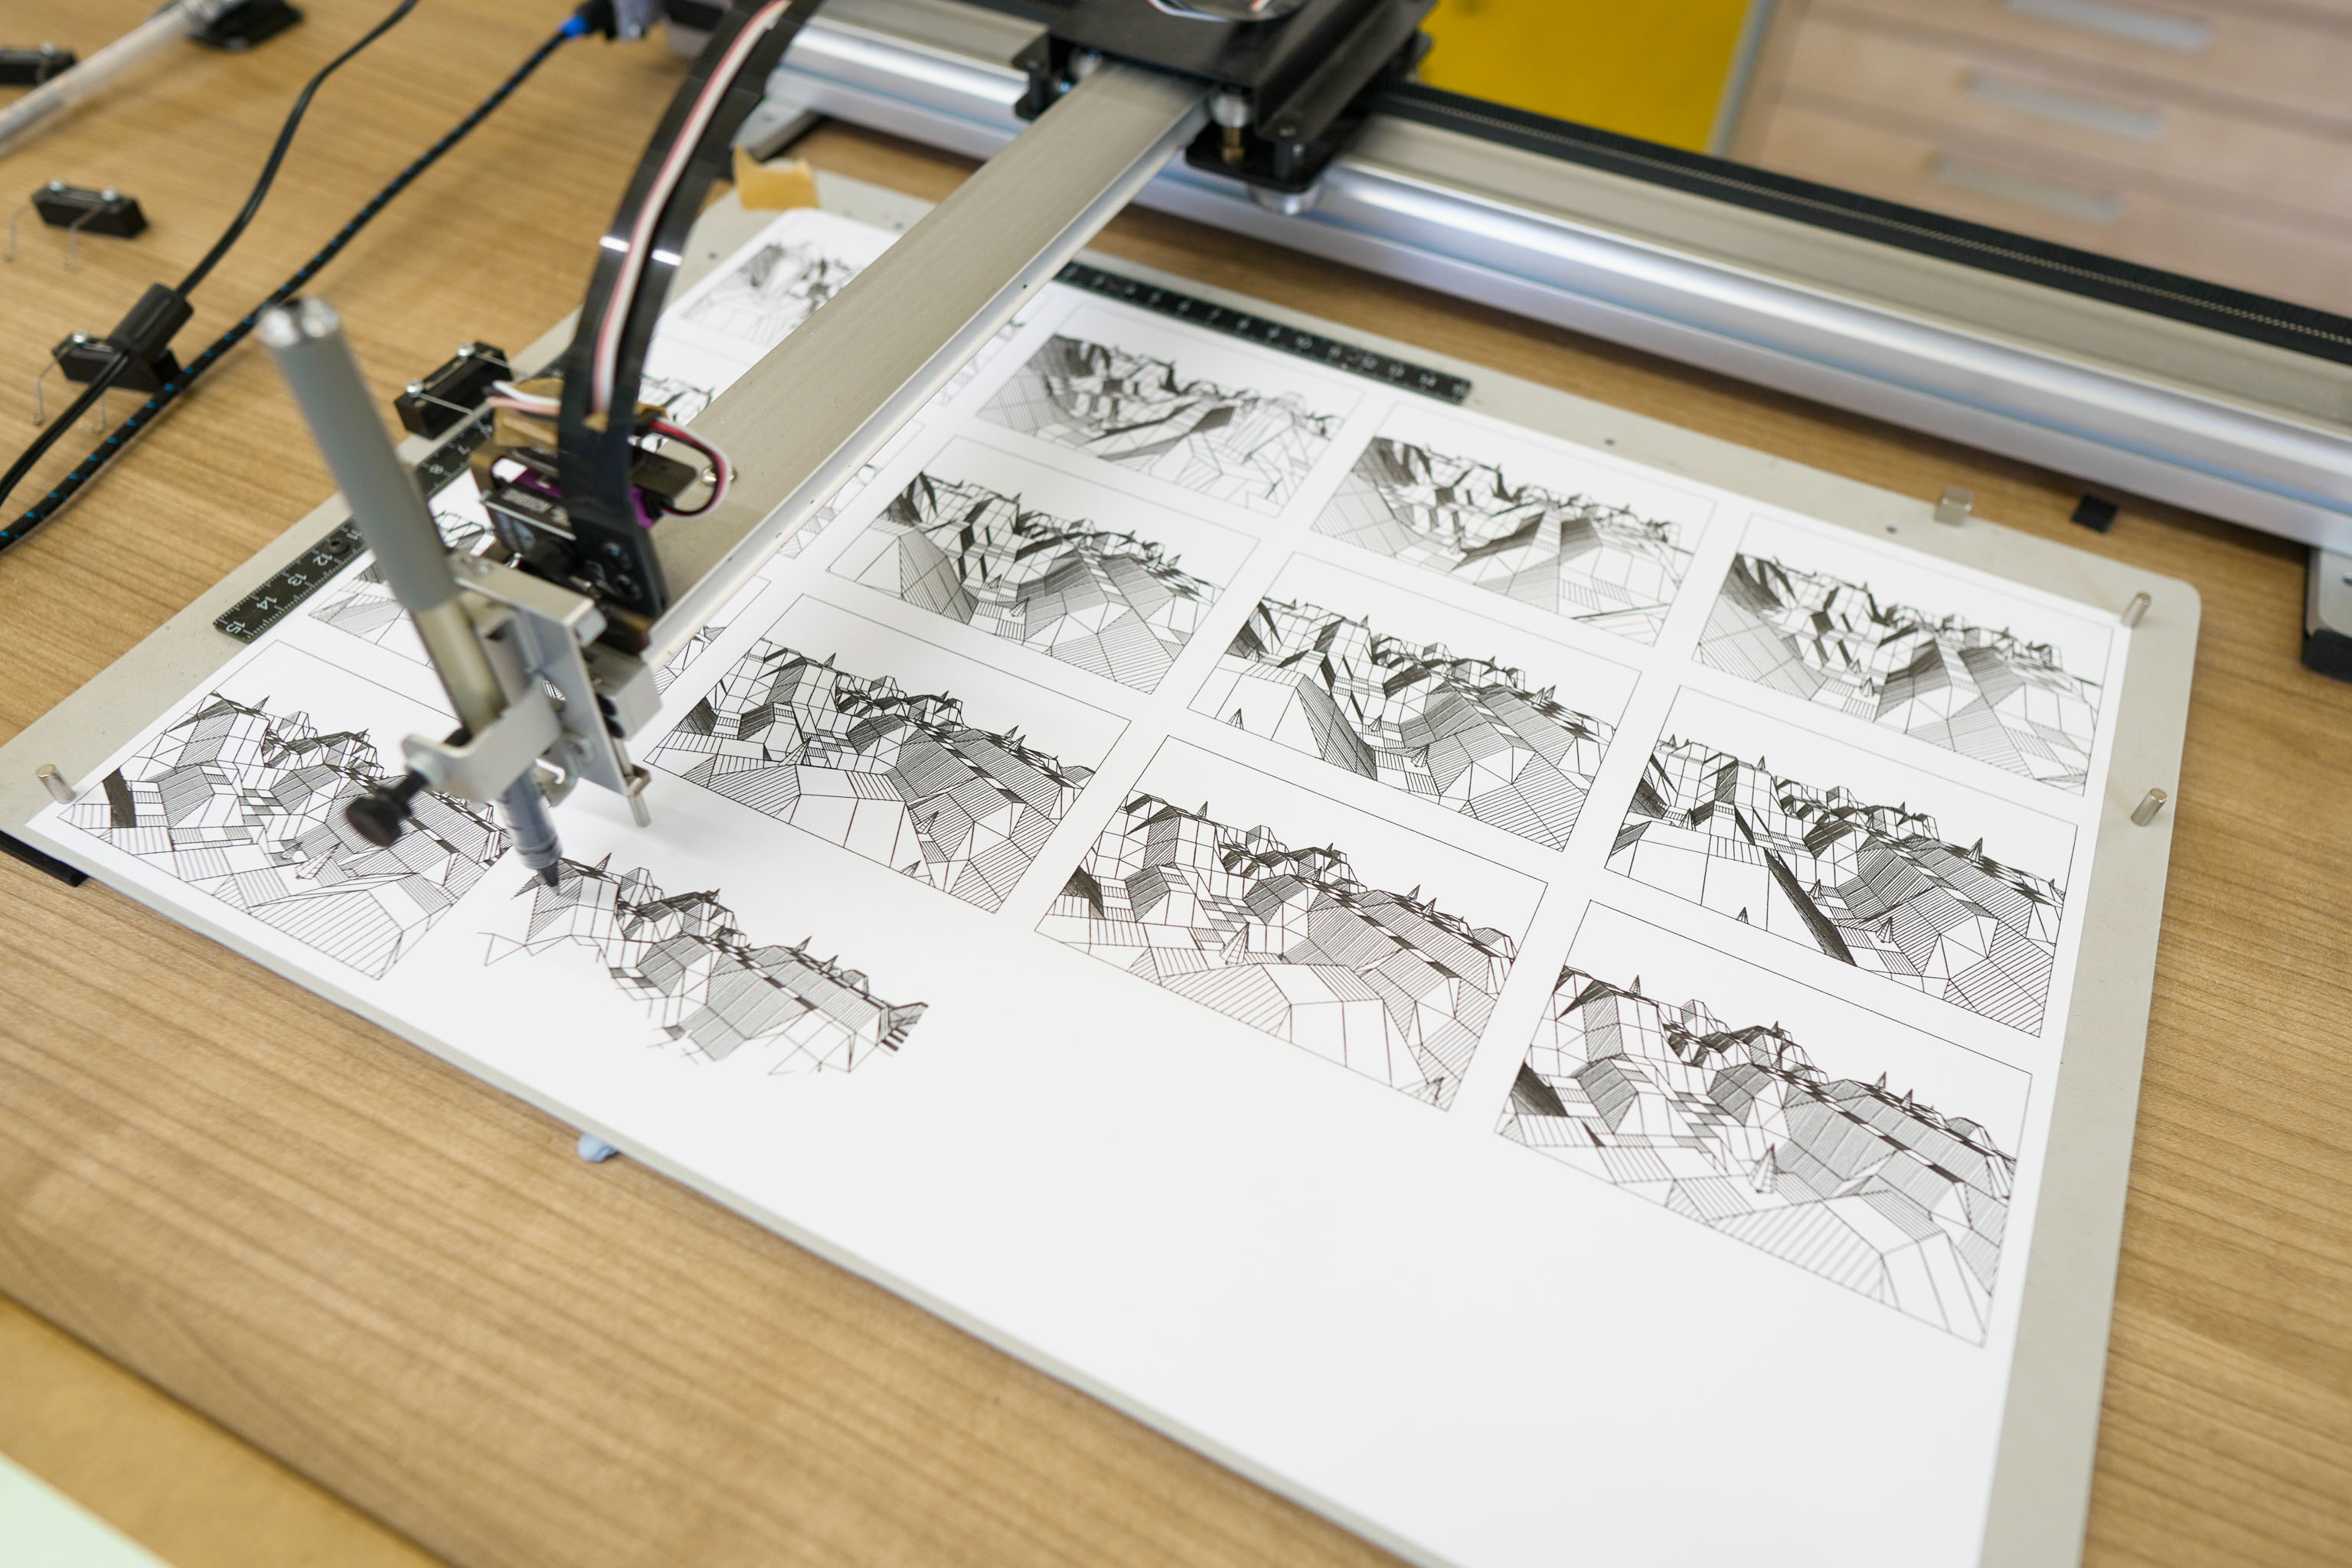
Plotted out another 48 frame animation, where each frame is 16:9 ratio. Not sure when I'll have time to photograph this one to turn it into an animation.
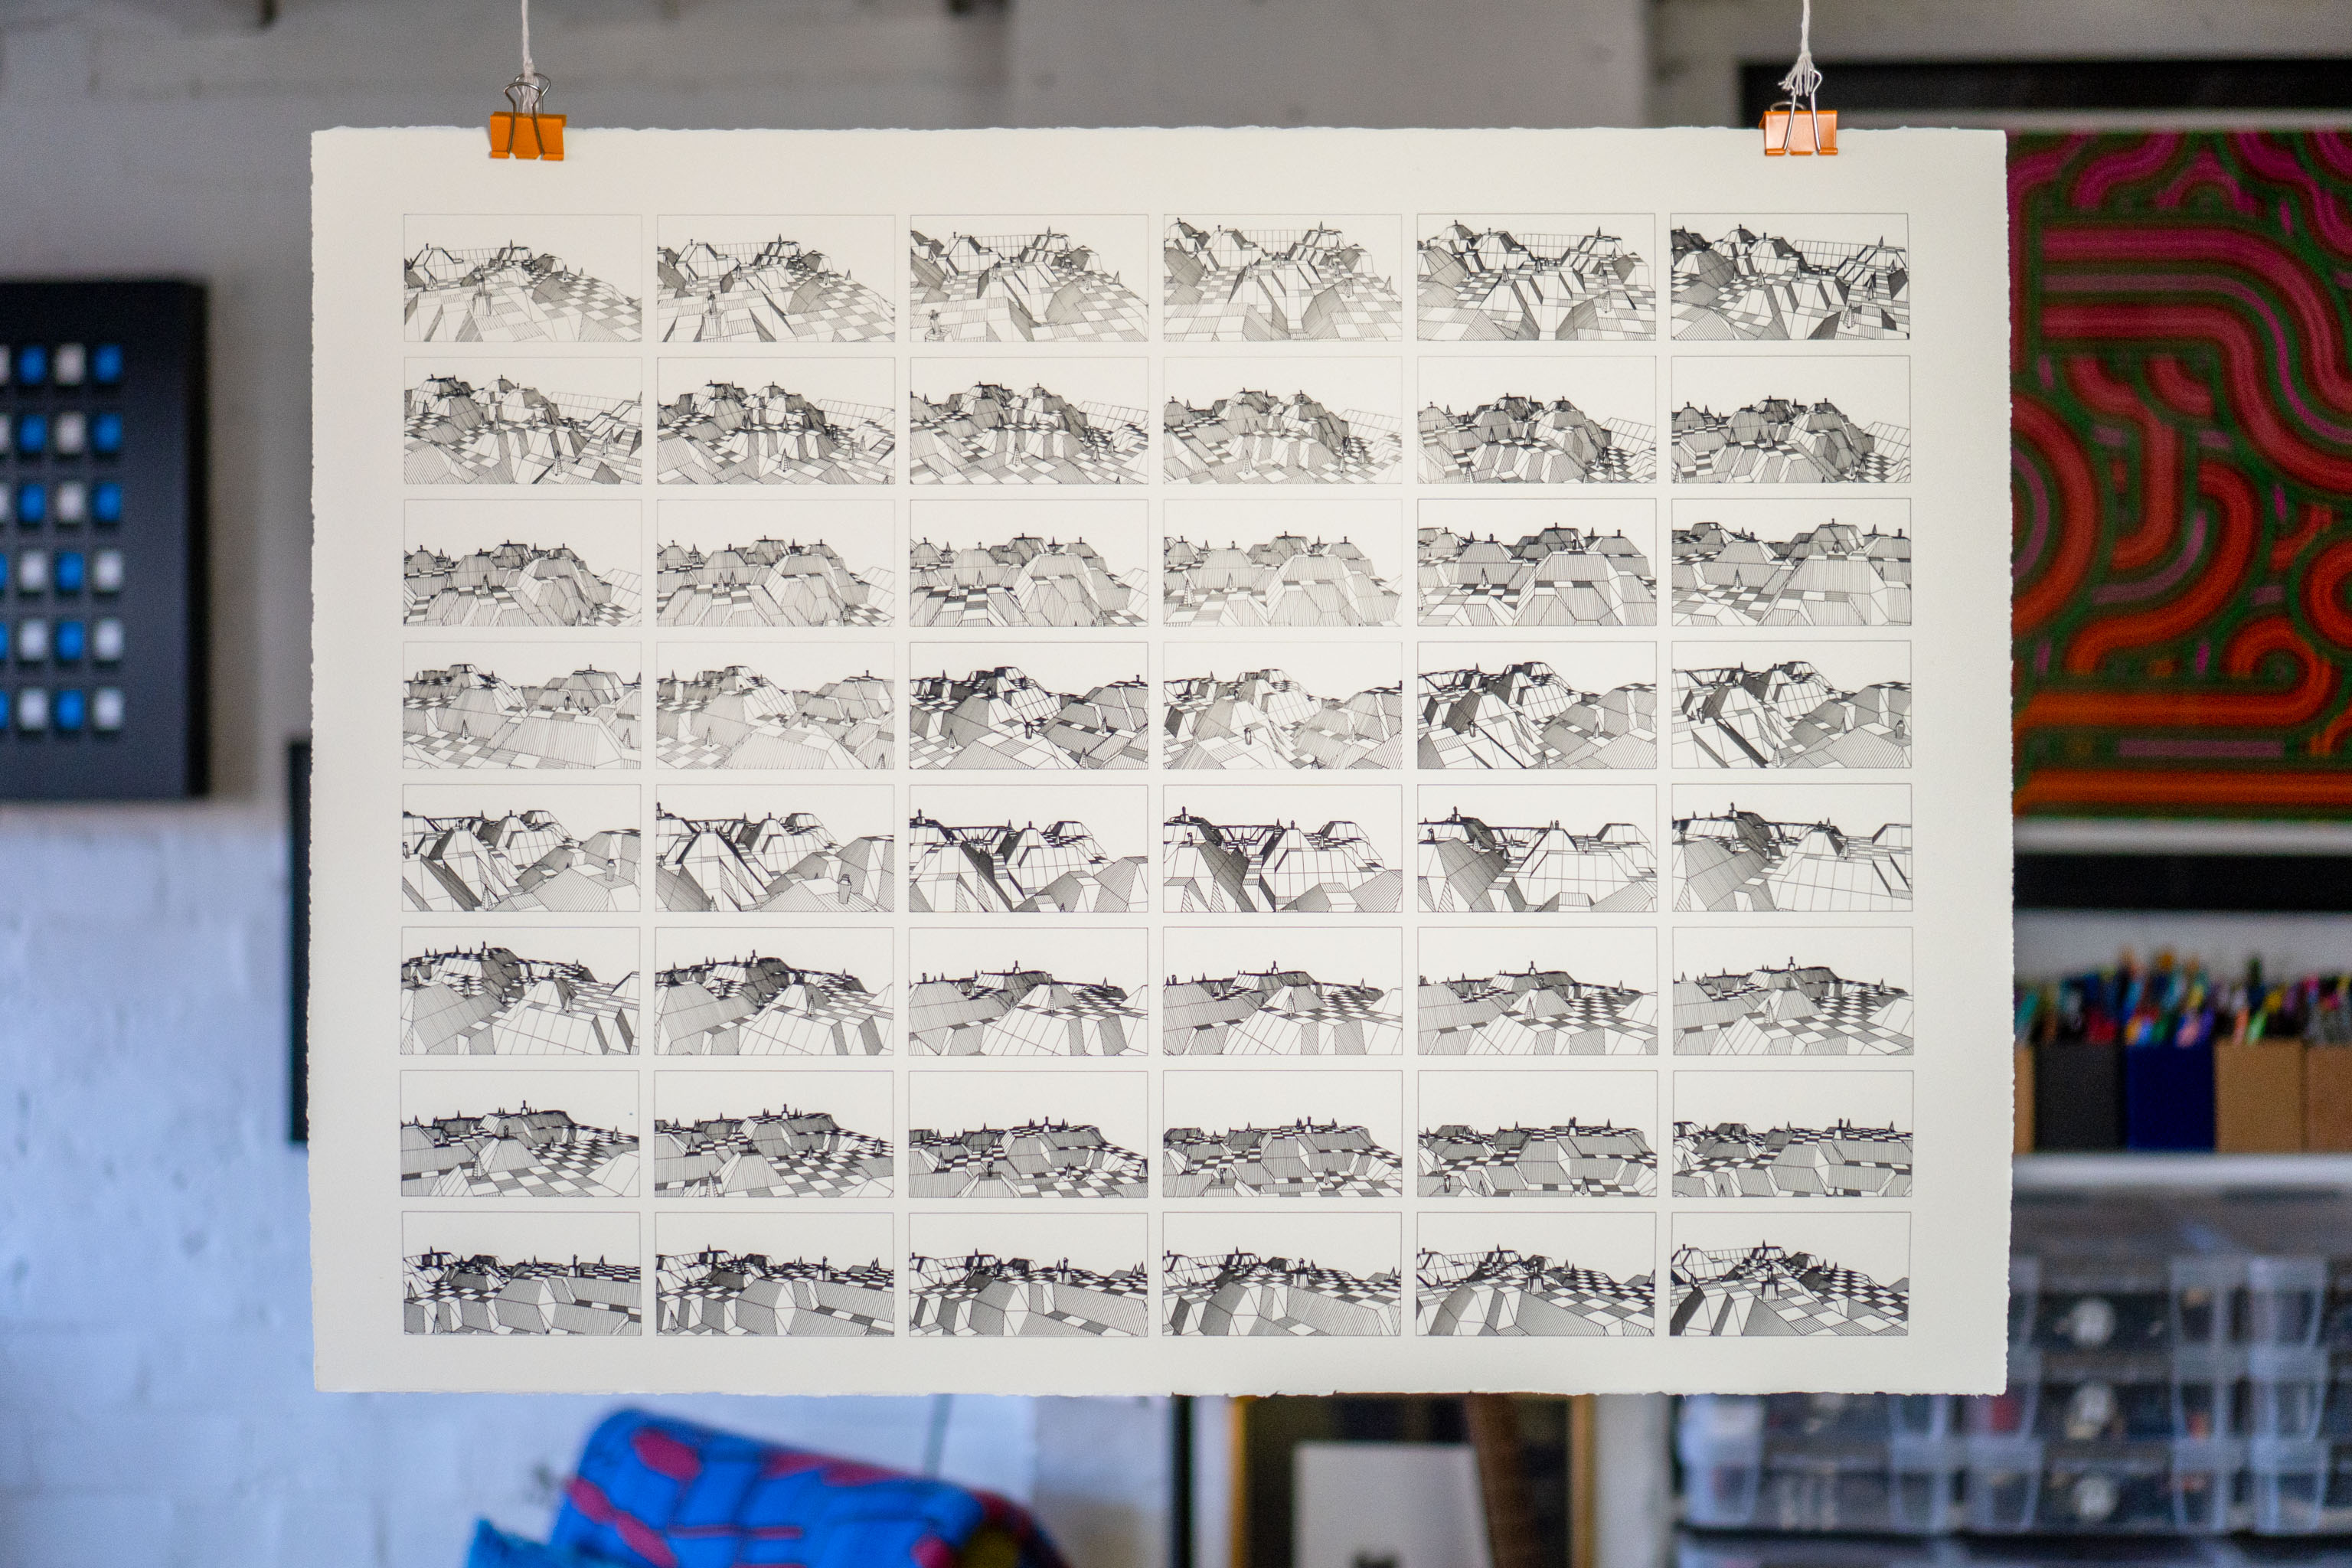
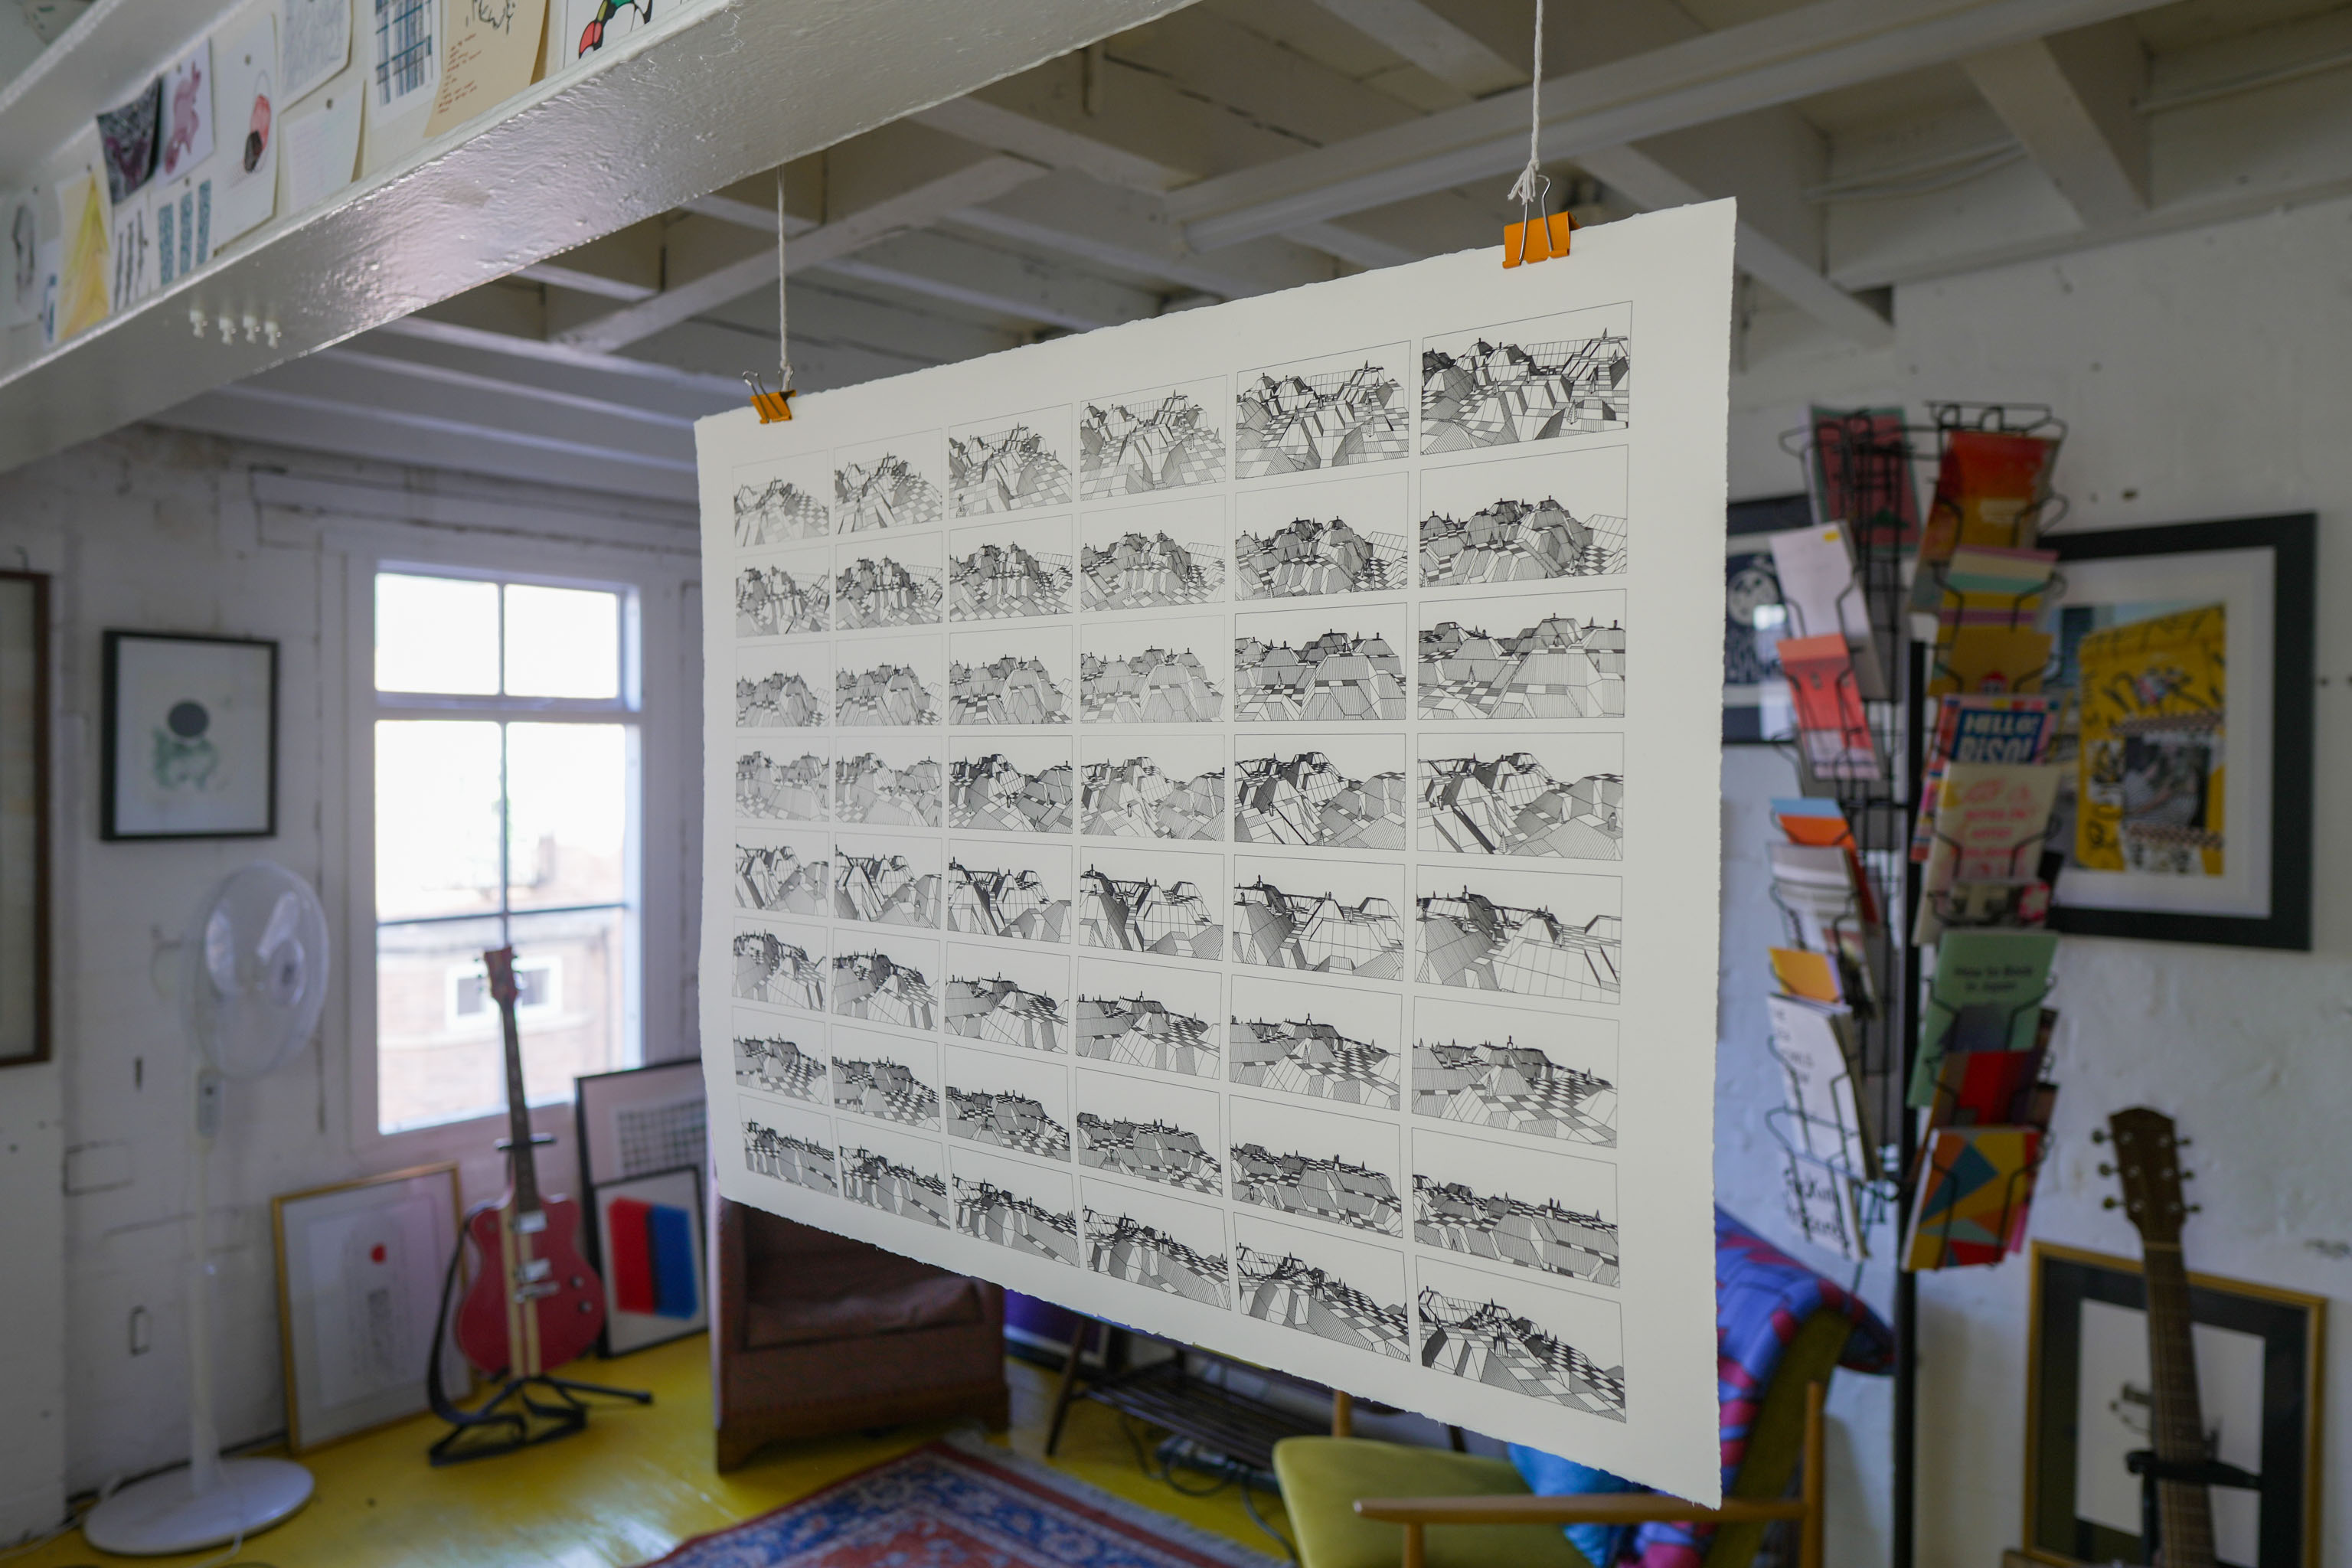
Four pages of plots, 64 frames in total. The timelapse worked out pretty well. I didn't bother cutting these up into individual frames as the paper was pretty flimsy and not really good for anything. And I also had the plotter drawing on to card too, which would be worth cutting up.
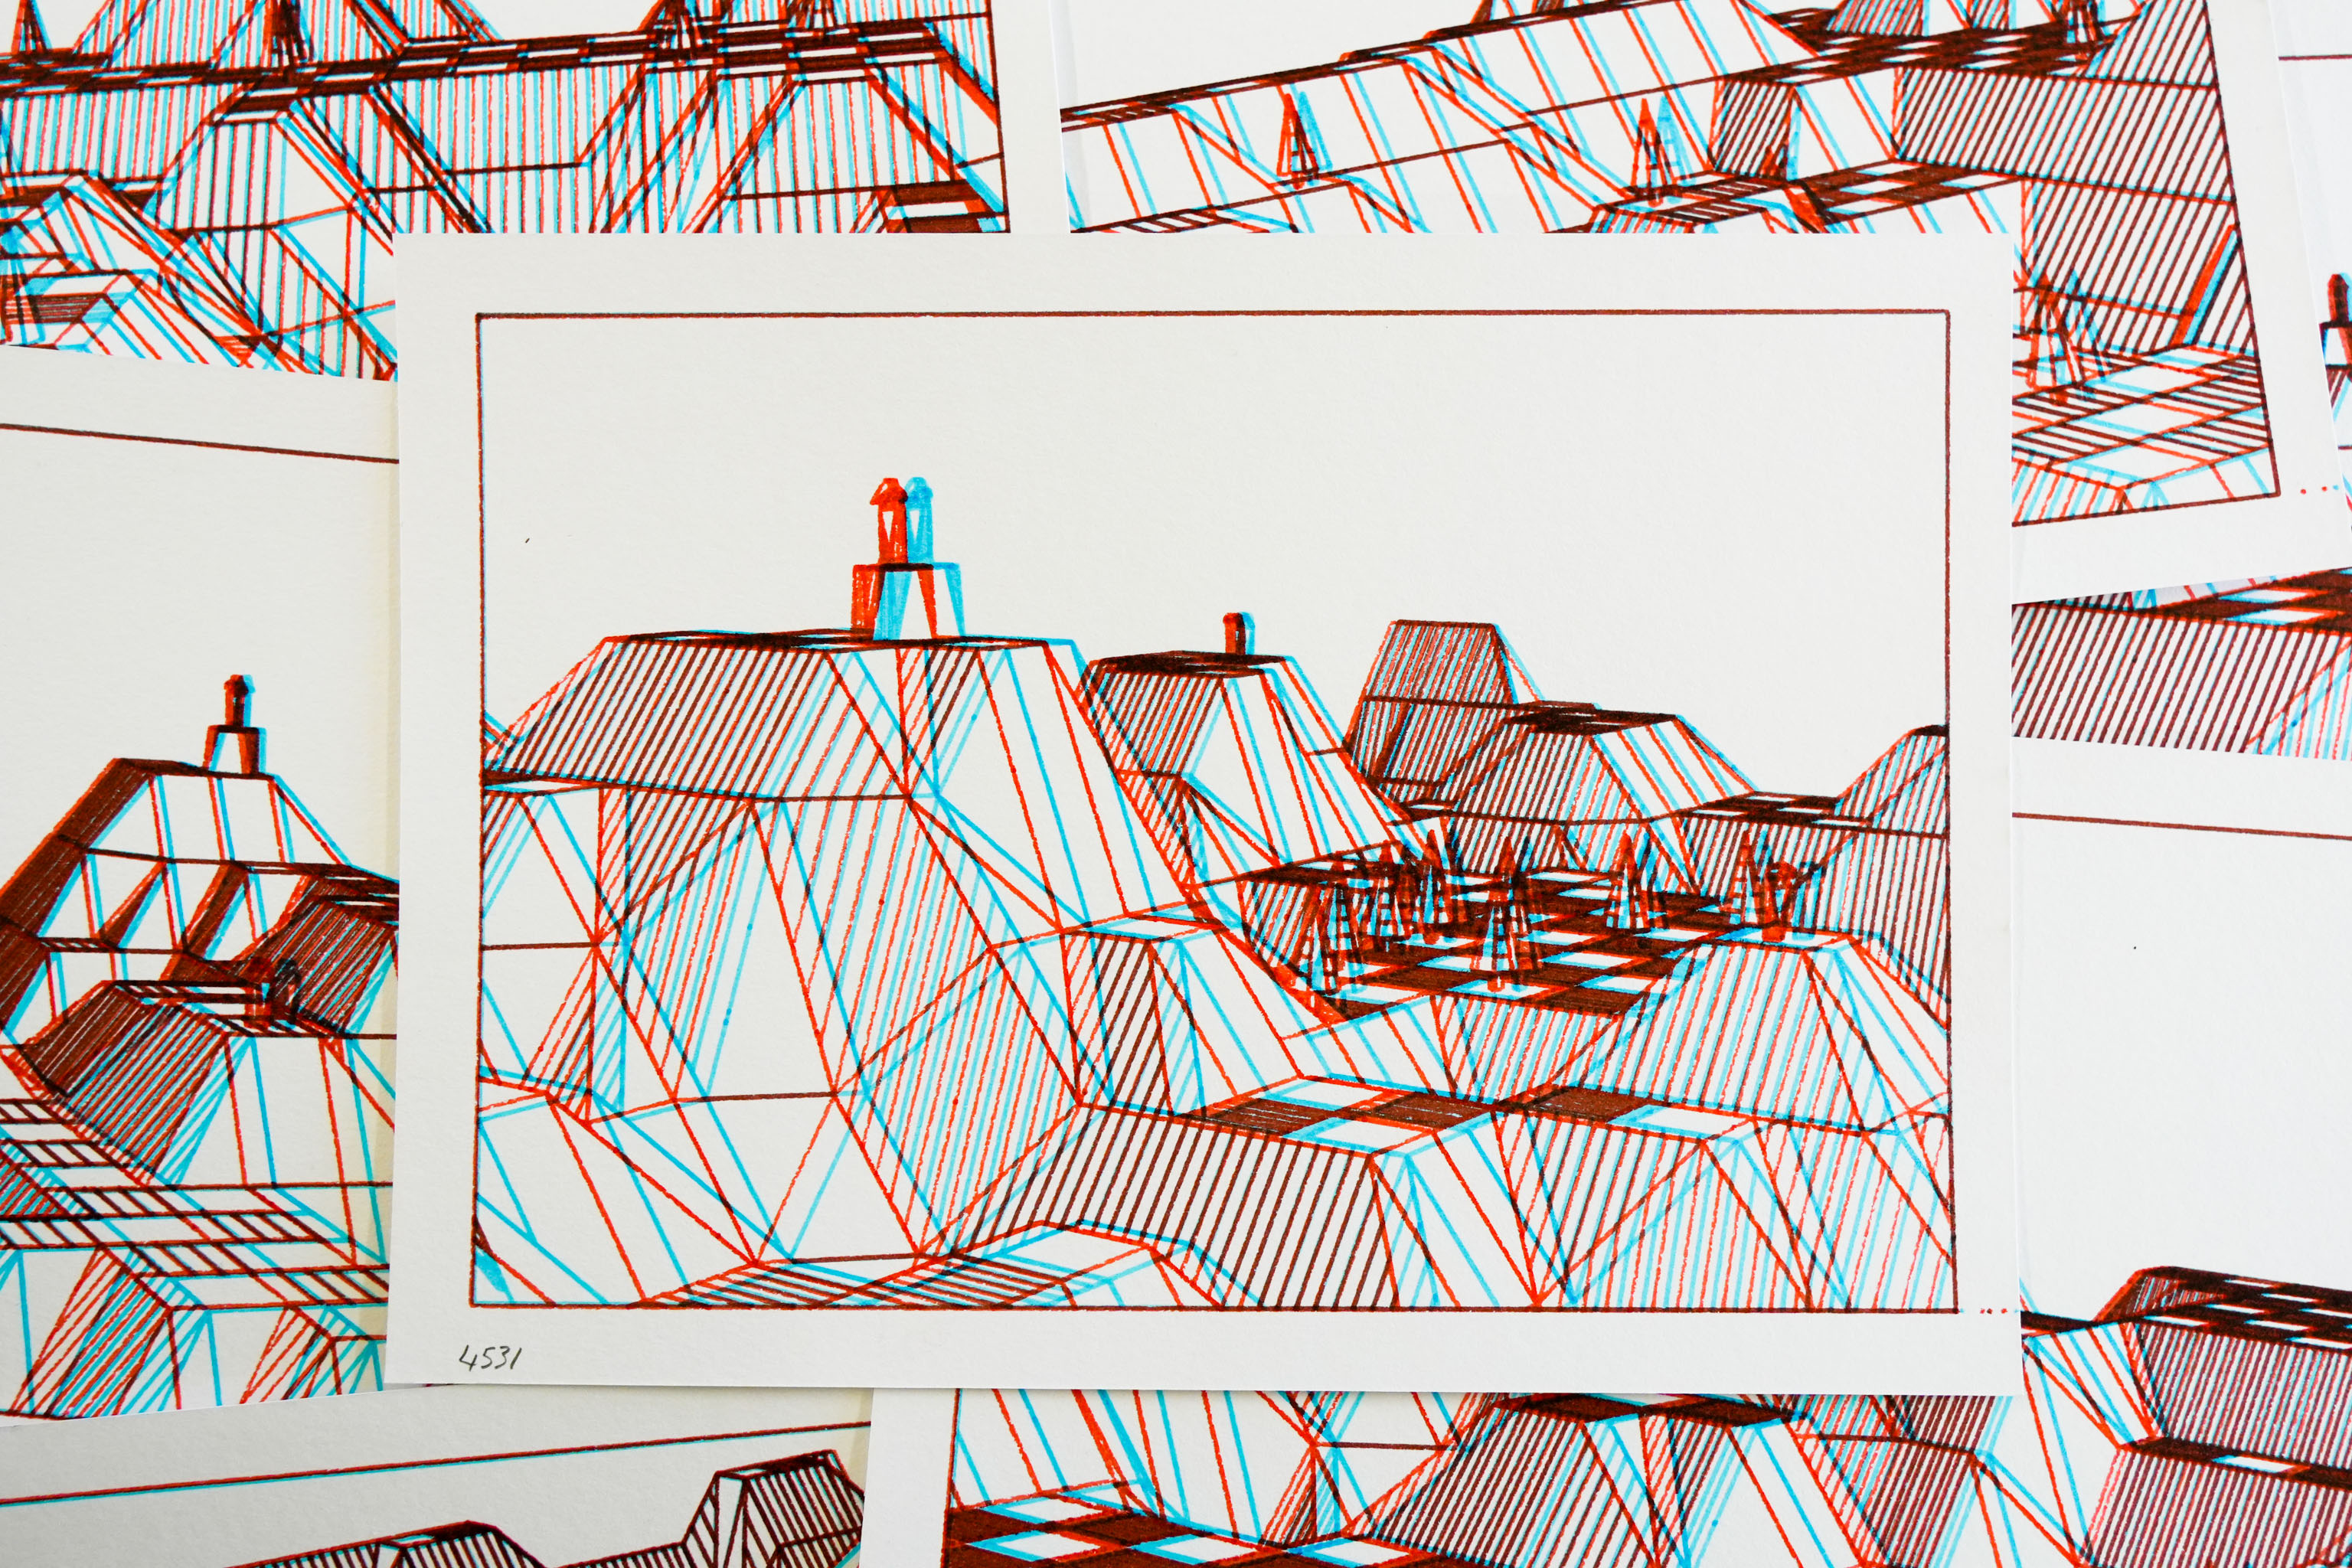
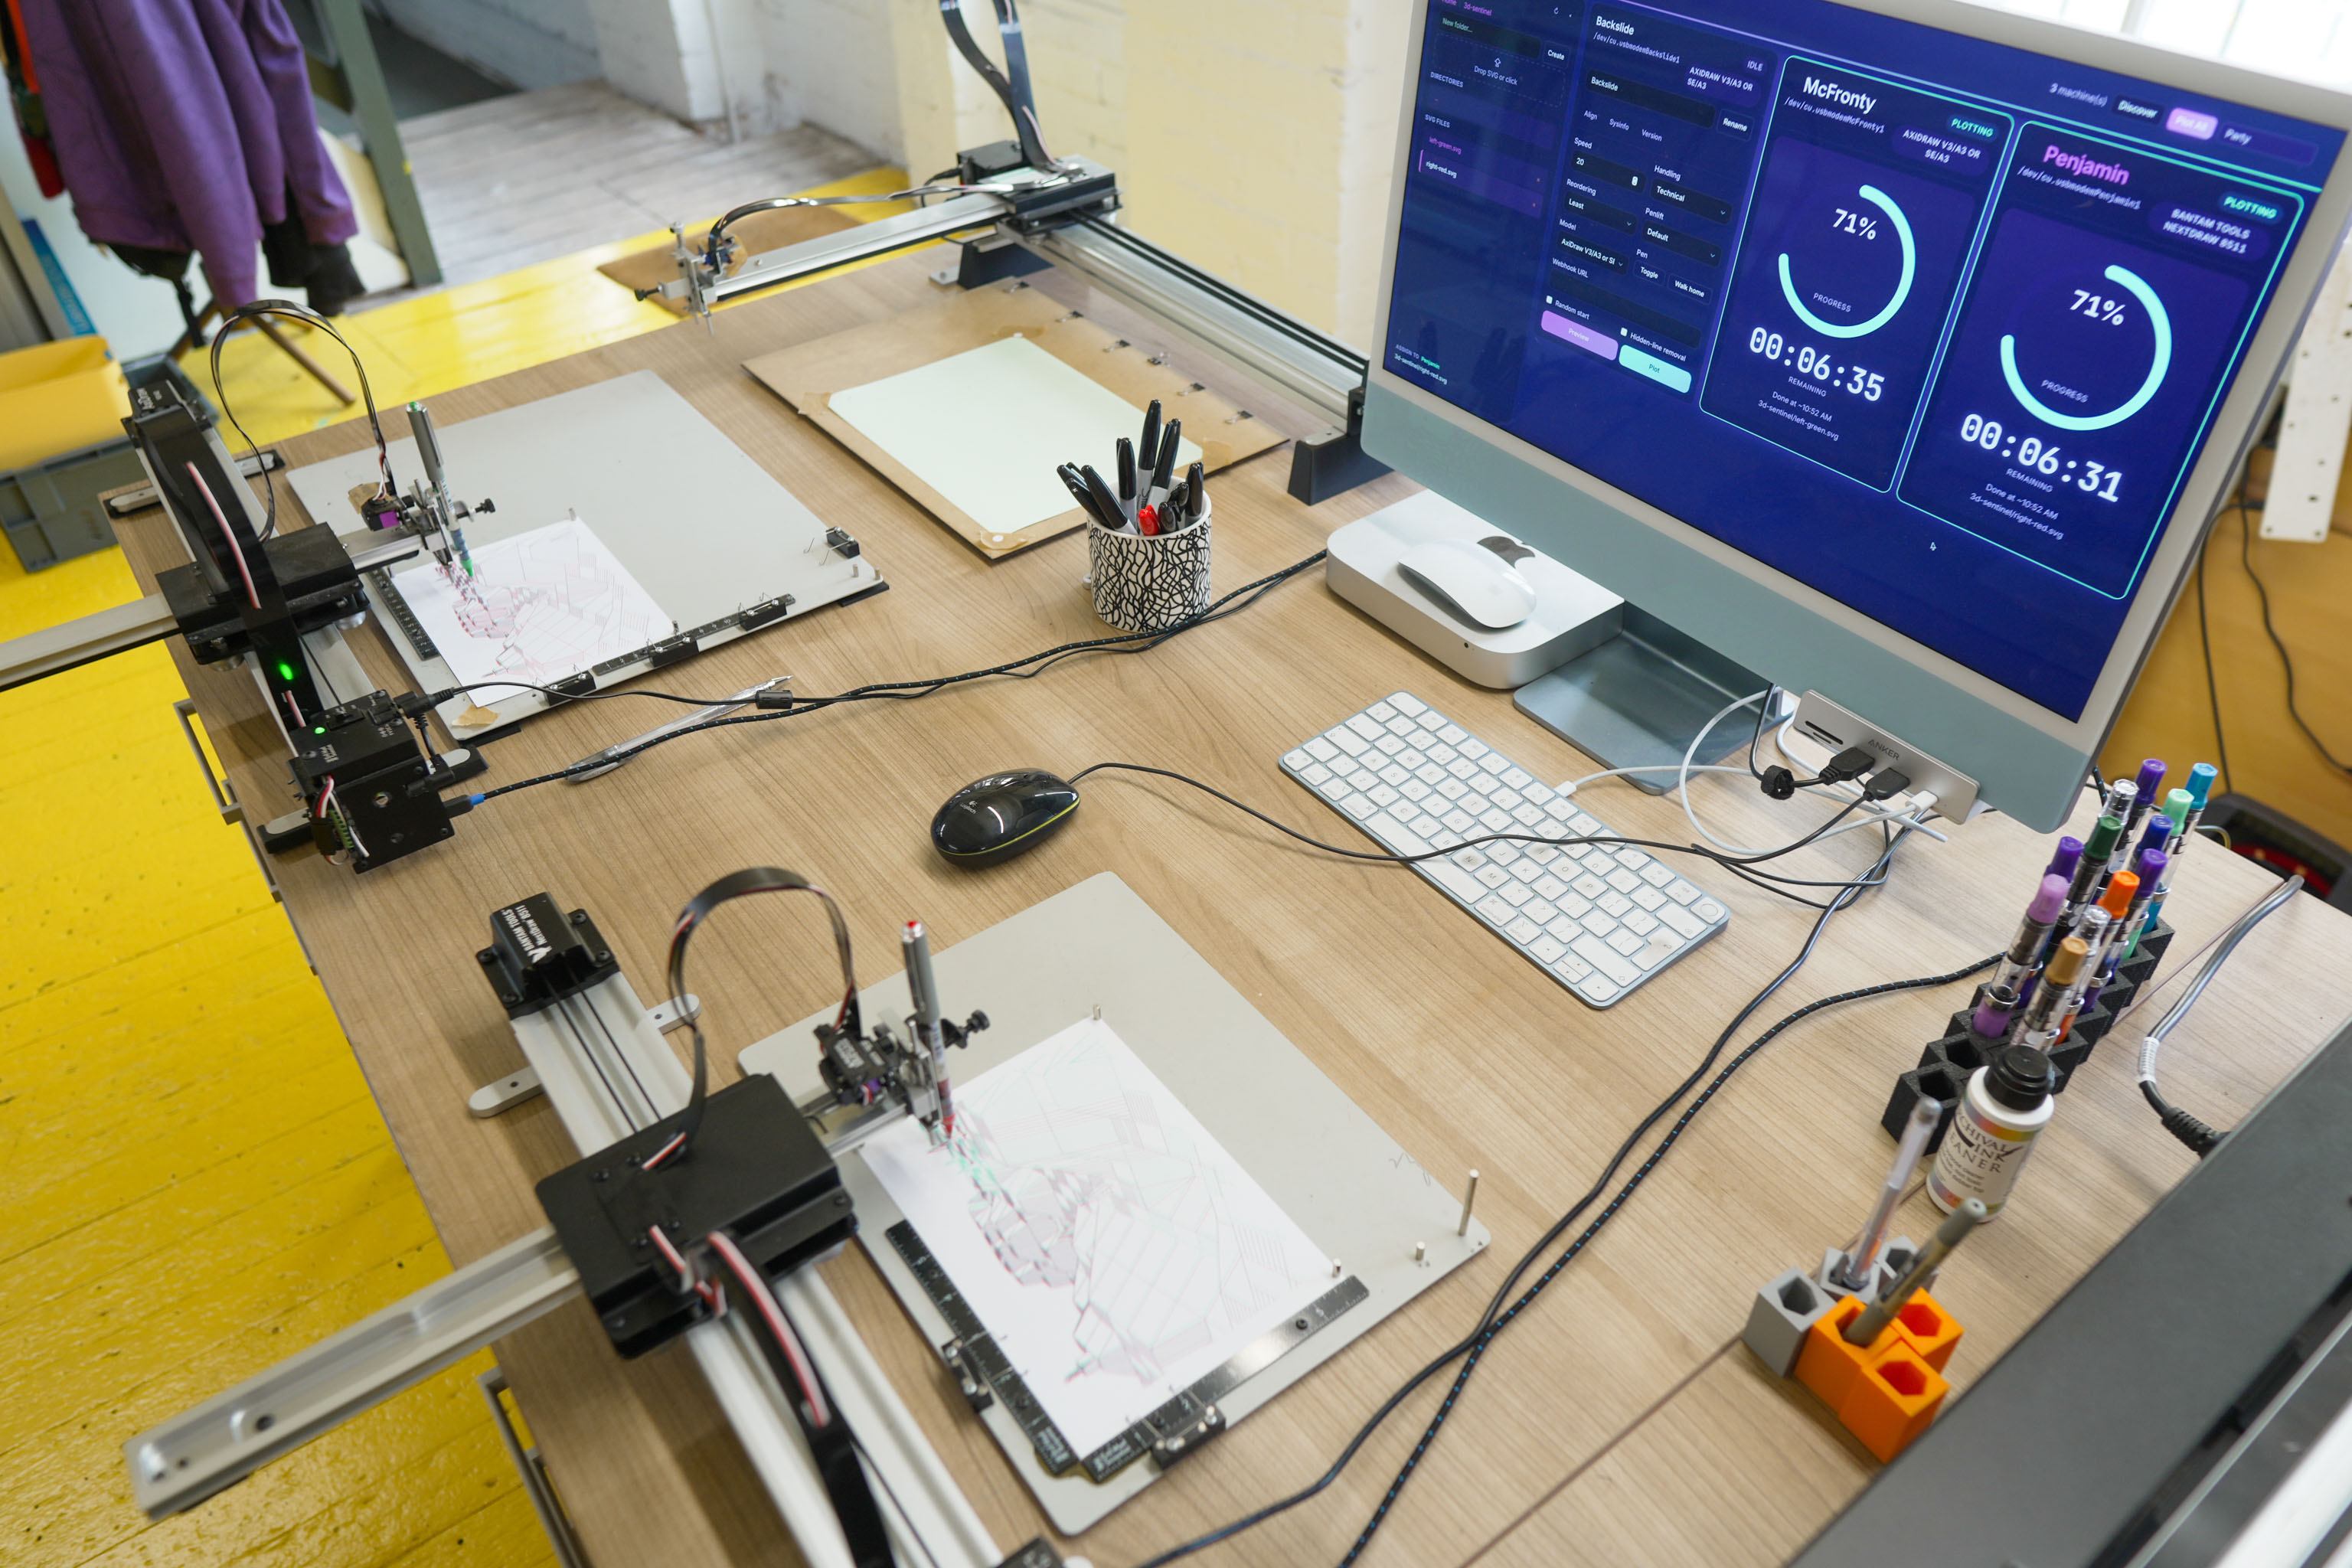
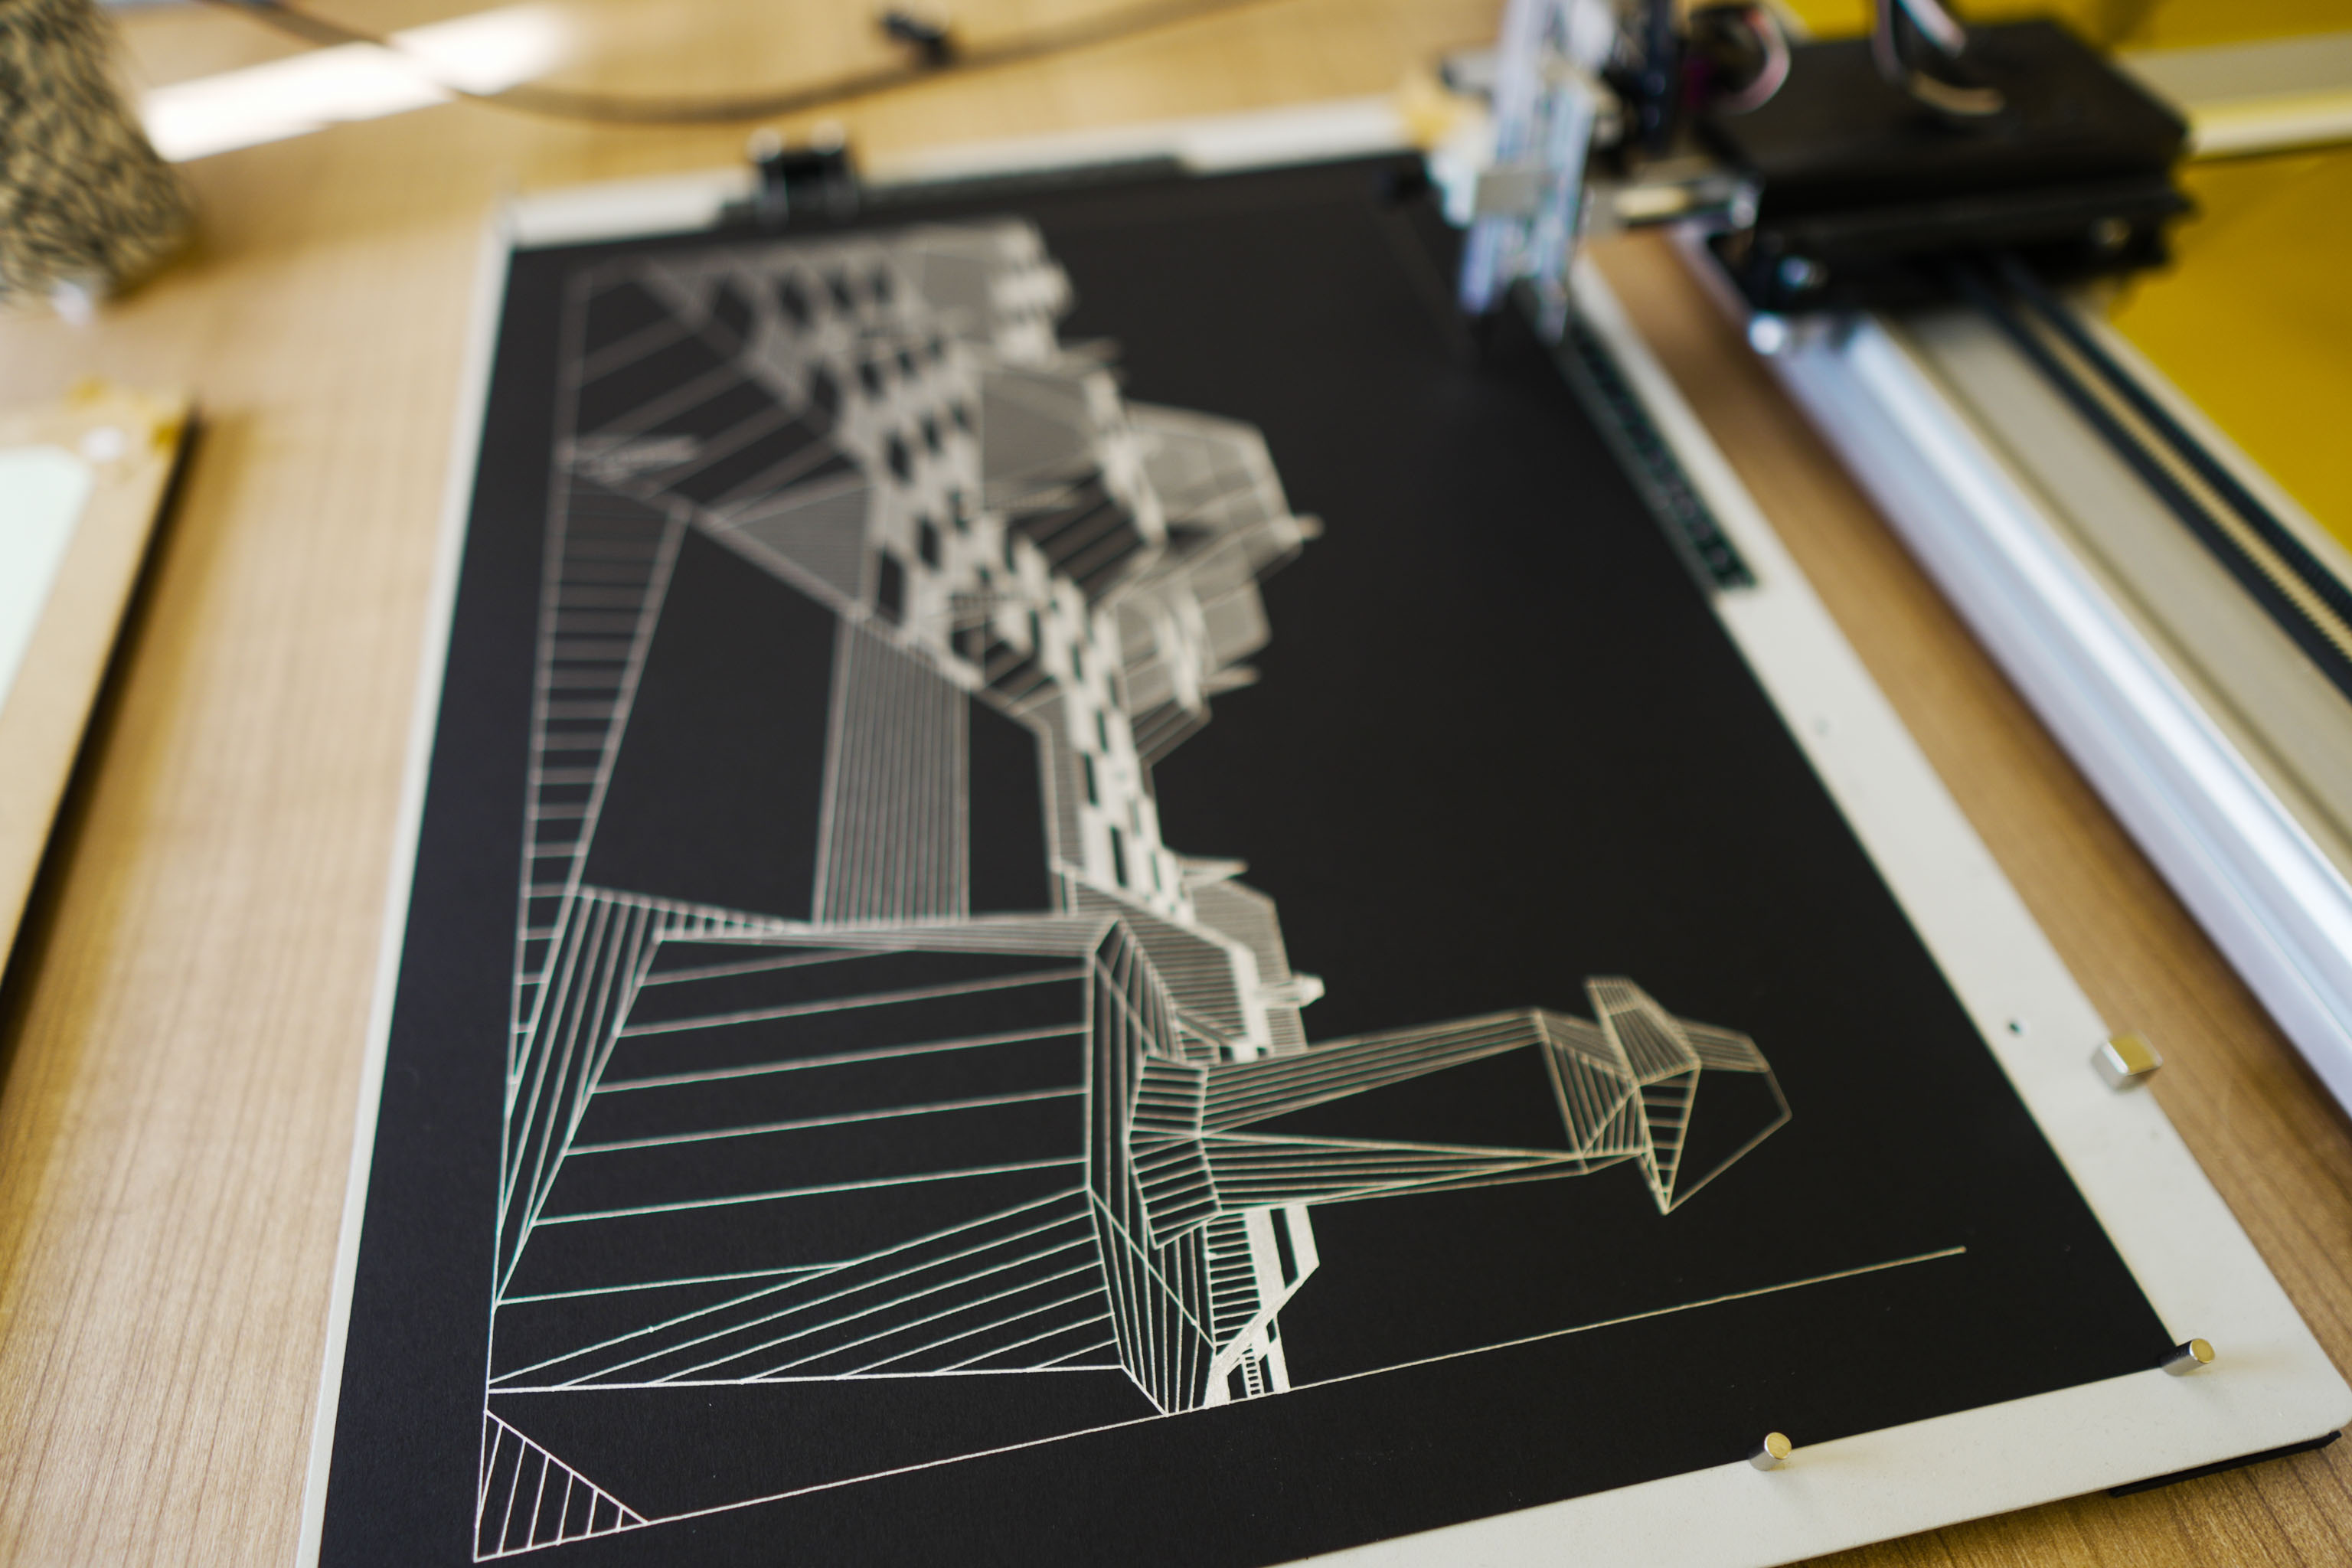
More of the Sentinel plots, this time I have the code generating a number of frames that are then plotted, with an eye to stringing them all together as an animation.
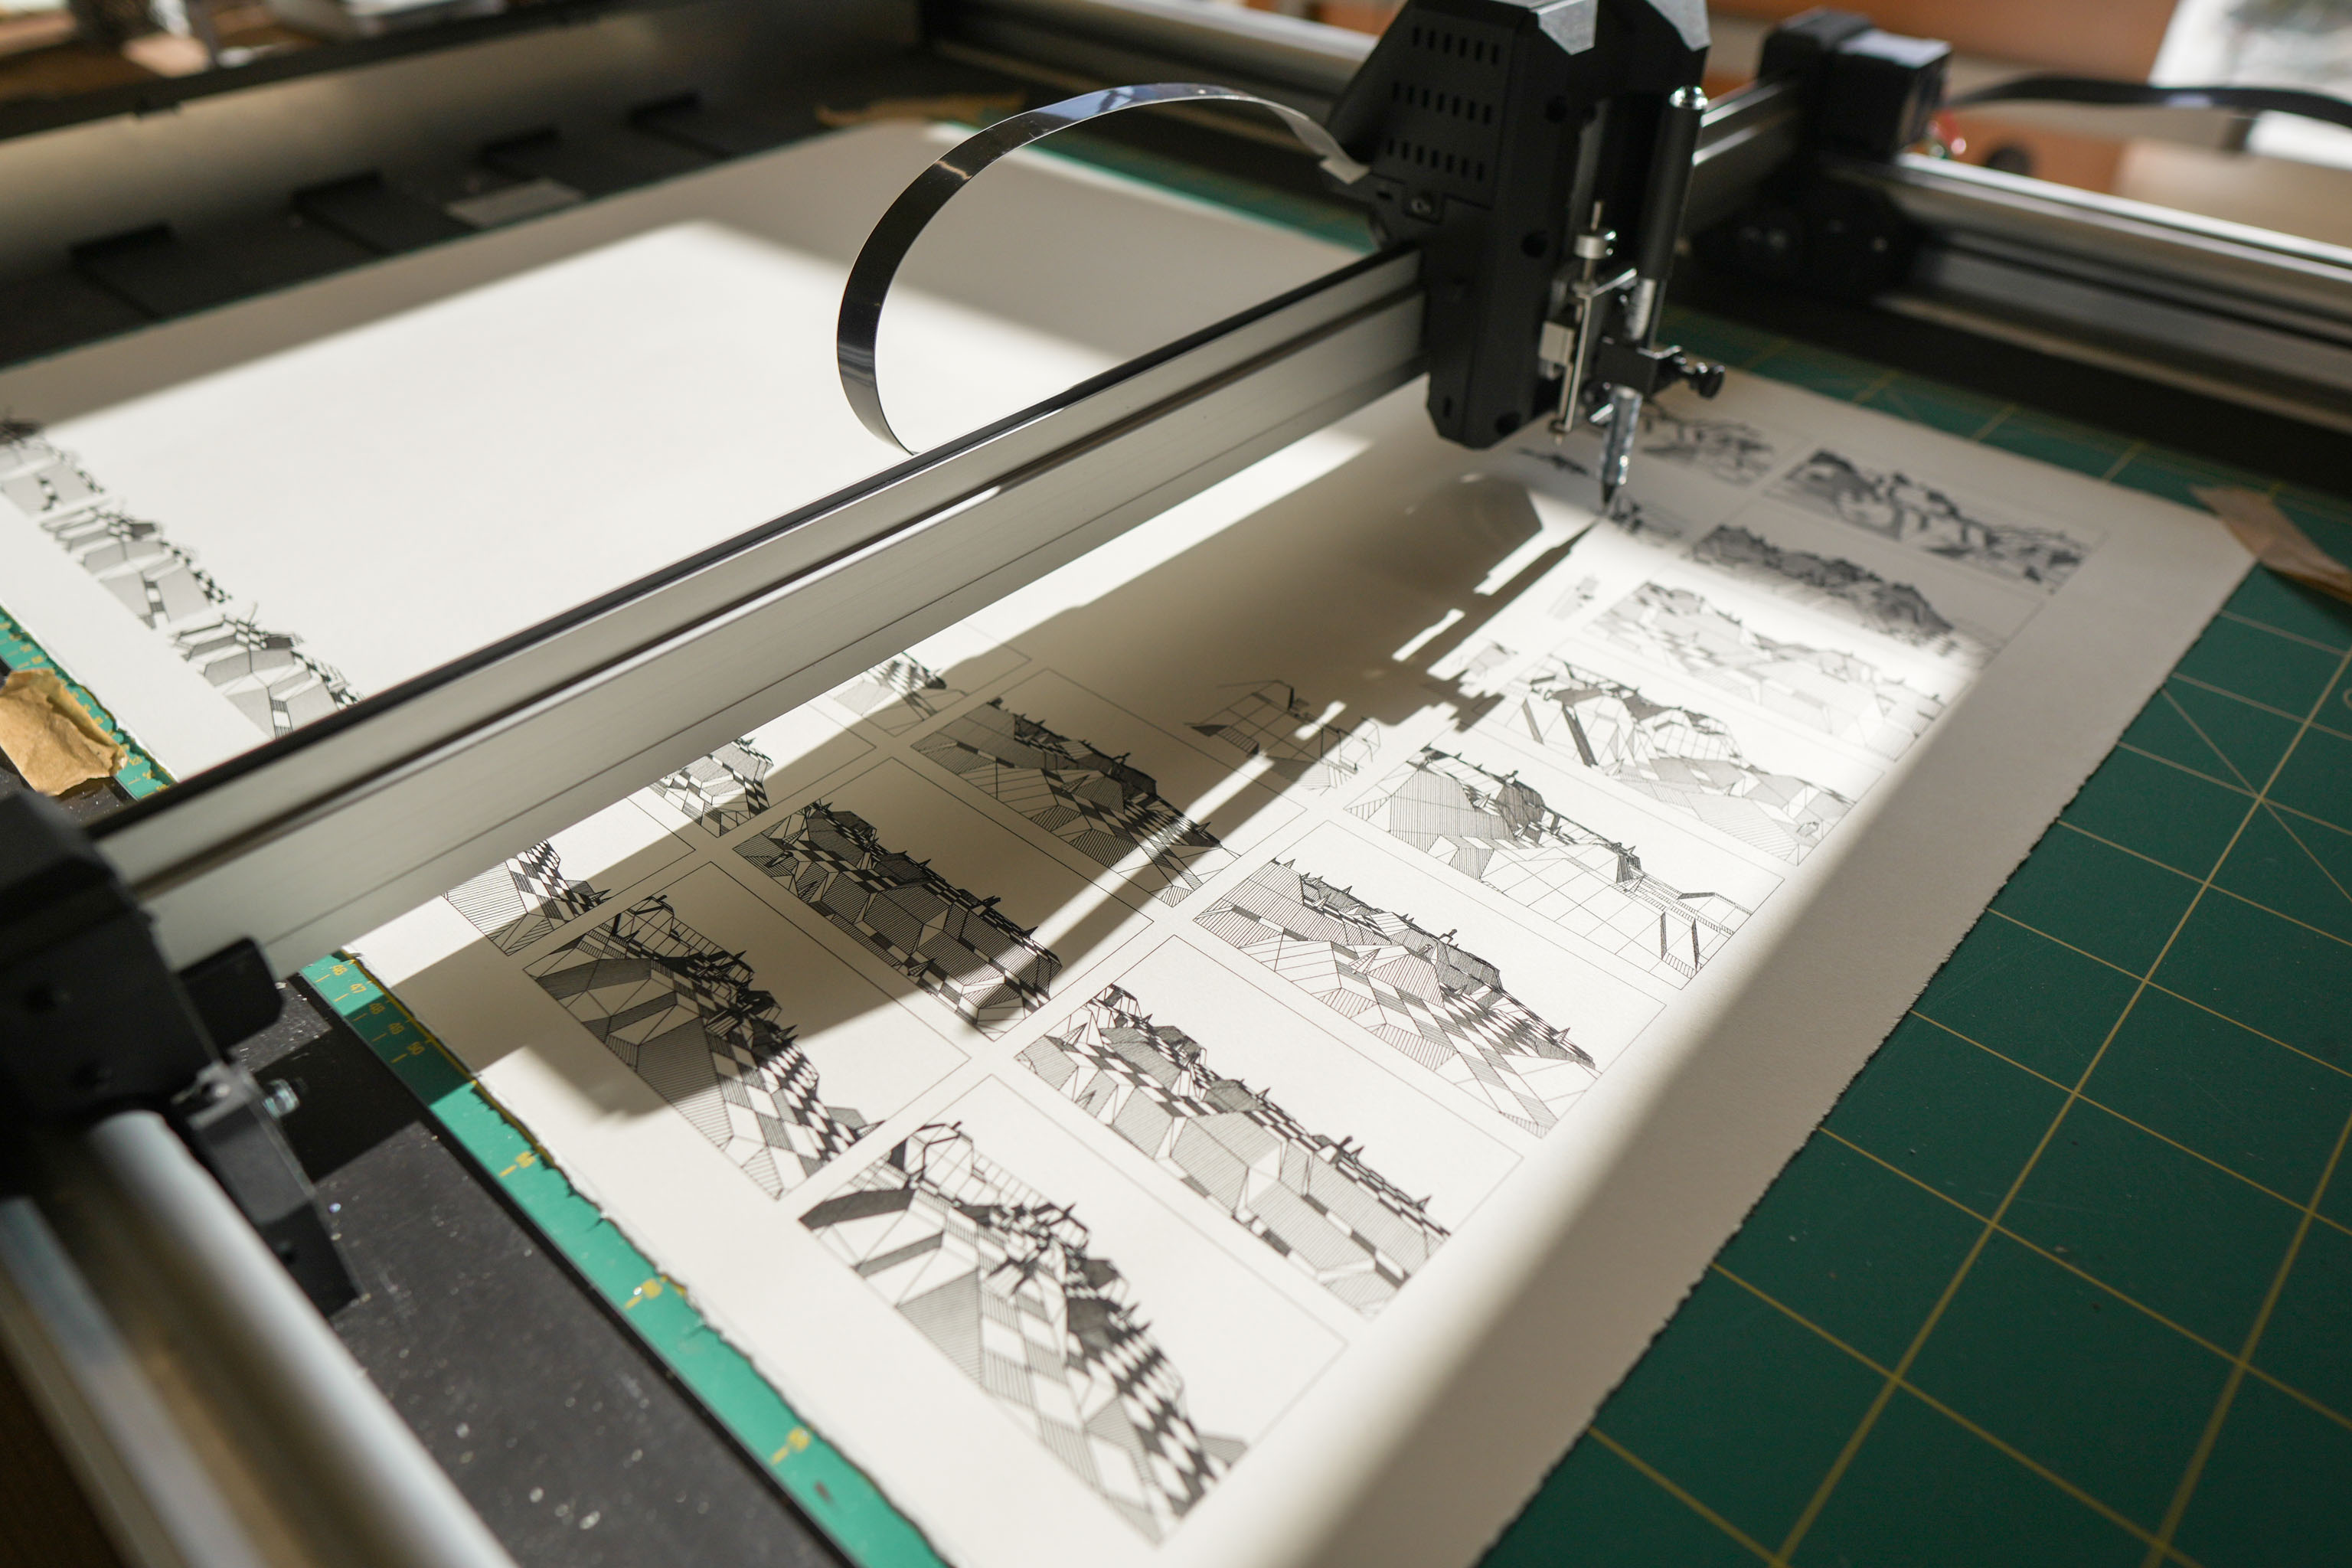
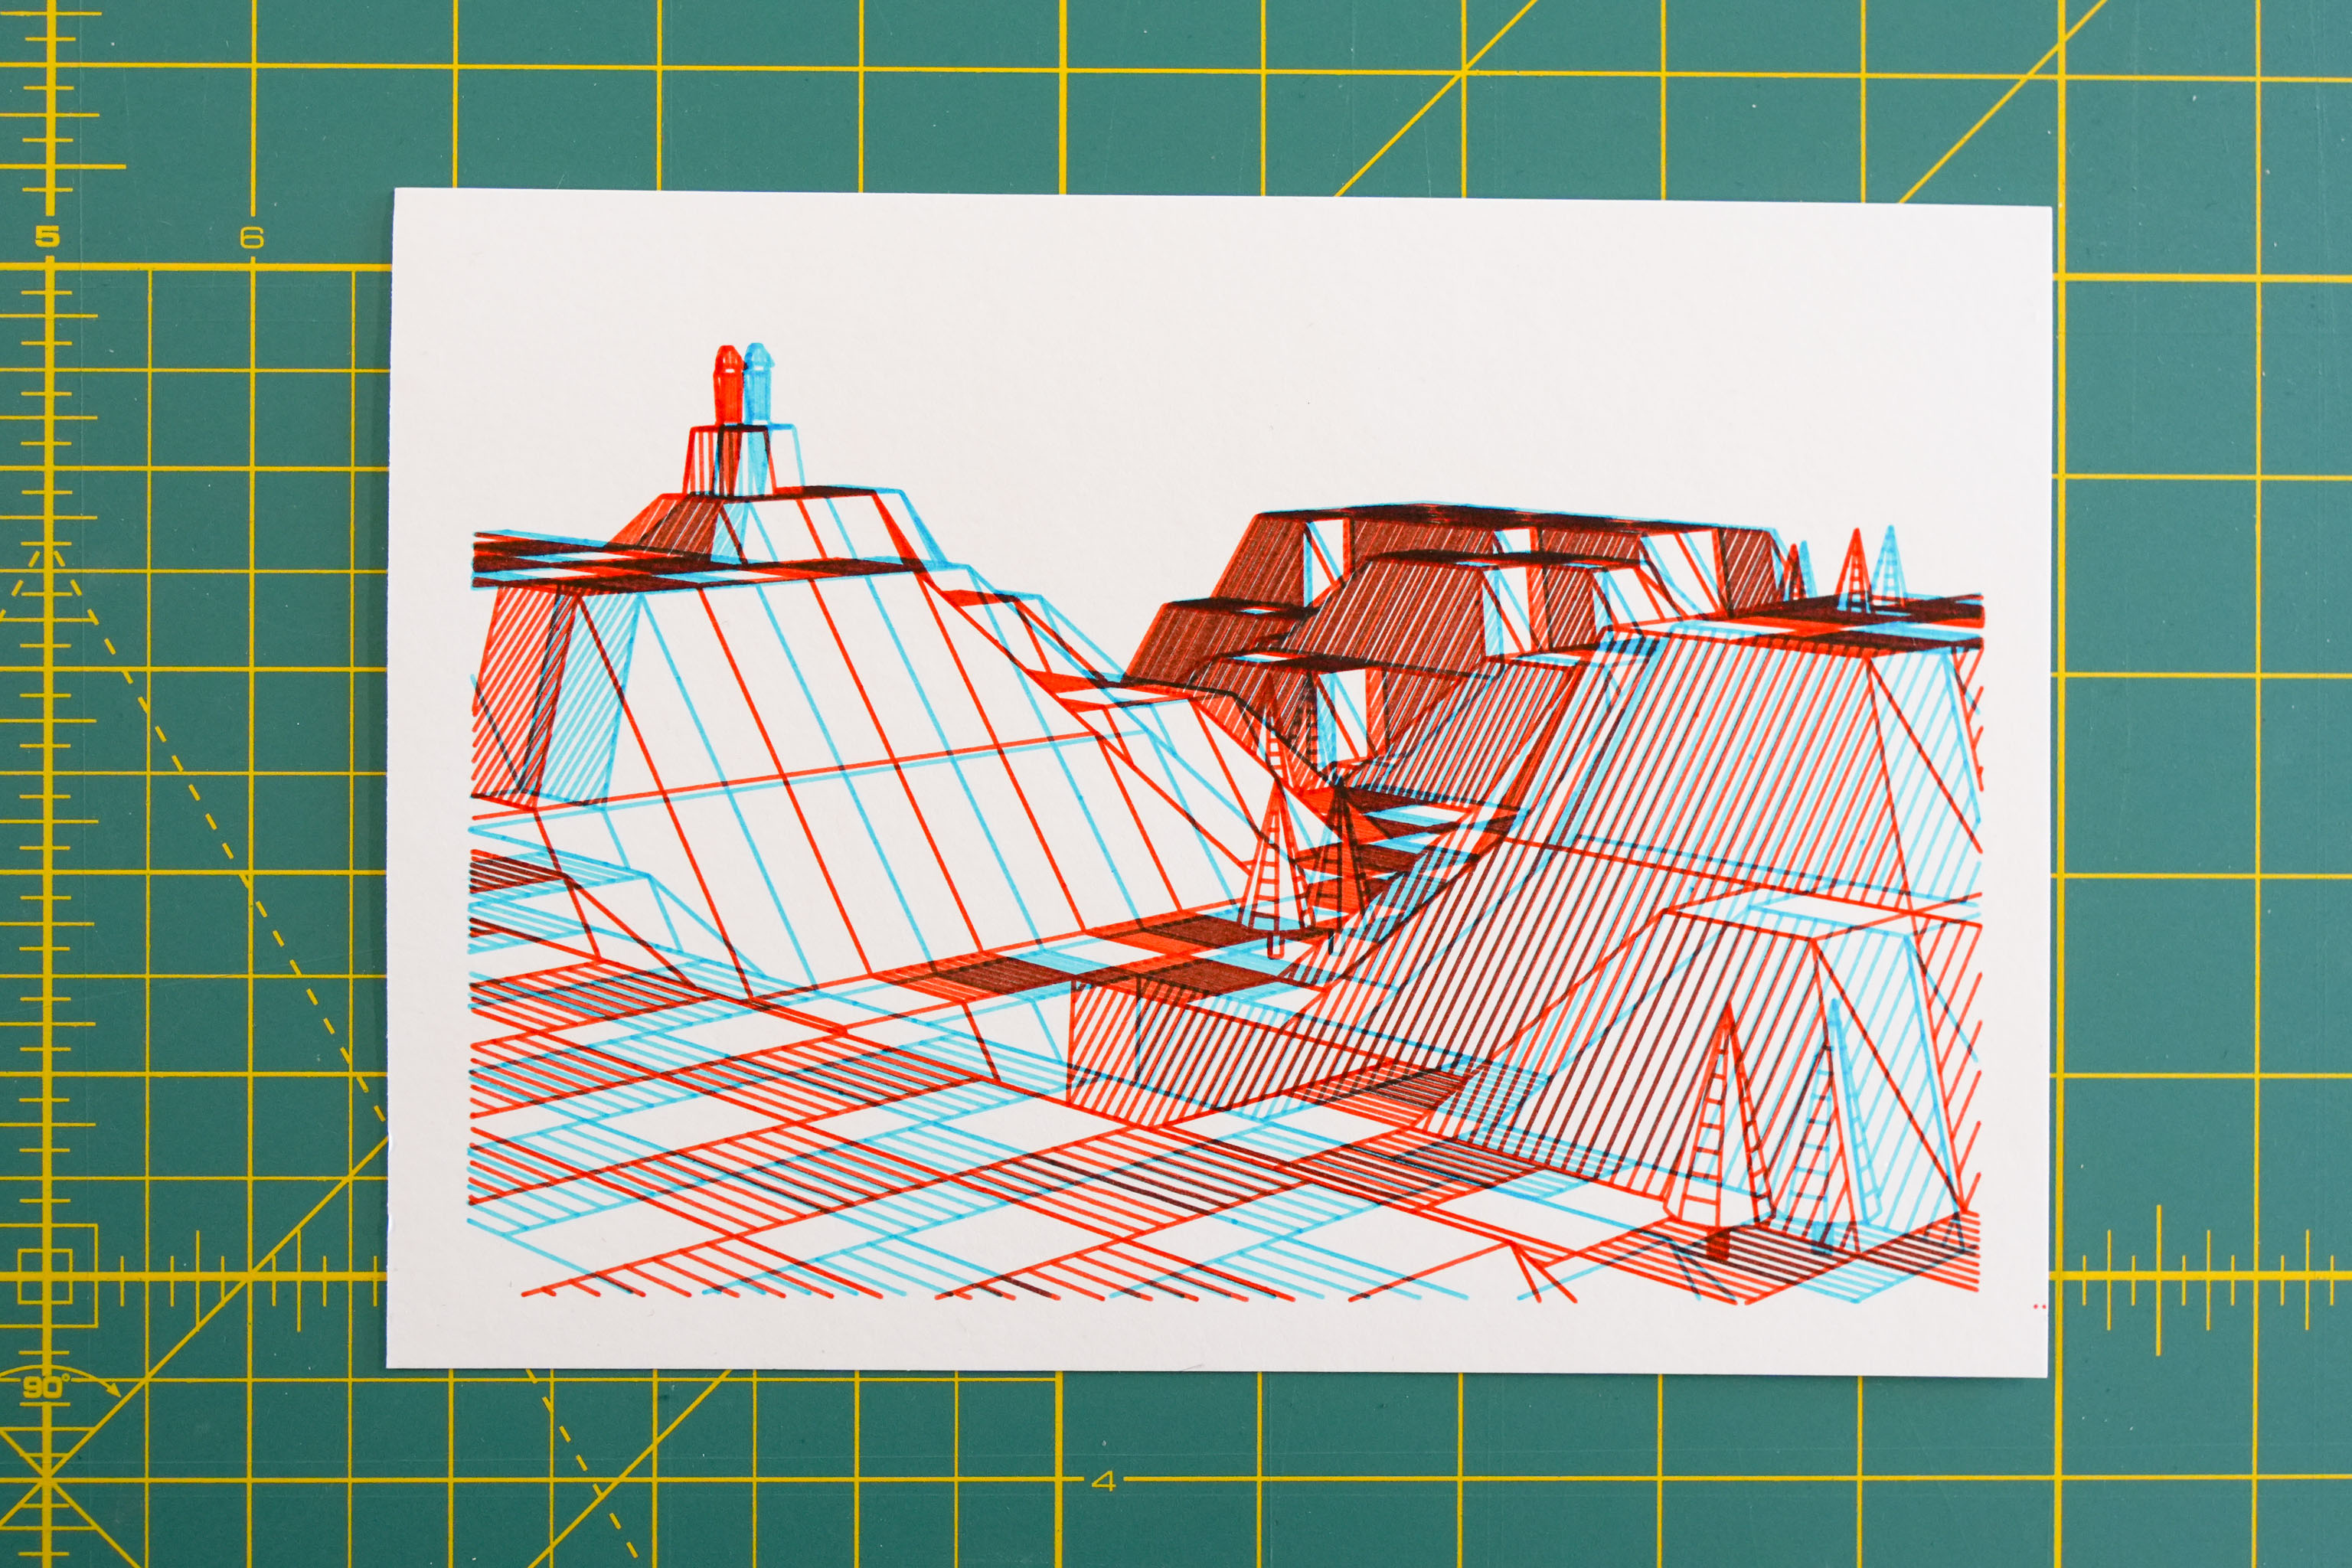
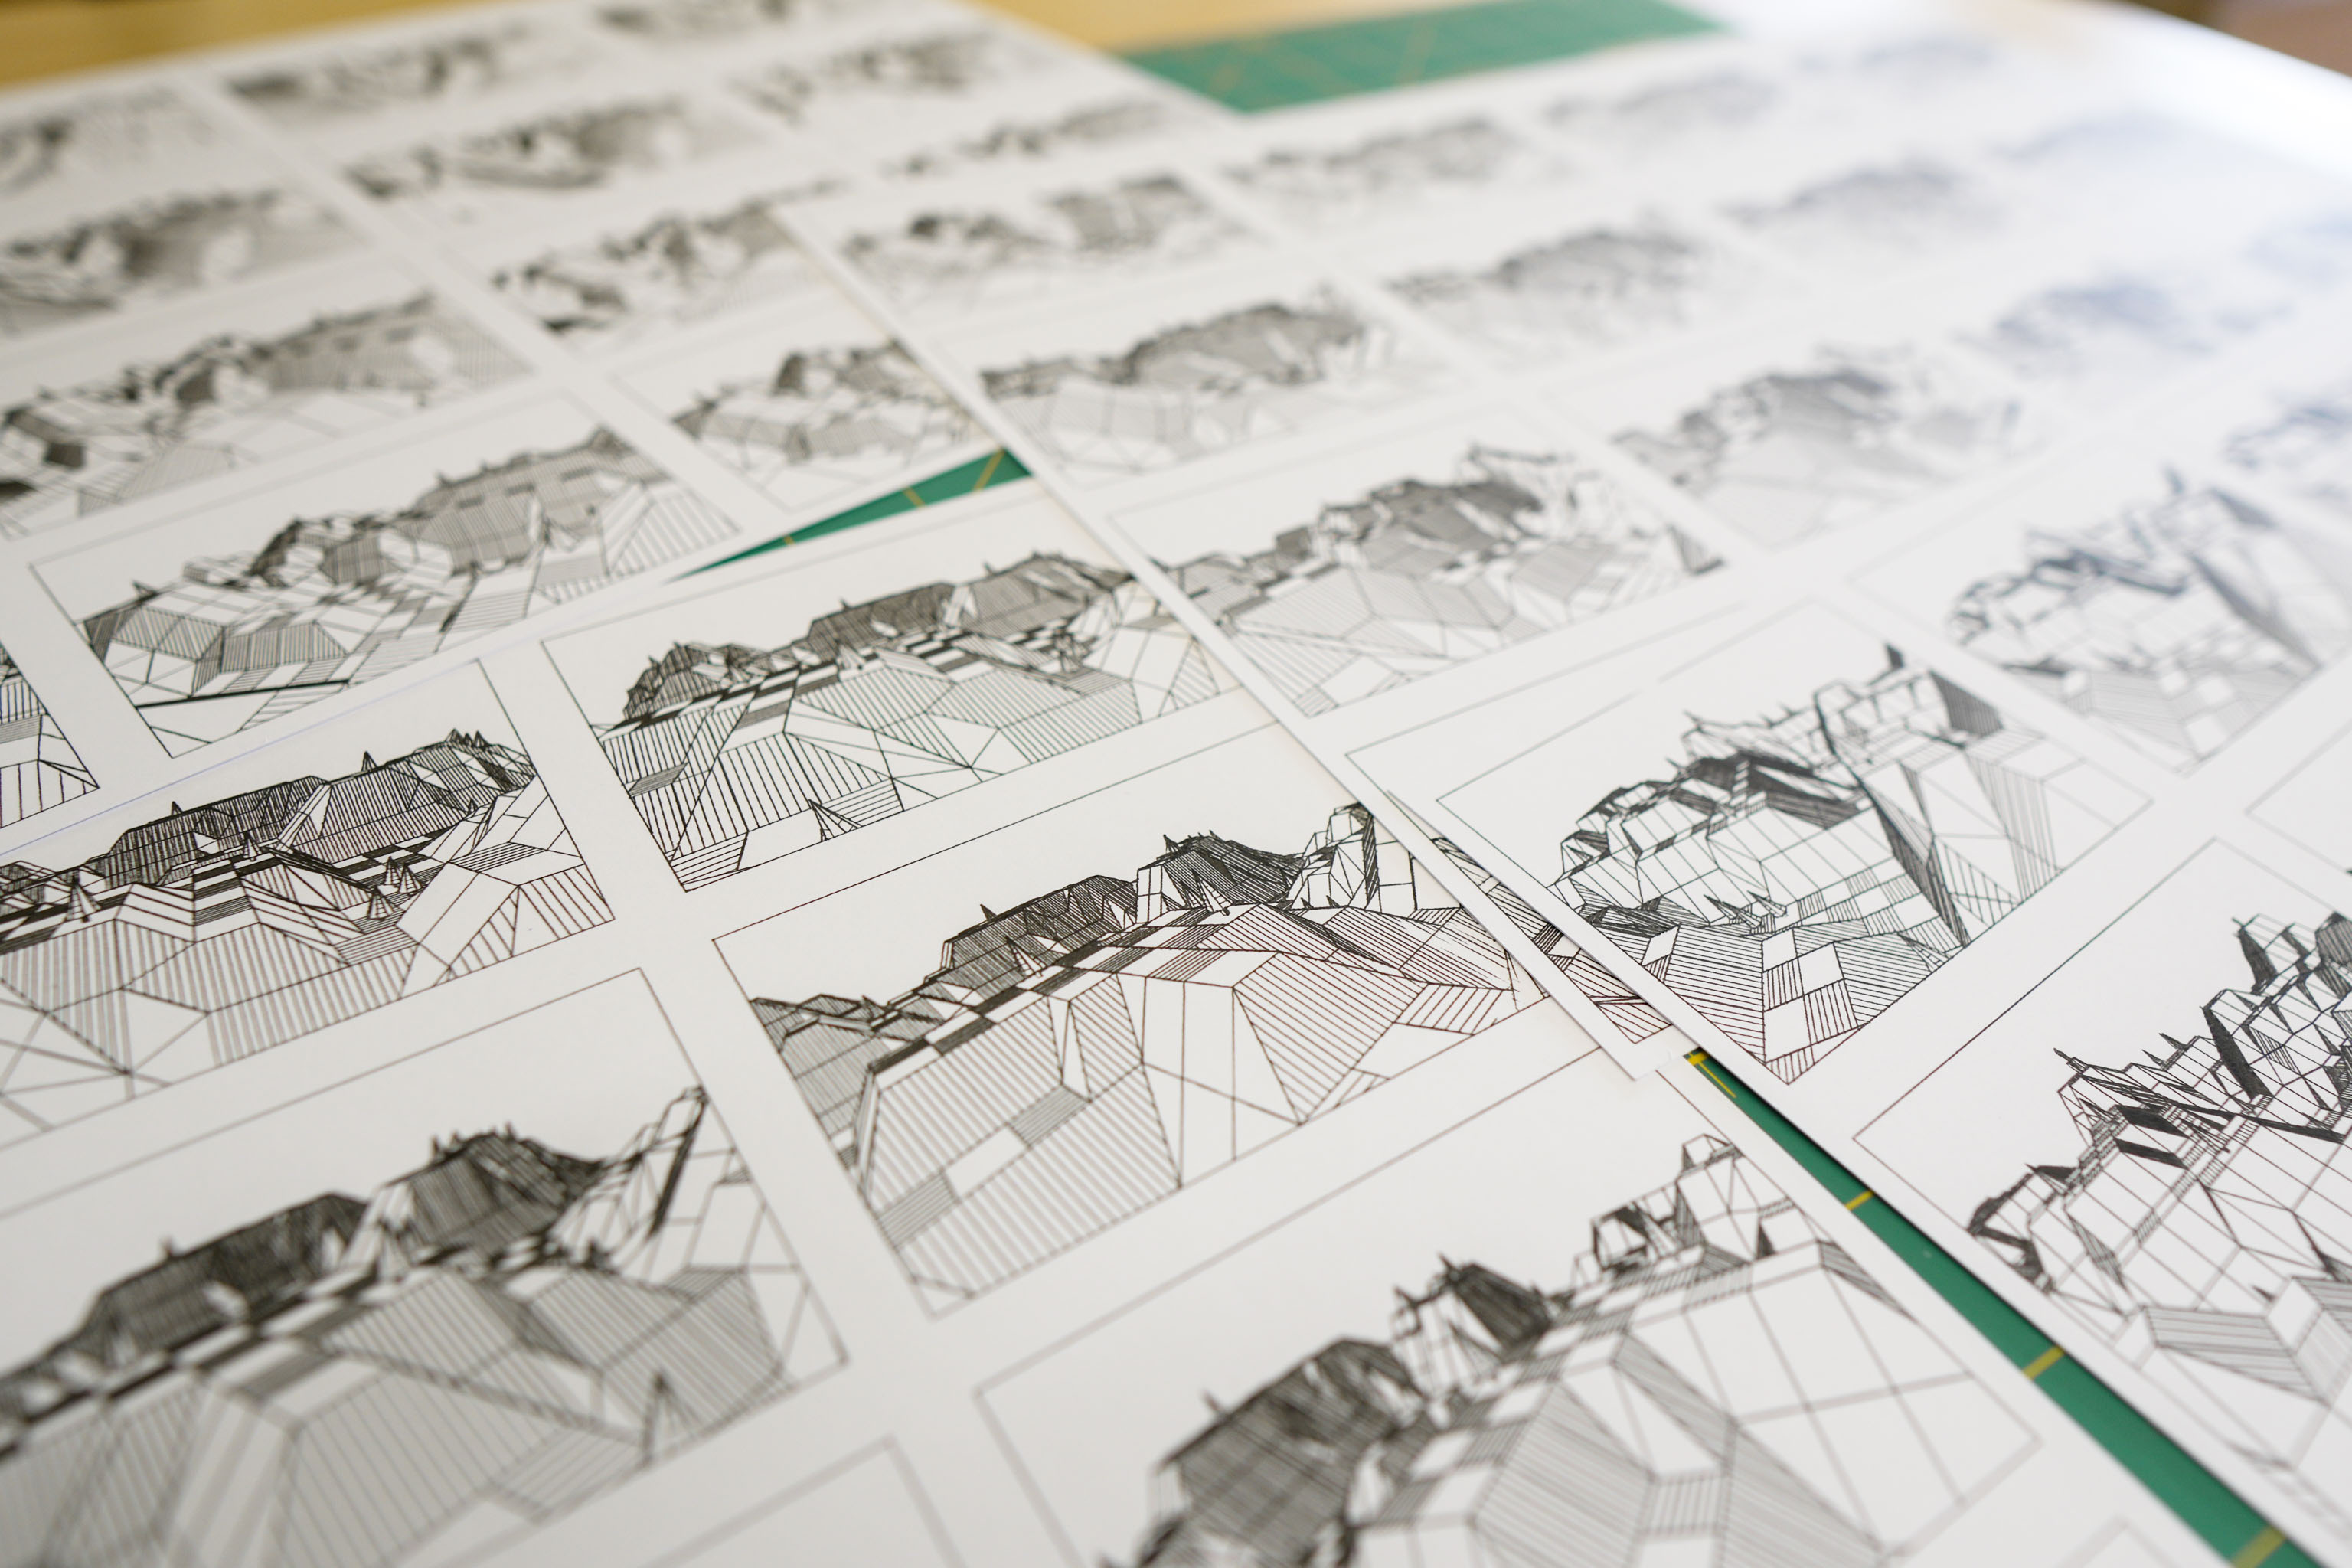
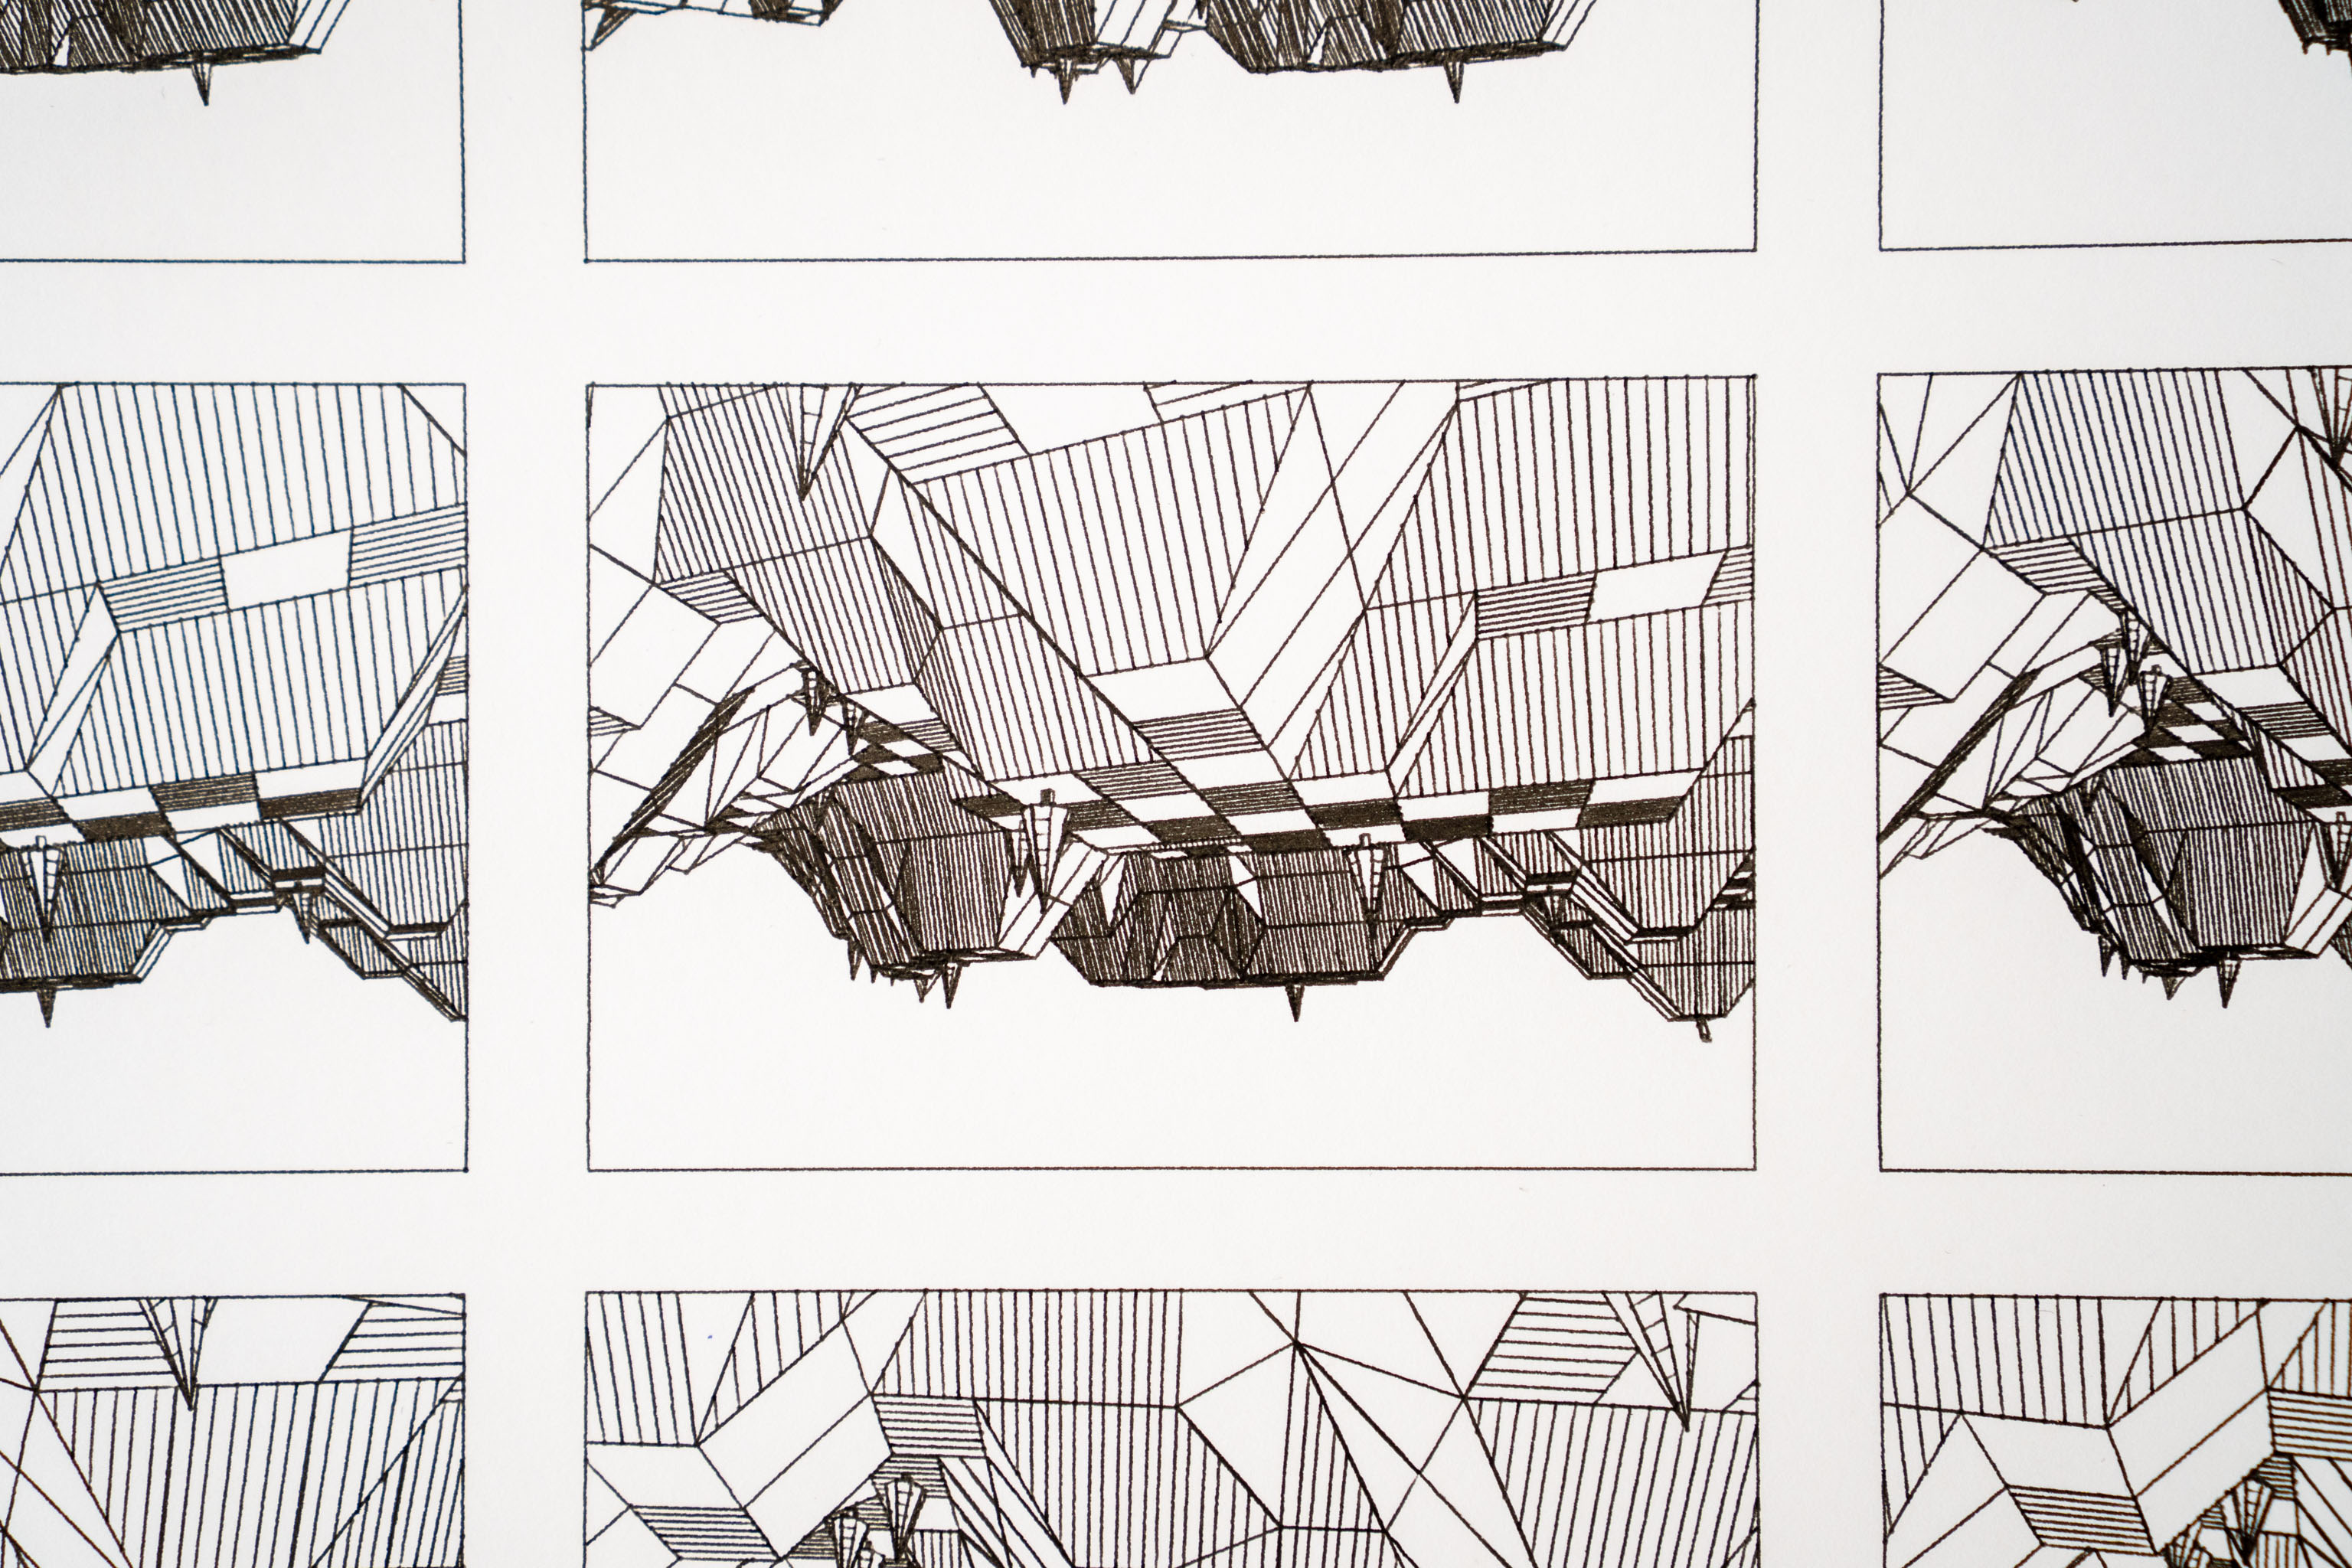
A few days ago Mark released an annotated version of the BBC Micro source code for the game The Sentinel, a game that's fascinated me since I first played it years ago (1986).
I'd often thought about trying to recreate the landscape algorithm but a false assumption/memory about how the landscape worked had always thrown me off.
Seeing the new code allowed me to see that I'd been mistaken and allowed me to implement the algorithm no only in javascript, but also in a way that would let me spit out SVG files, so they could be pen plotted.
Which I did.
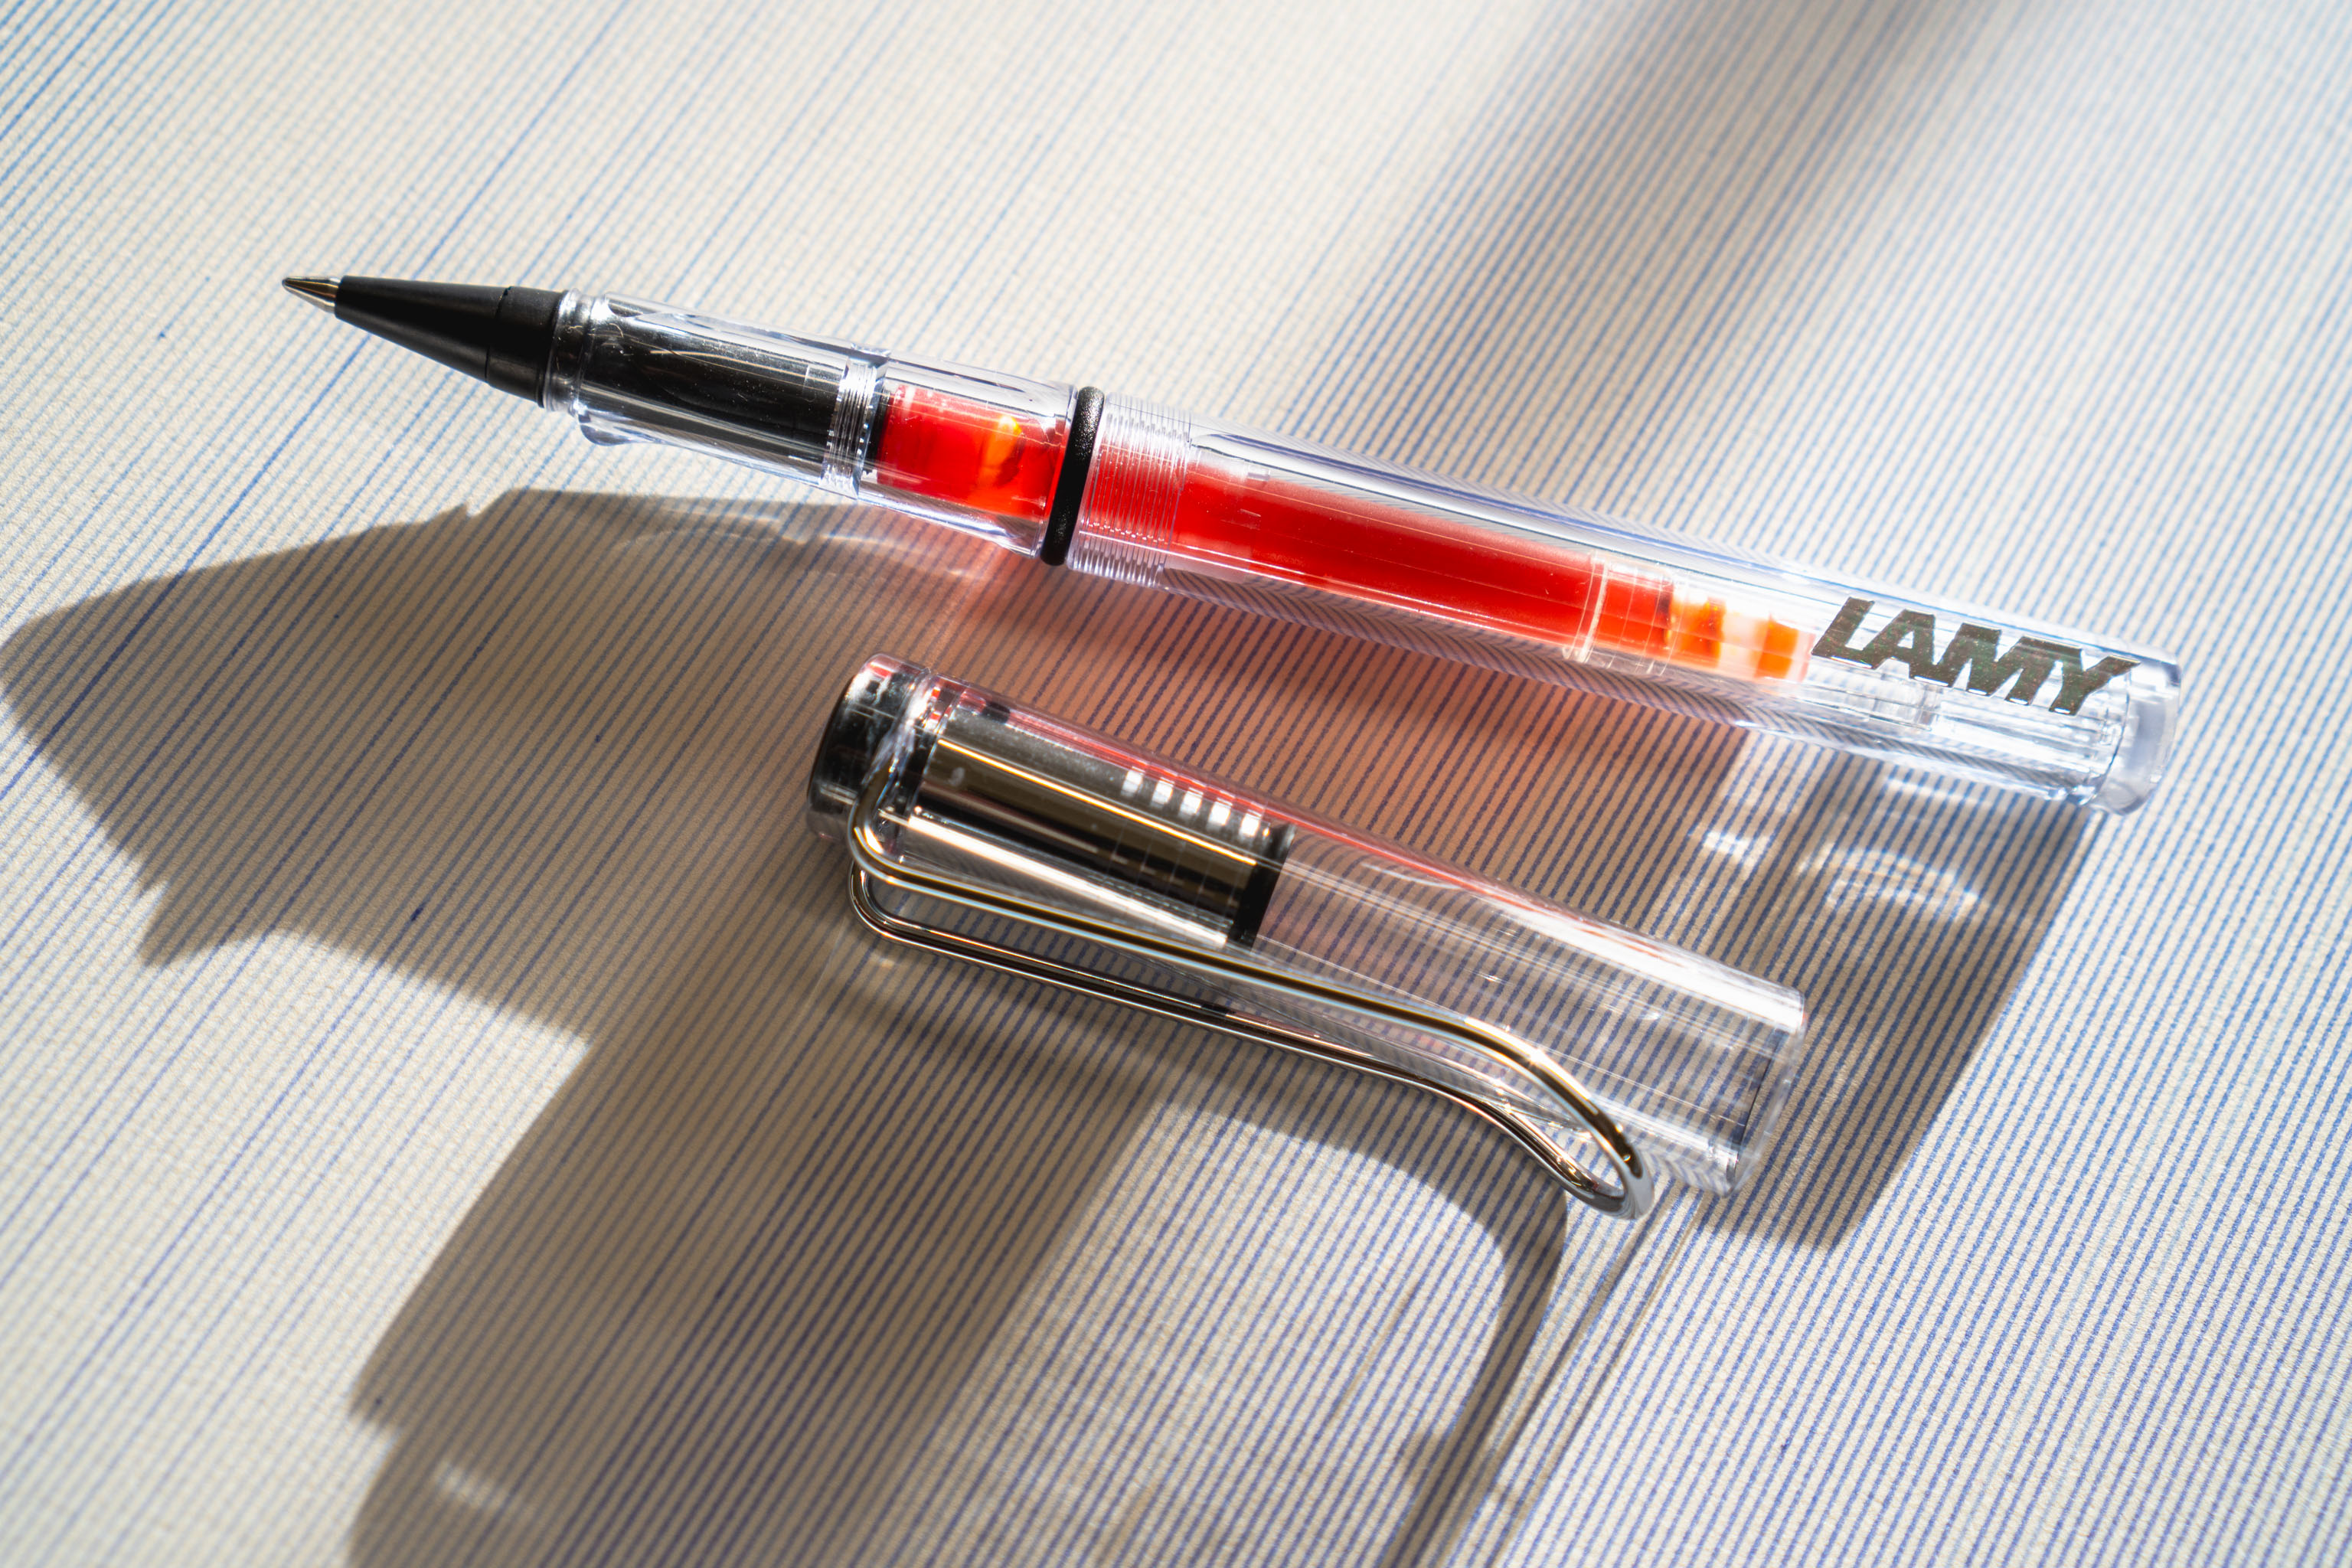
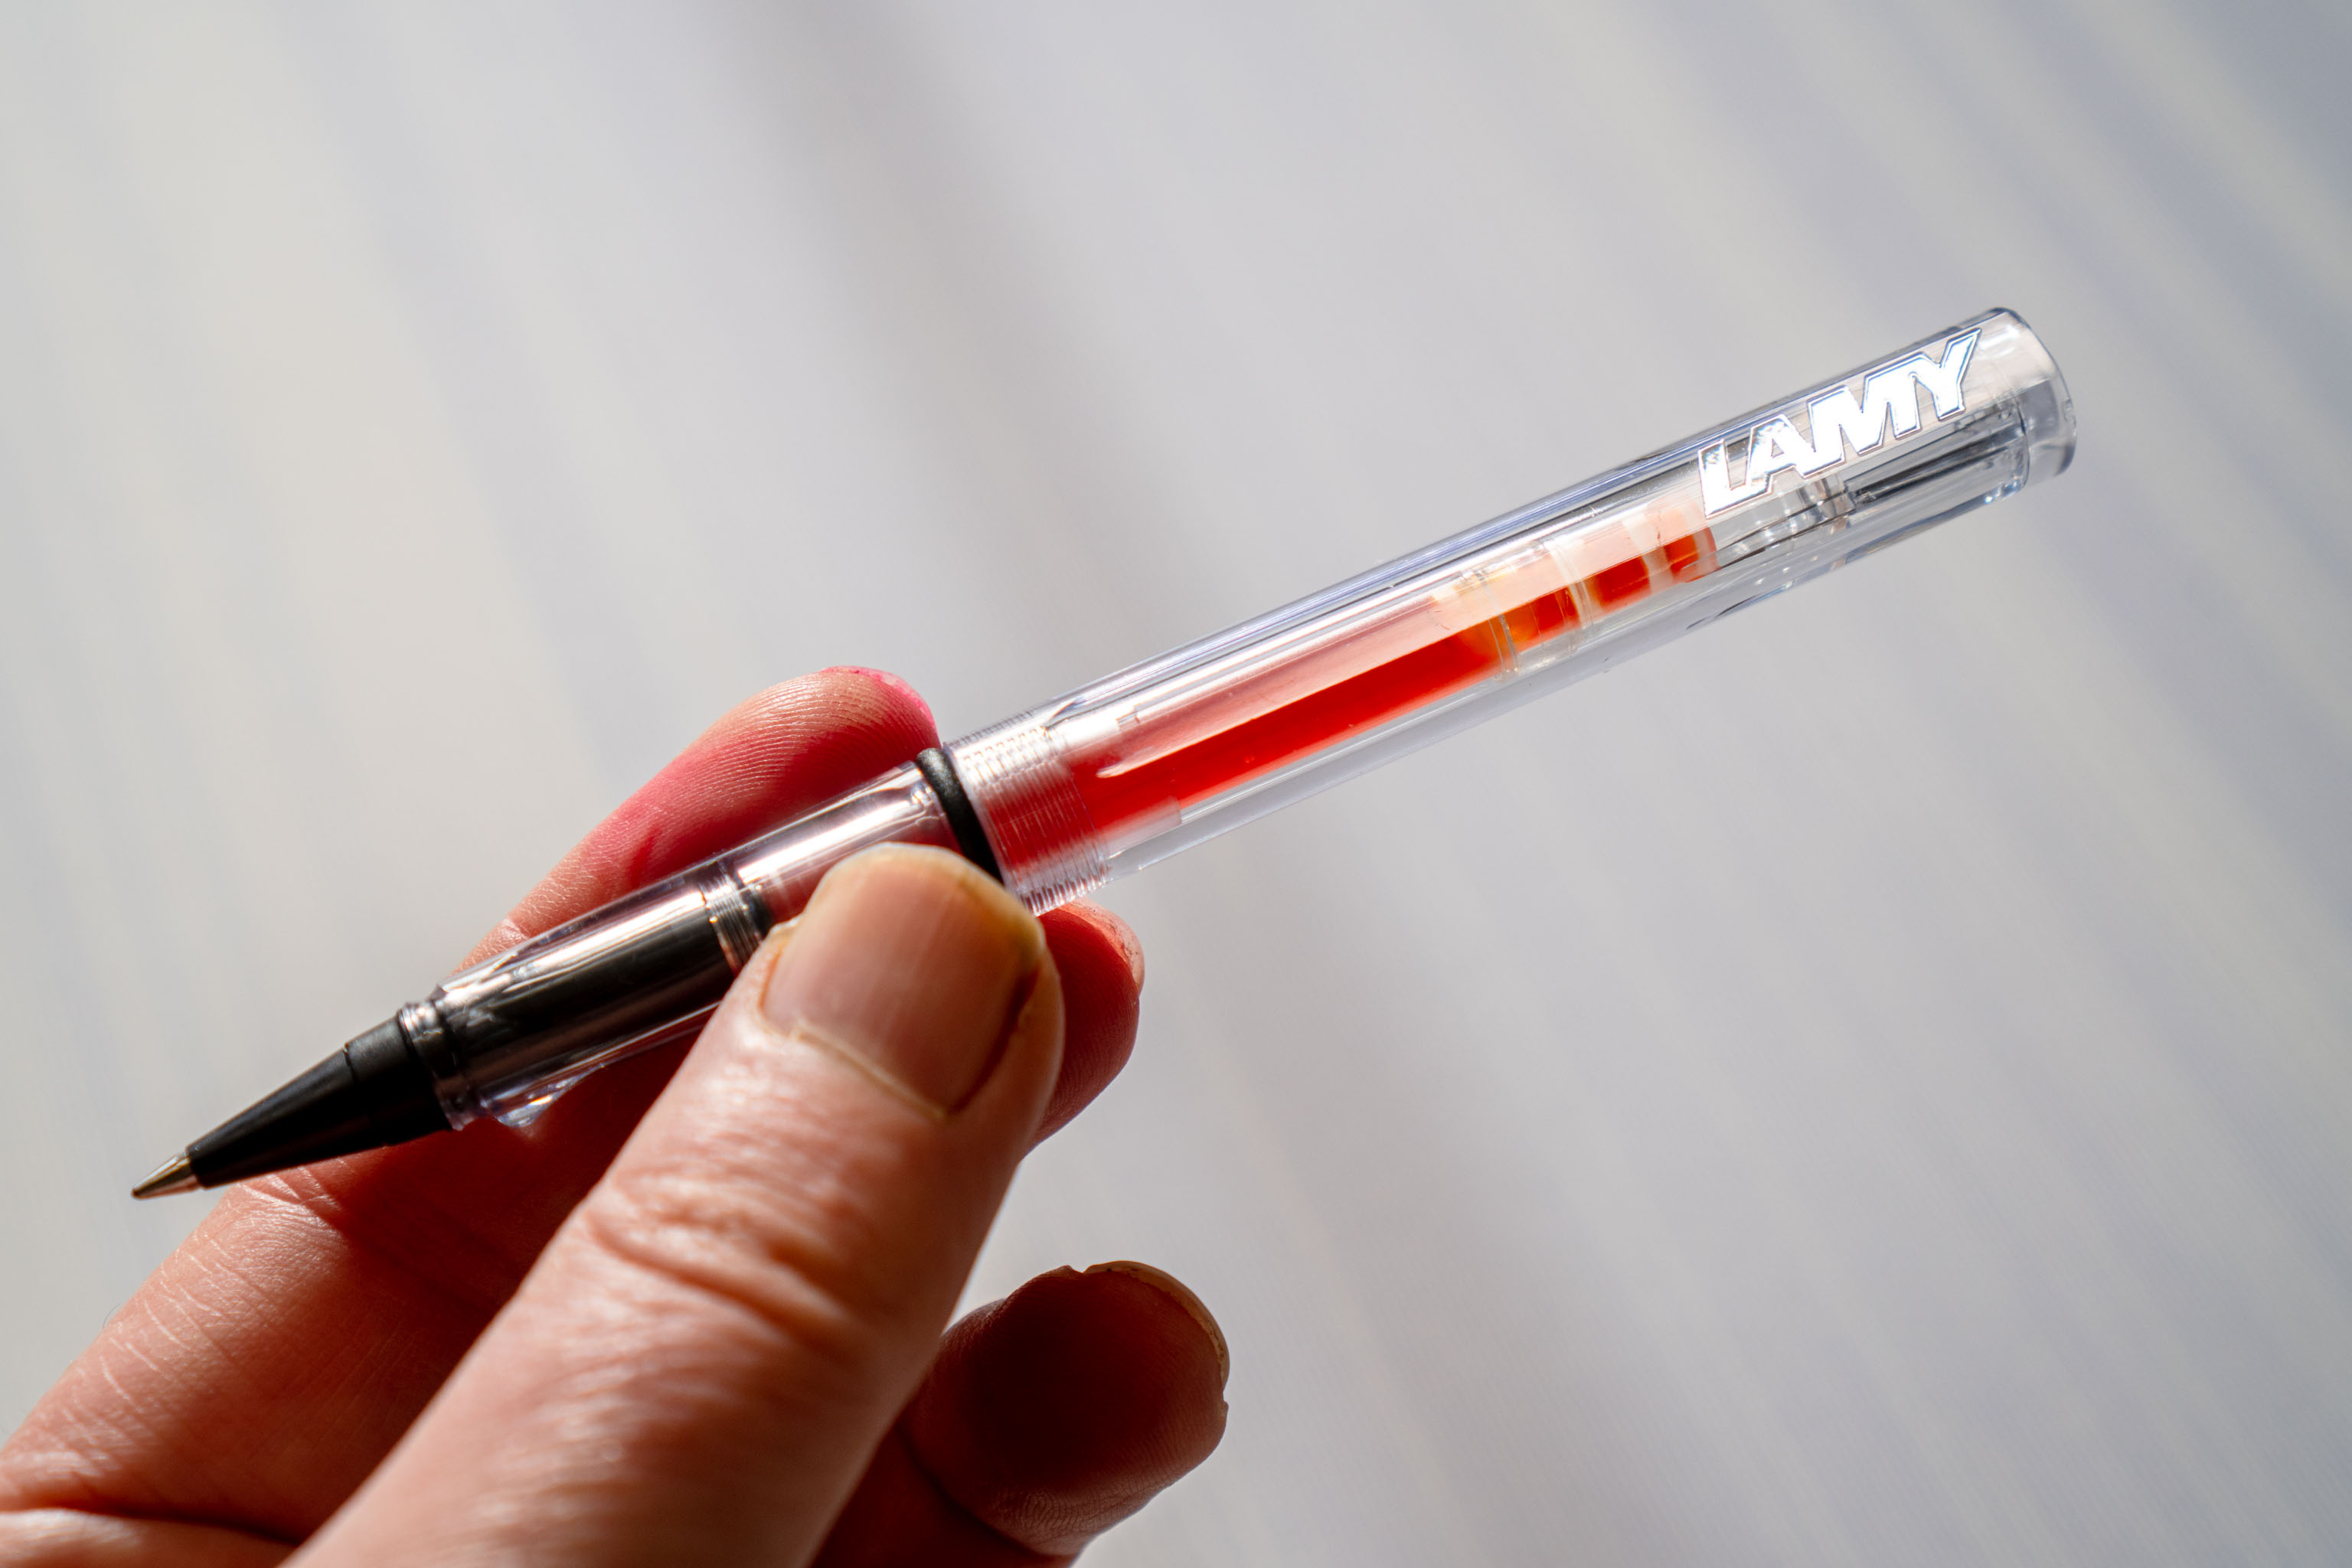
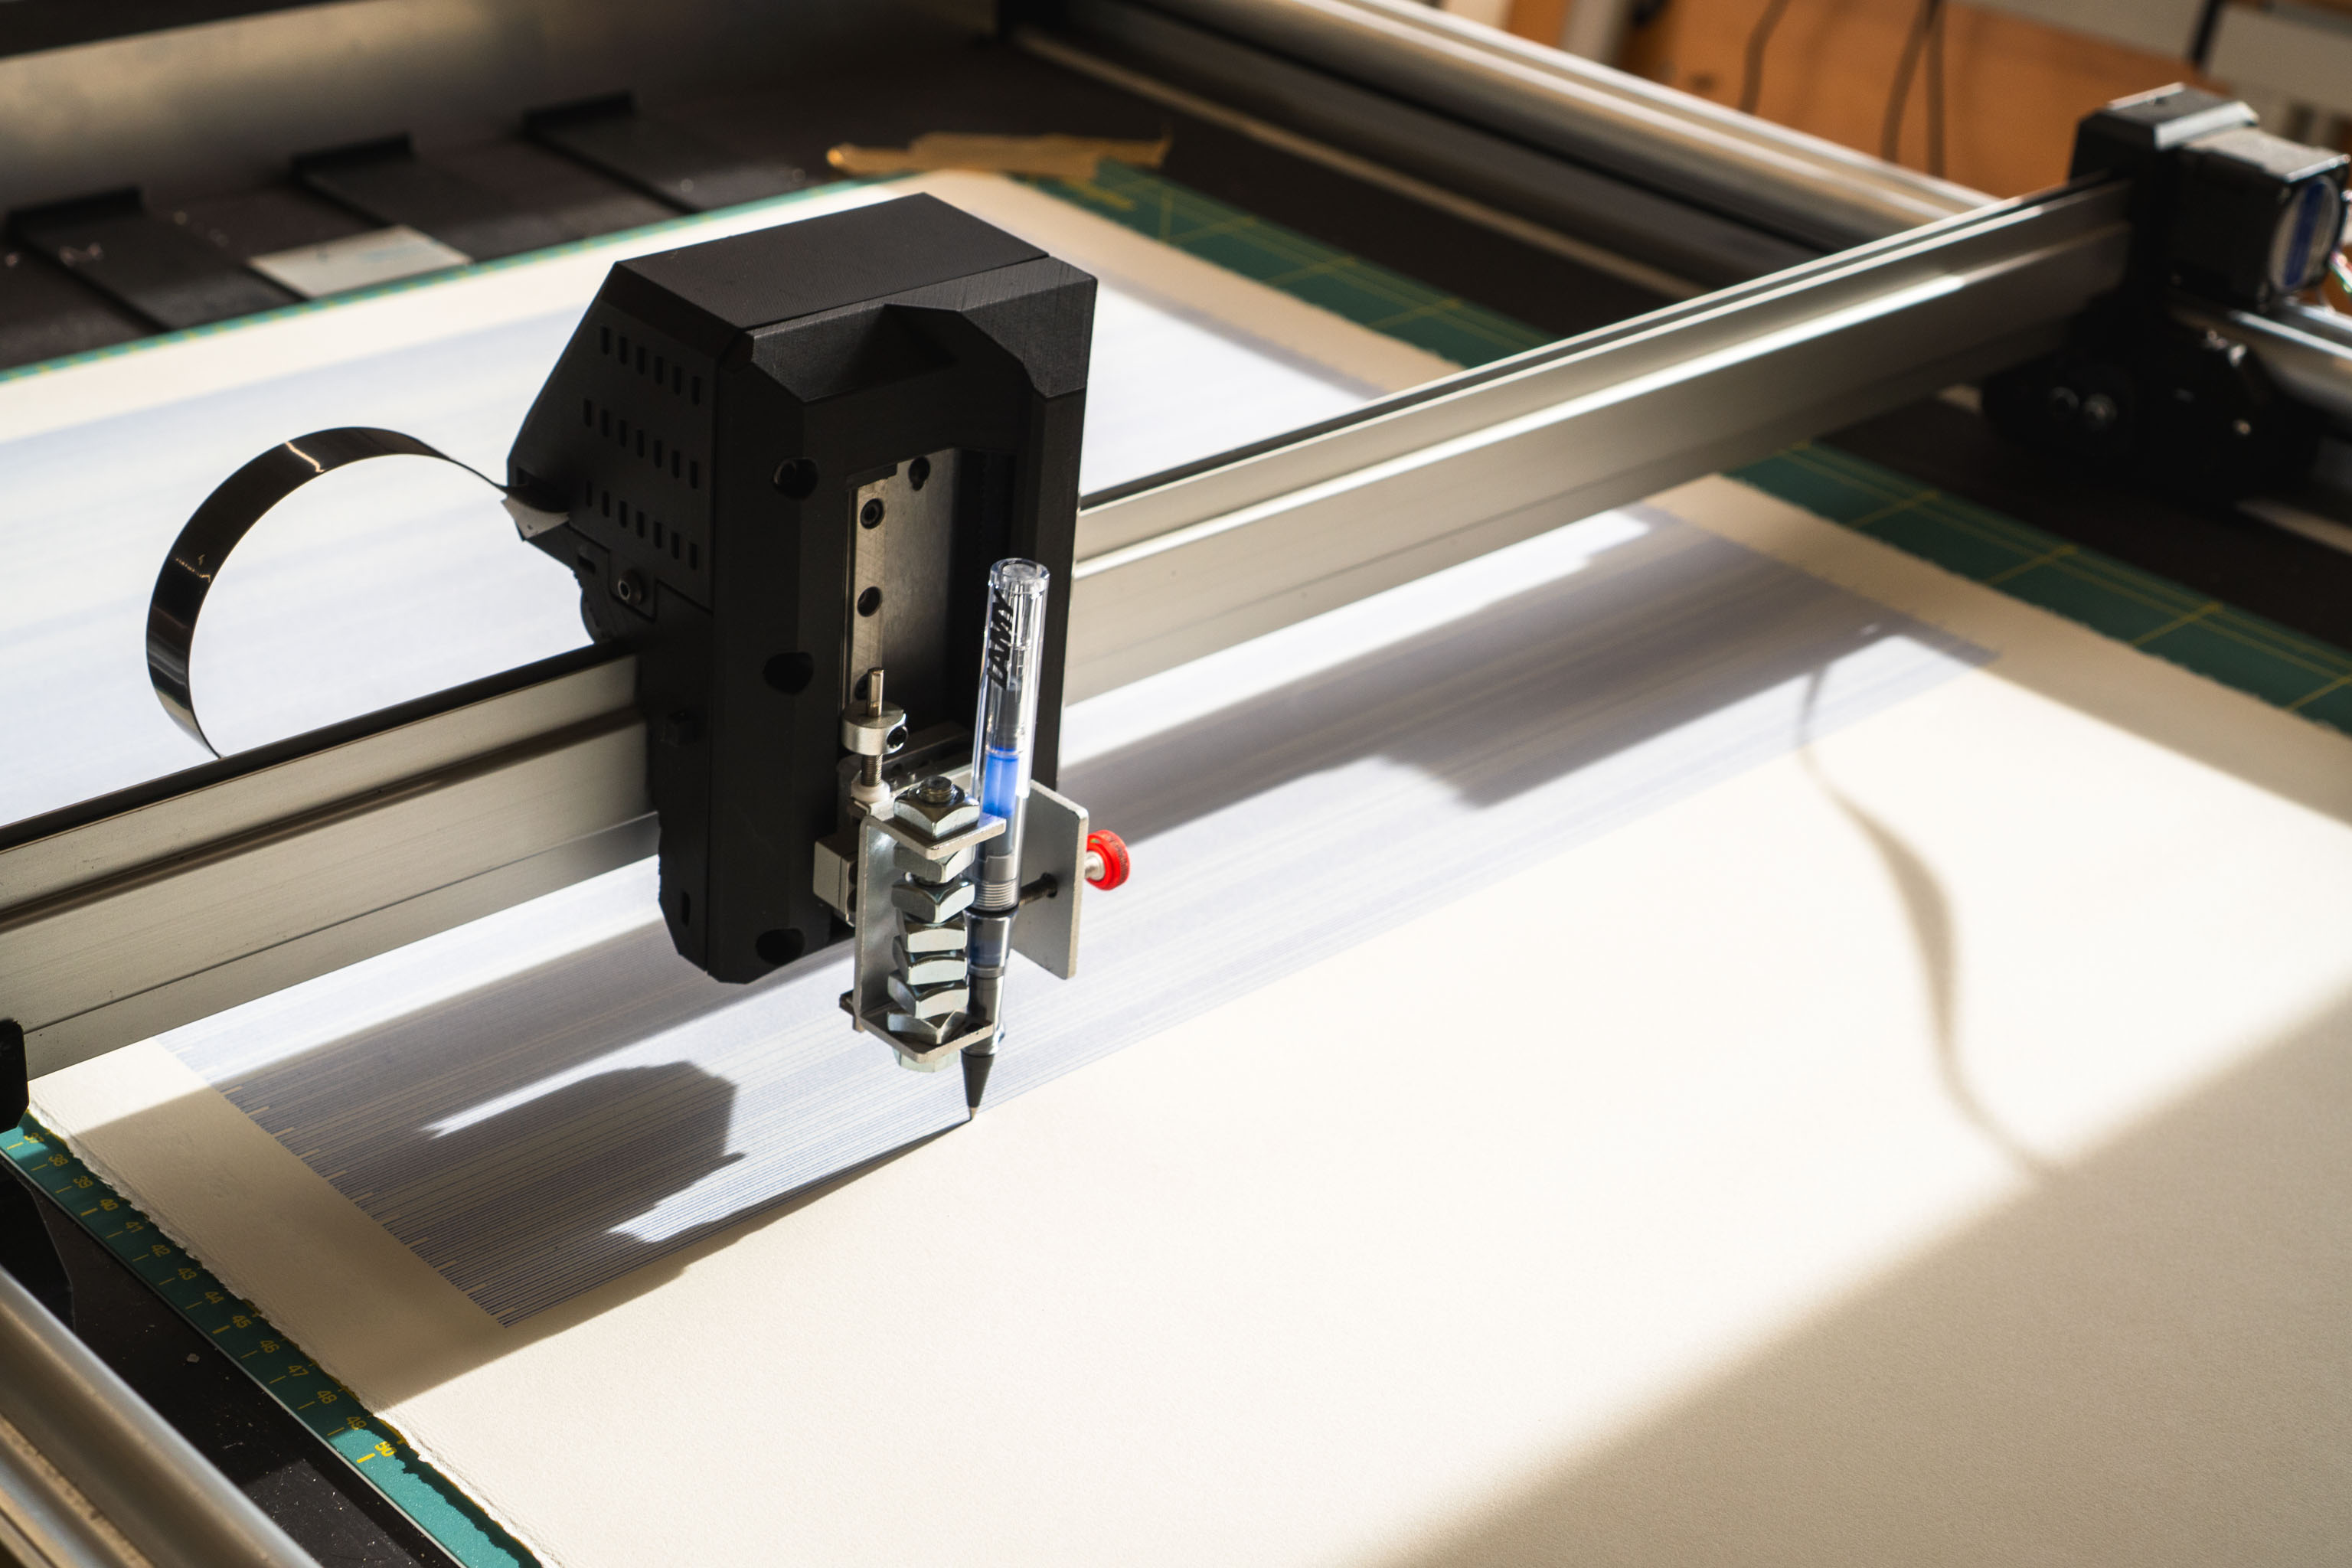
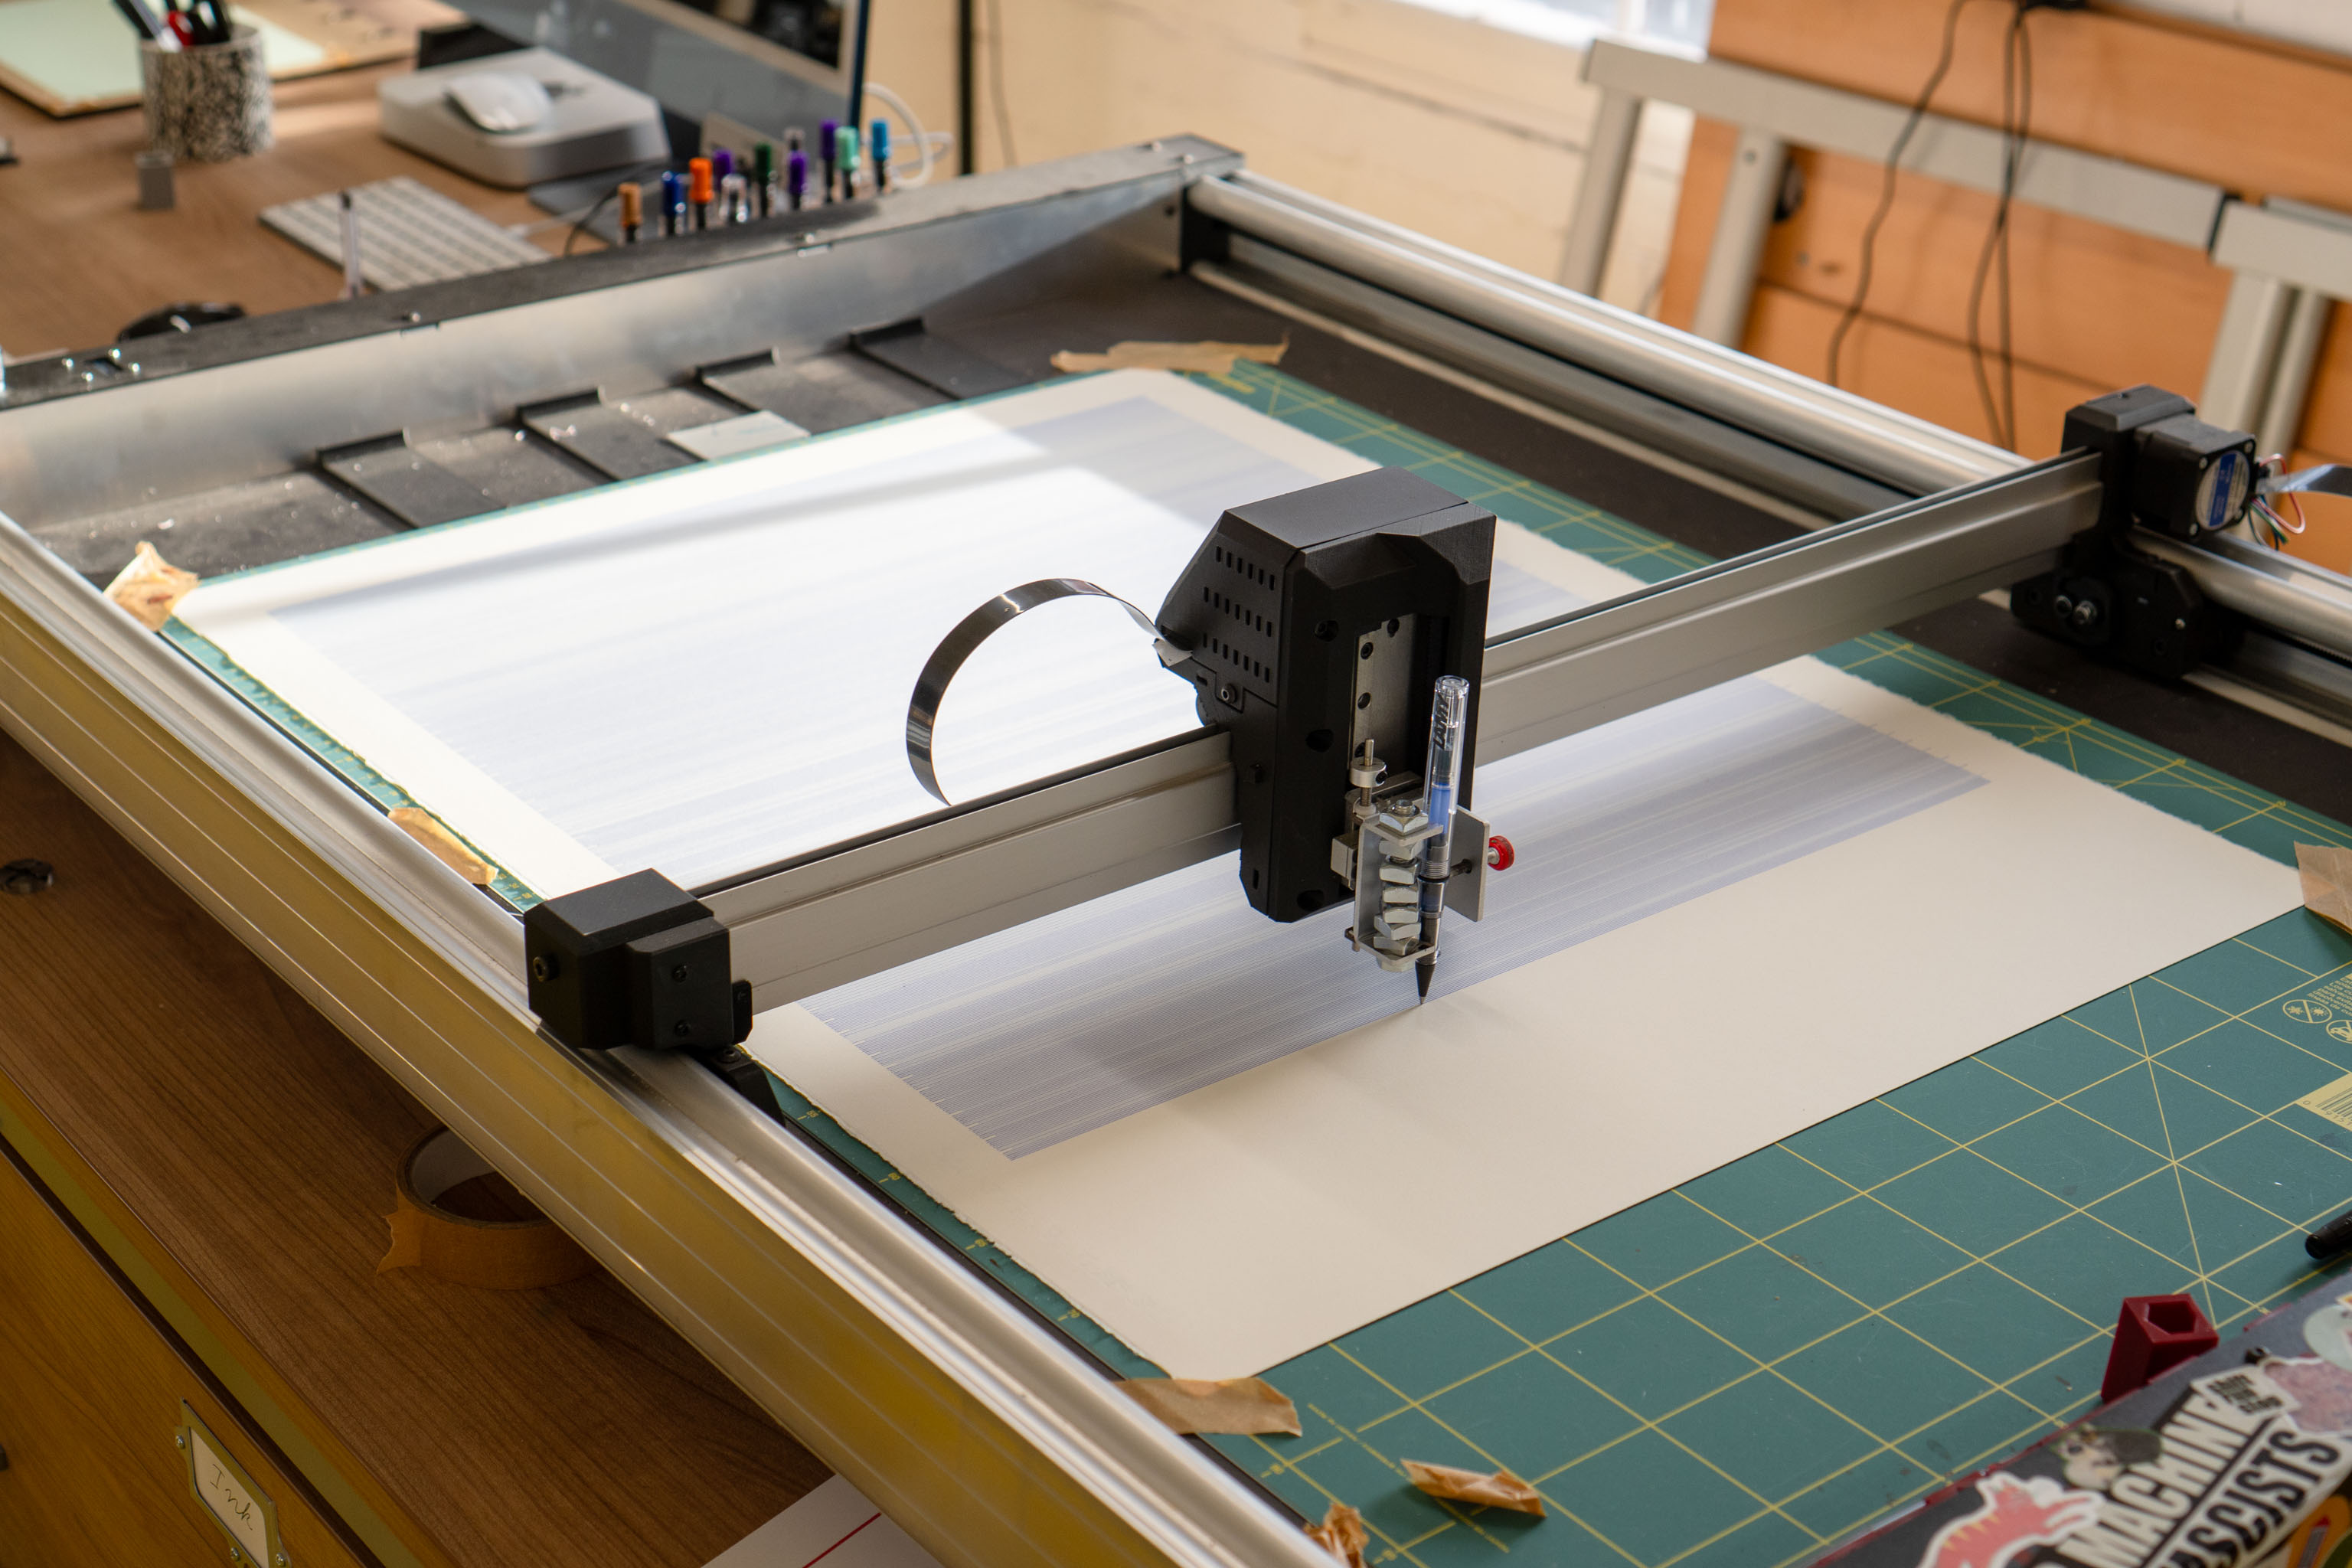
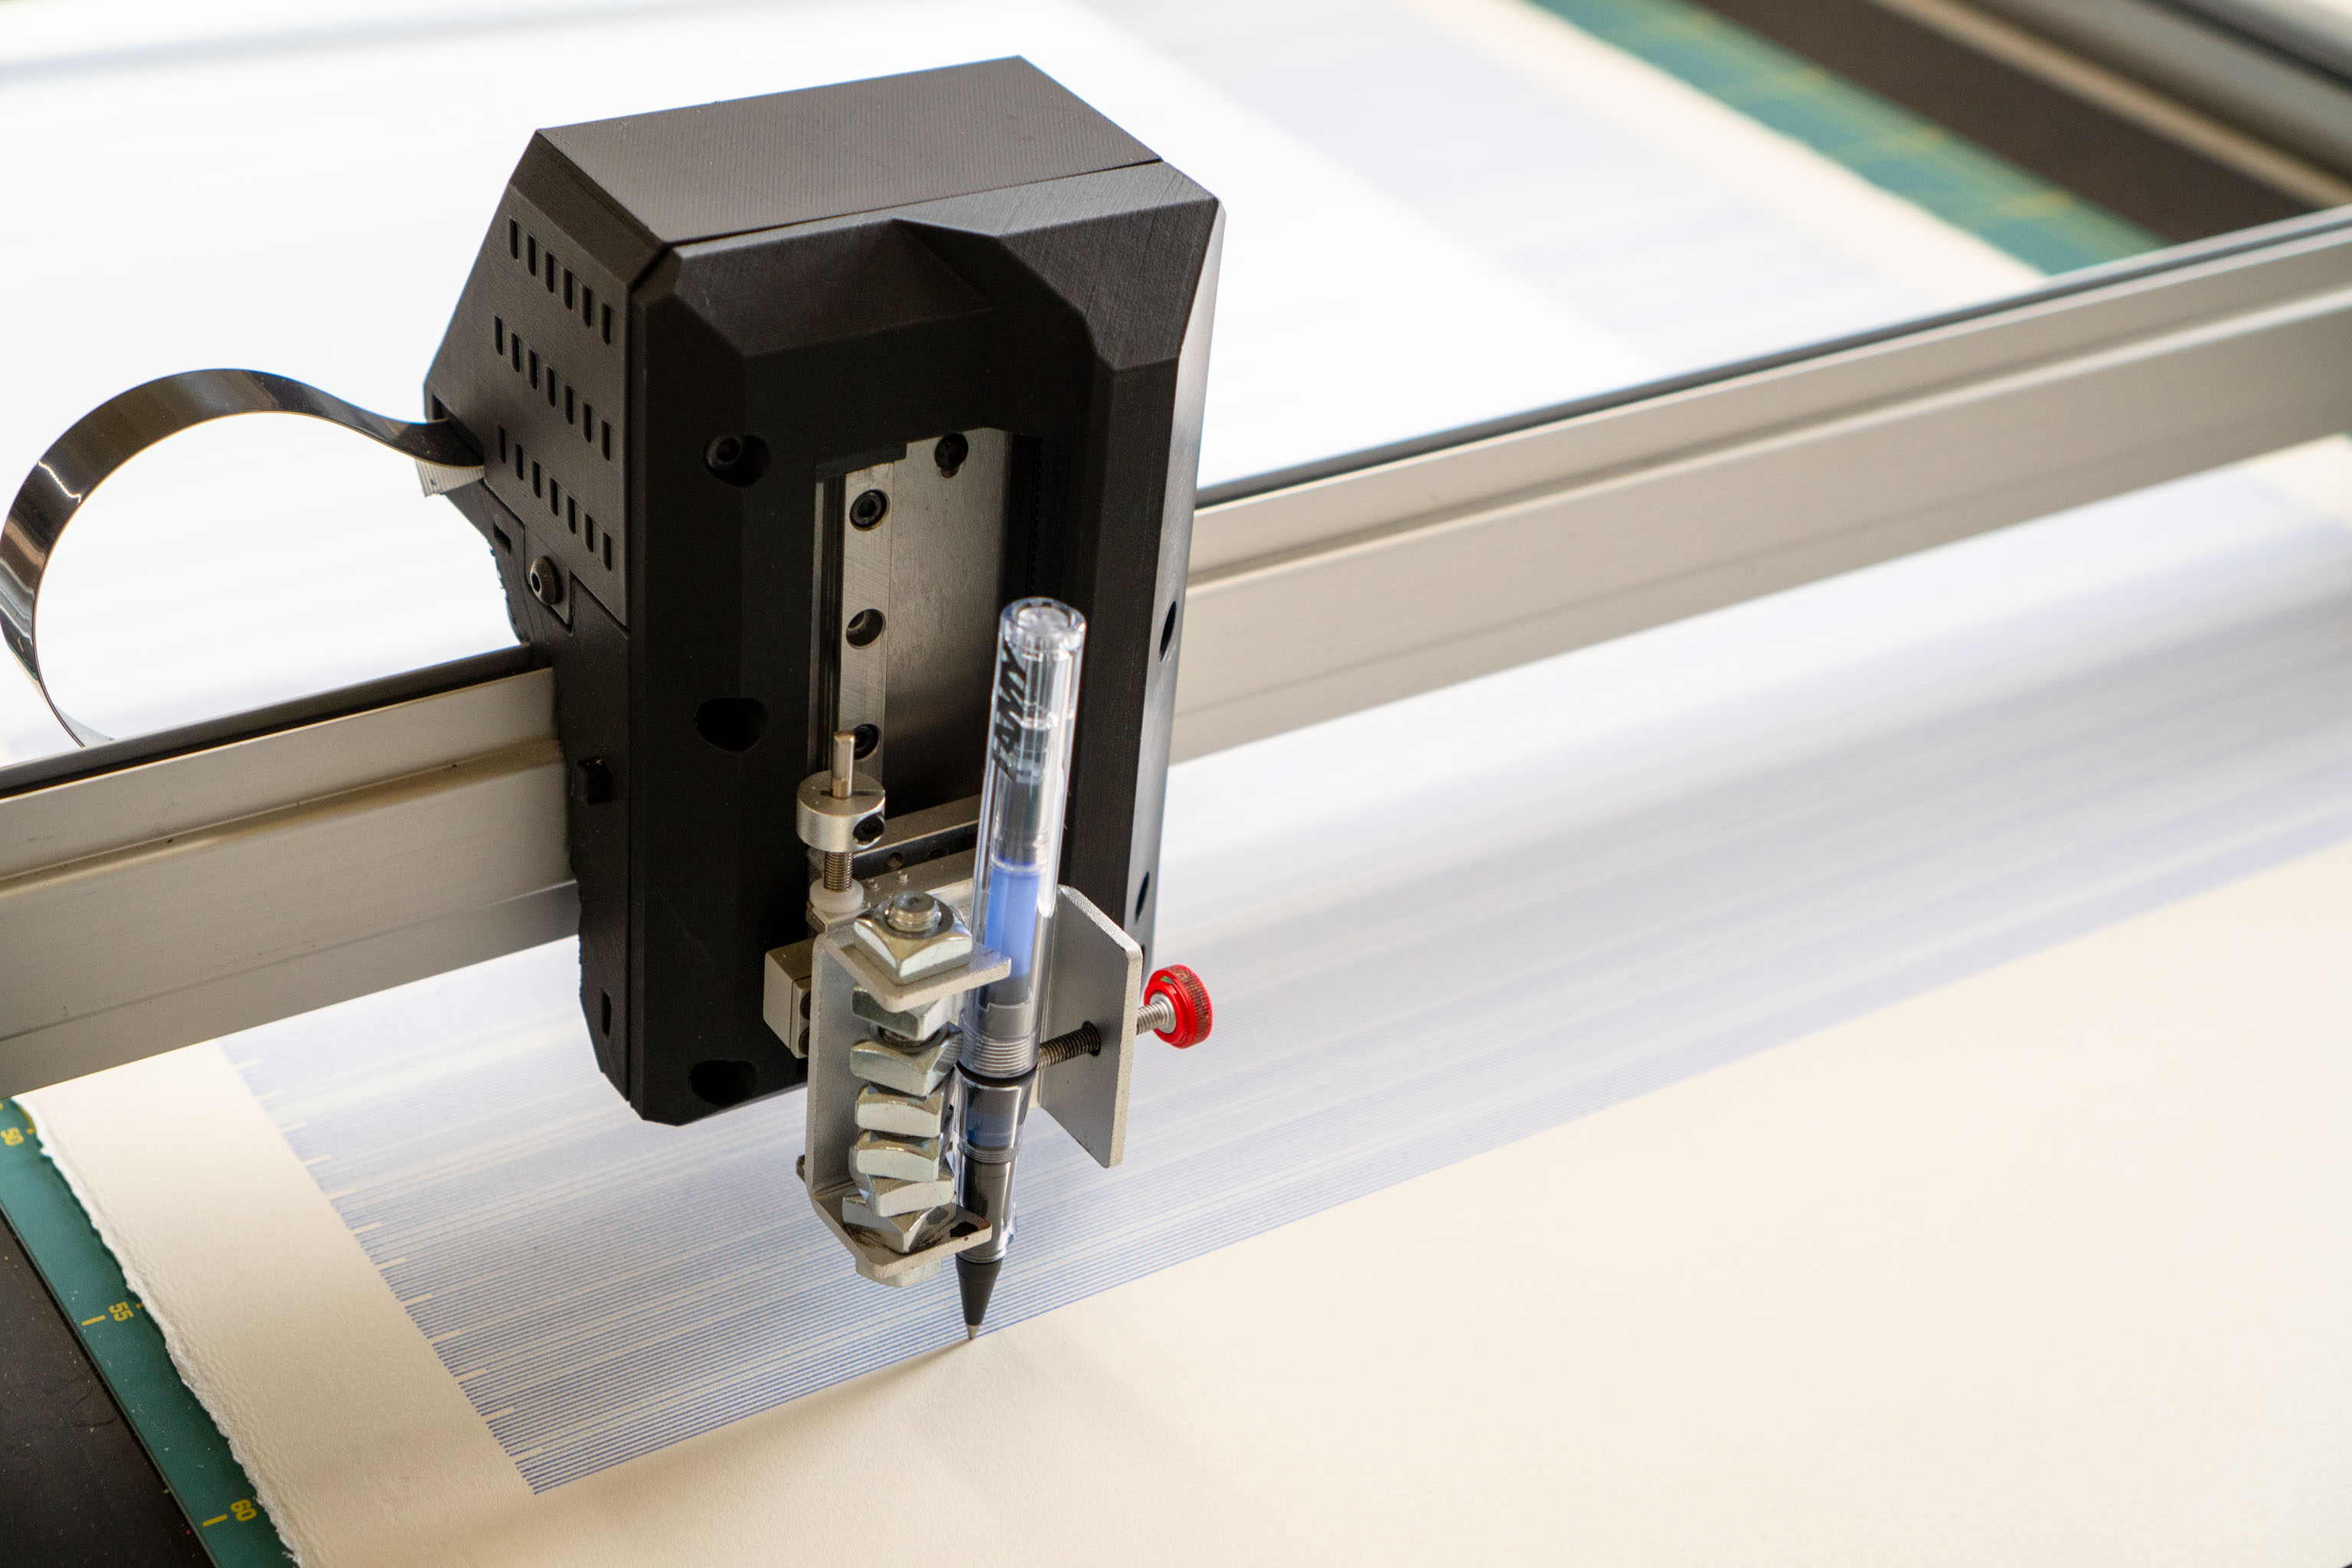
LAMY have come out with a new rollerball pen that takes the ink cartridges from their Safari line of fountain pens. They say it can only use the T10 Blue ink cartridges - but we'll see about that.
I ran a test with one to see just how much it could draw on one full cartridge and it turns out easily over two sides of A1 - unless you were doing a very detailed plot it should be fine.
While that was plotting I cleaned out another cartridge and replaced the ink to see how that goes.
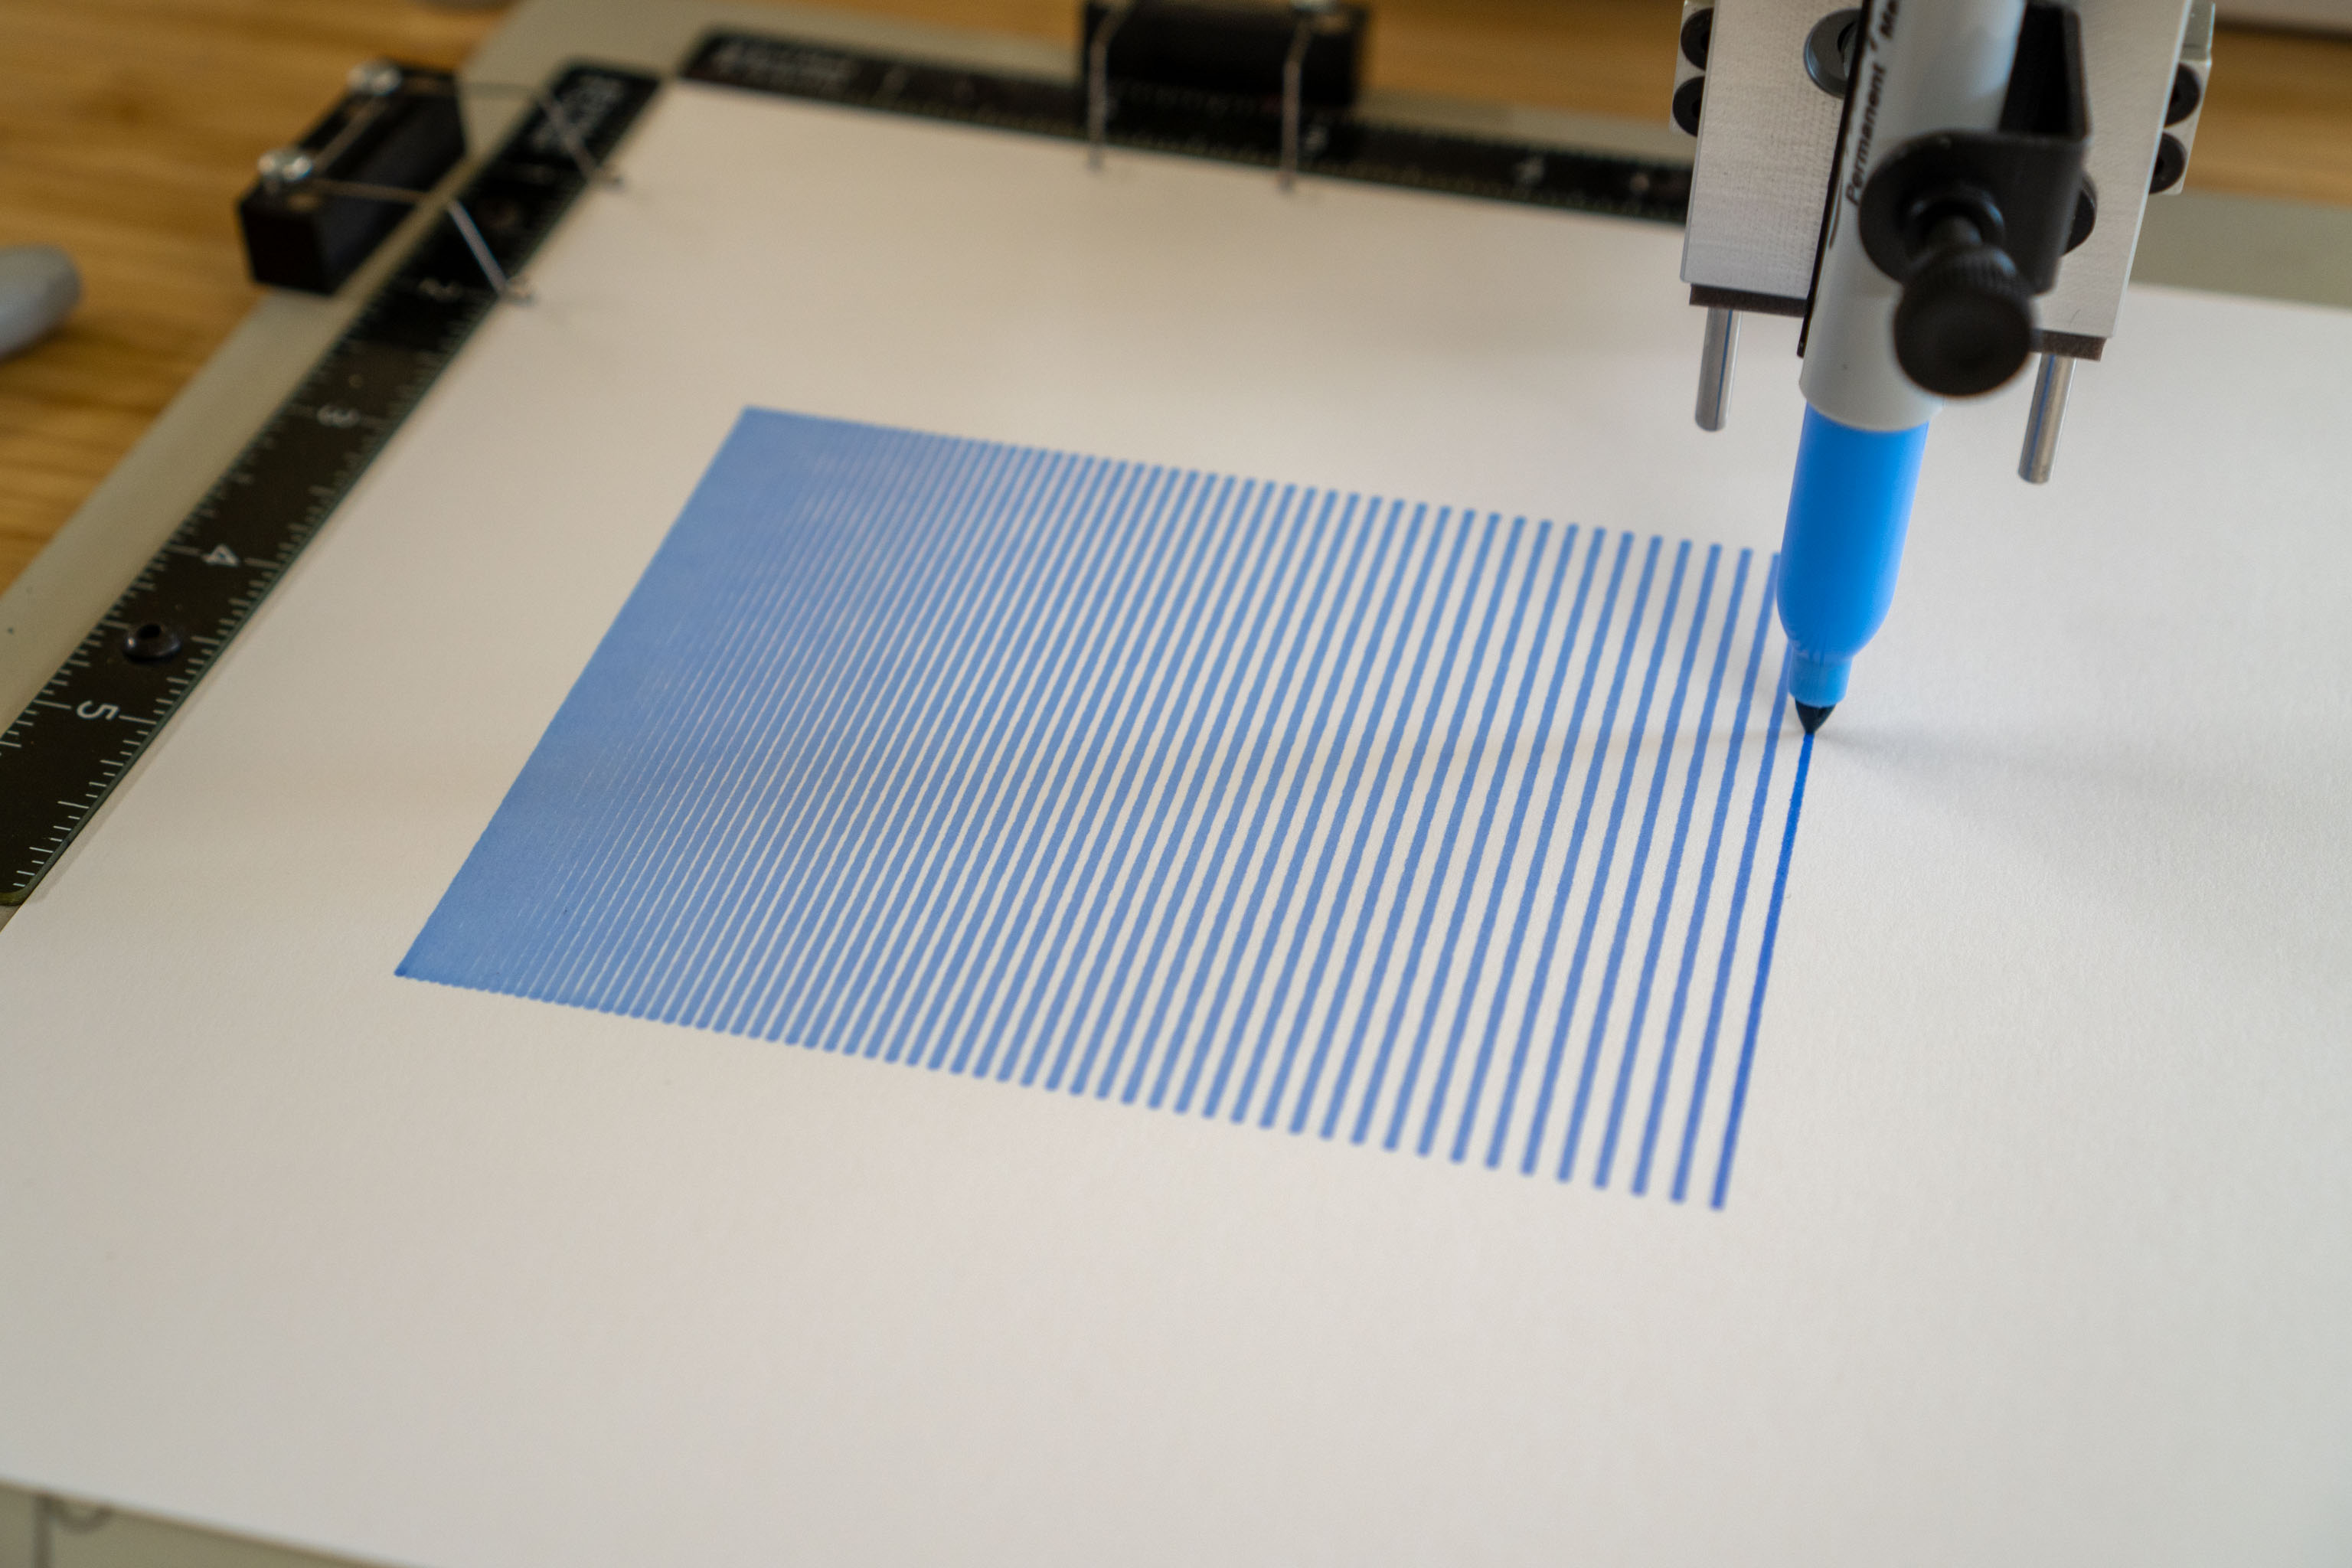
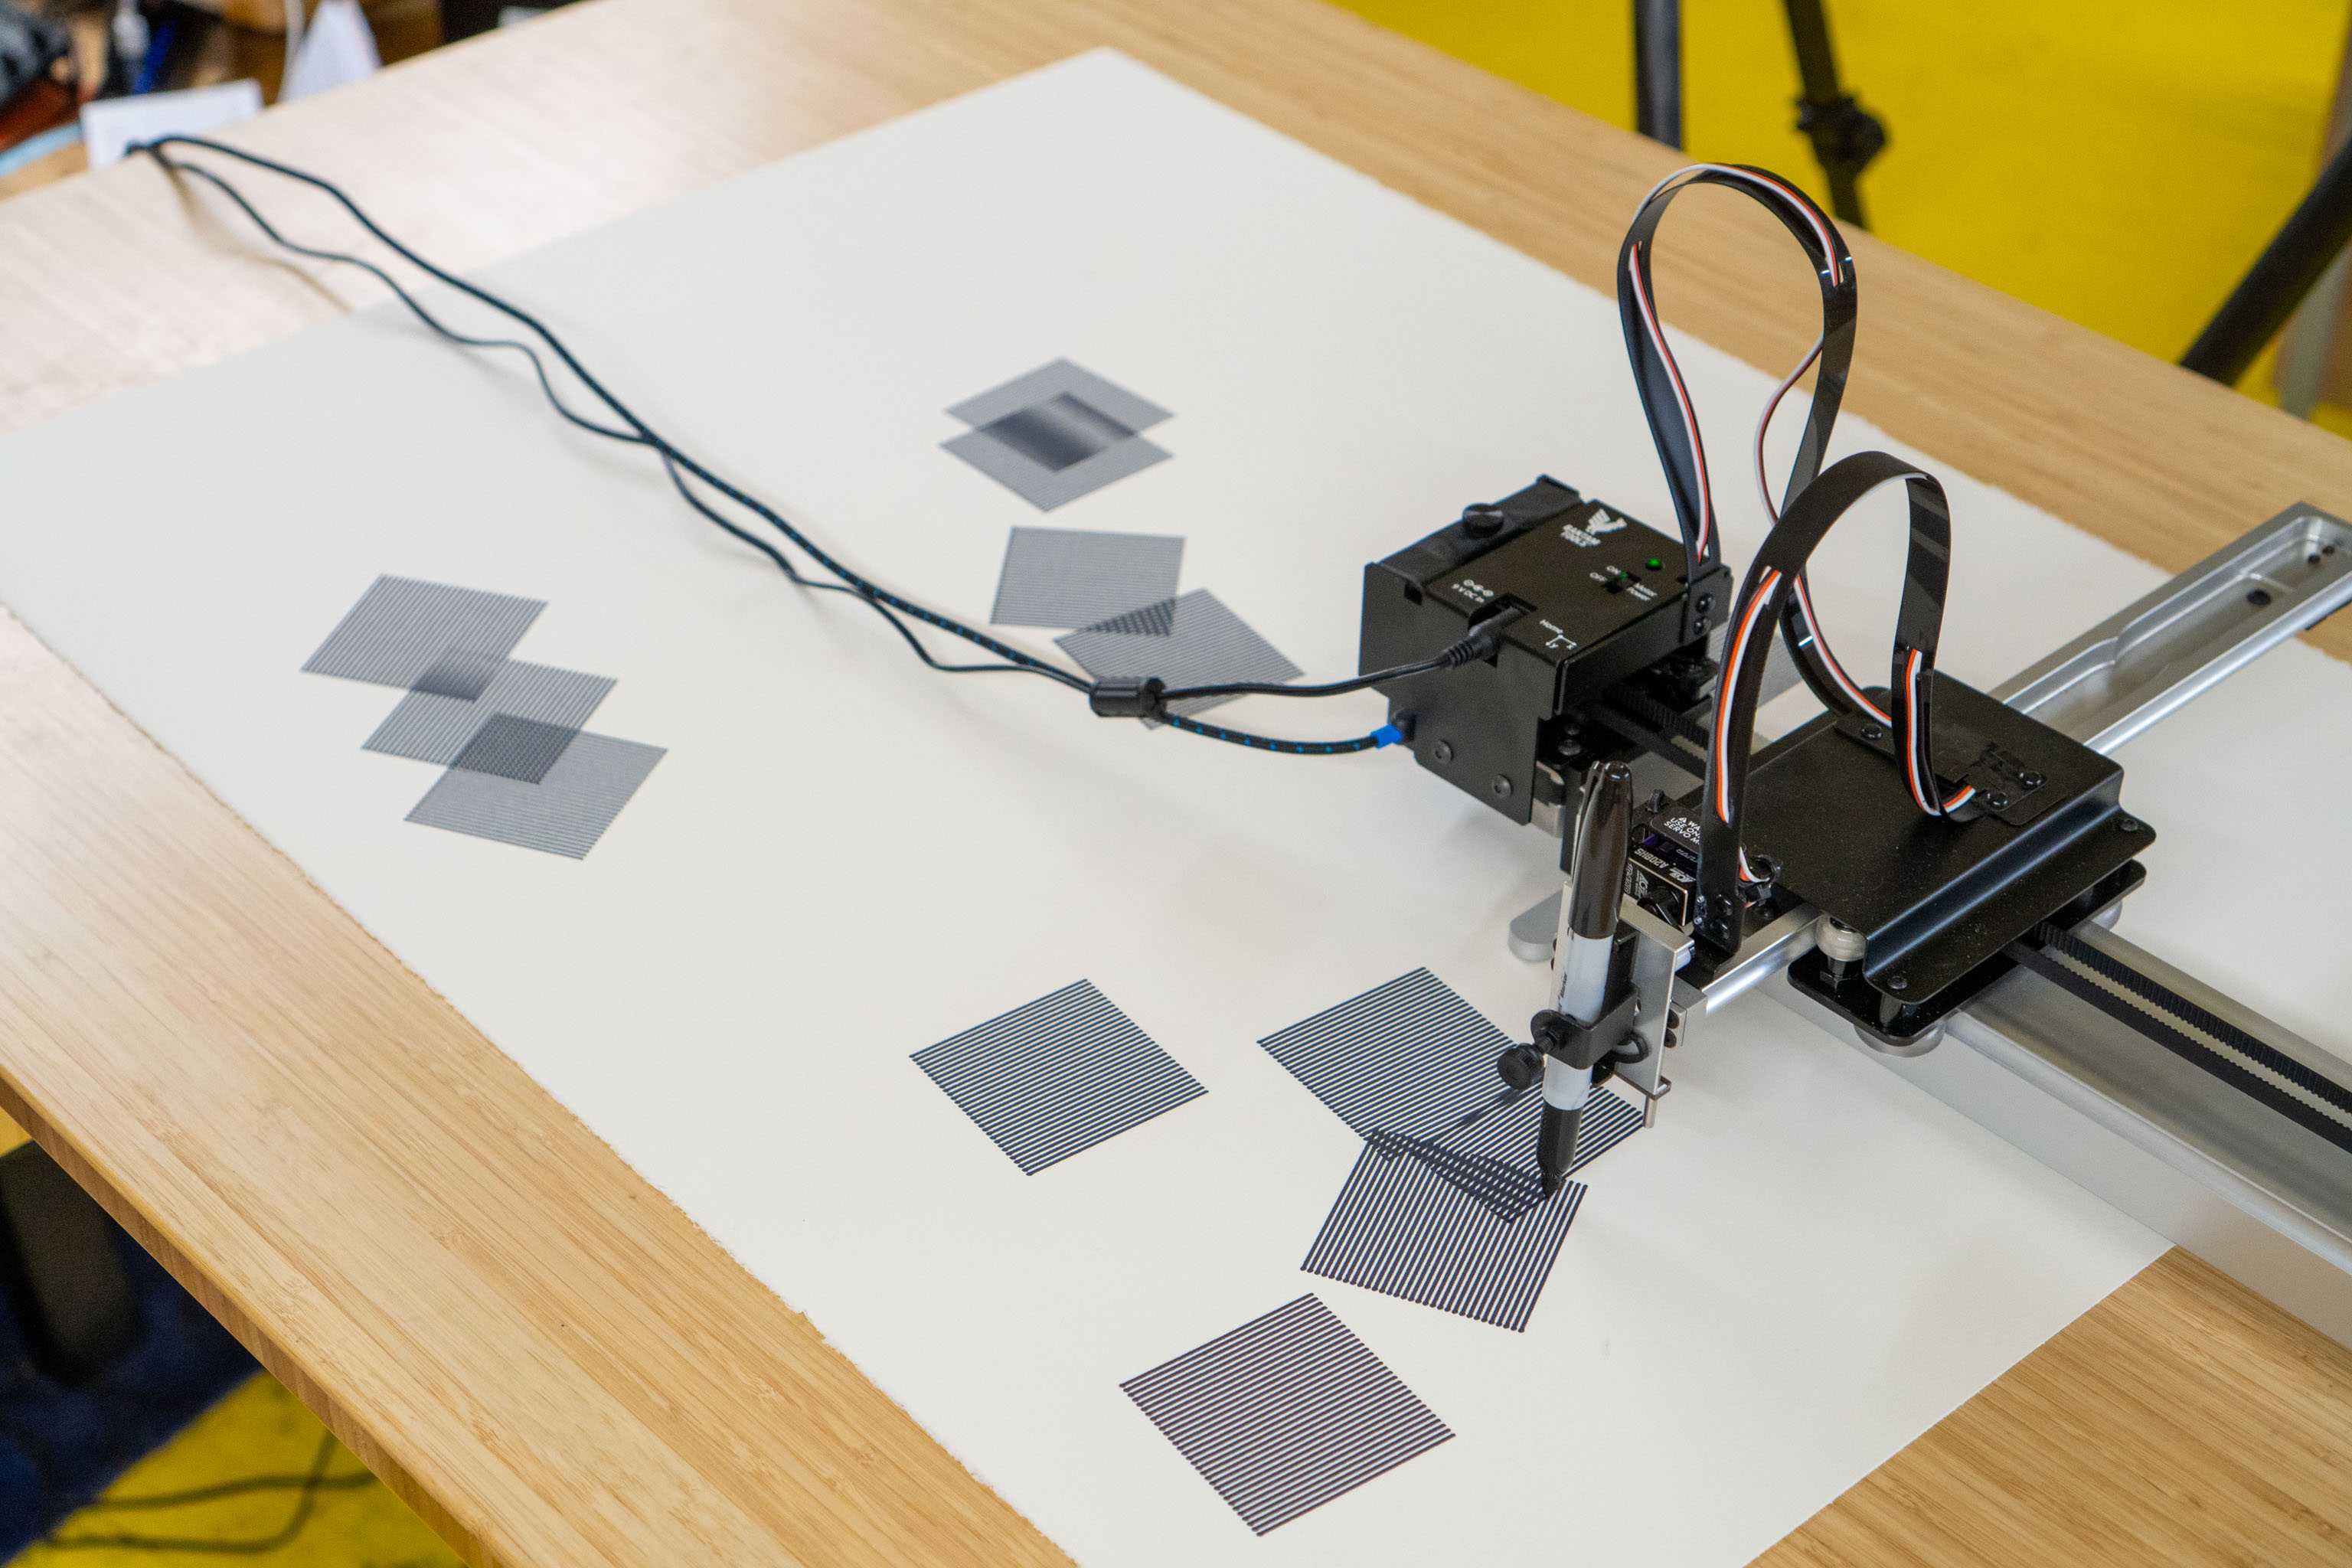
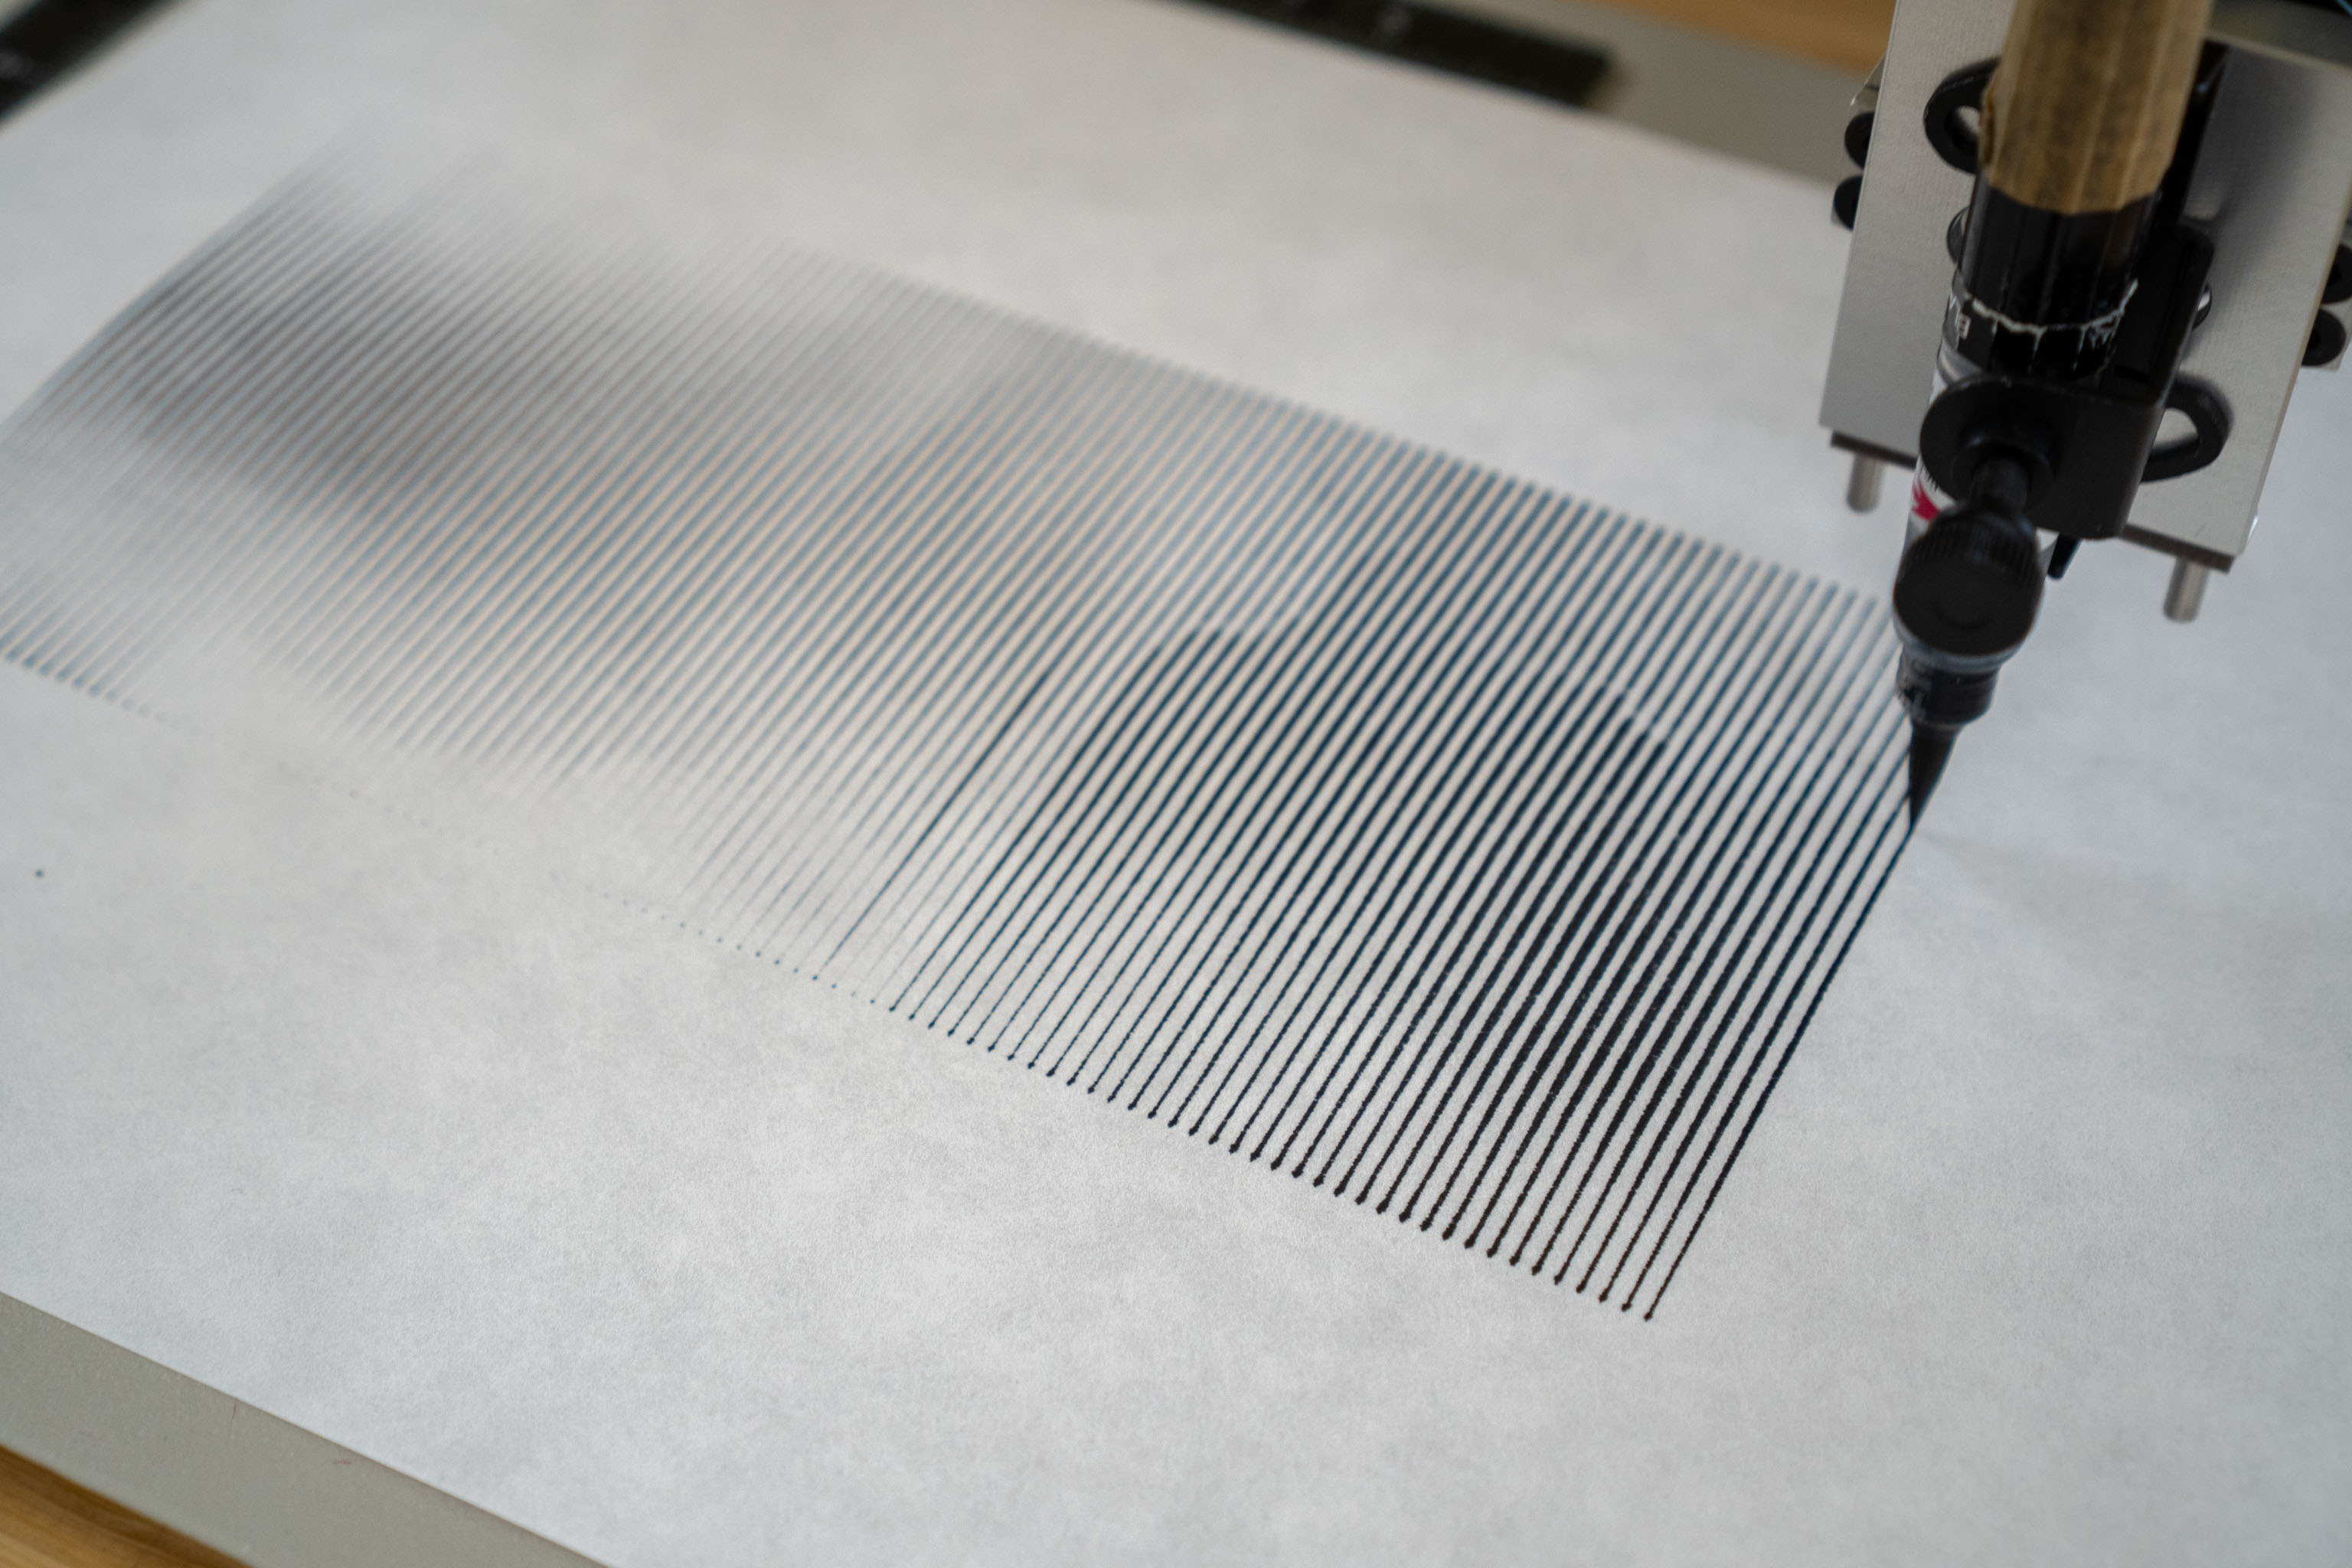
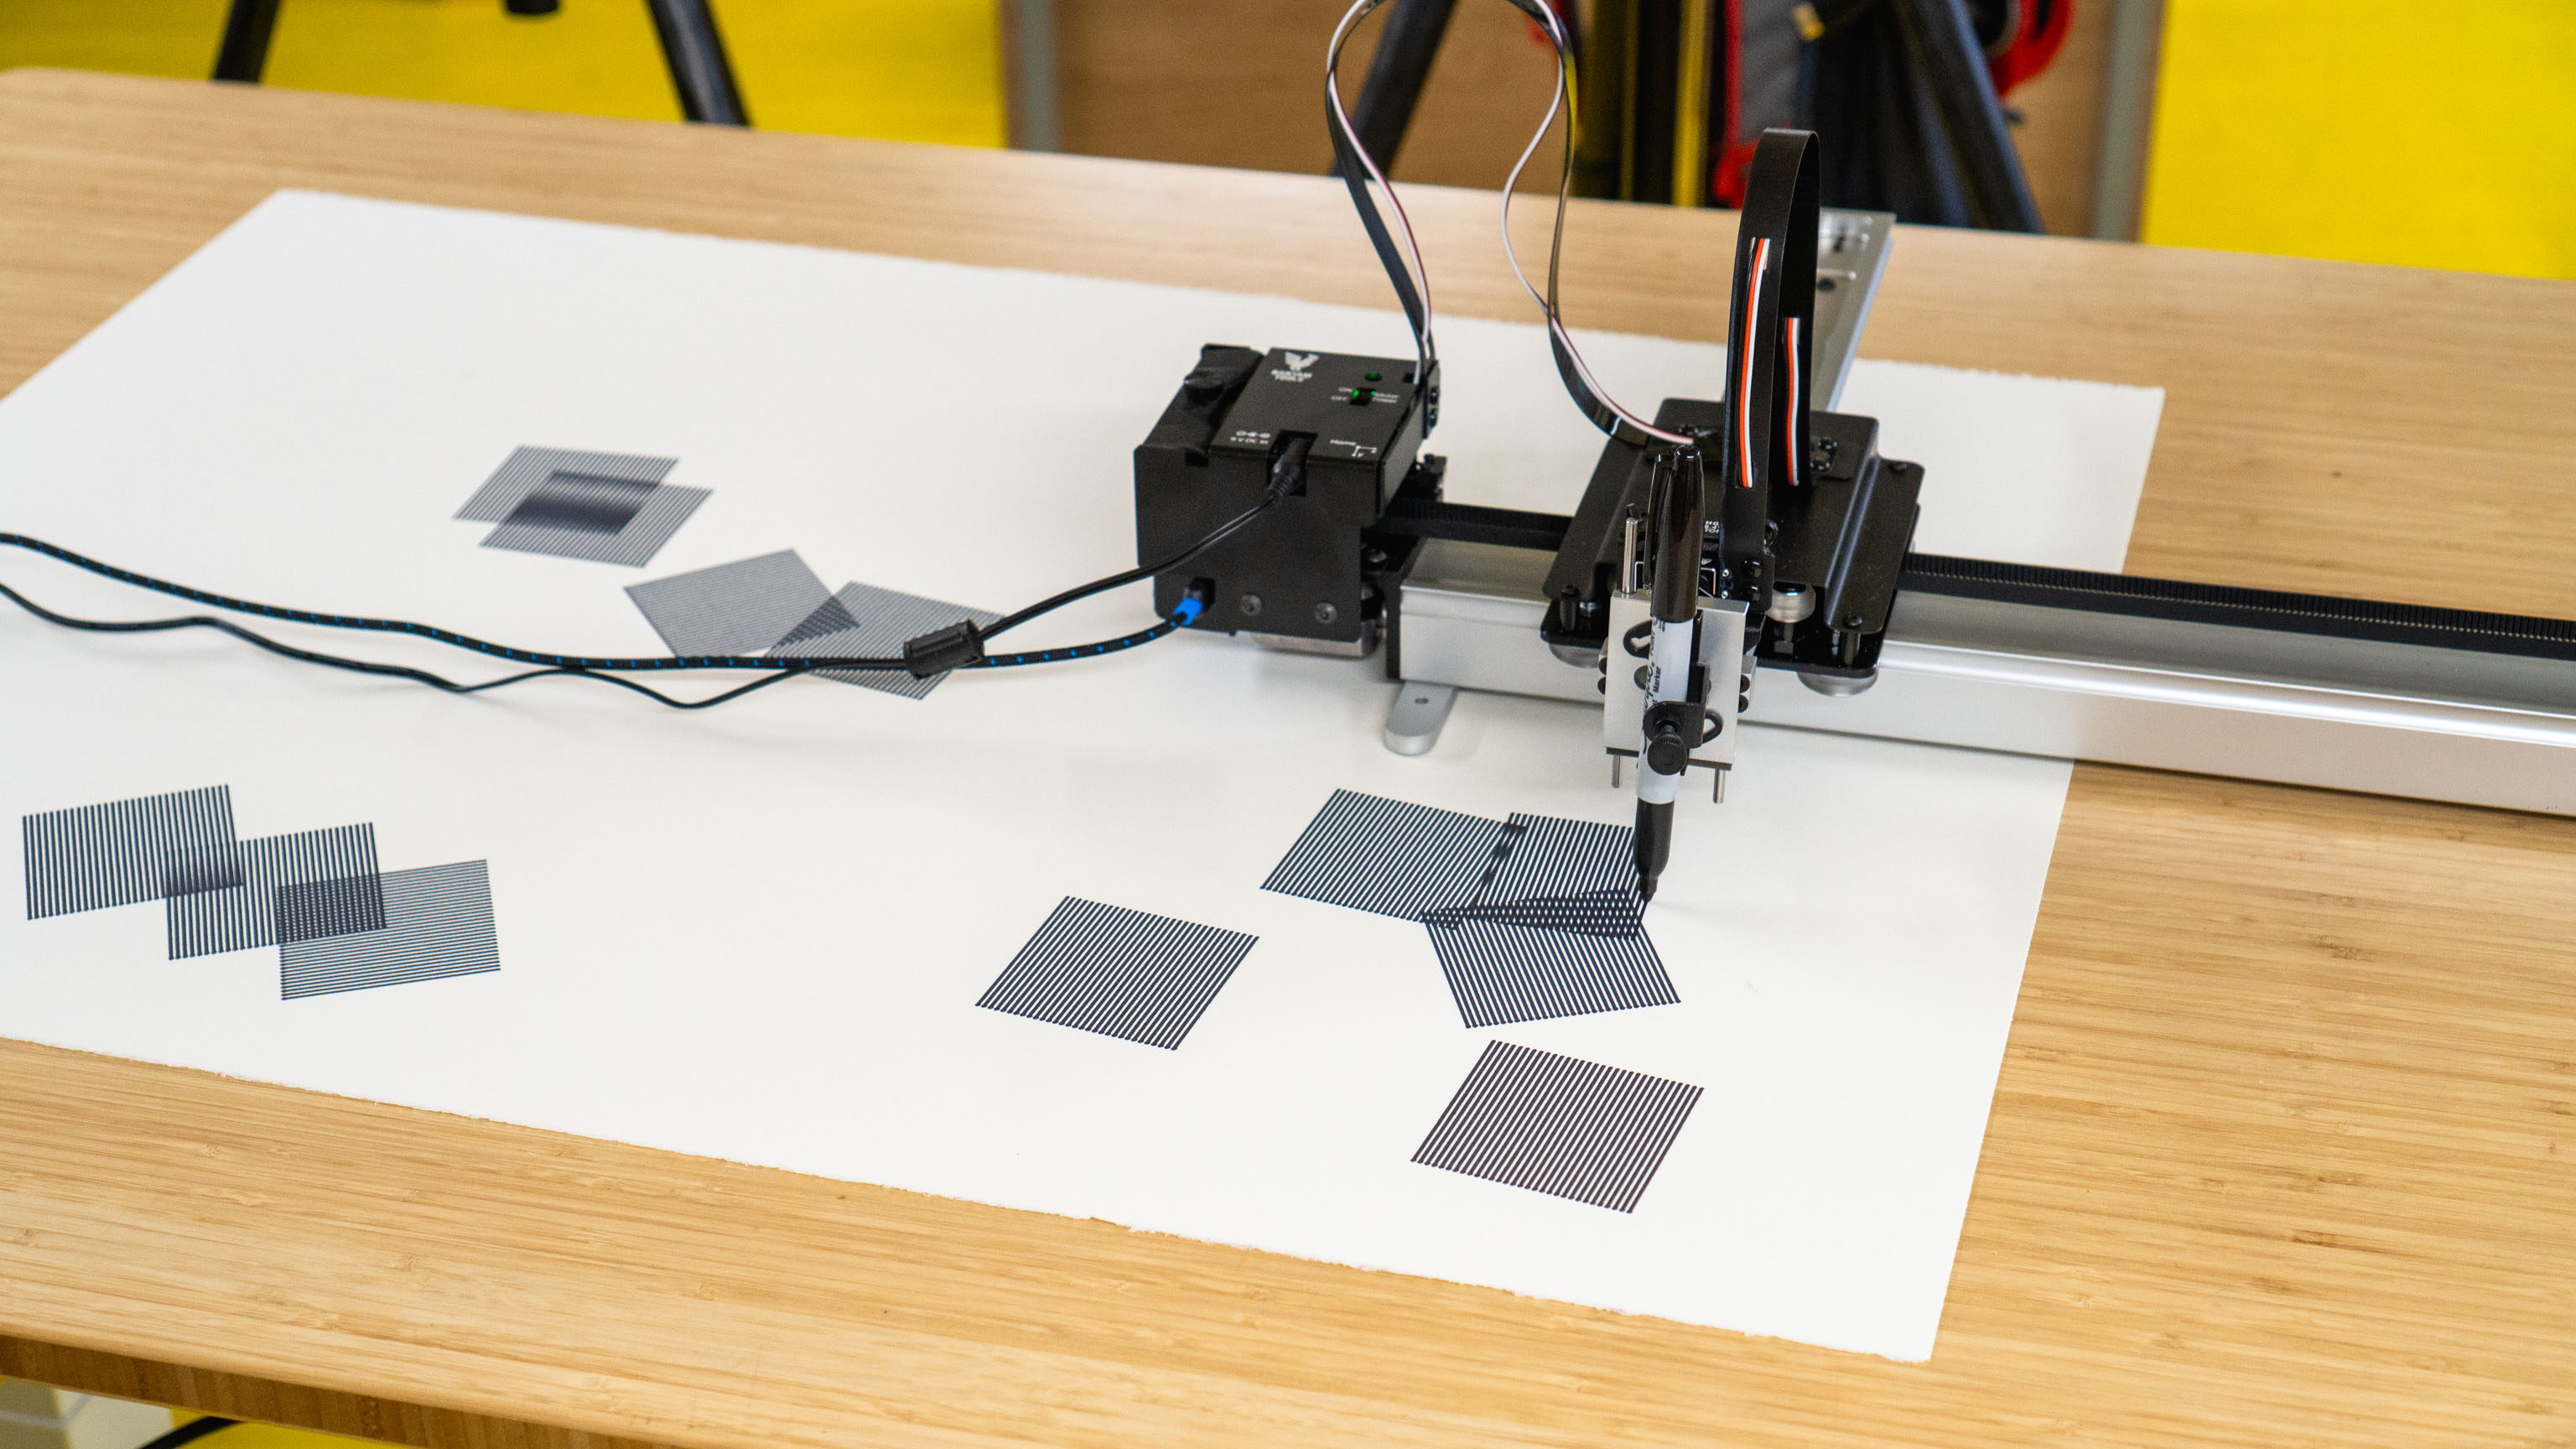
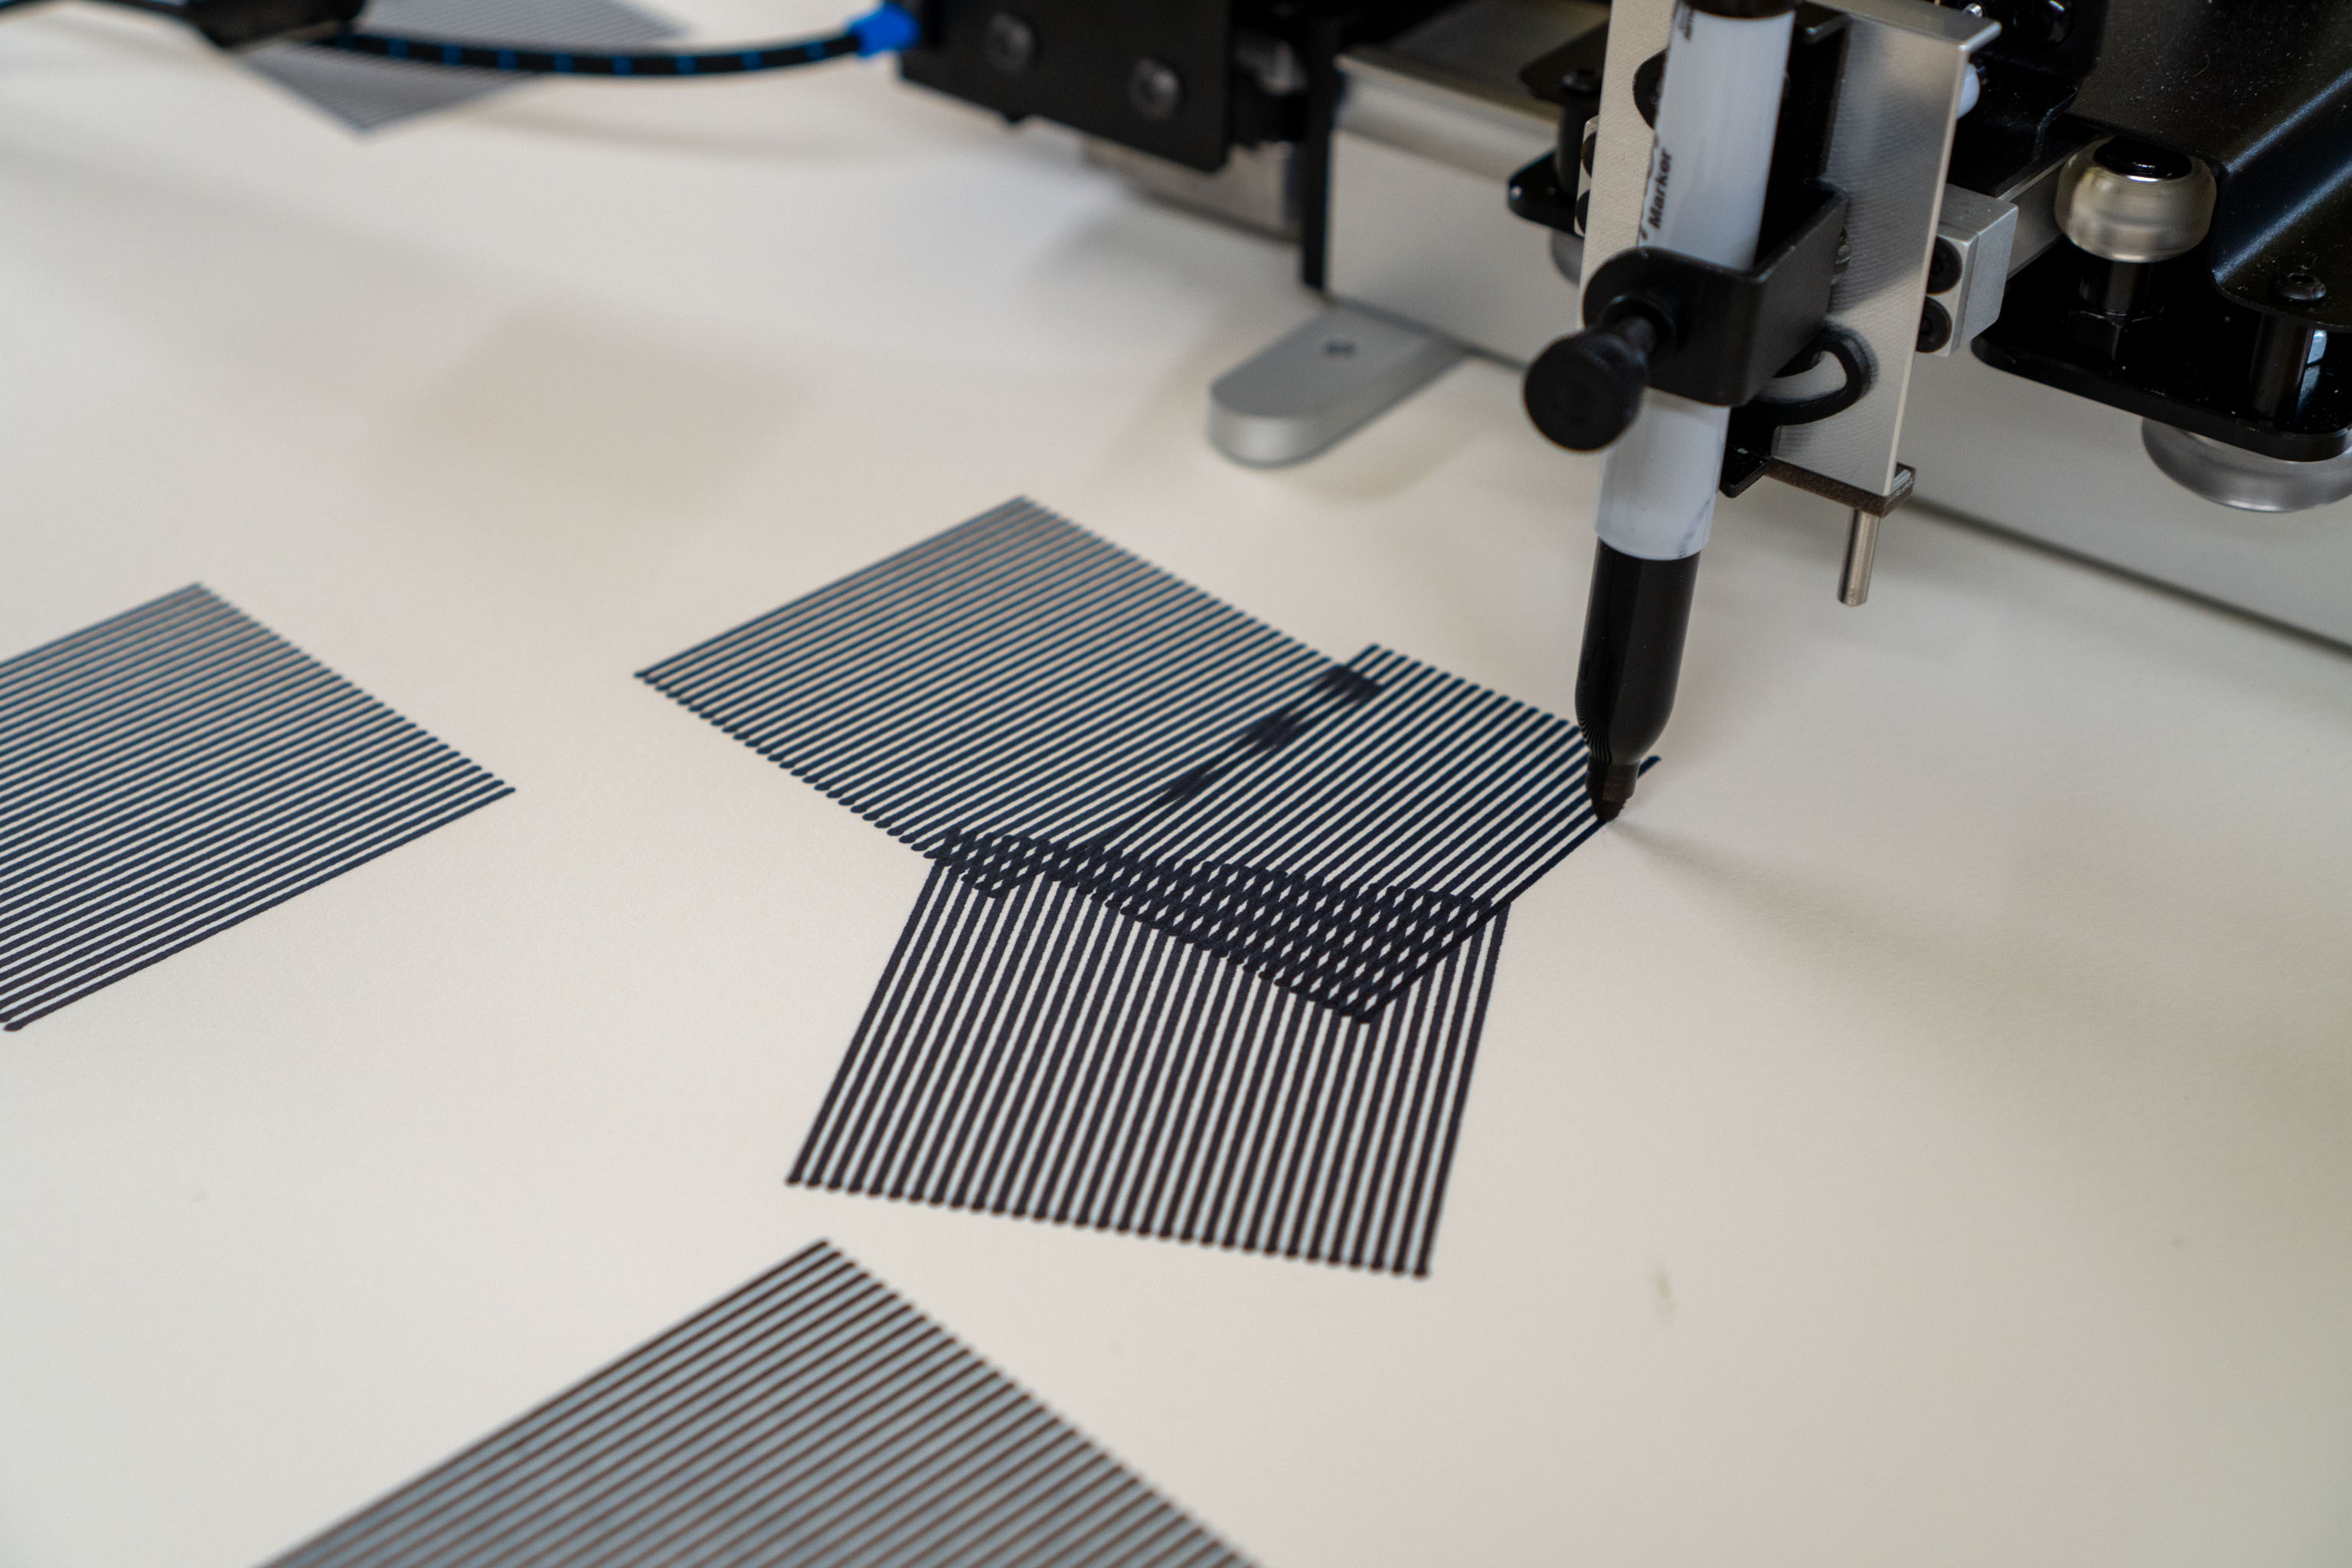
Go moving on the Drawing Machines 101 video, the first up was about 'Loops' - and in this case a While loop, one of the lesser spotted ones.
I wanted to demonstrate a few different things you could do with just a simple loop and a bunch of straight lines, including placing objects under the paper, and moving the plotter around.
I've been meaning to try the brush code onto longer forms, think bookmark format I guess, or a banner/standard. The hex-grid I had defined for postcard was kinda hardcoded, so I abstracted out the logic so I could pass in any number of rows and columns for the dots and let the chance function wind a path along them. Now it can do these nice long brush-strokes.
I'm not 100% behind the design and it'll need some more working, but I'm glad it's there. These are about the limit of how much ink I can use before it runs out in the single stroke, which is also handy to know.

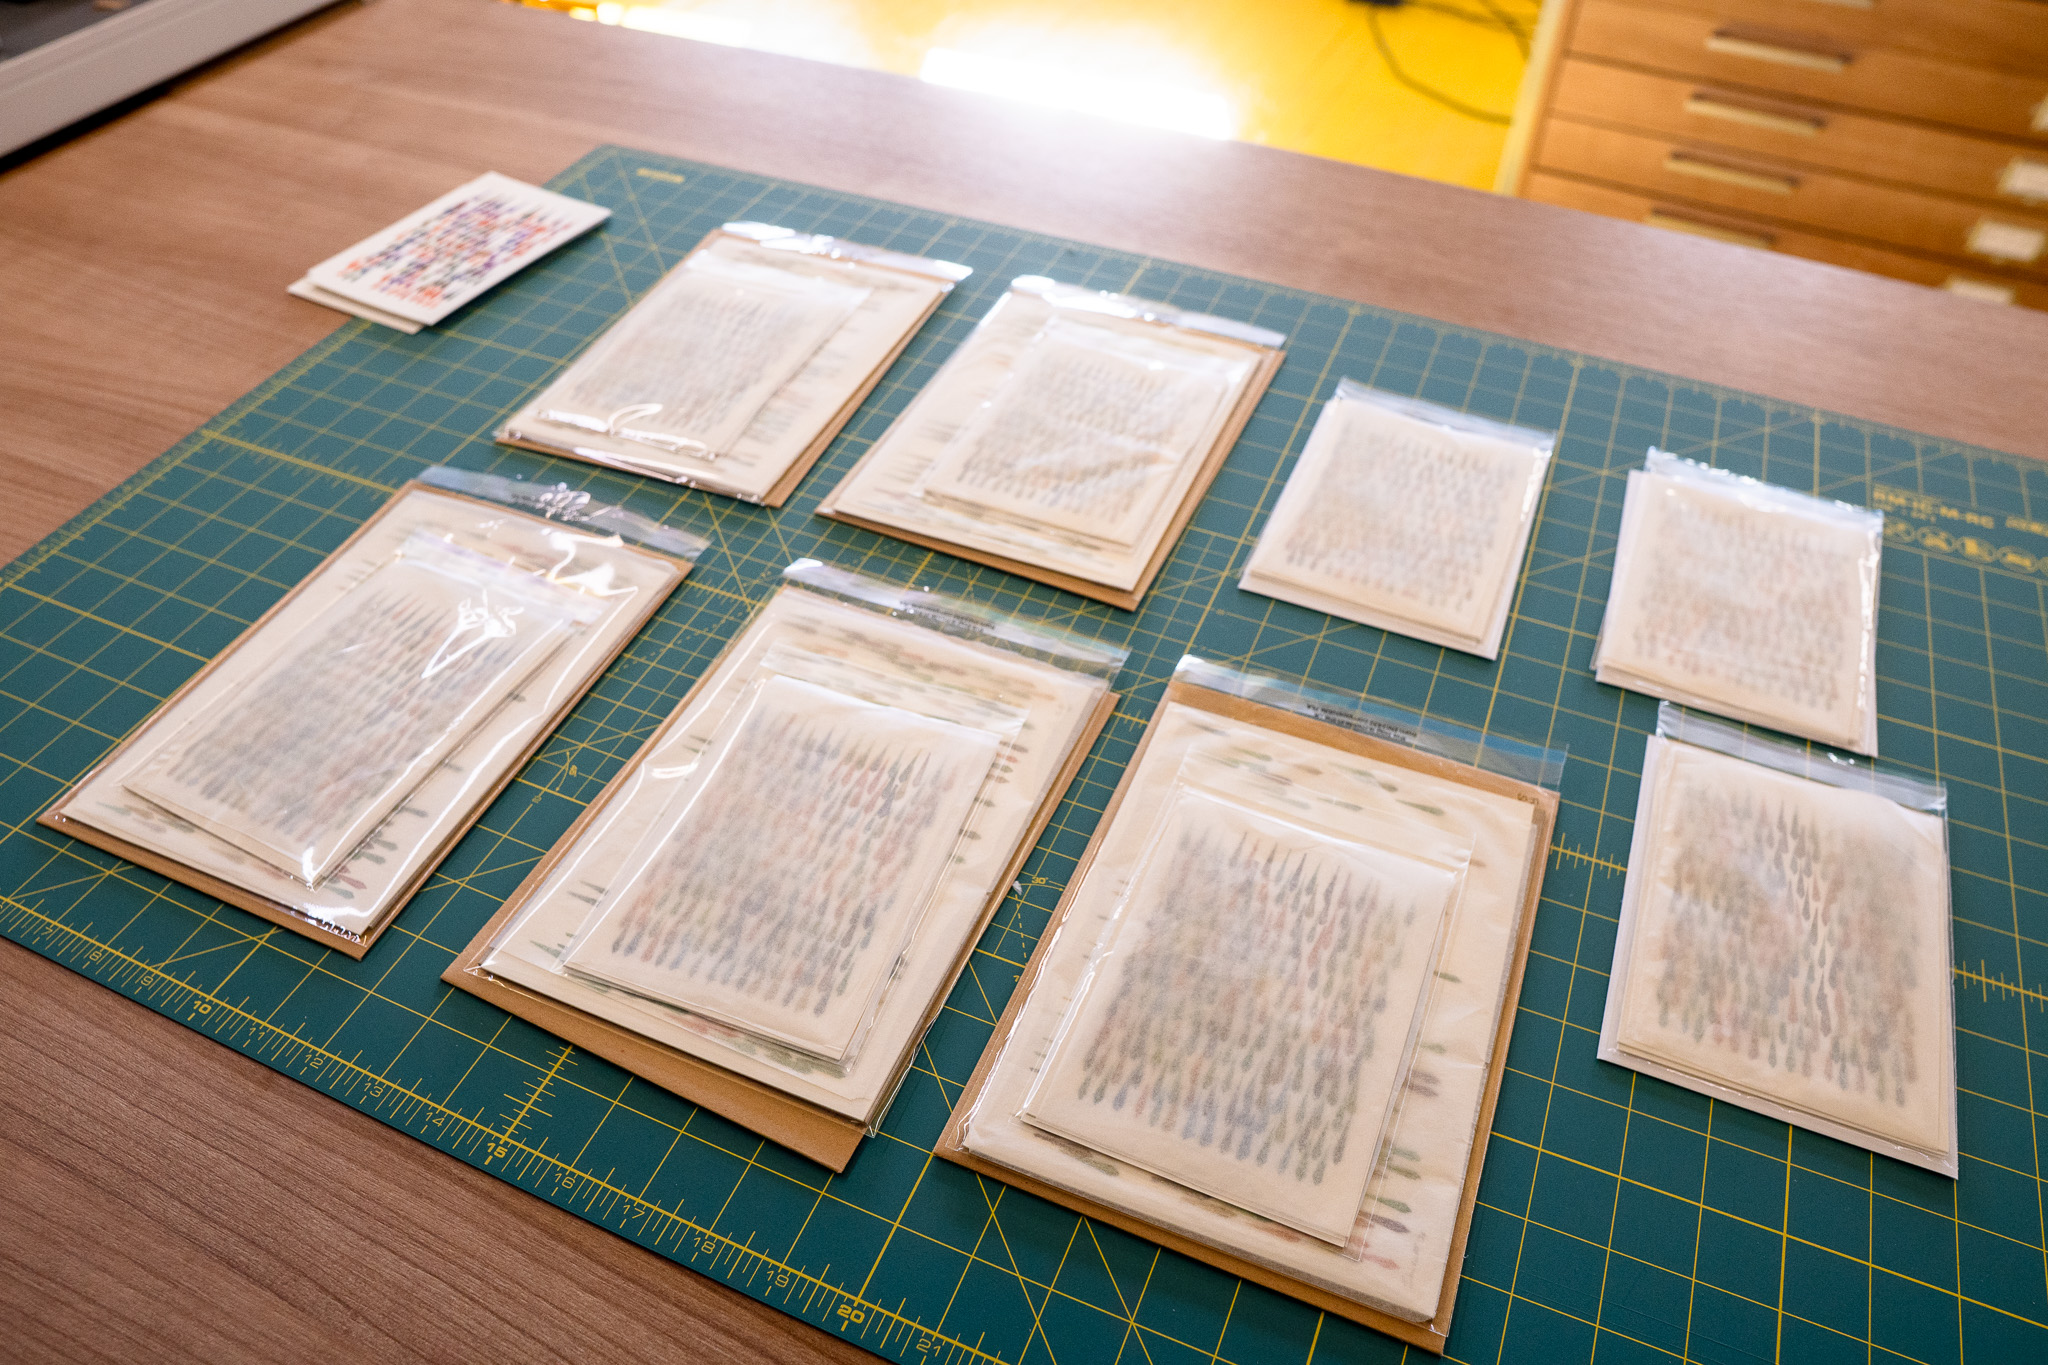
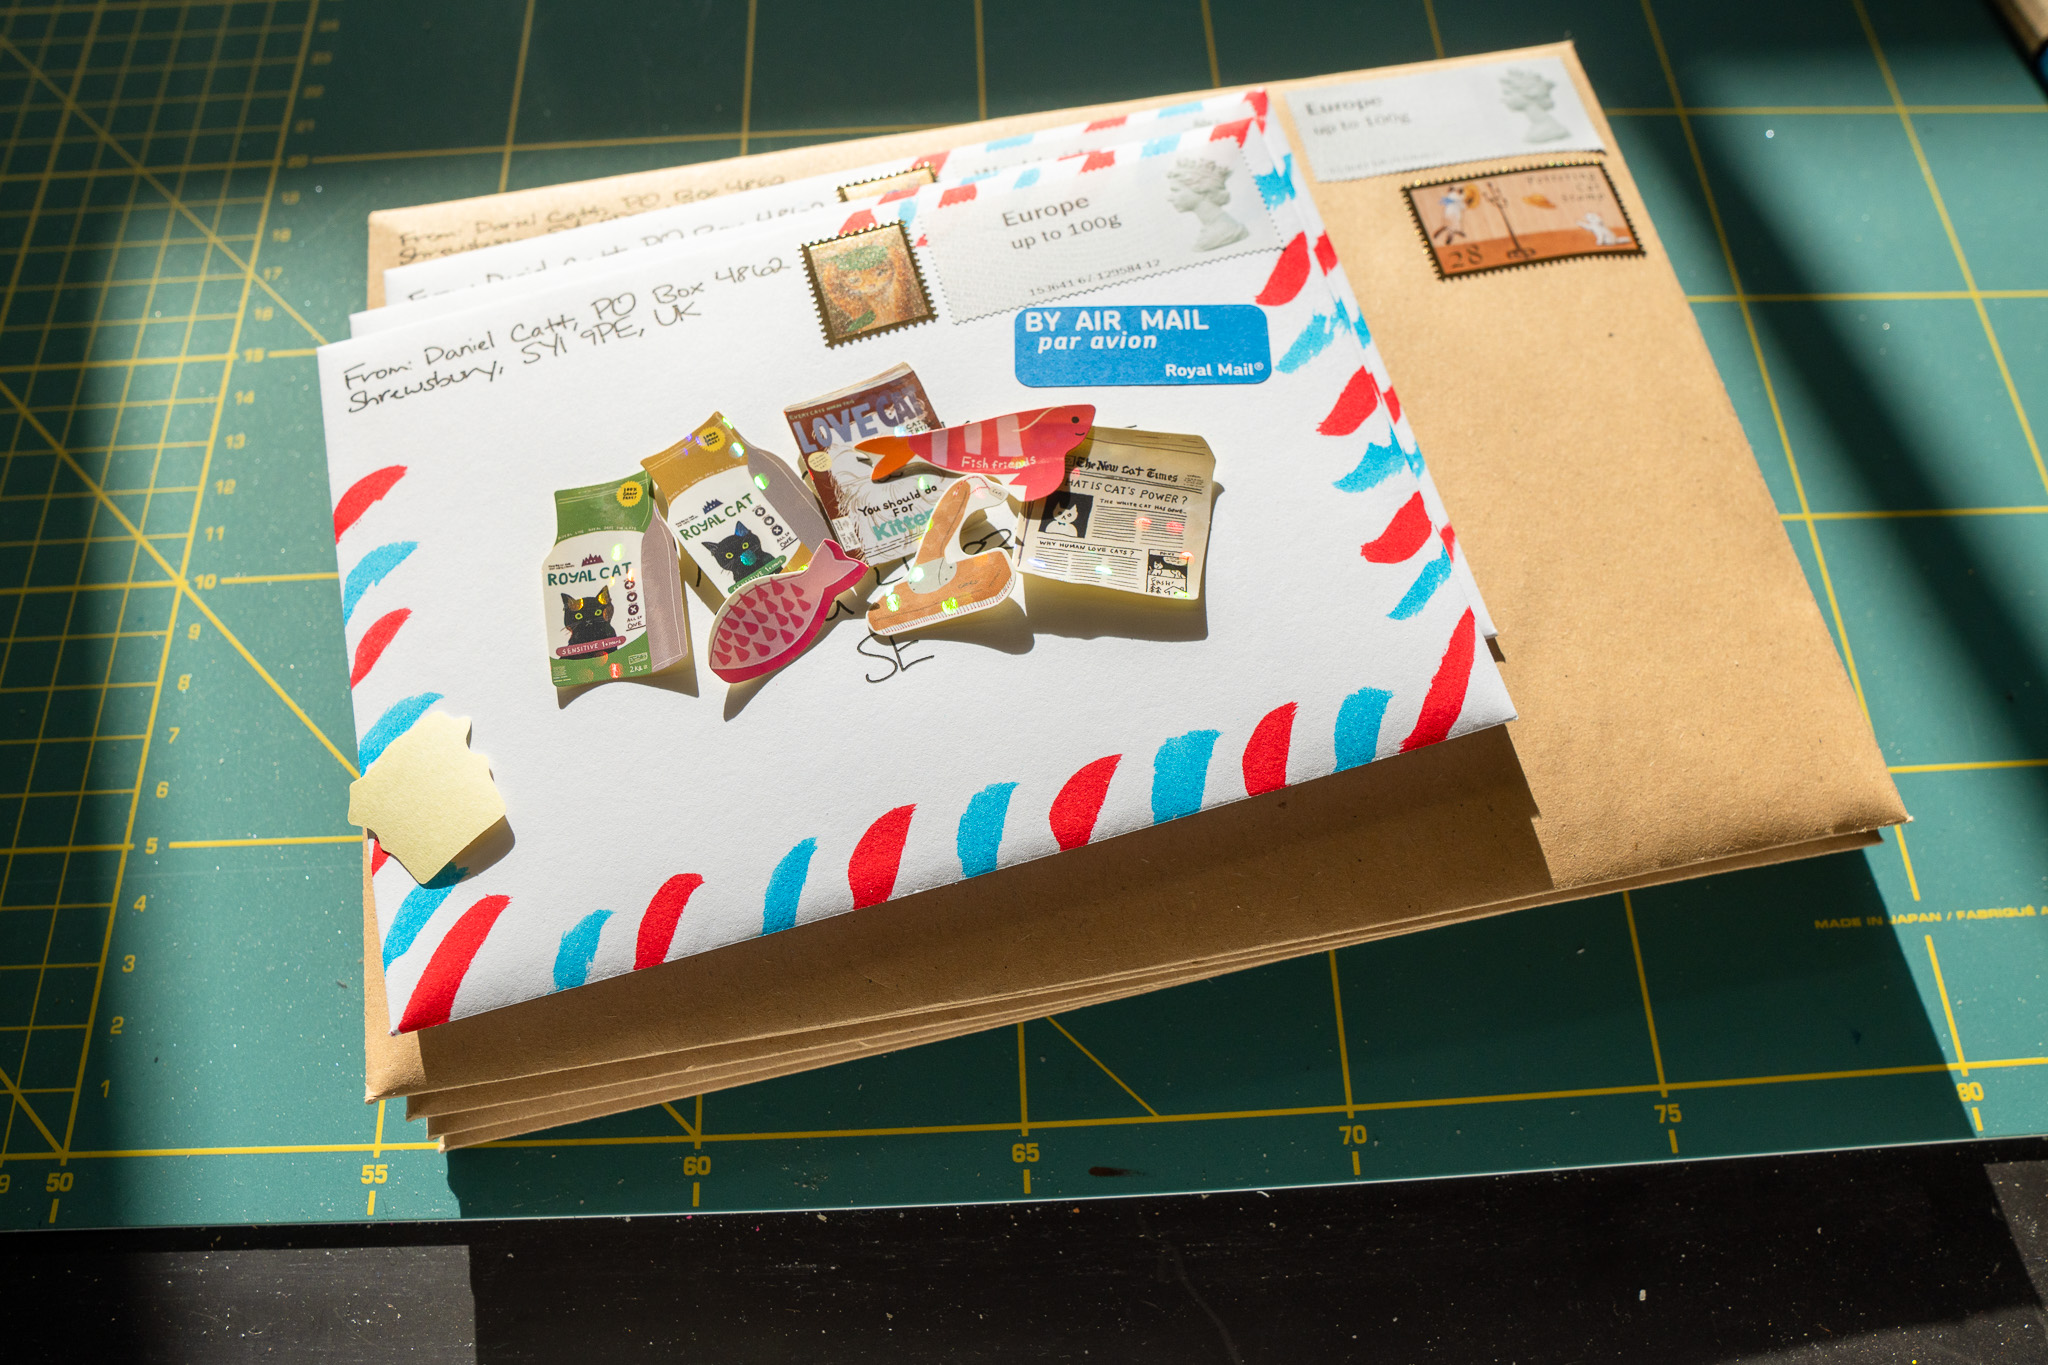
Cut up the cards for the Patreon members today, packaged them up and got them sent off. Very satisfying!

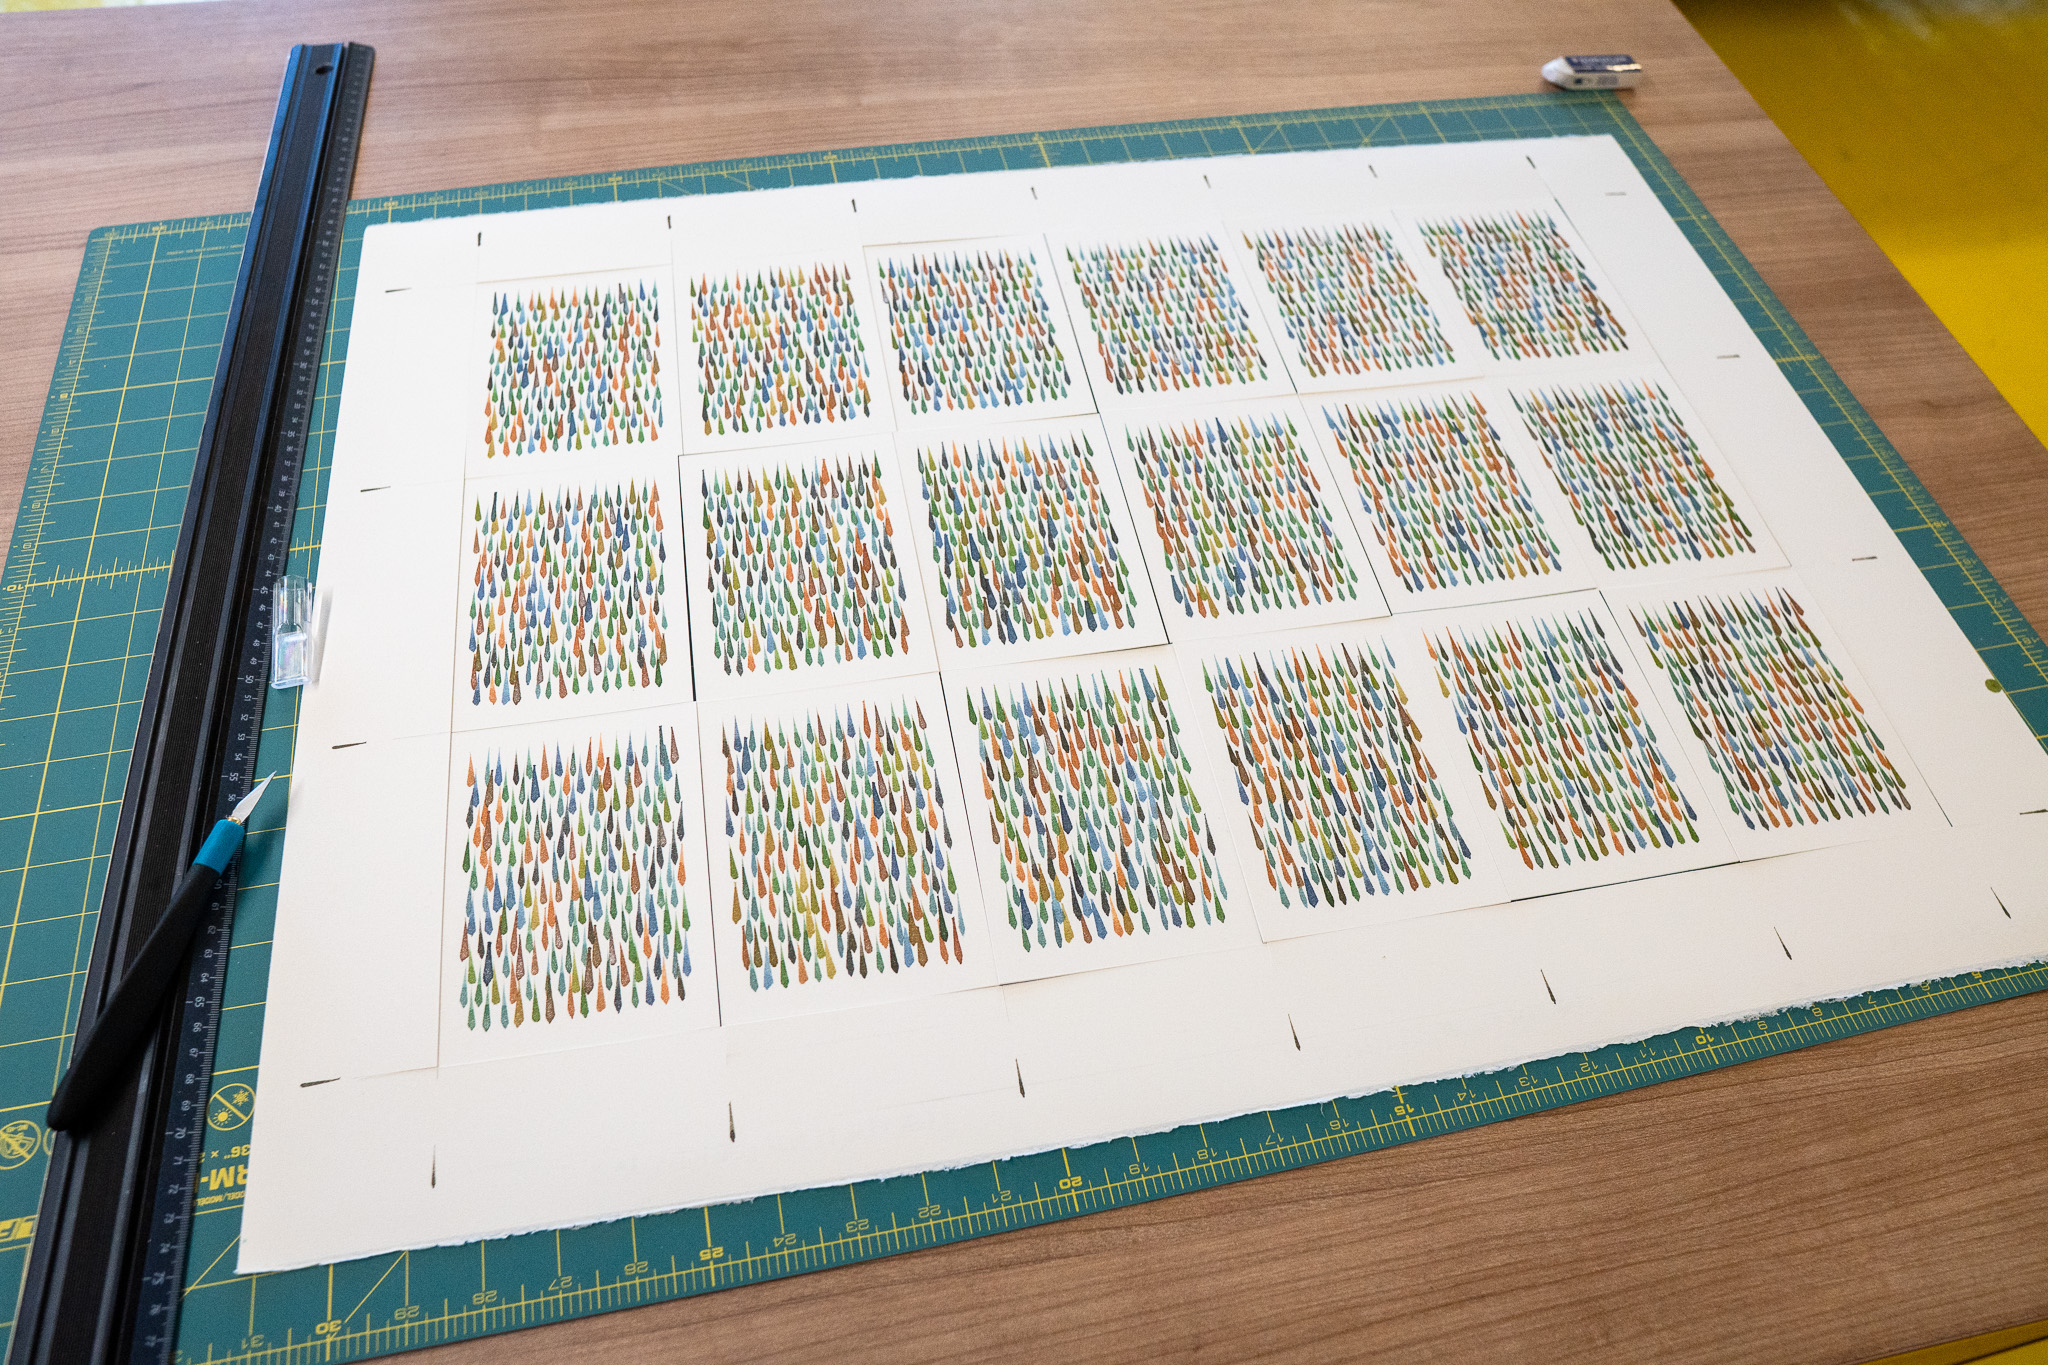
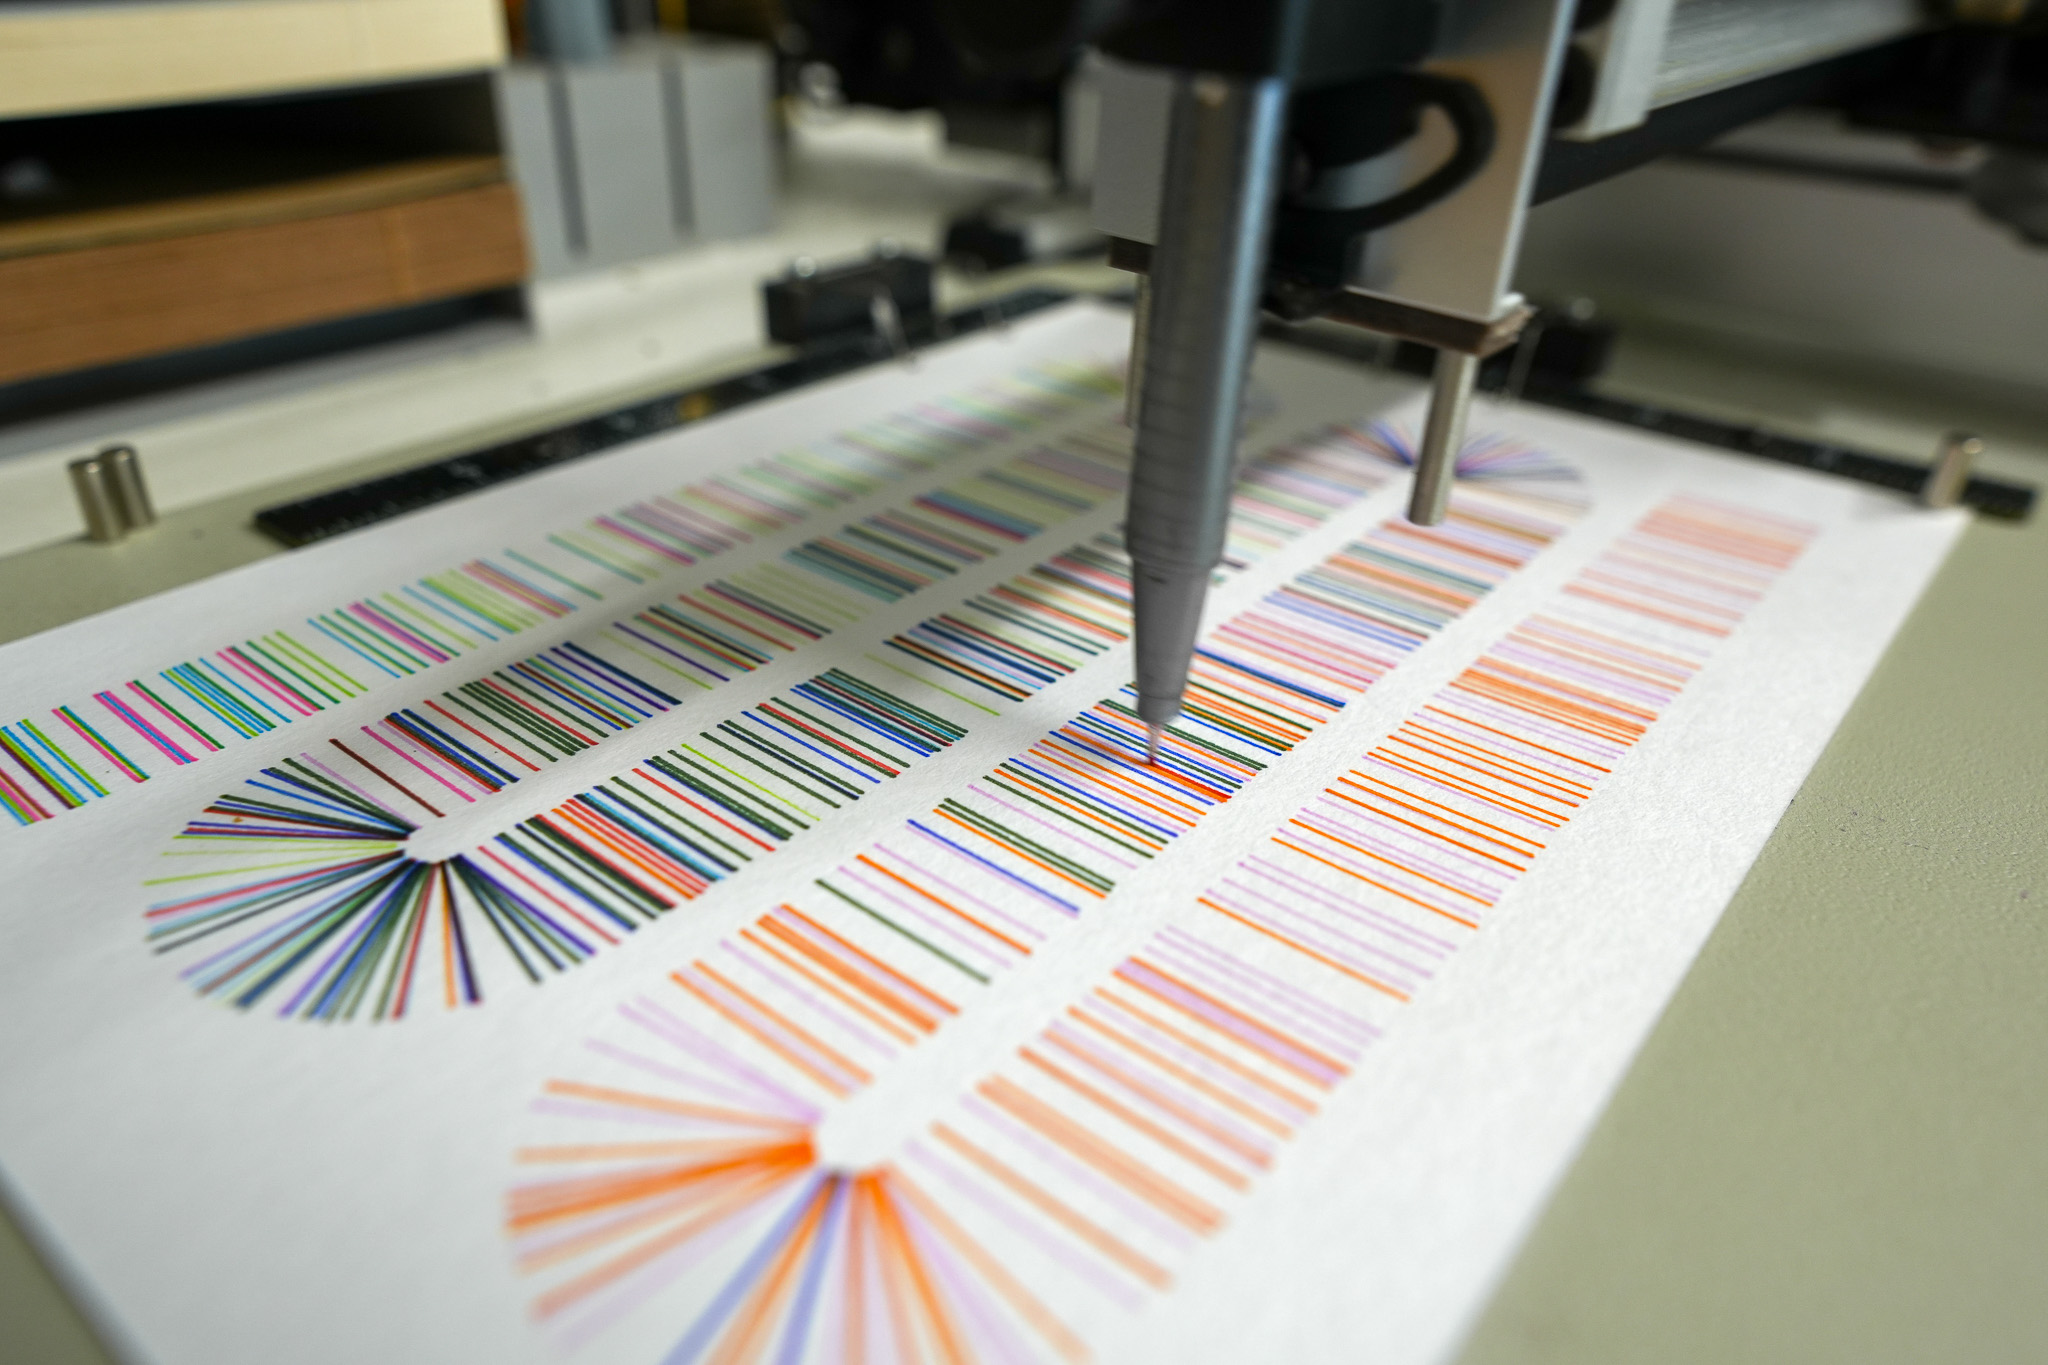
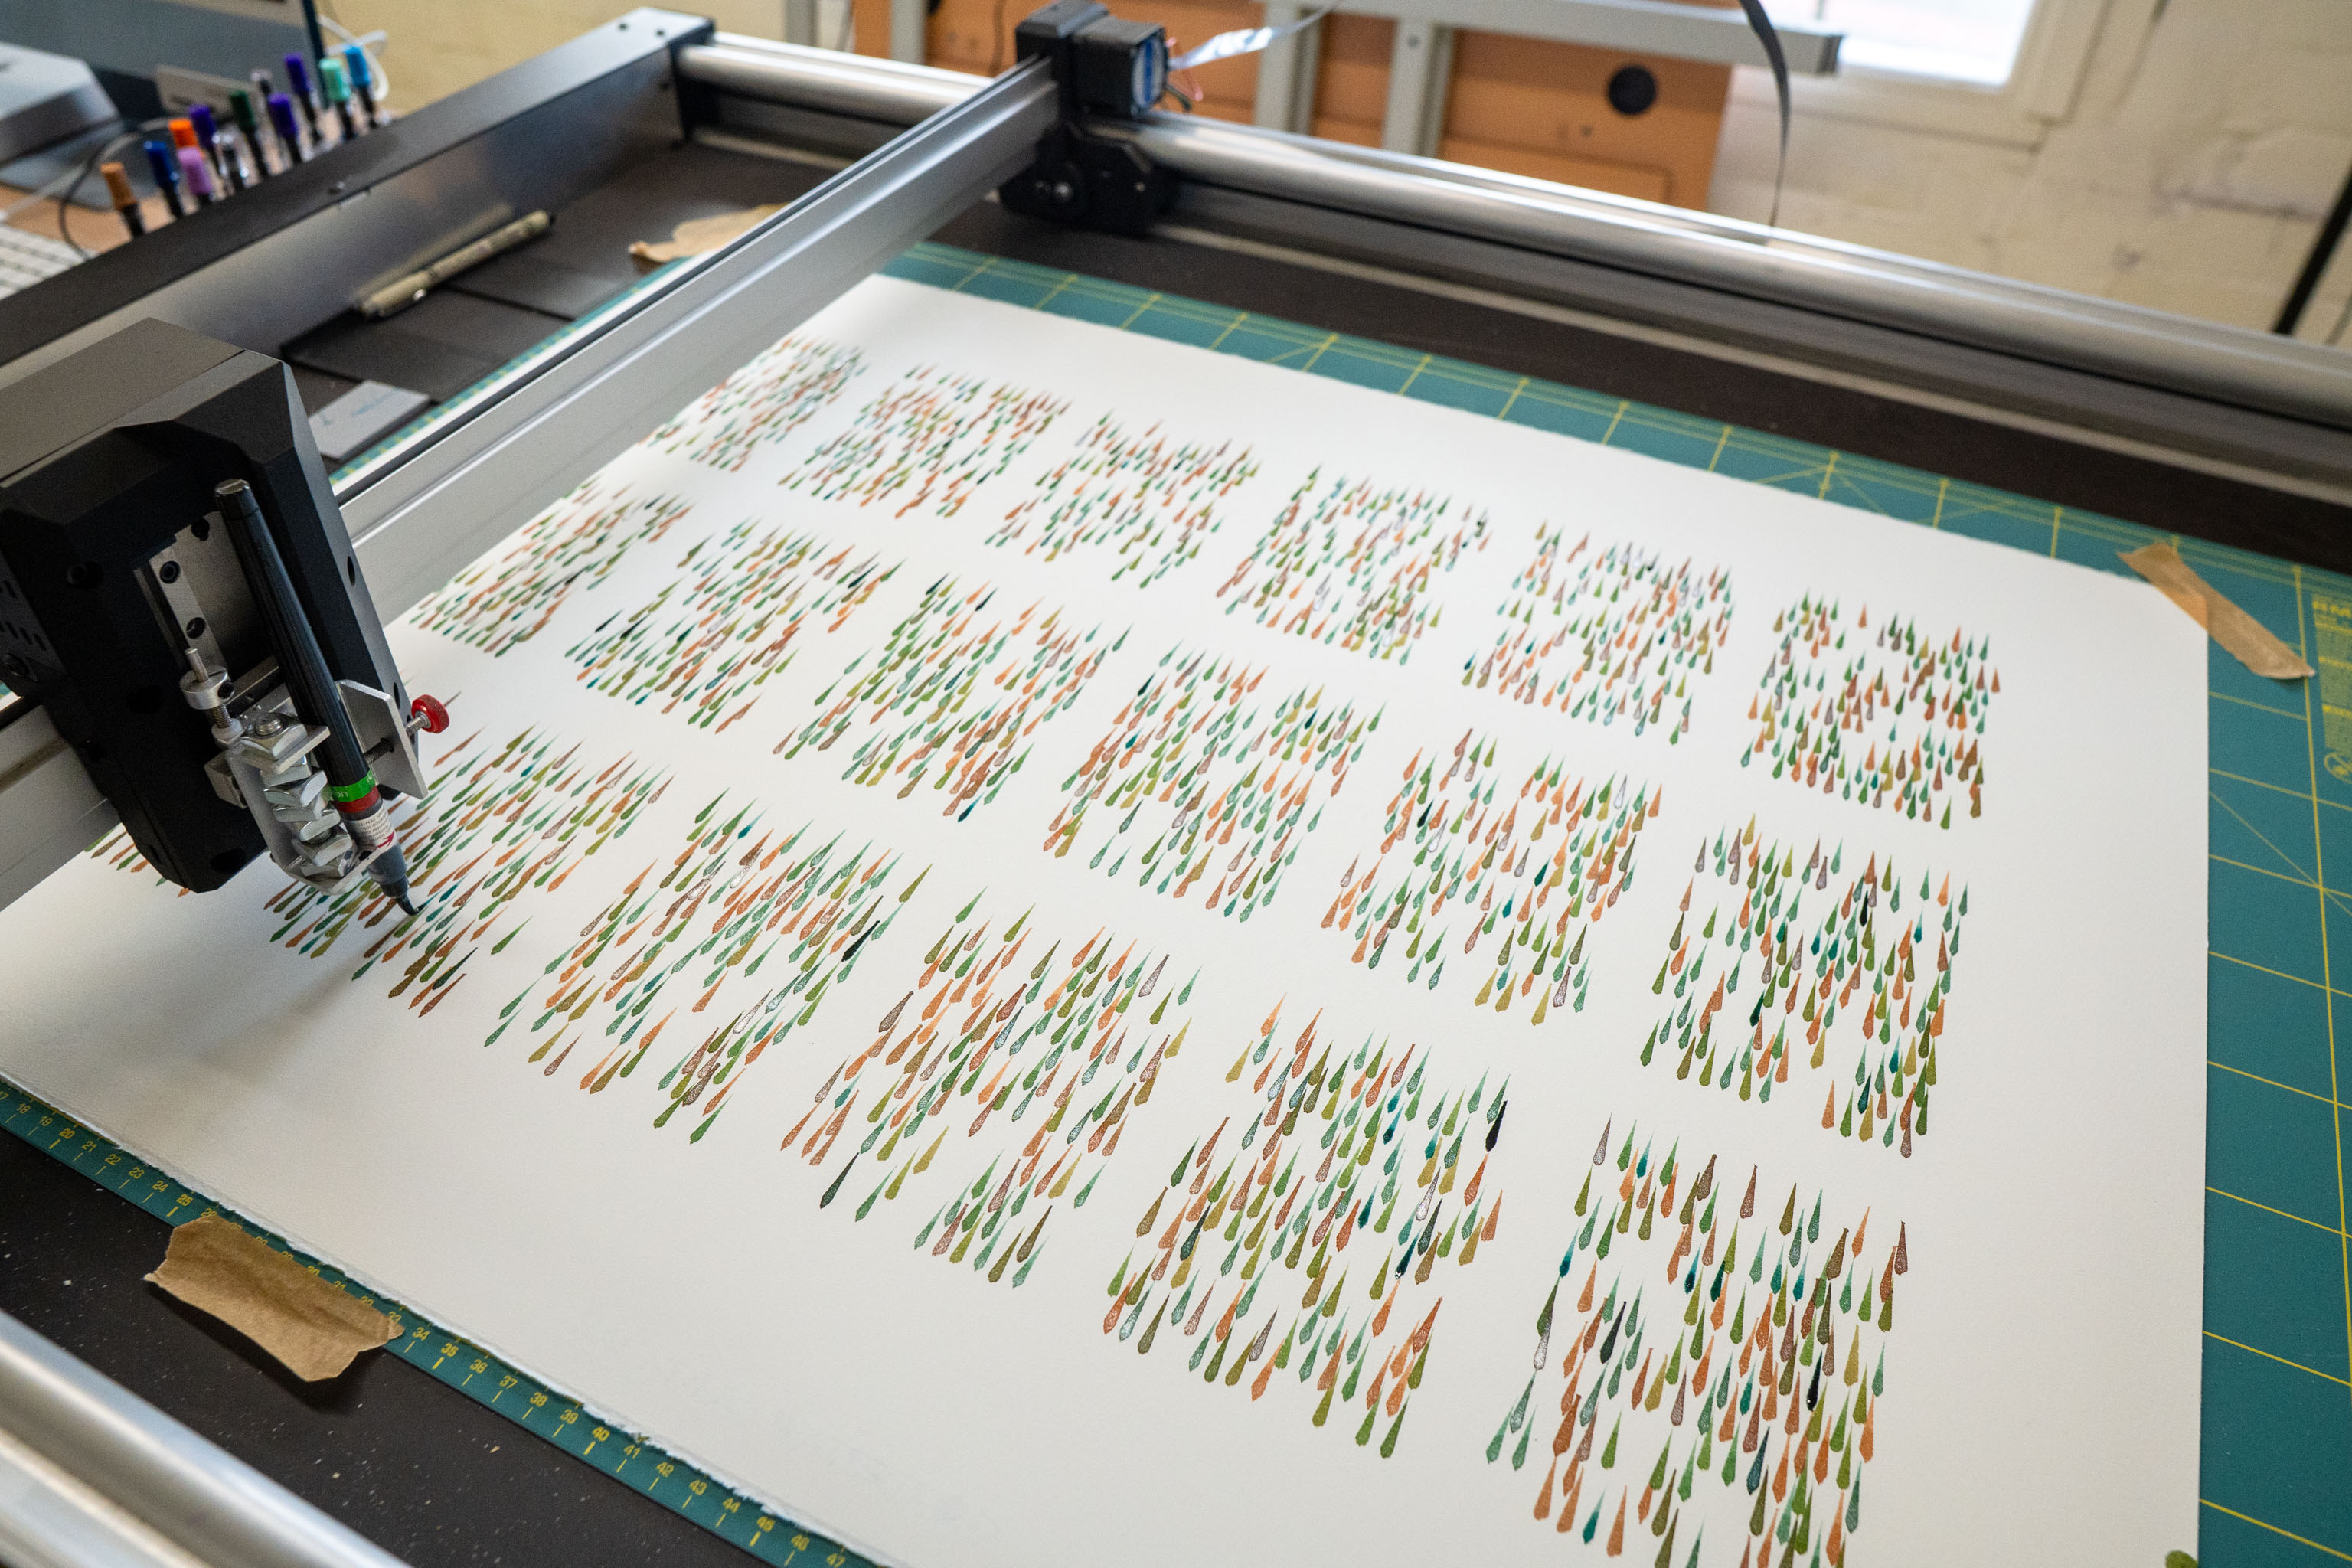
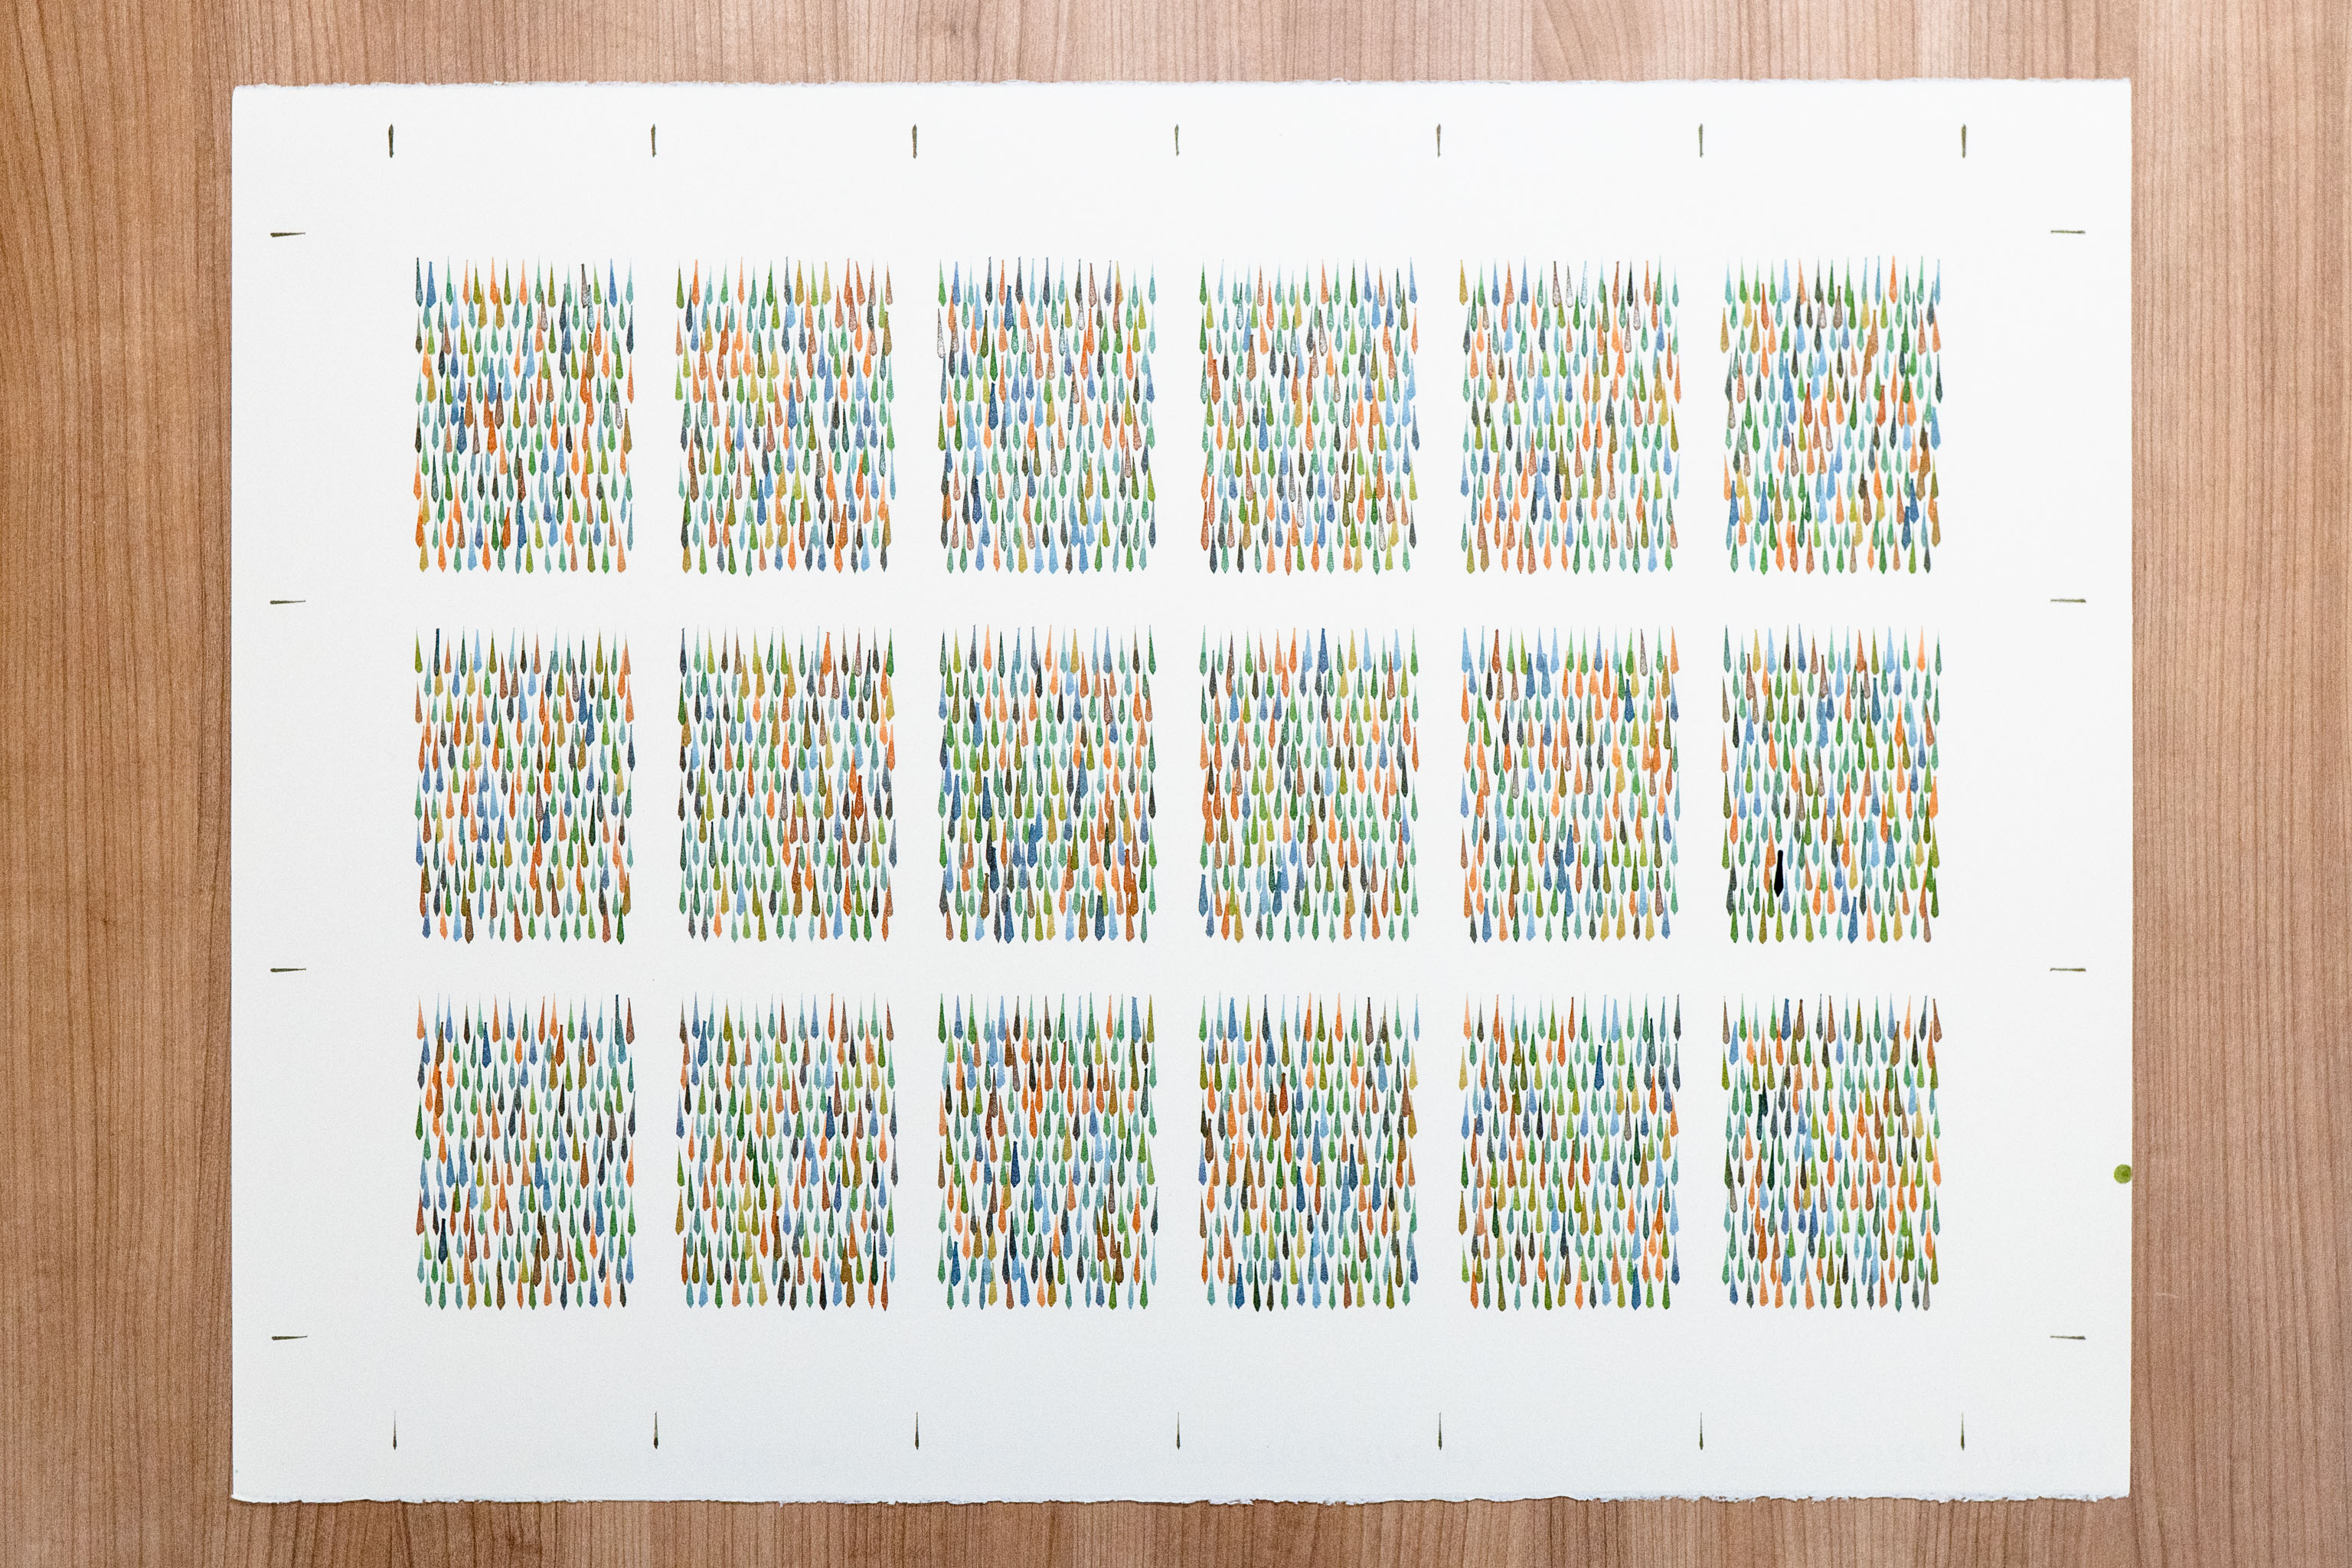
Adjusted the code to handle fitting one size of paper inside another size of paper. By which I mean (with this design), I could say "hey, here's an A6 bit of paper with 8mm margins", or "here's an A2 sheet with 30mm margins" and it'd fill that space with these marks.
But now I can go "here's an A2 sheet with 30mm margins, fill it with A6 designs each with 8mm margins". Which isn't groundbreaking I know, but it has to work a slightly different want than previous times I've done this.
In that here, once it's done all the designs I needed it to randomise the draw order of the lines across the whole final page, rather than within each sub-design, which is what I've had going on before.
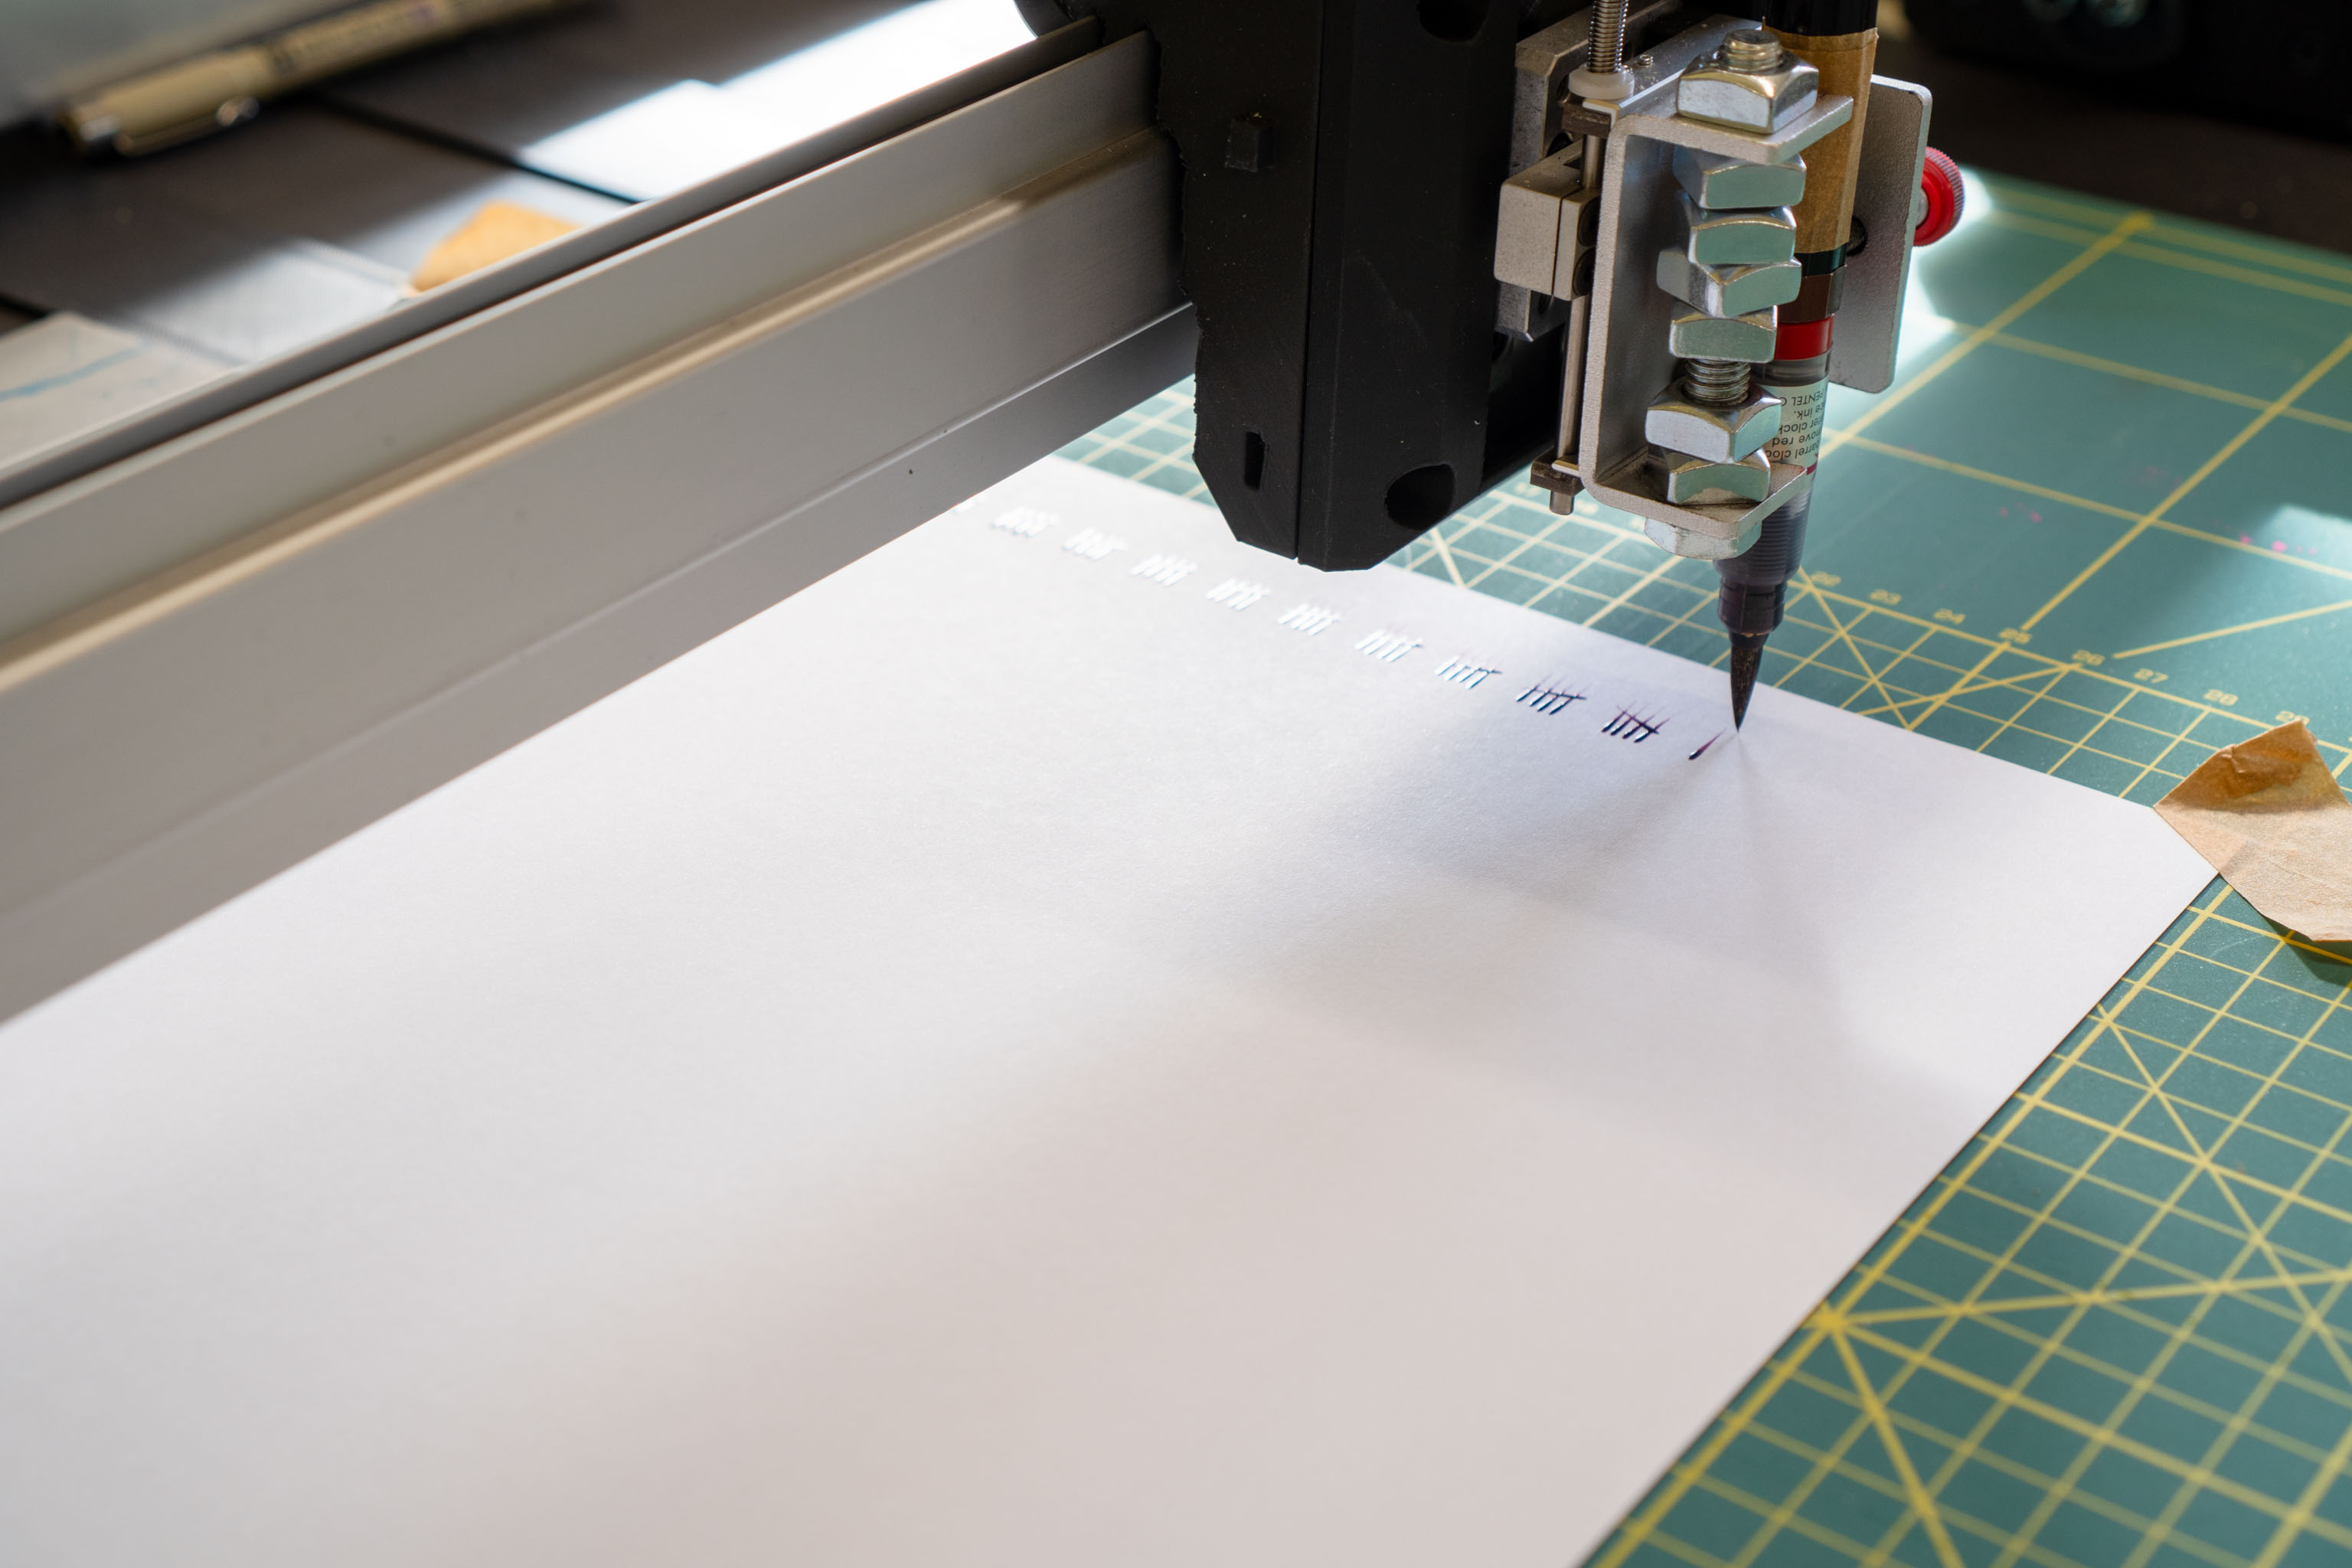
The nice extra bit I did add was the cut/trim marks. It was drawing with a brush so I figured what the hell, after making the last mark why not draw the trim marks too.
Gotta cut them up on Wednesday.
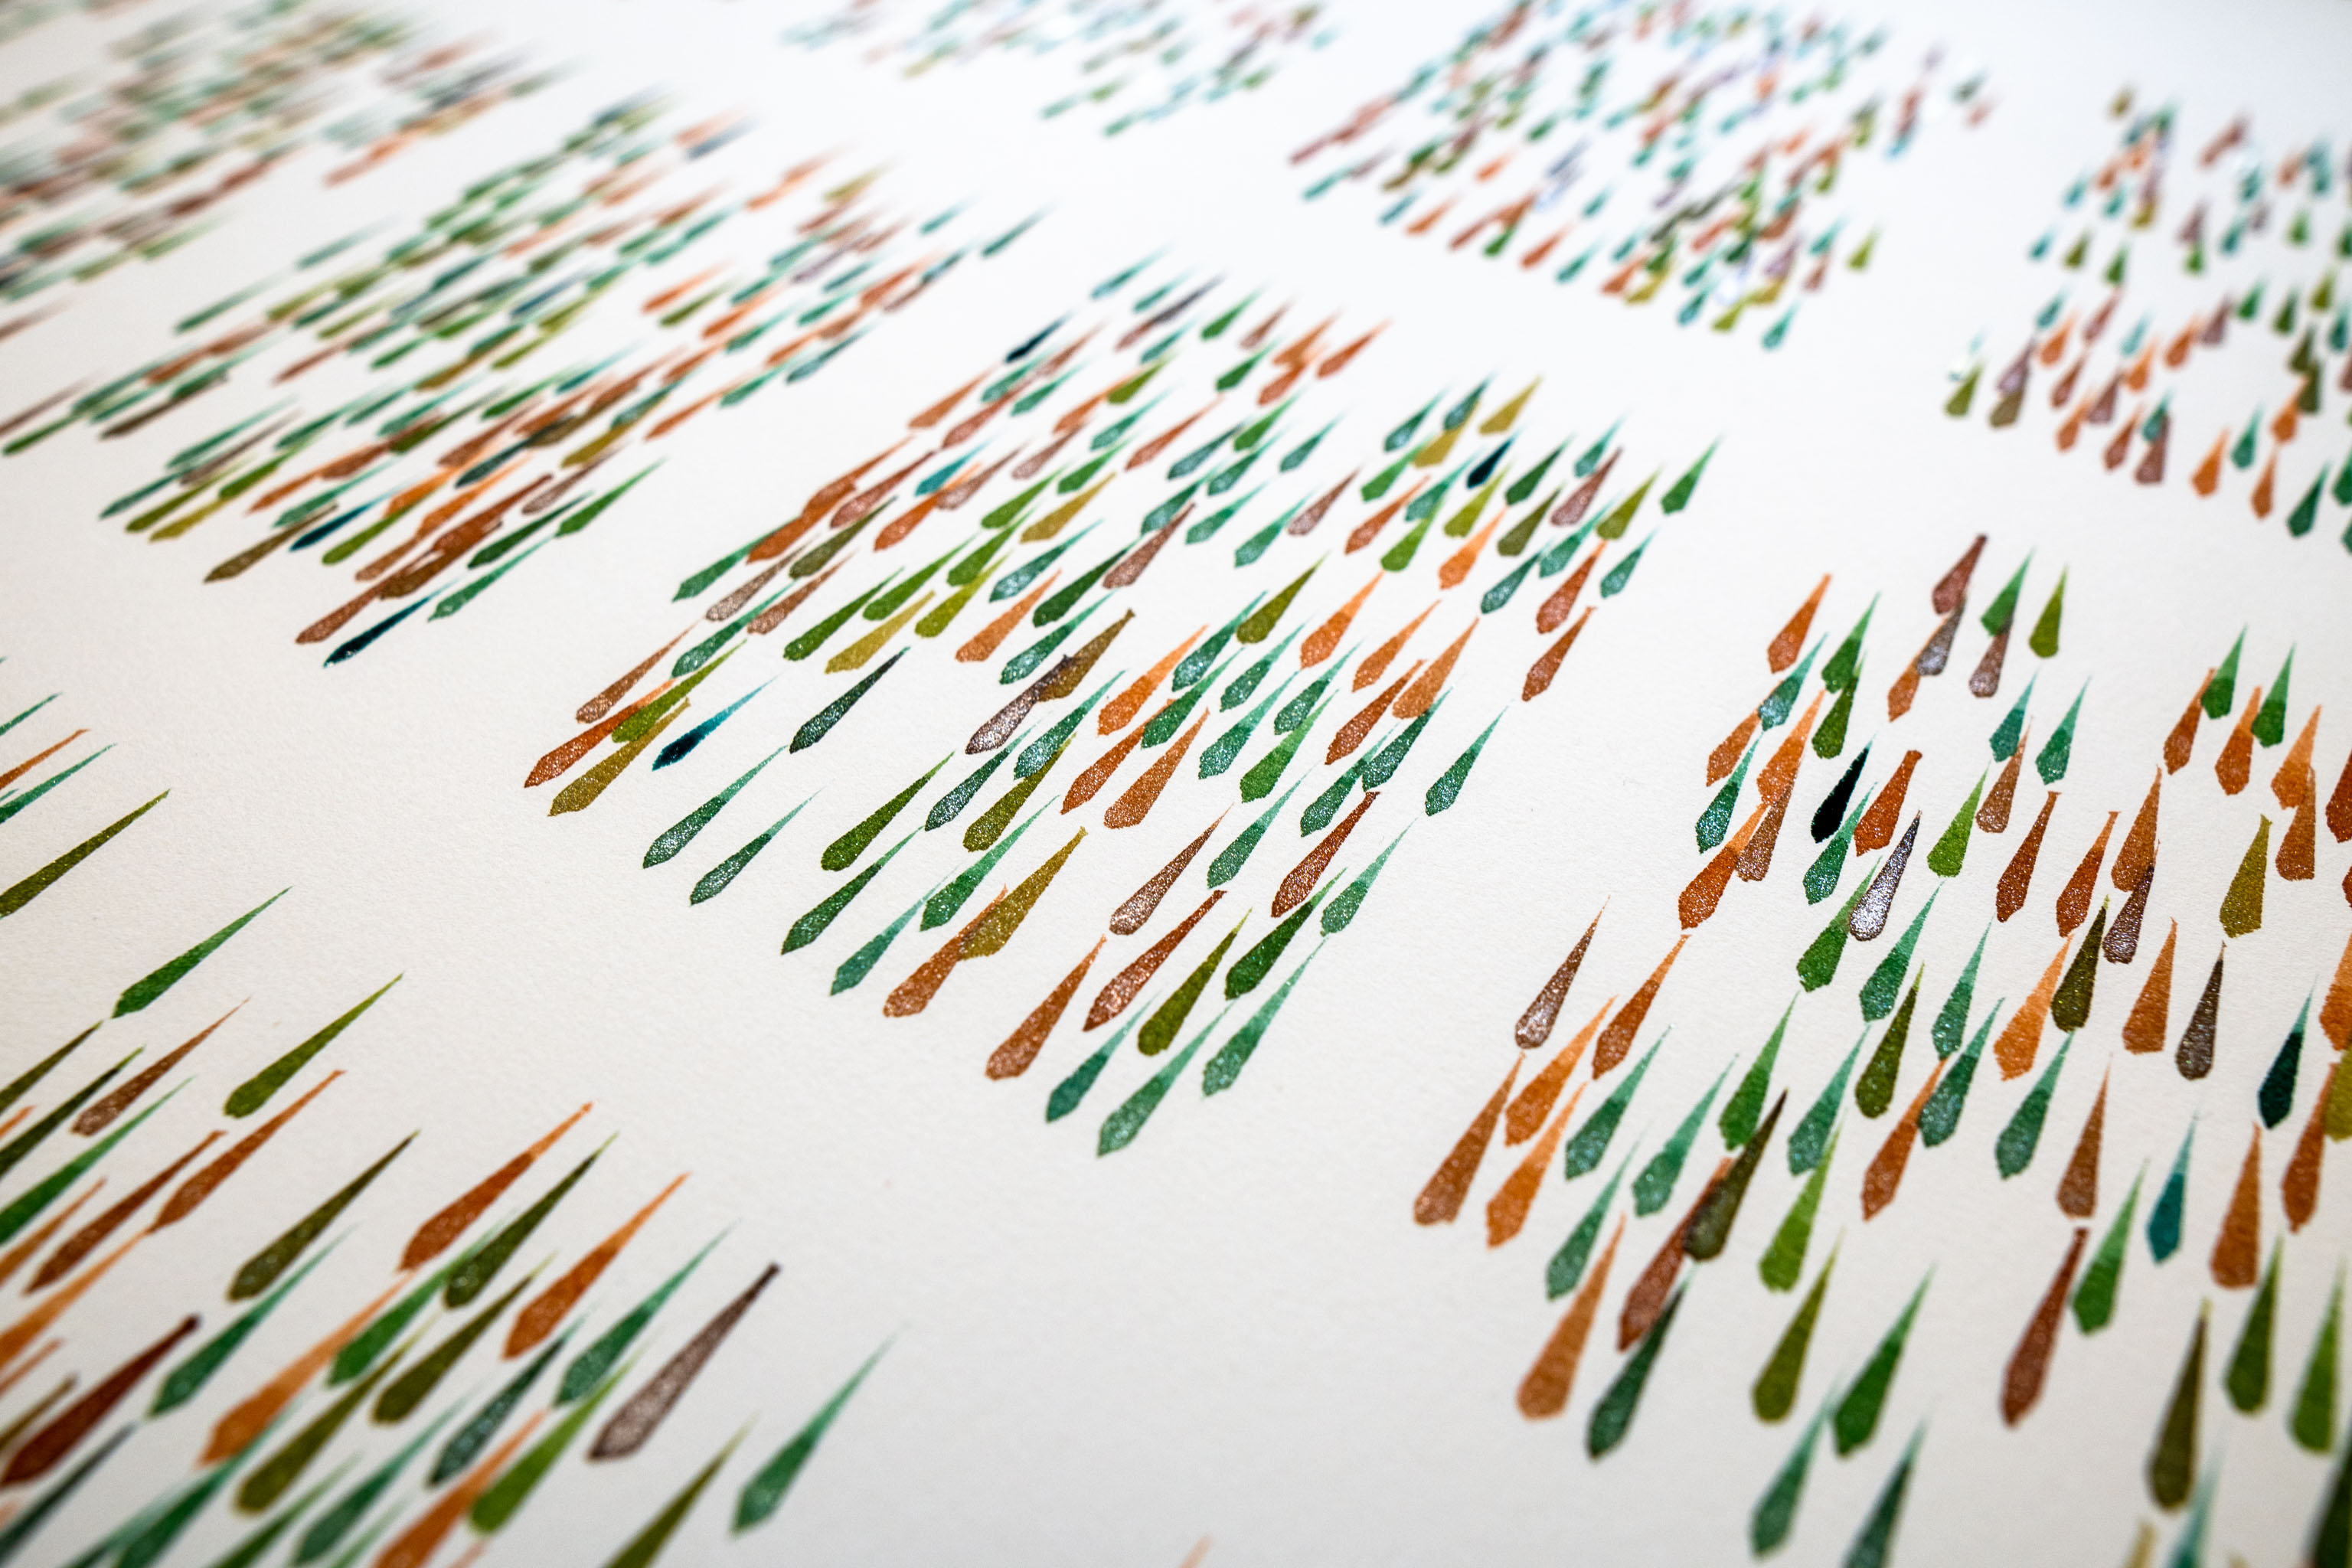
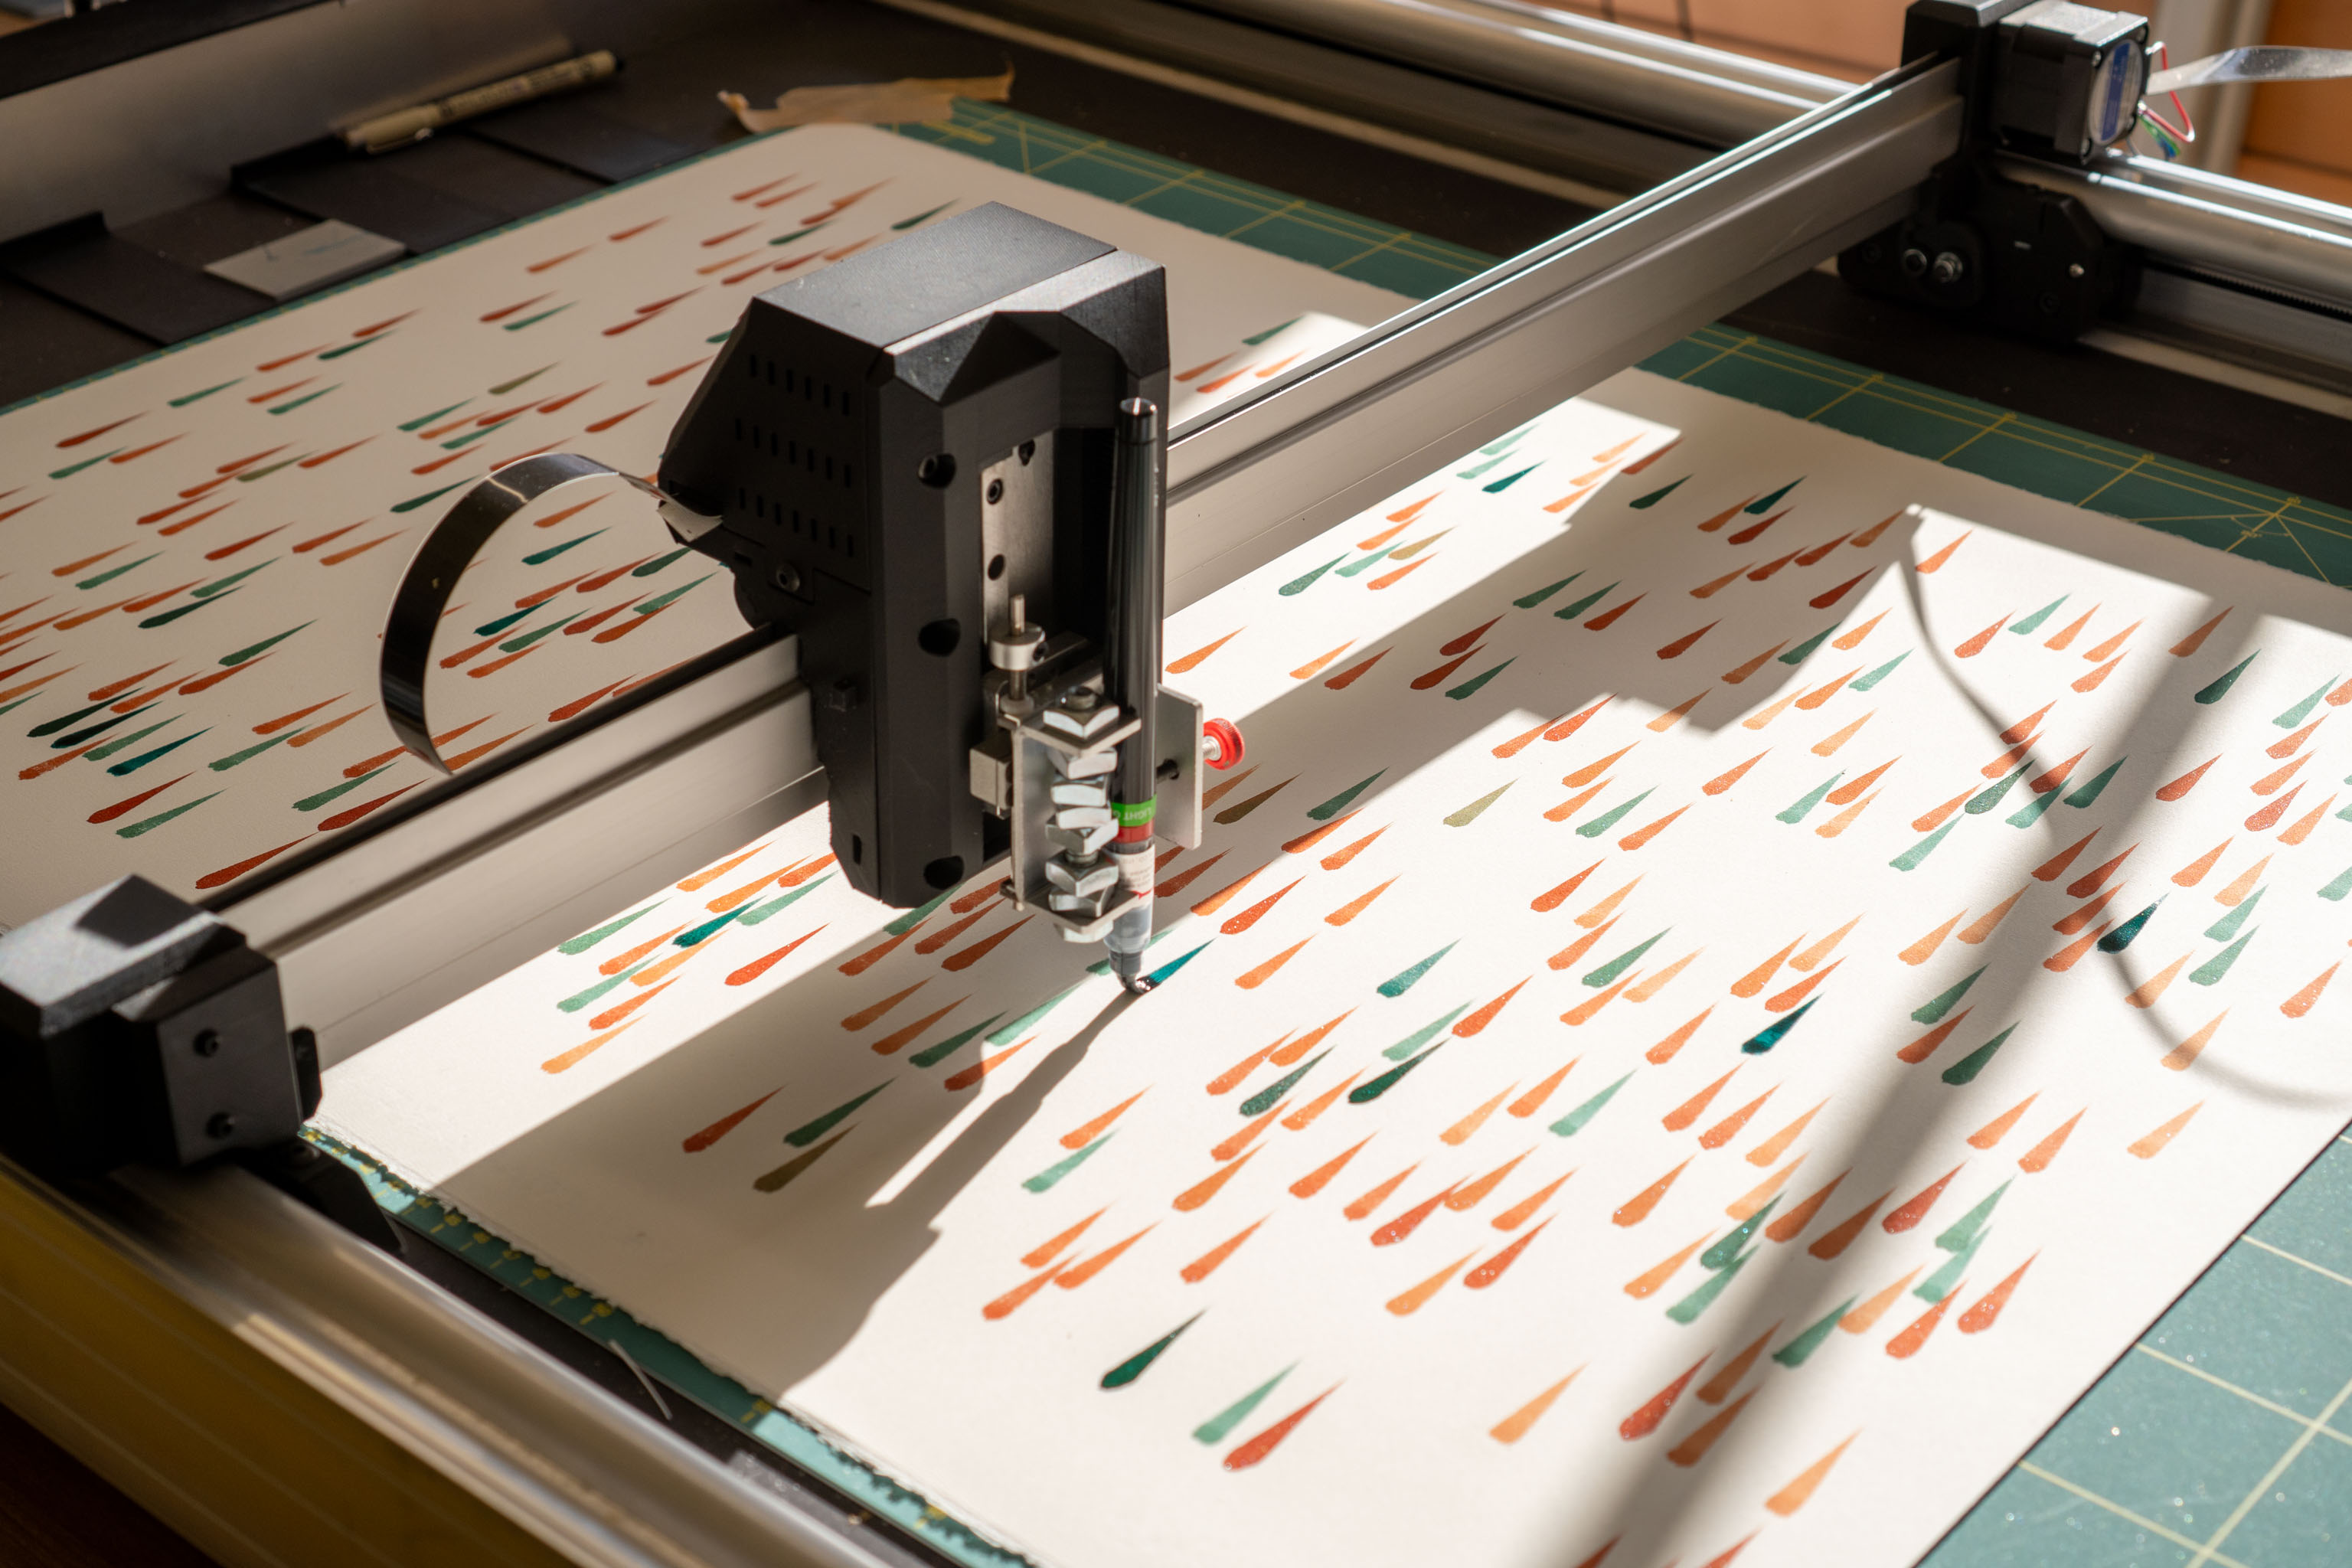
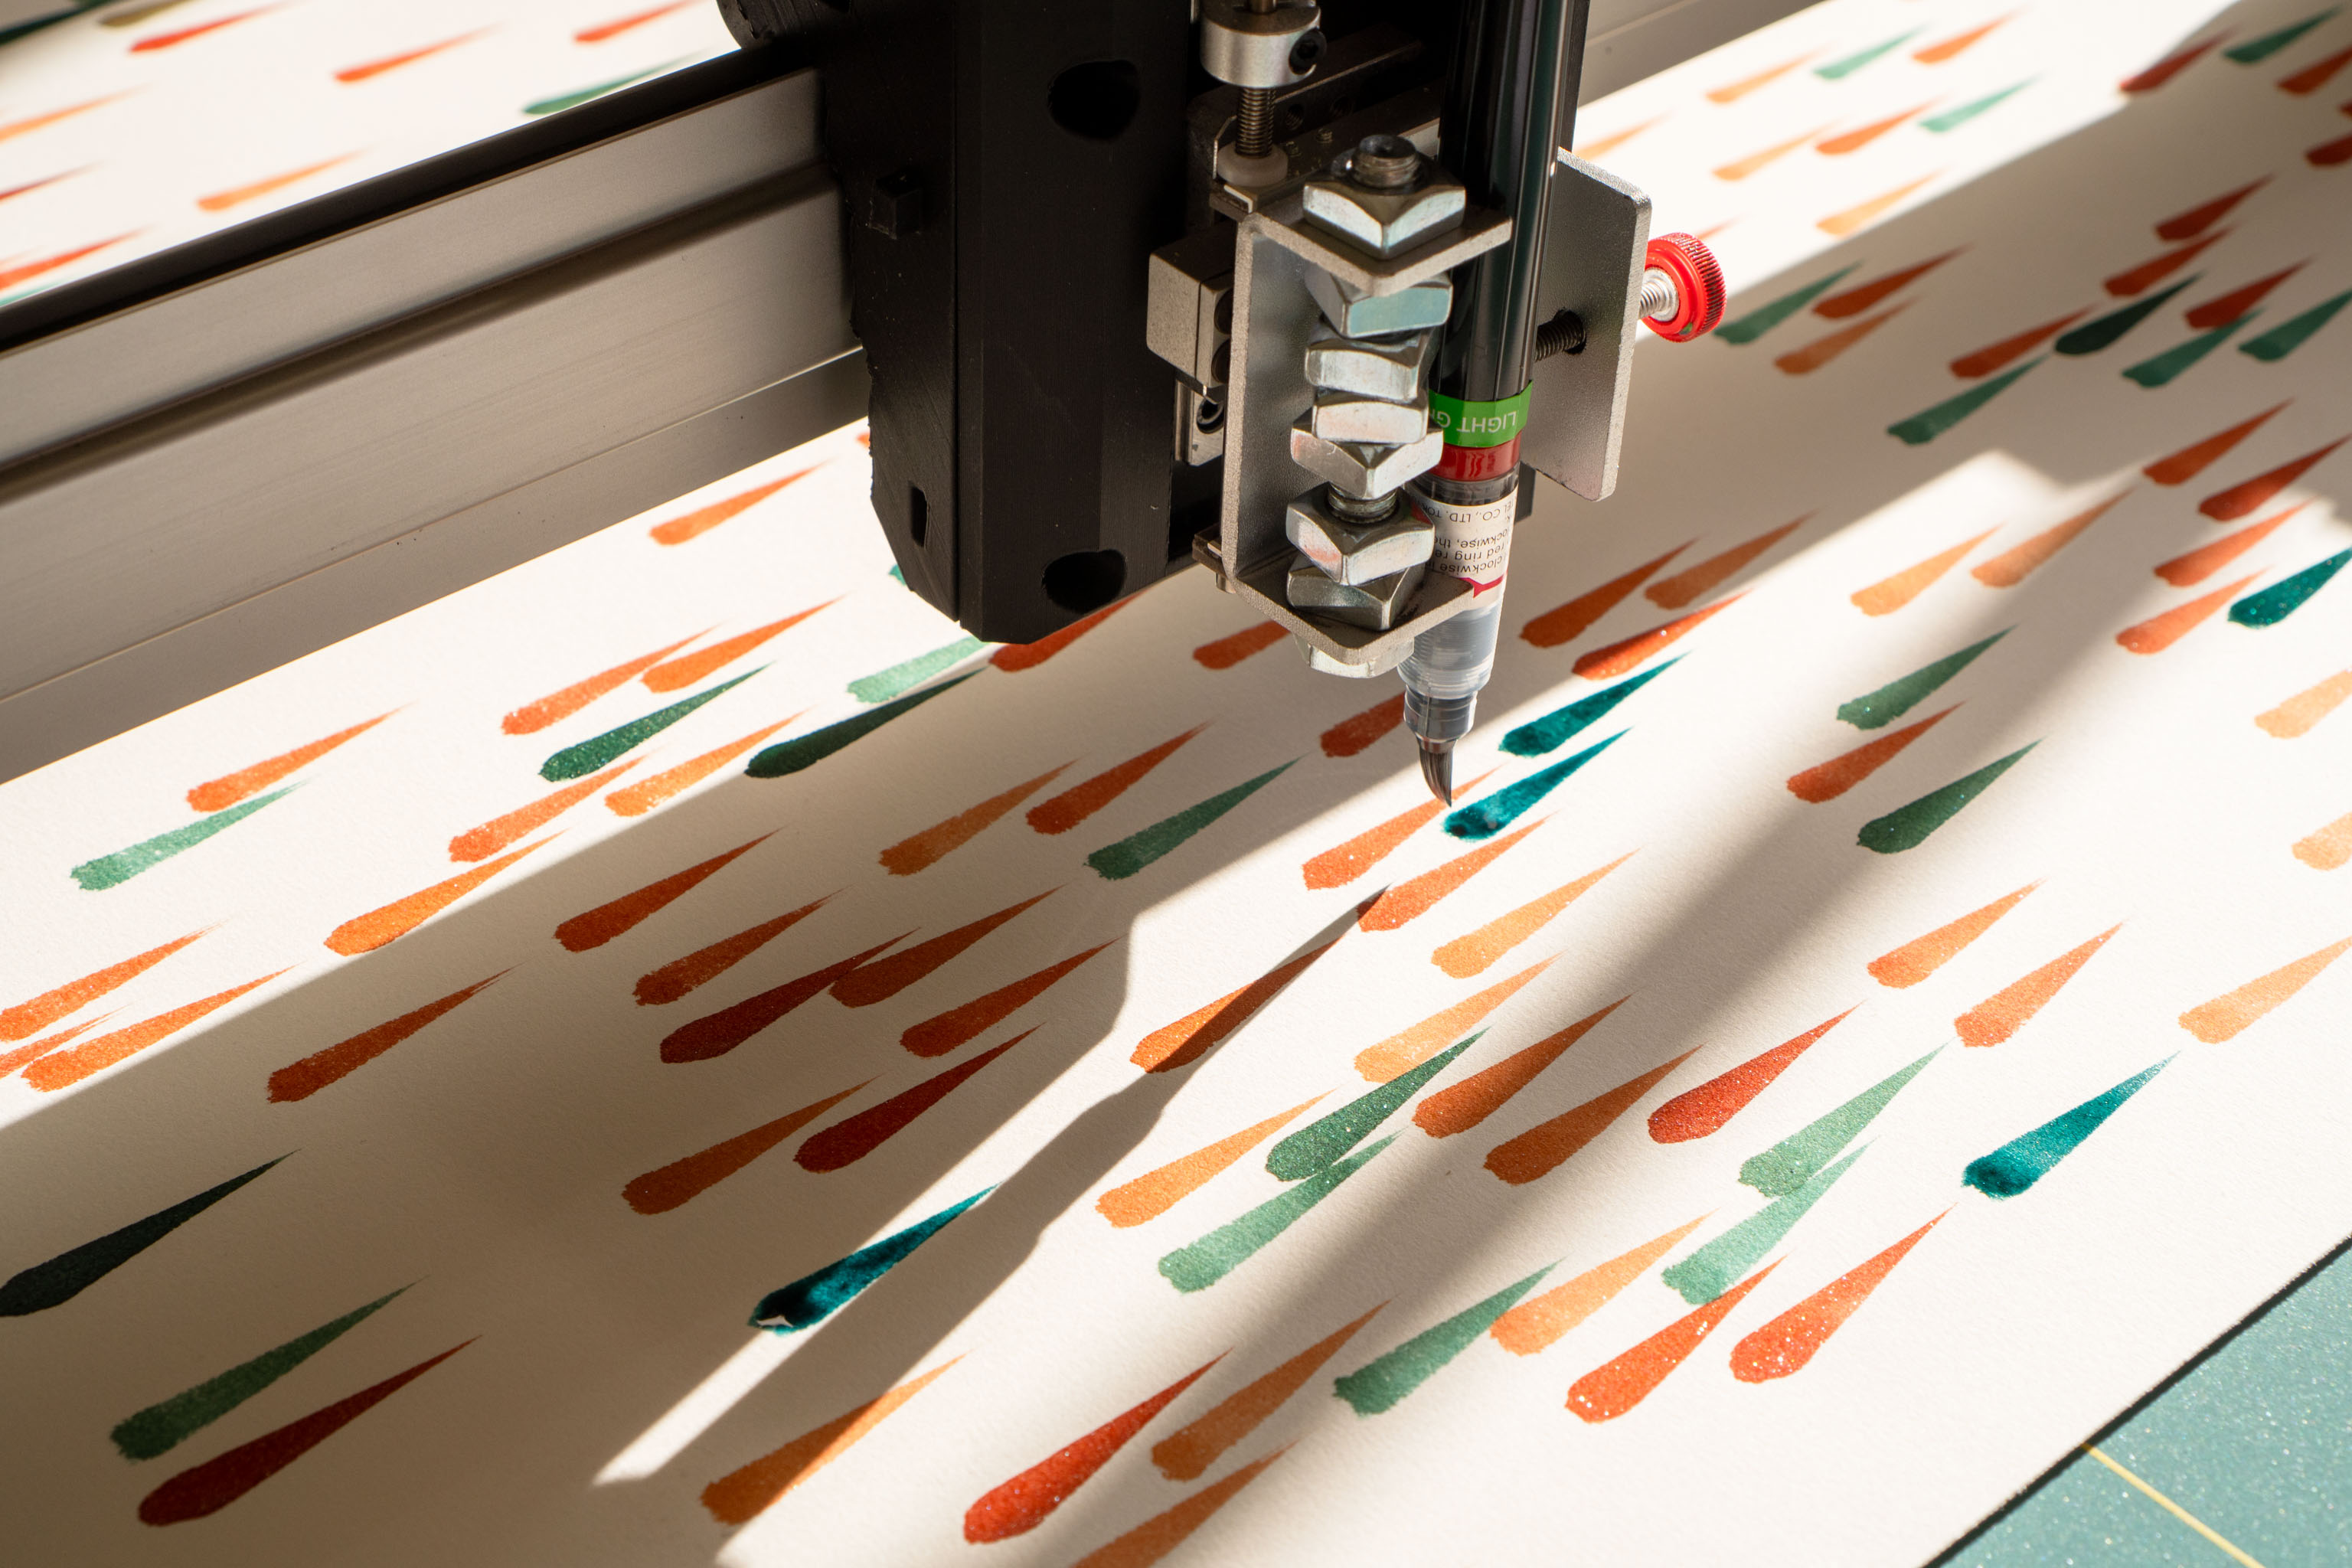
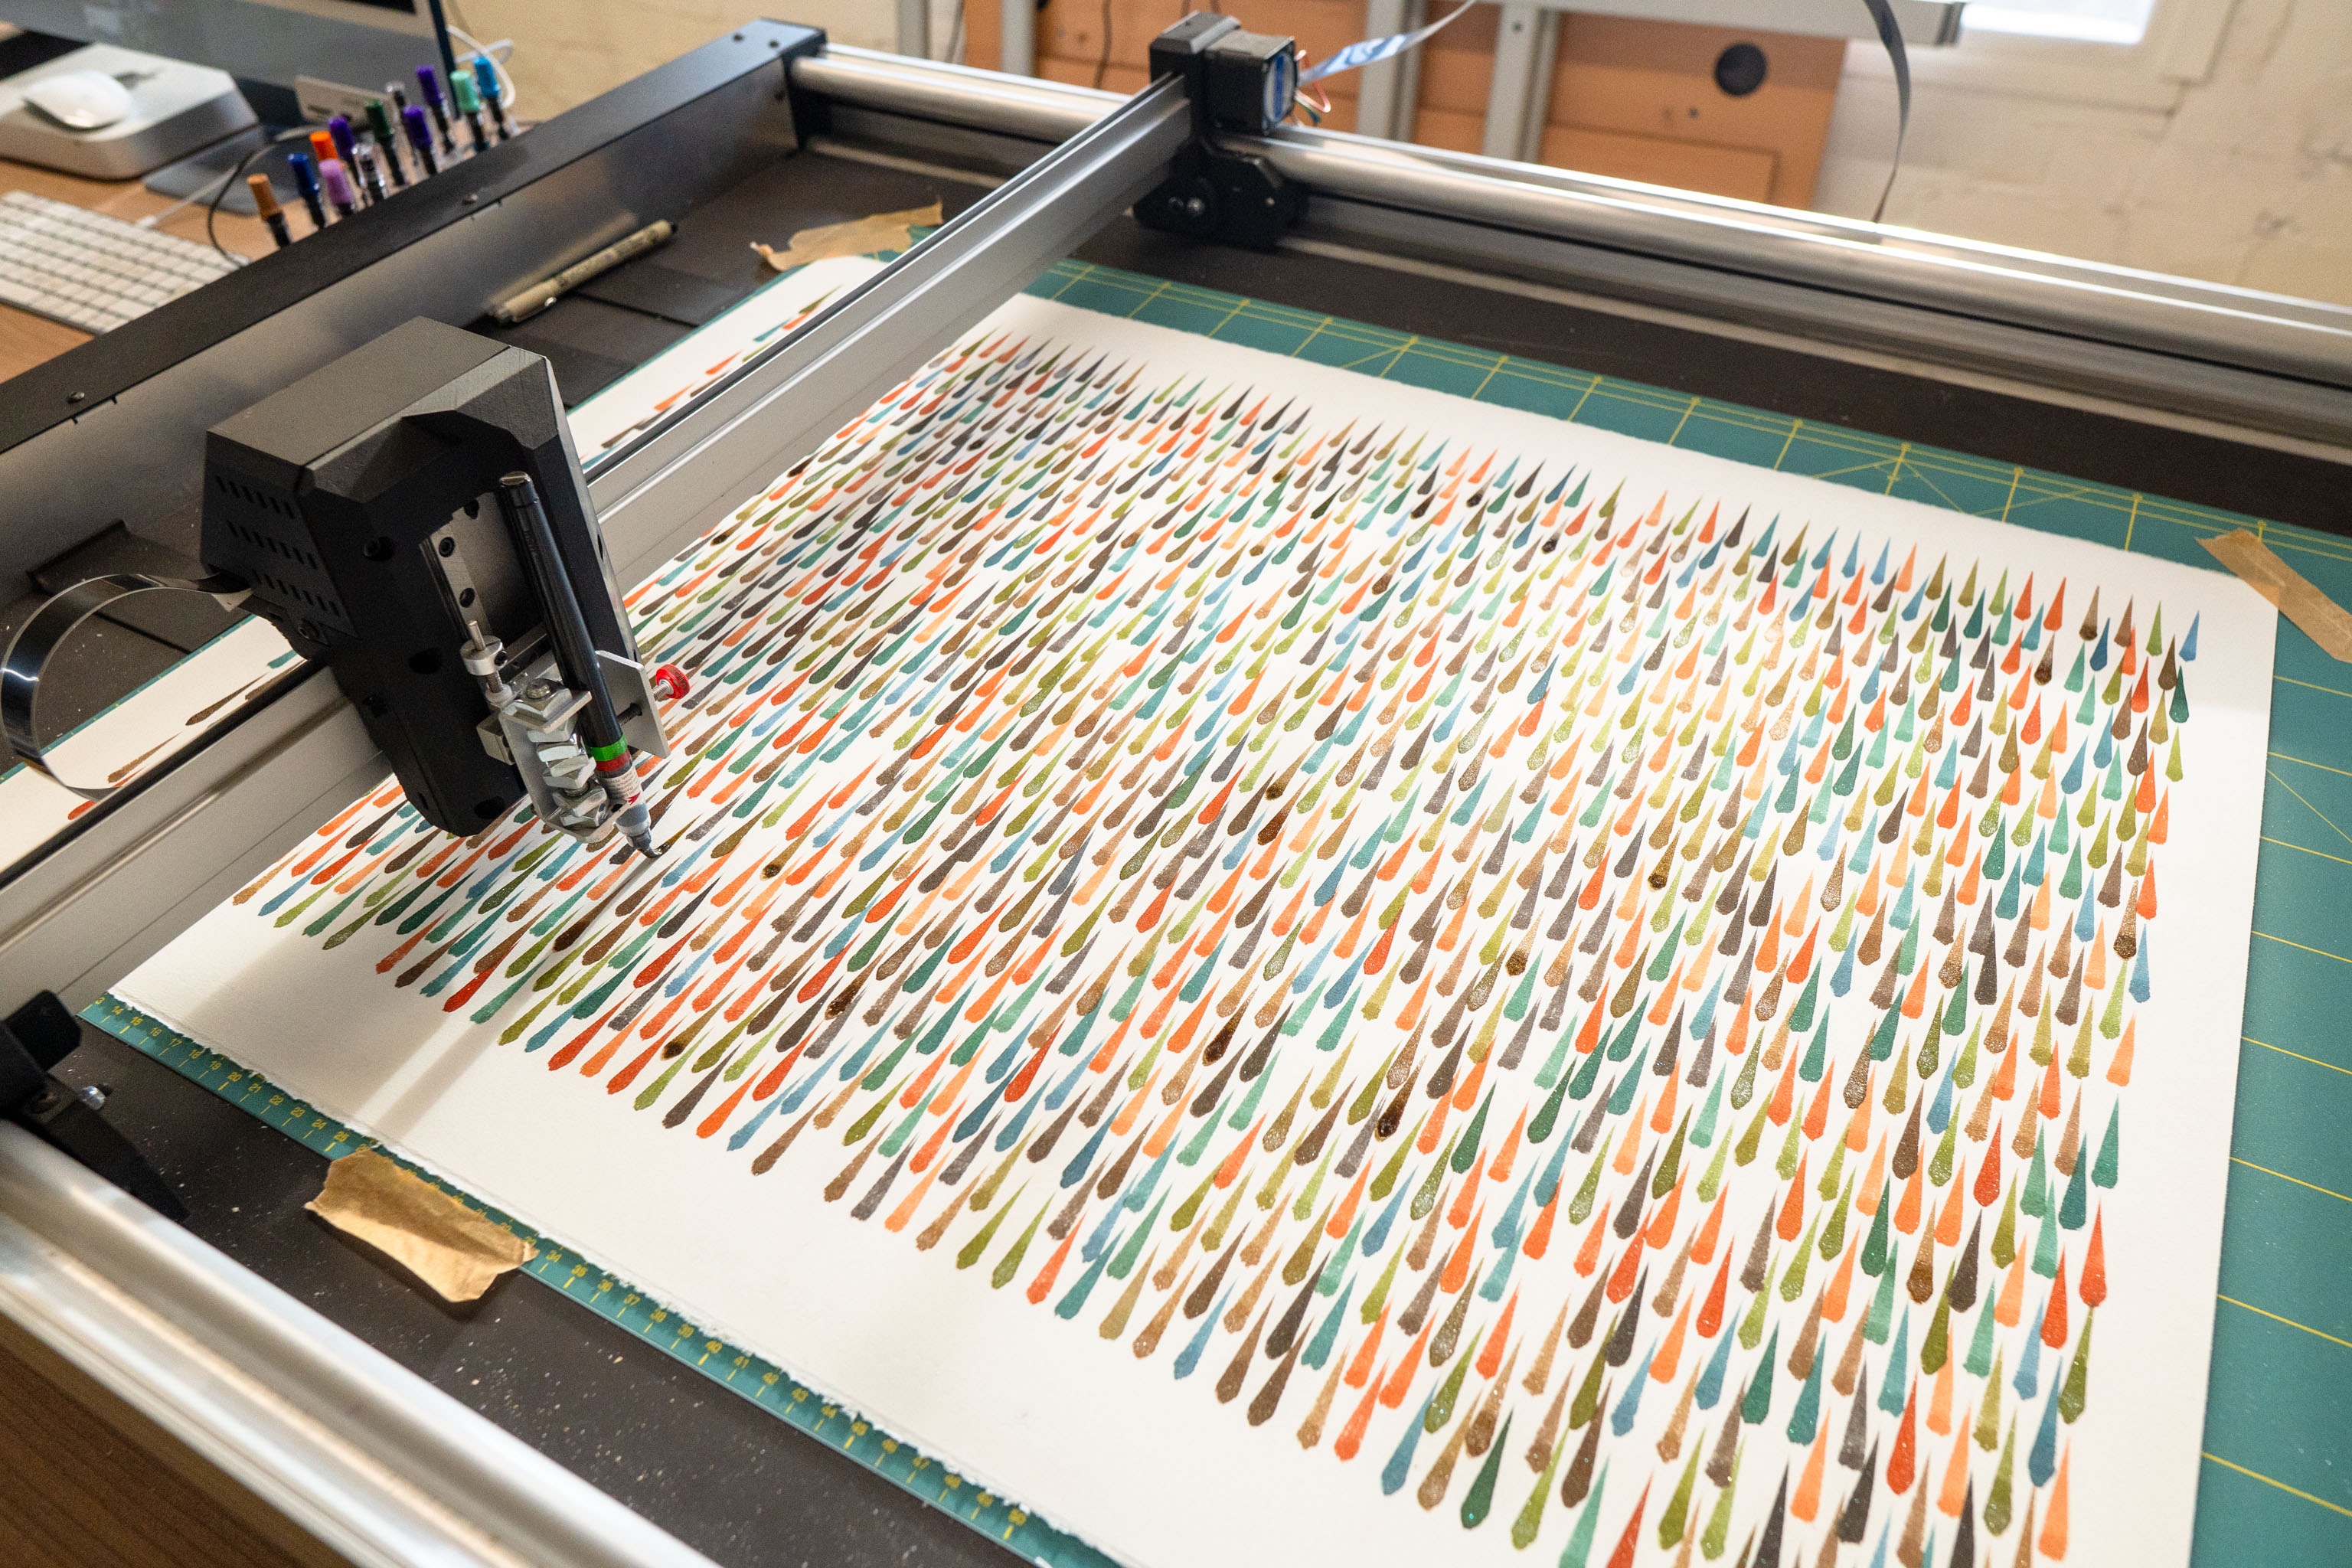
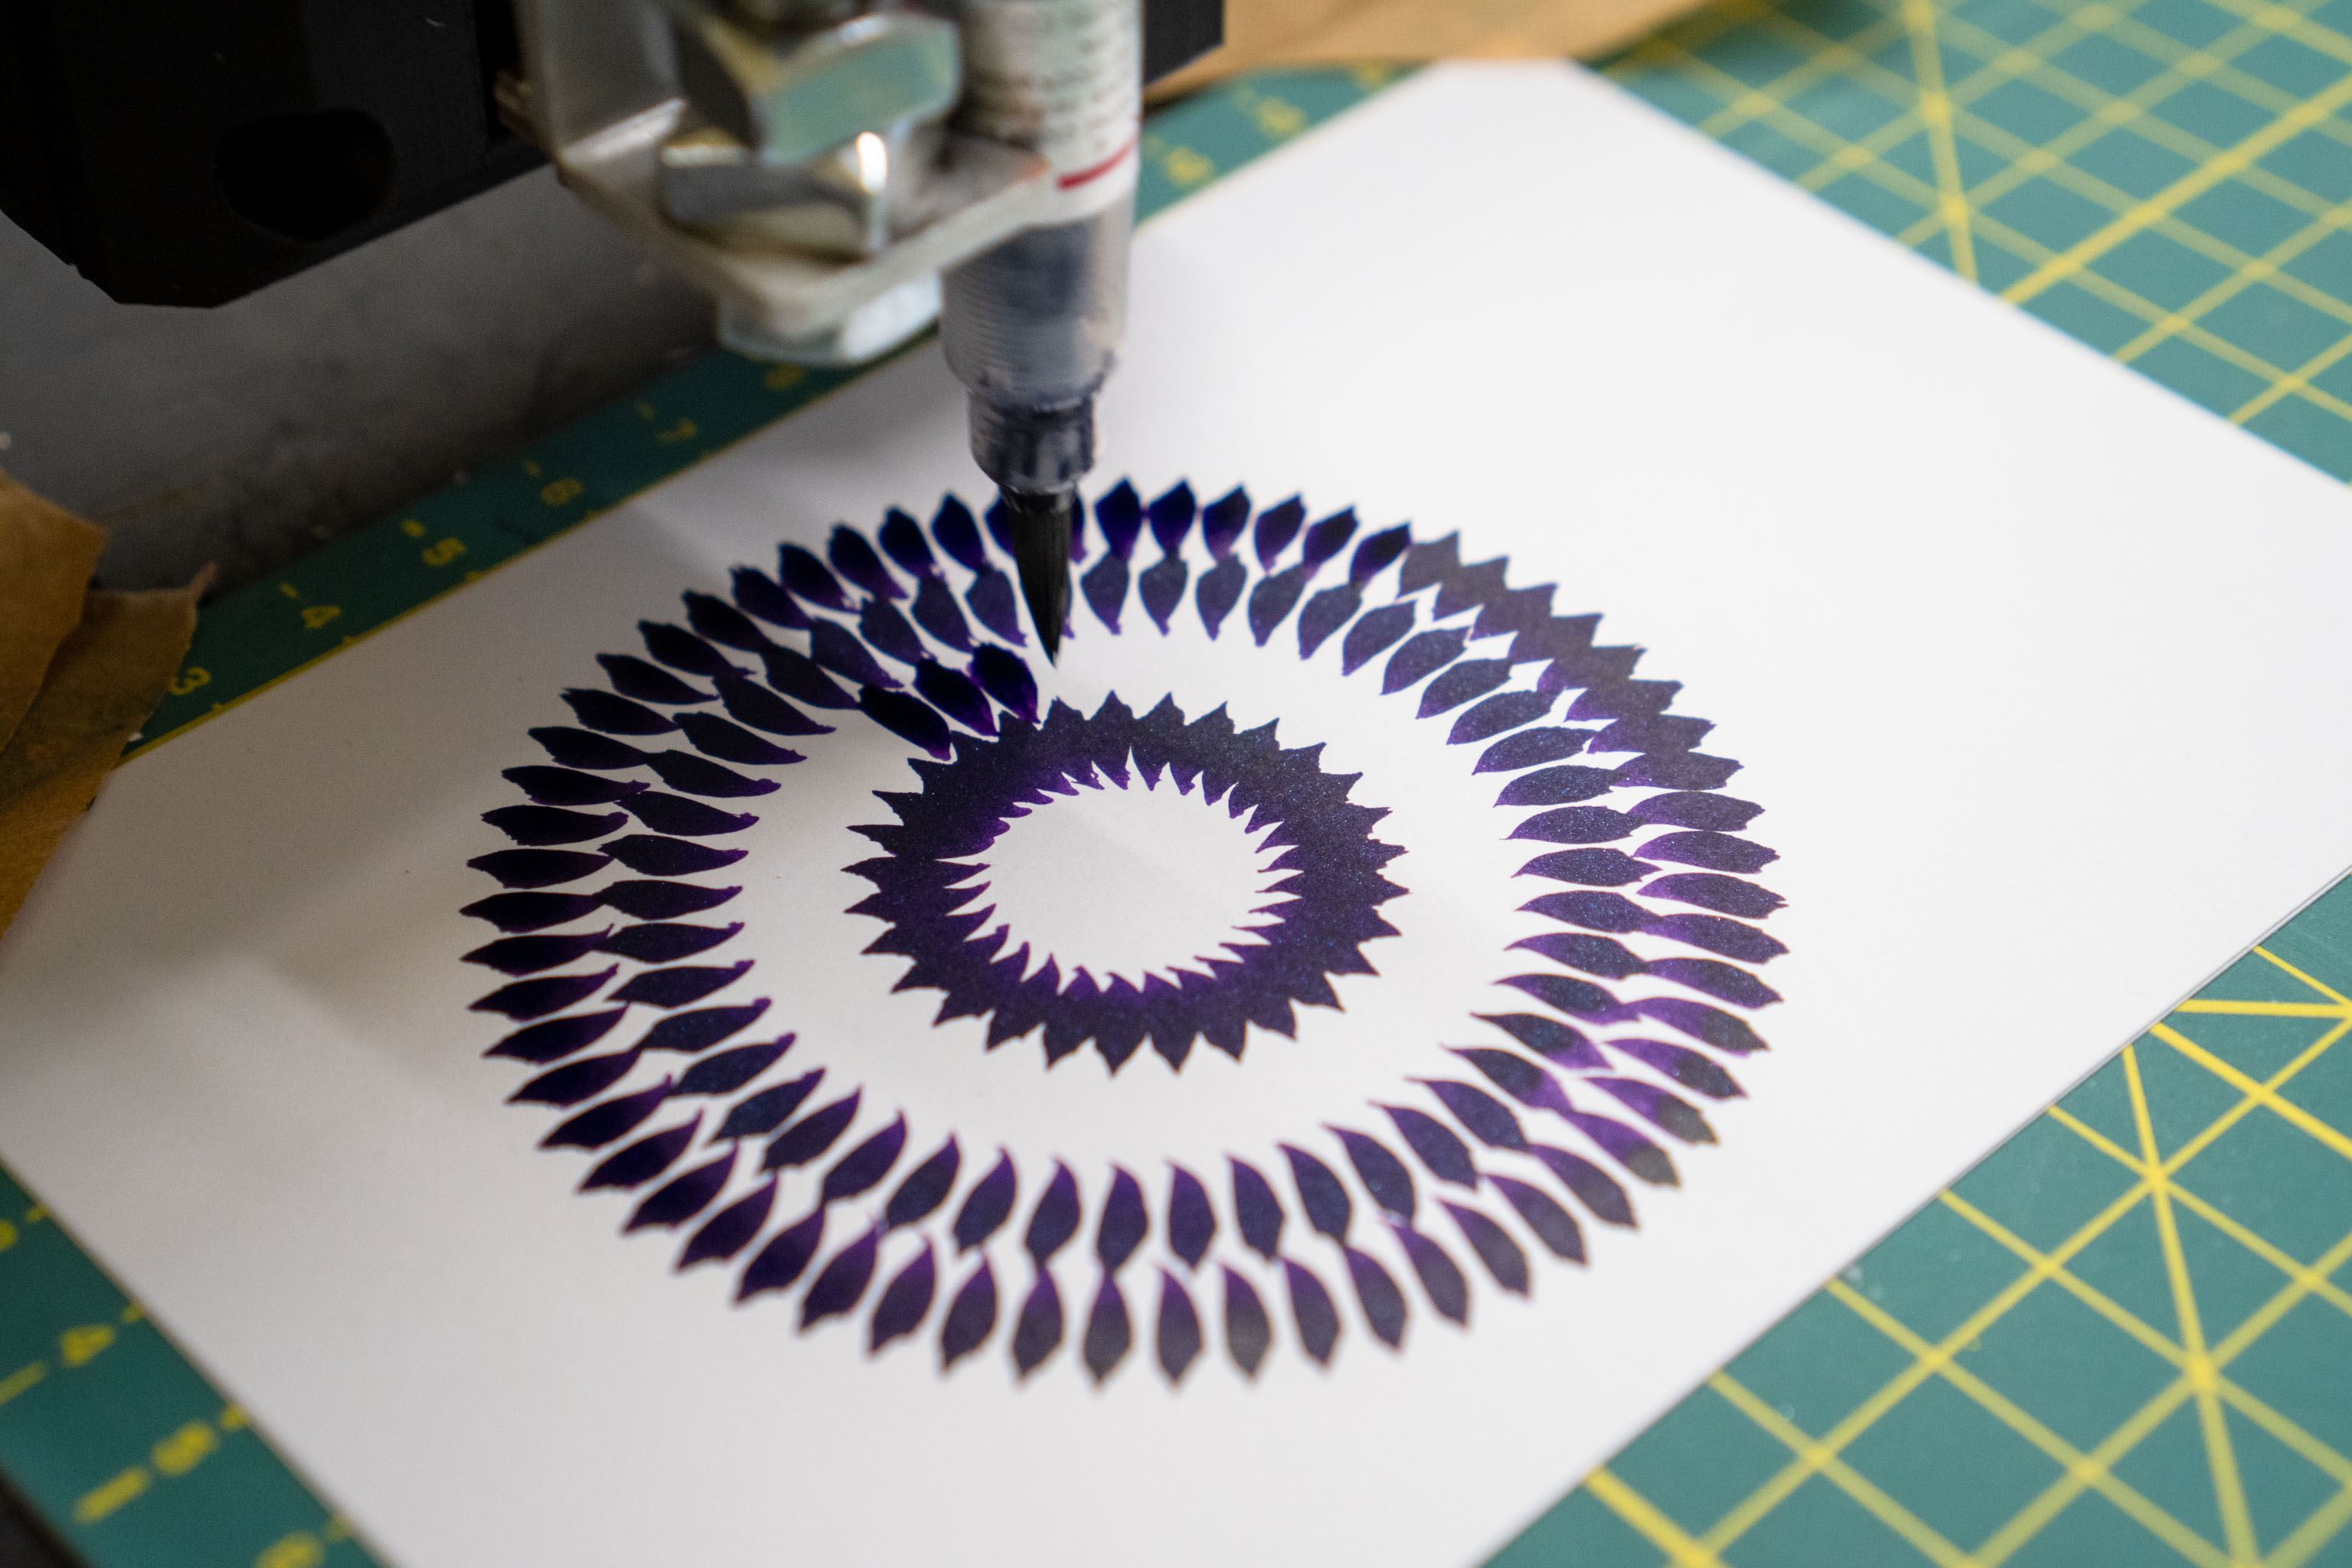
I am pretty much besides myself with joy! This is definitely what I had in mind when I was thinking about mark making.
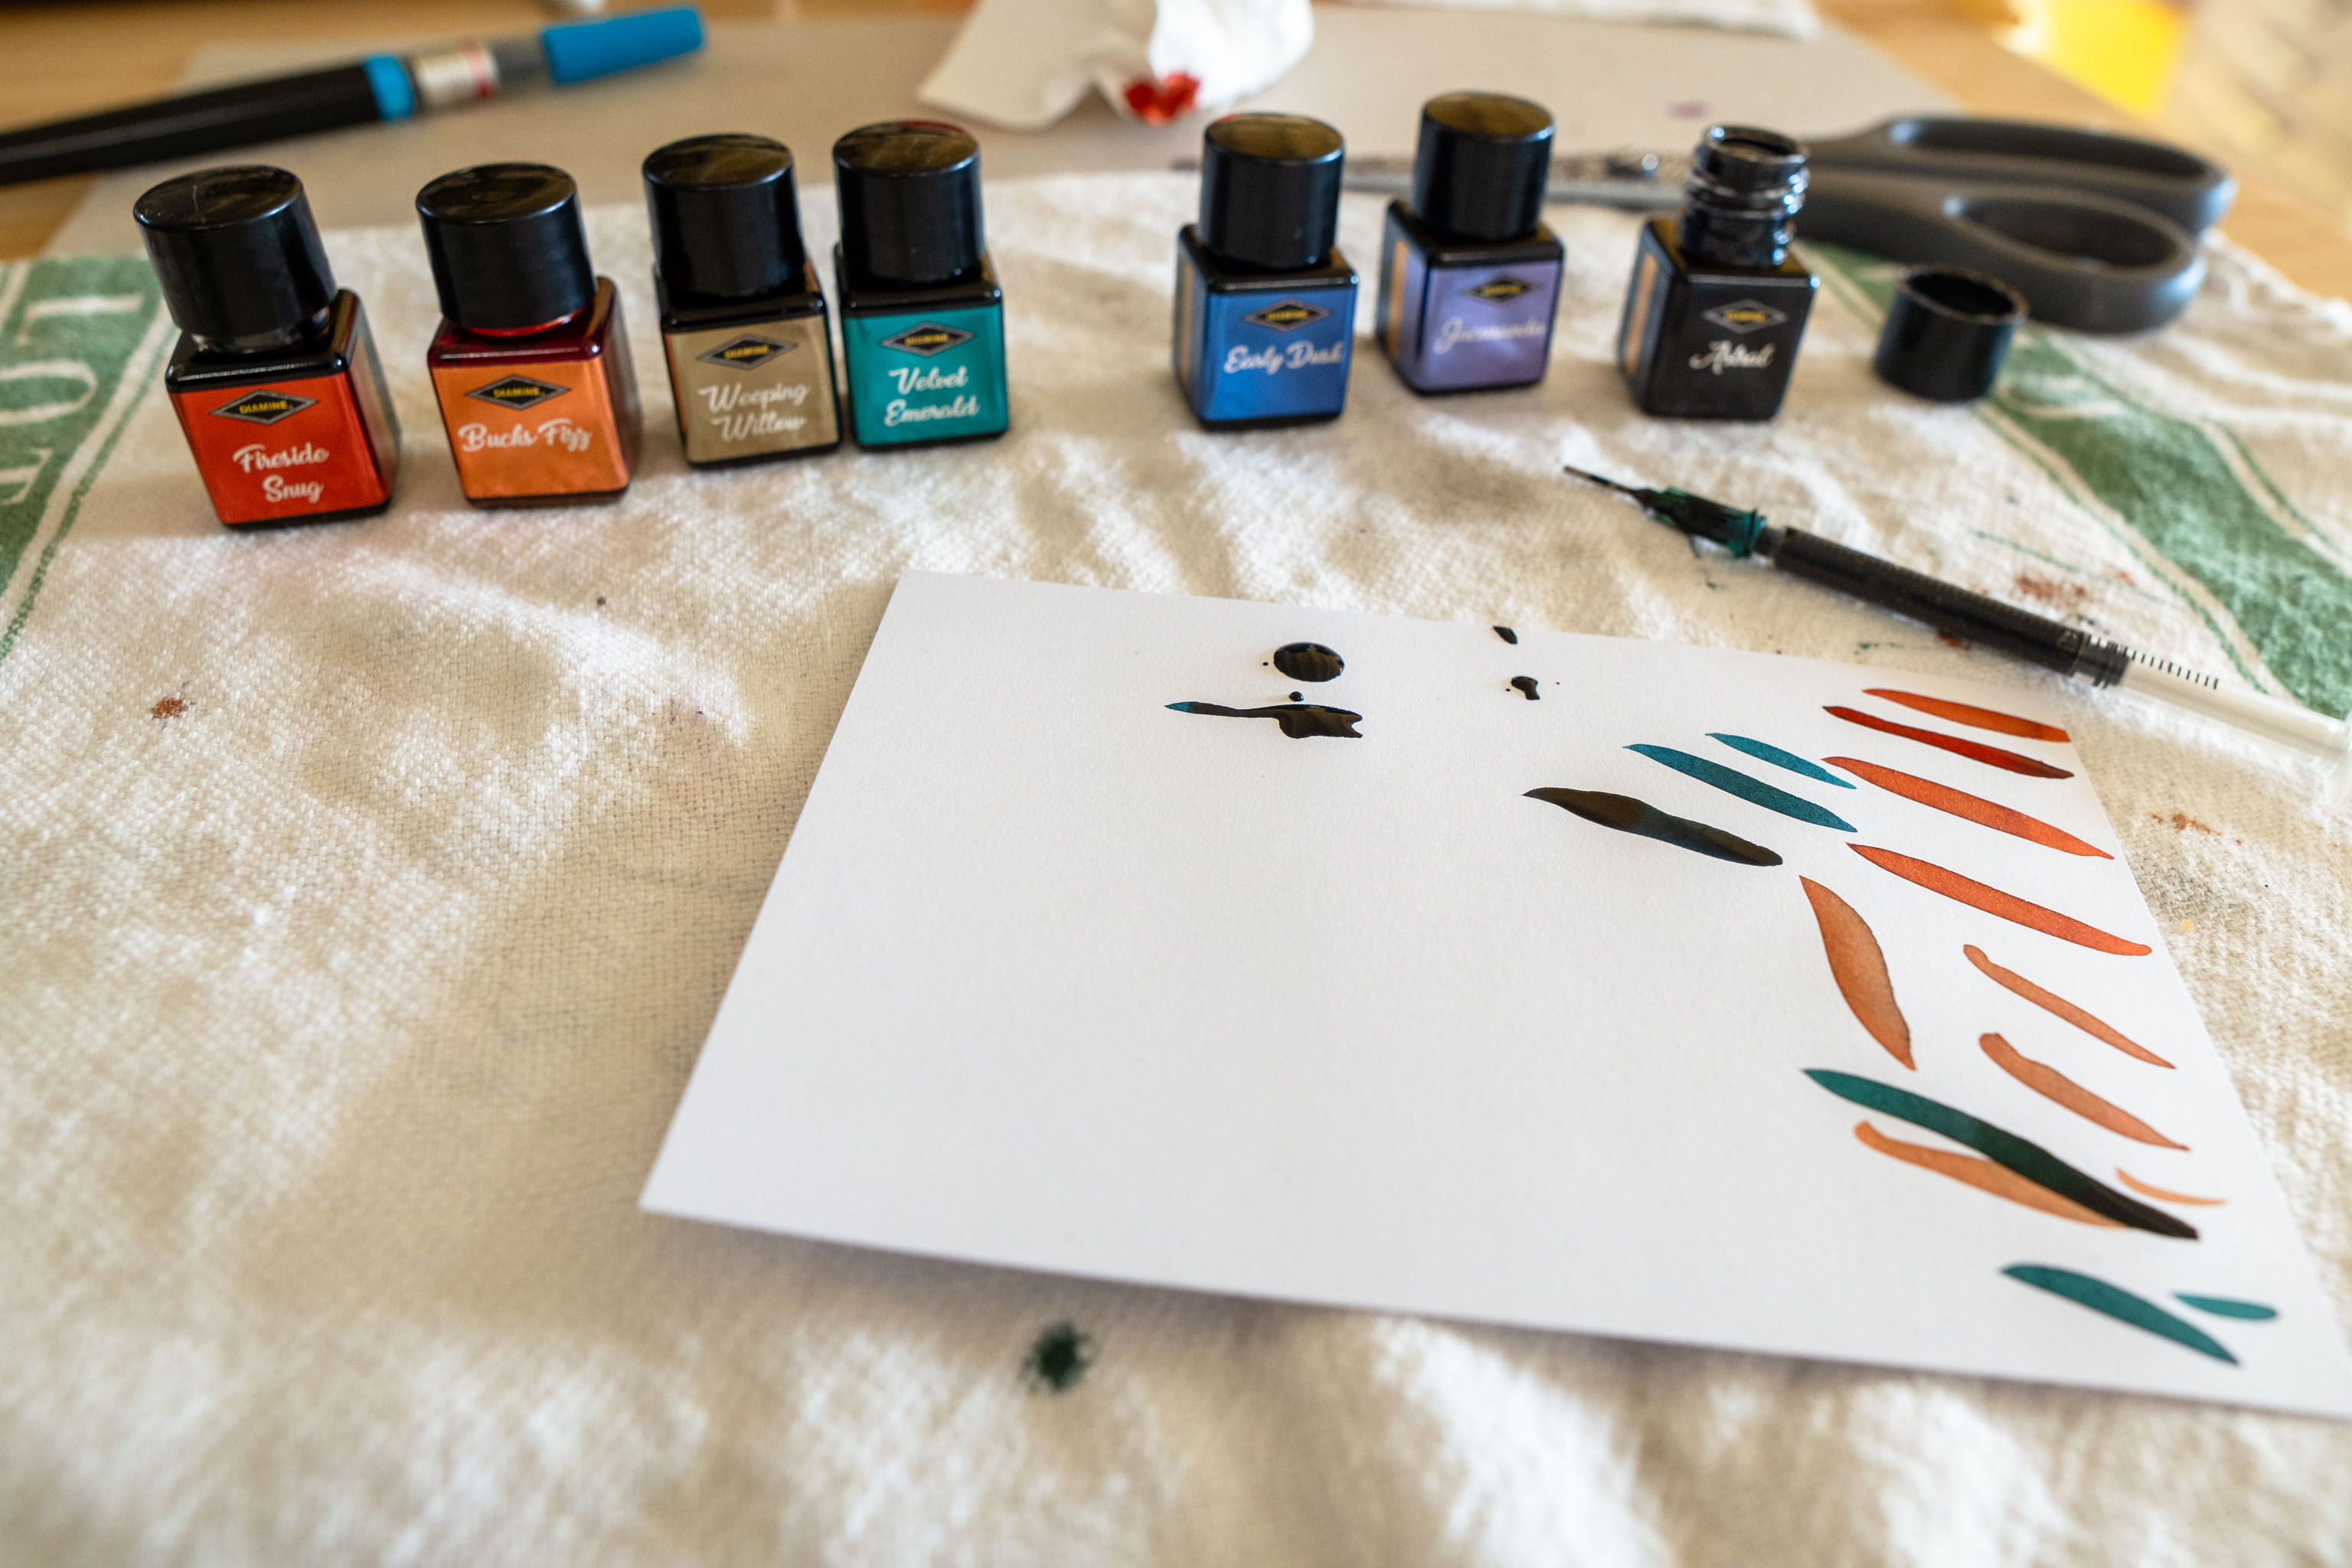
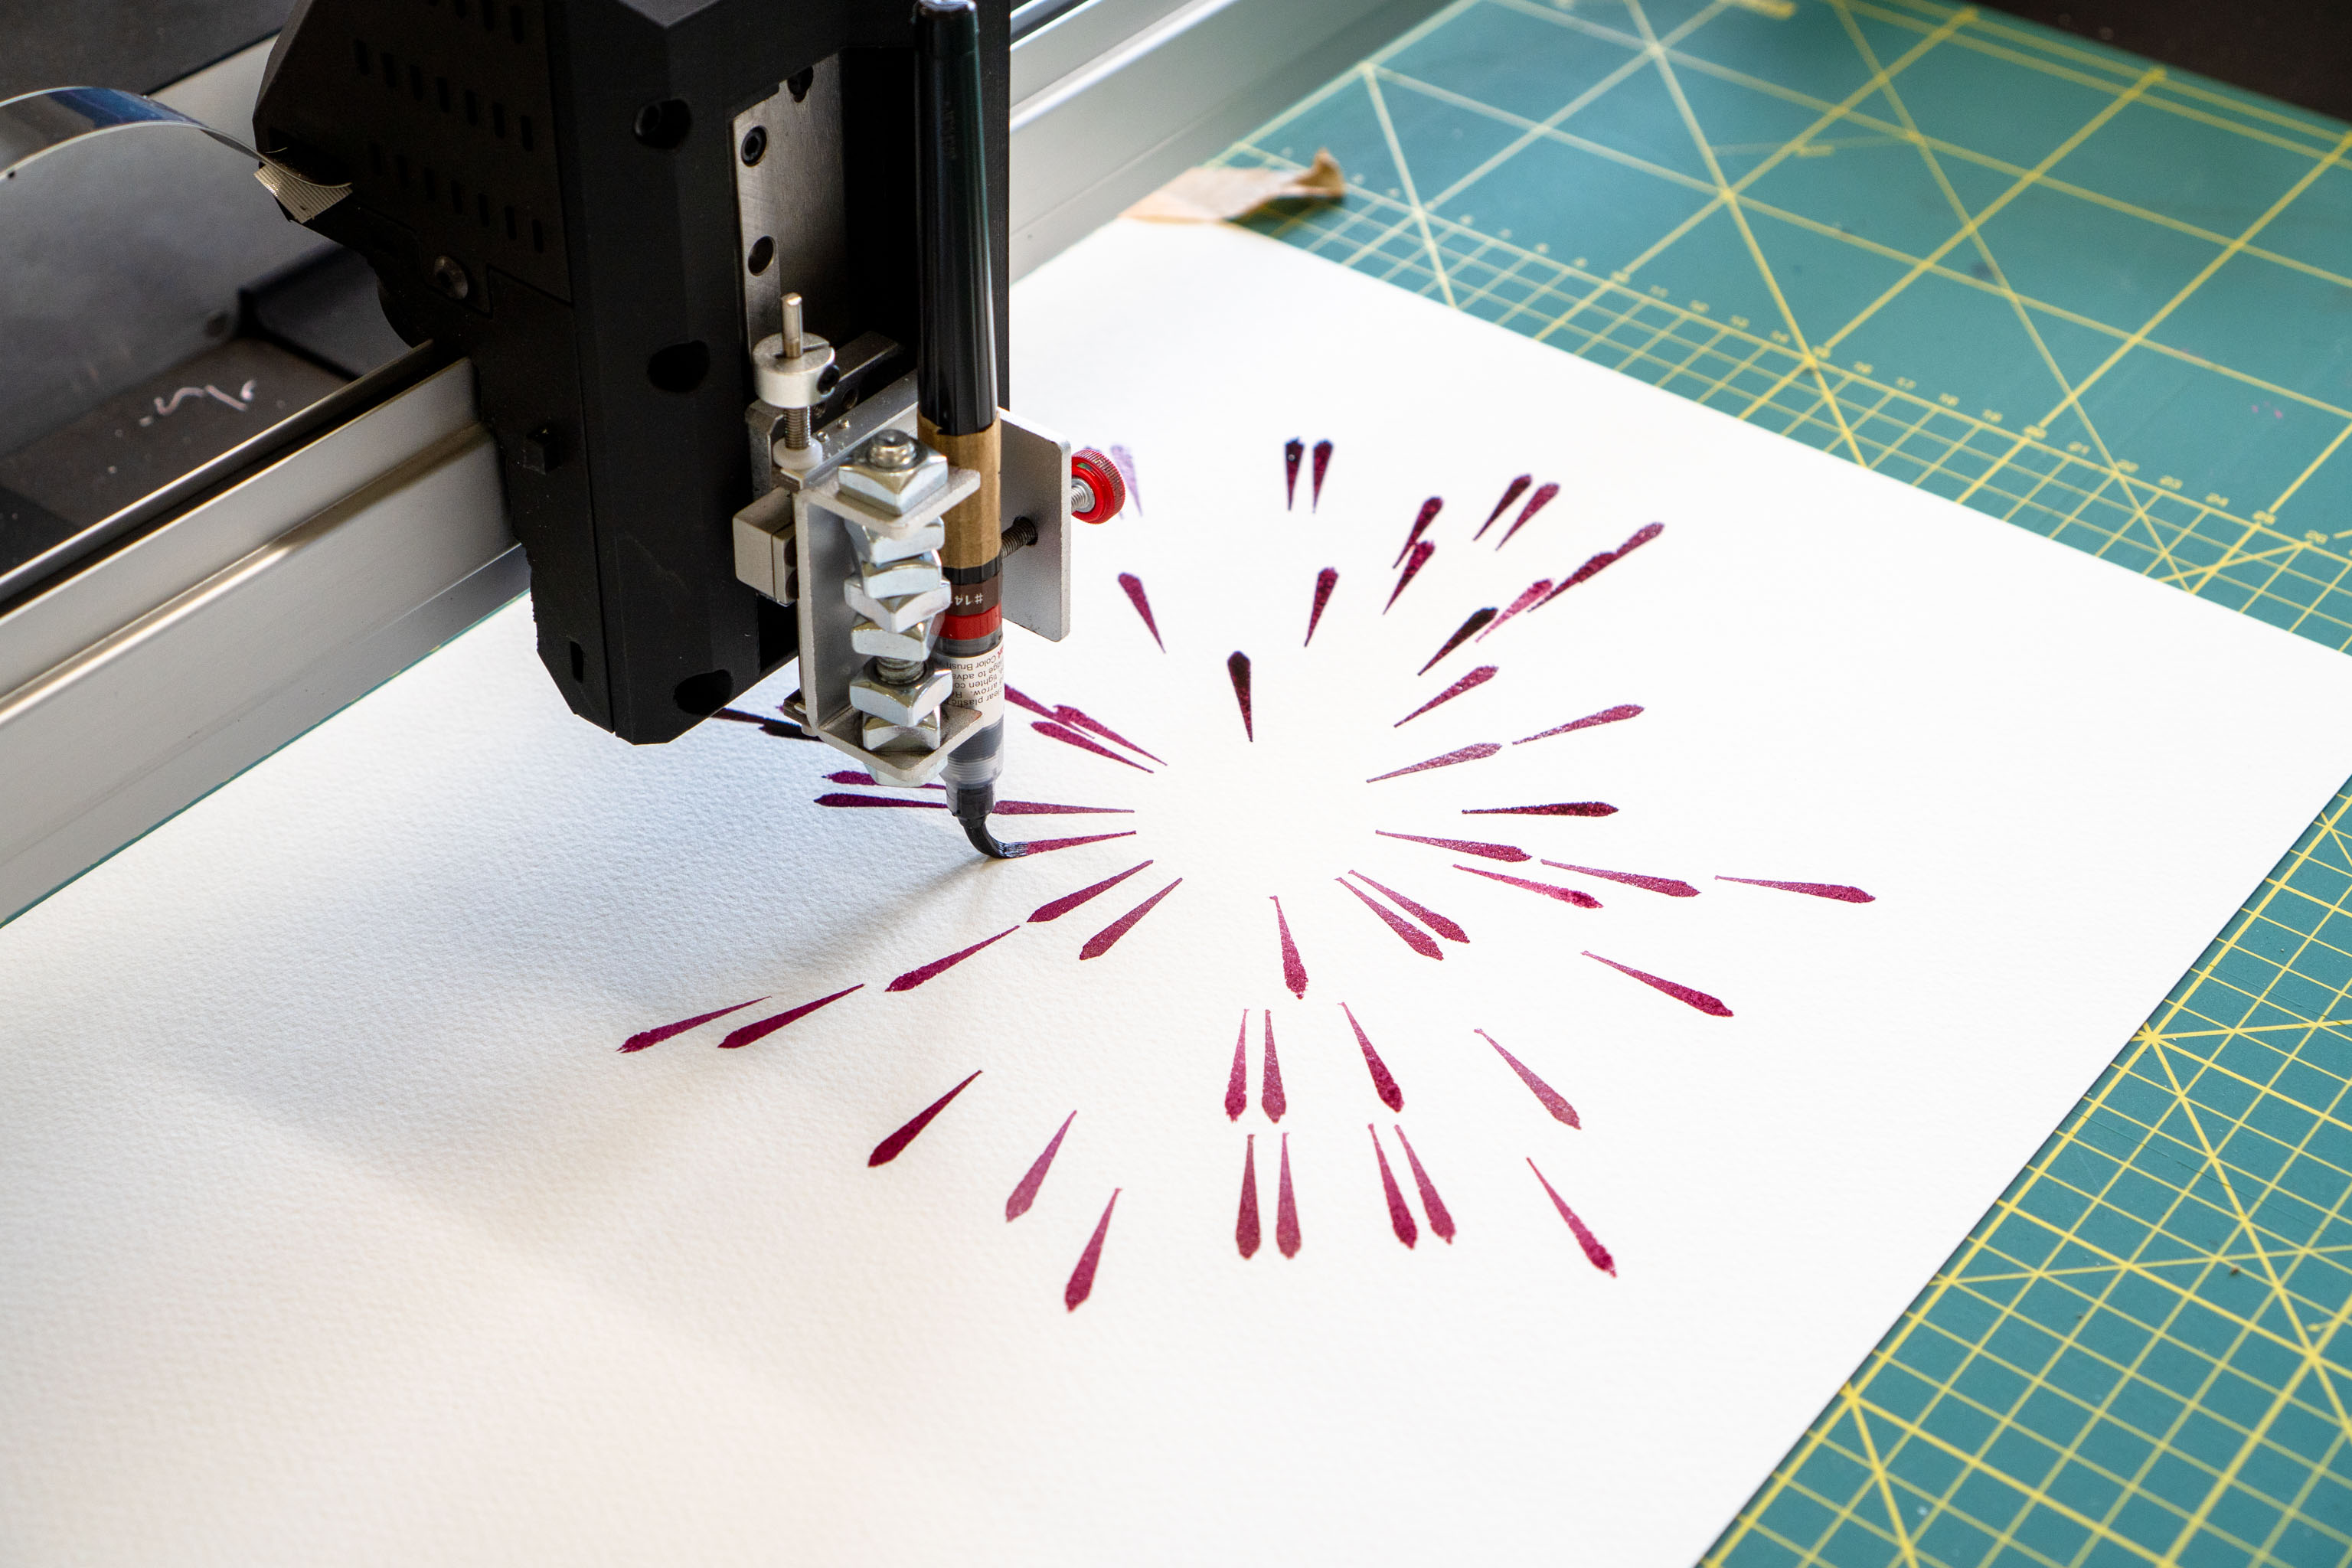
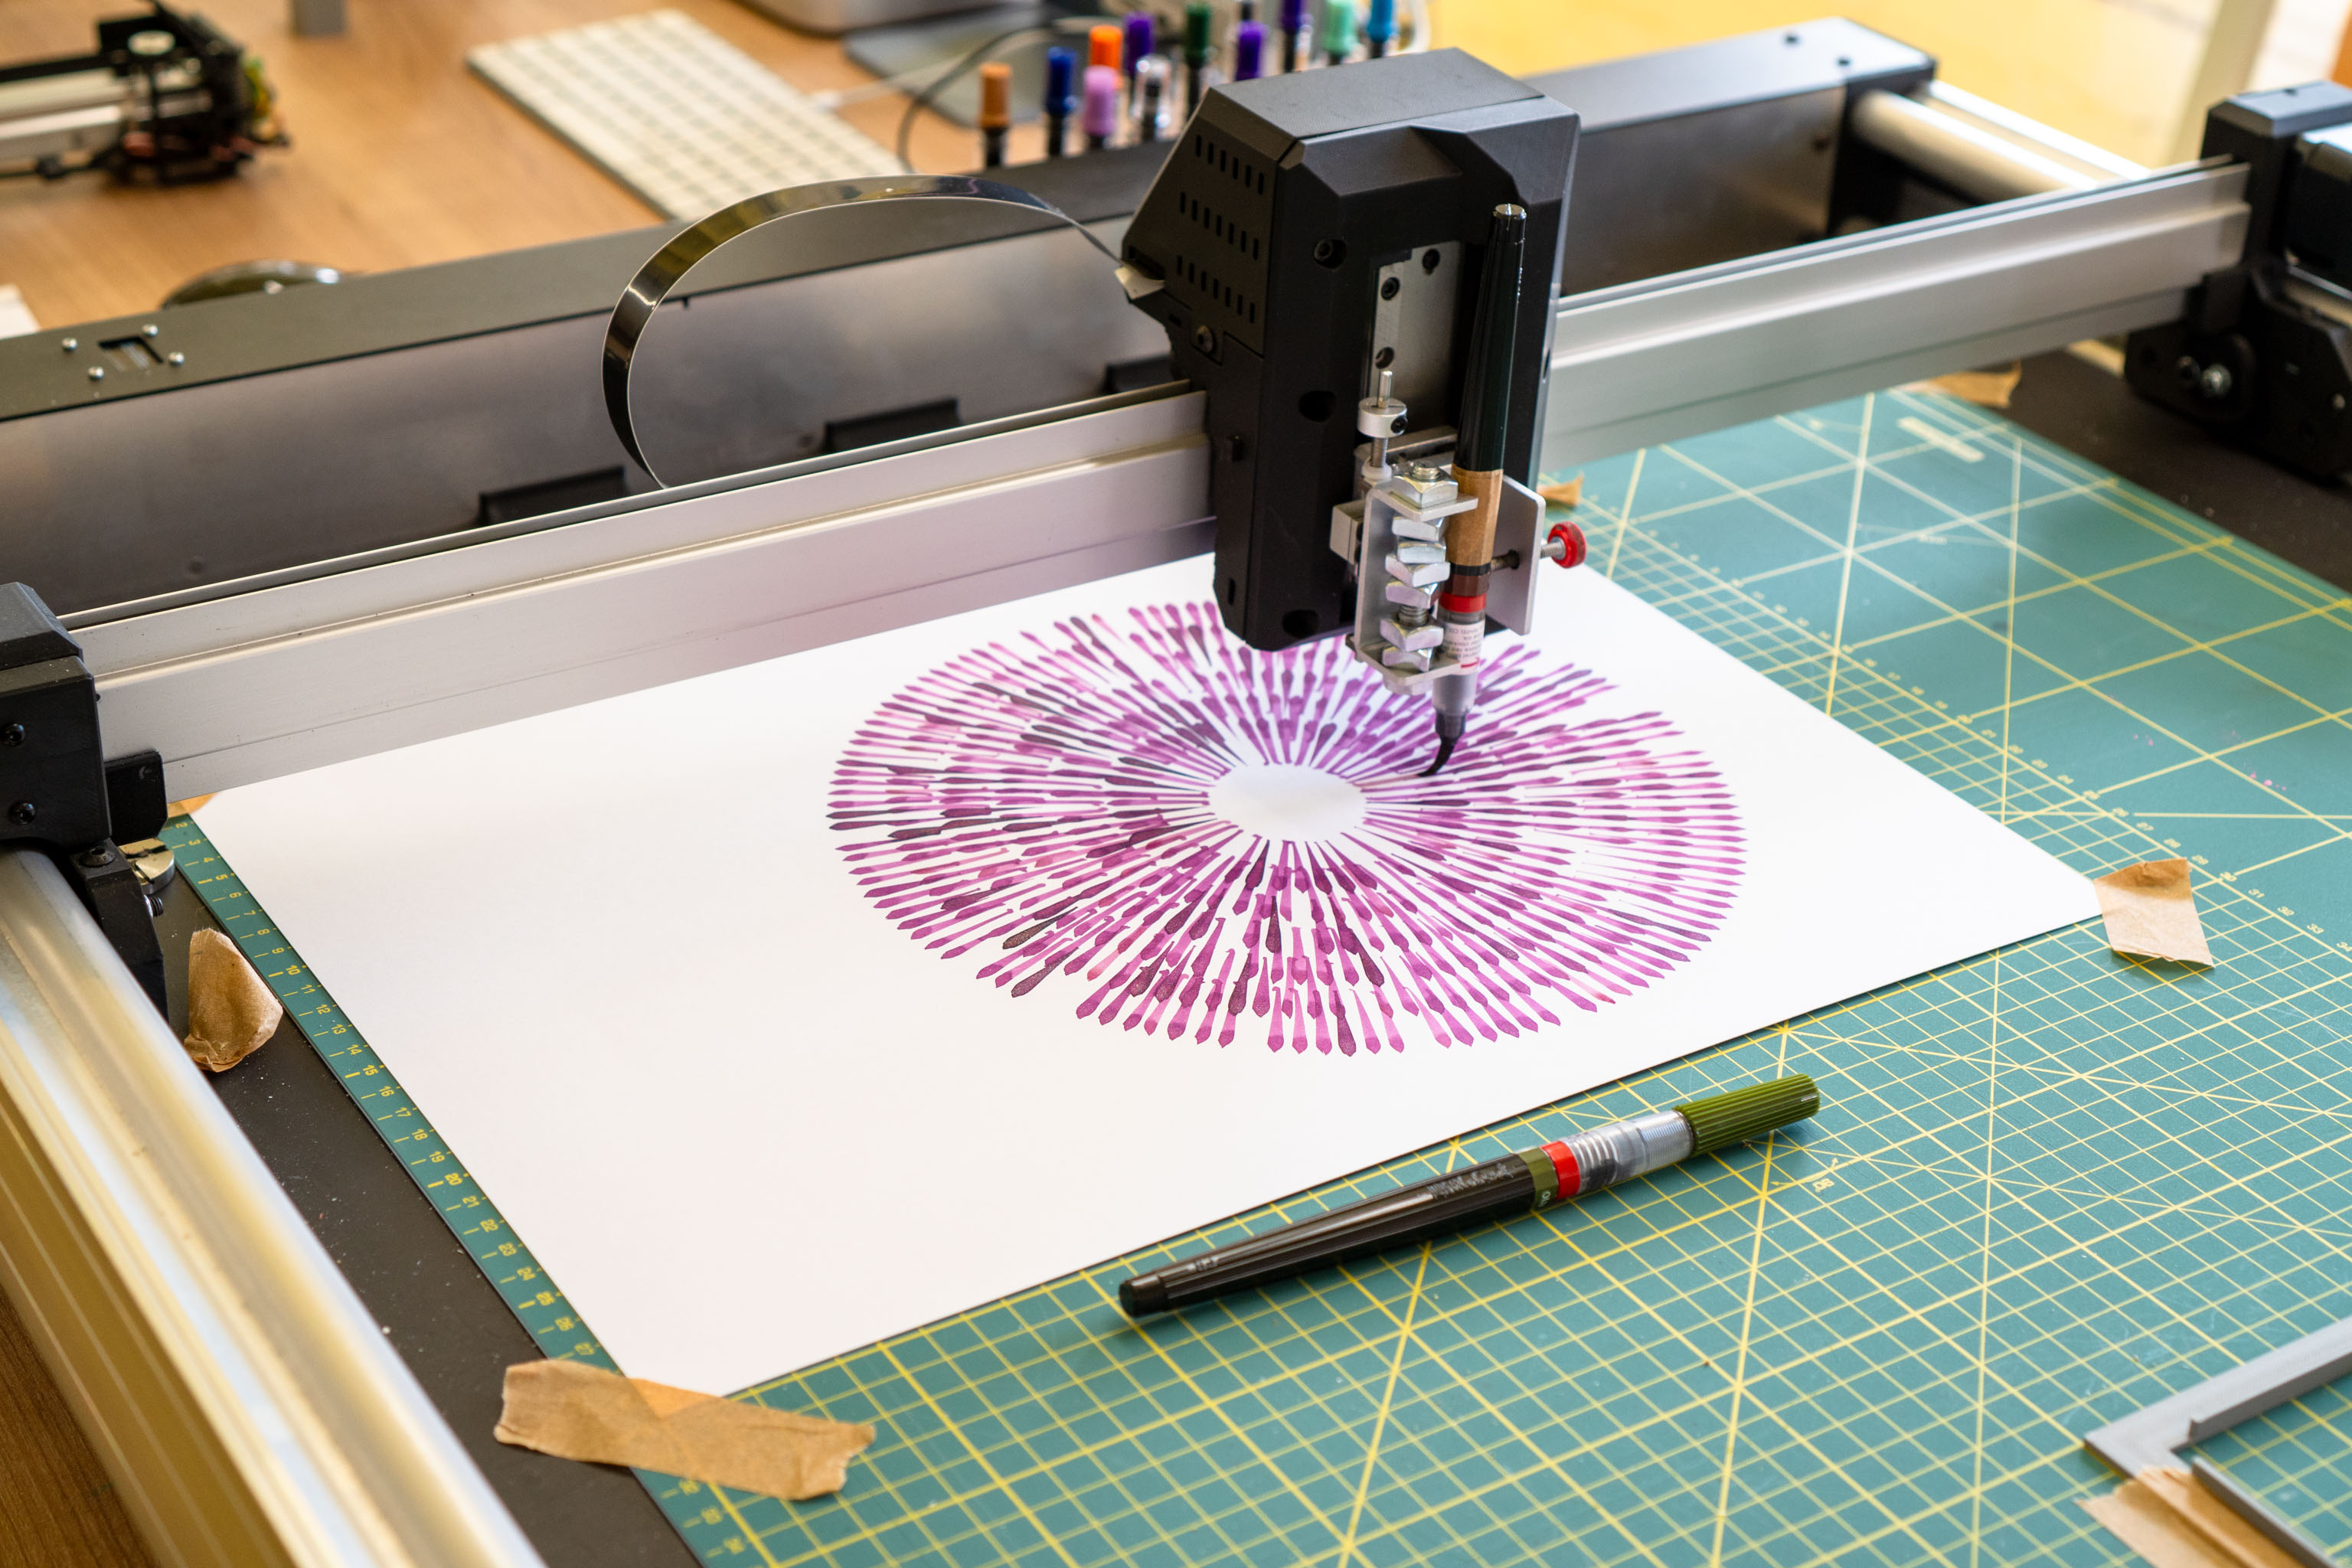
Recap, with these brush pens I can inject a small amount of ink into the reservoir just above the brush. There isn't enough ink to cover the whole page so it needs topping up.
I rewrote the code to add pauses every 100 brush strokes or so, the machine waits for me to remove the brush pen, top it up with some ink, and then set it away again.
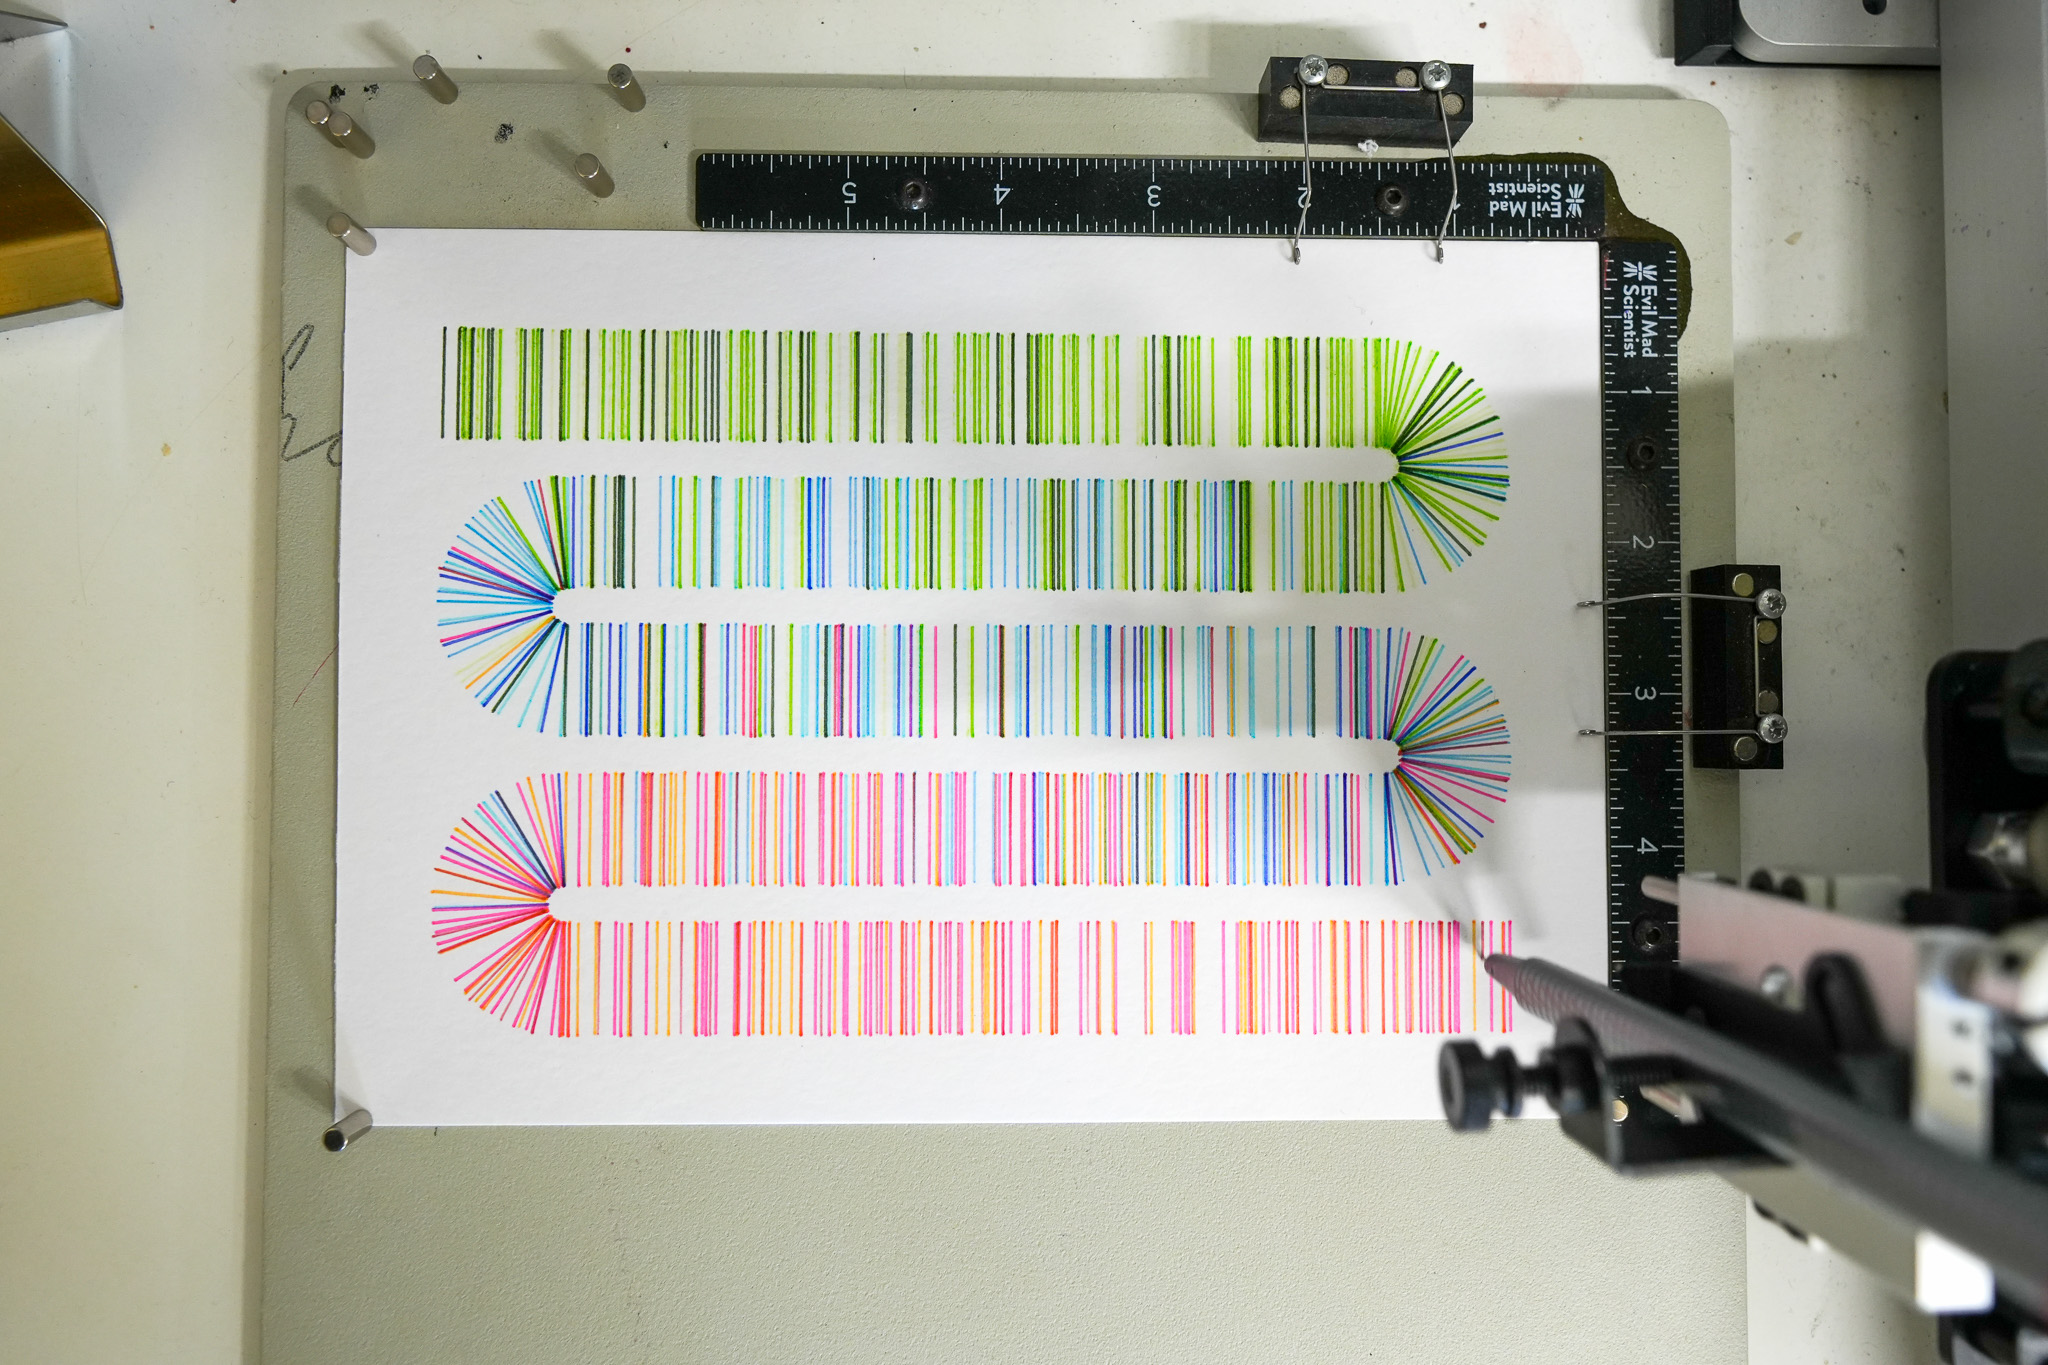
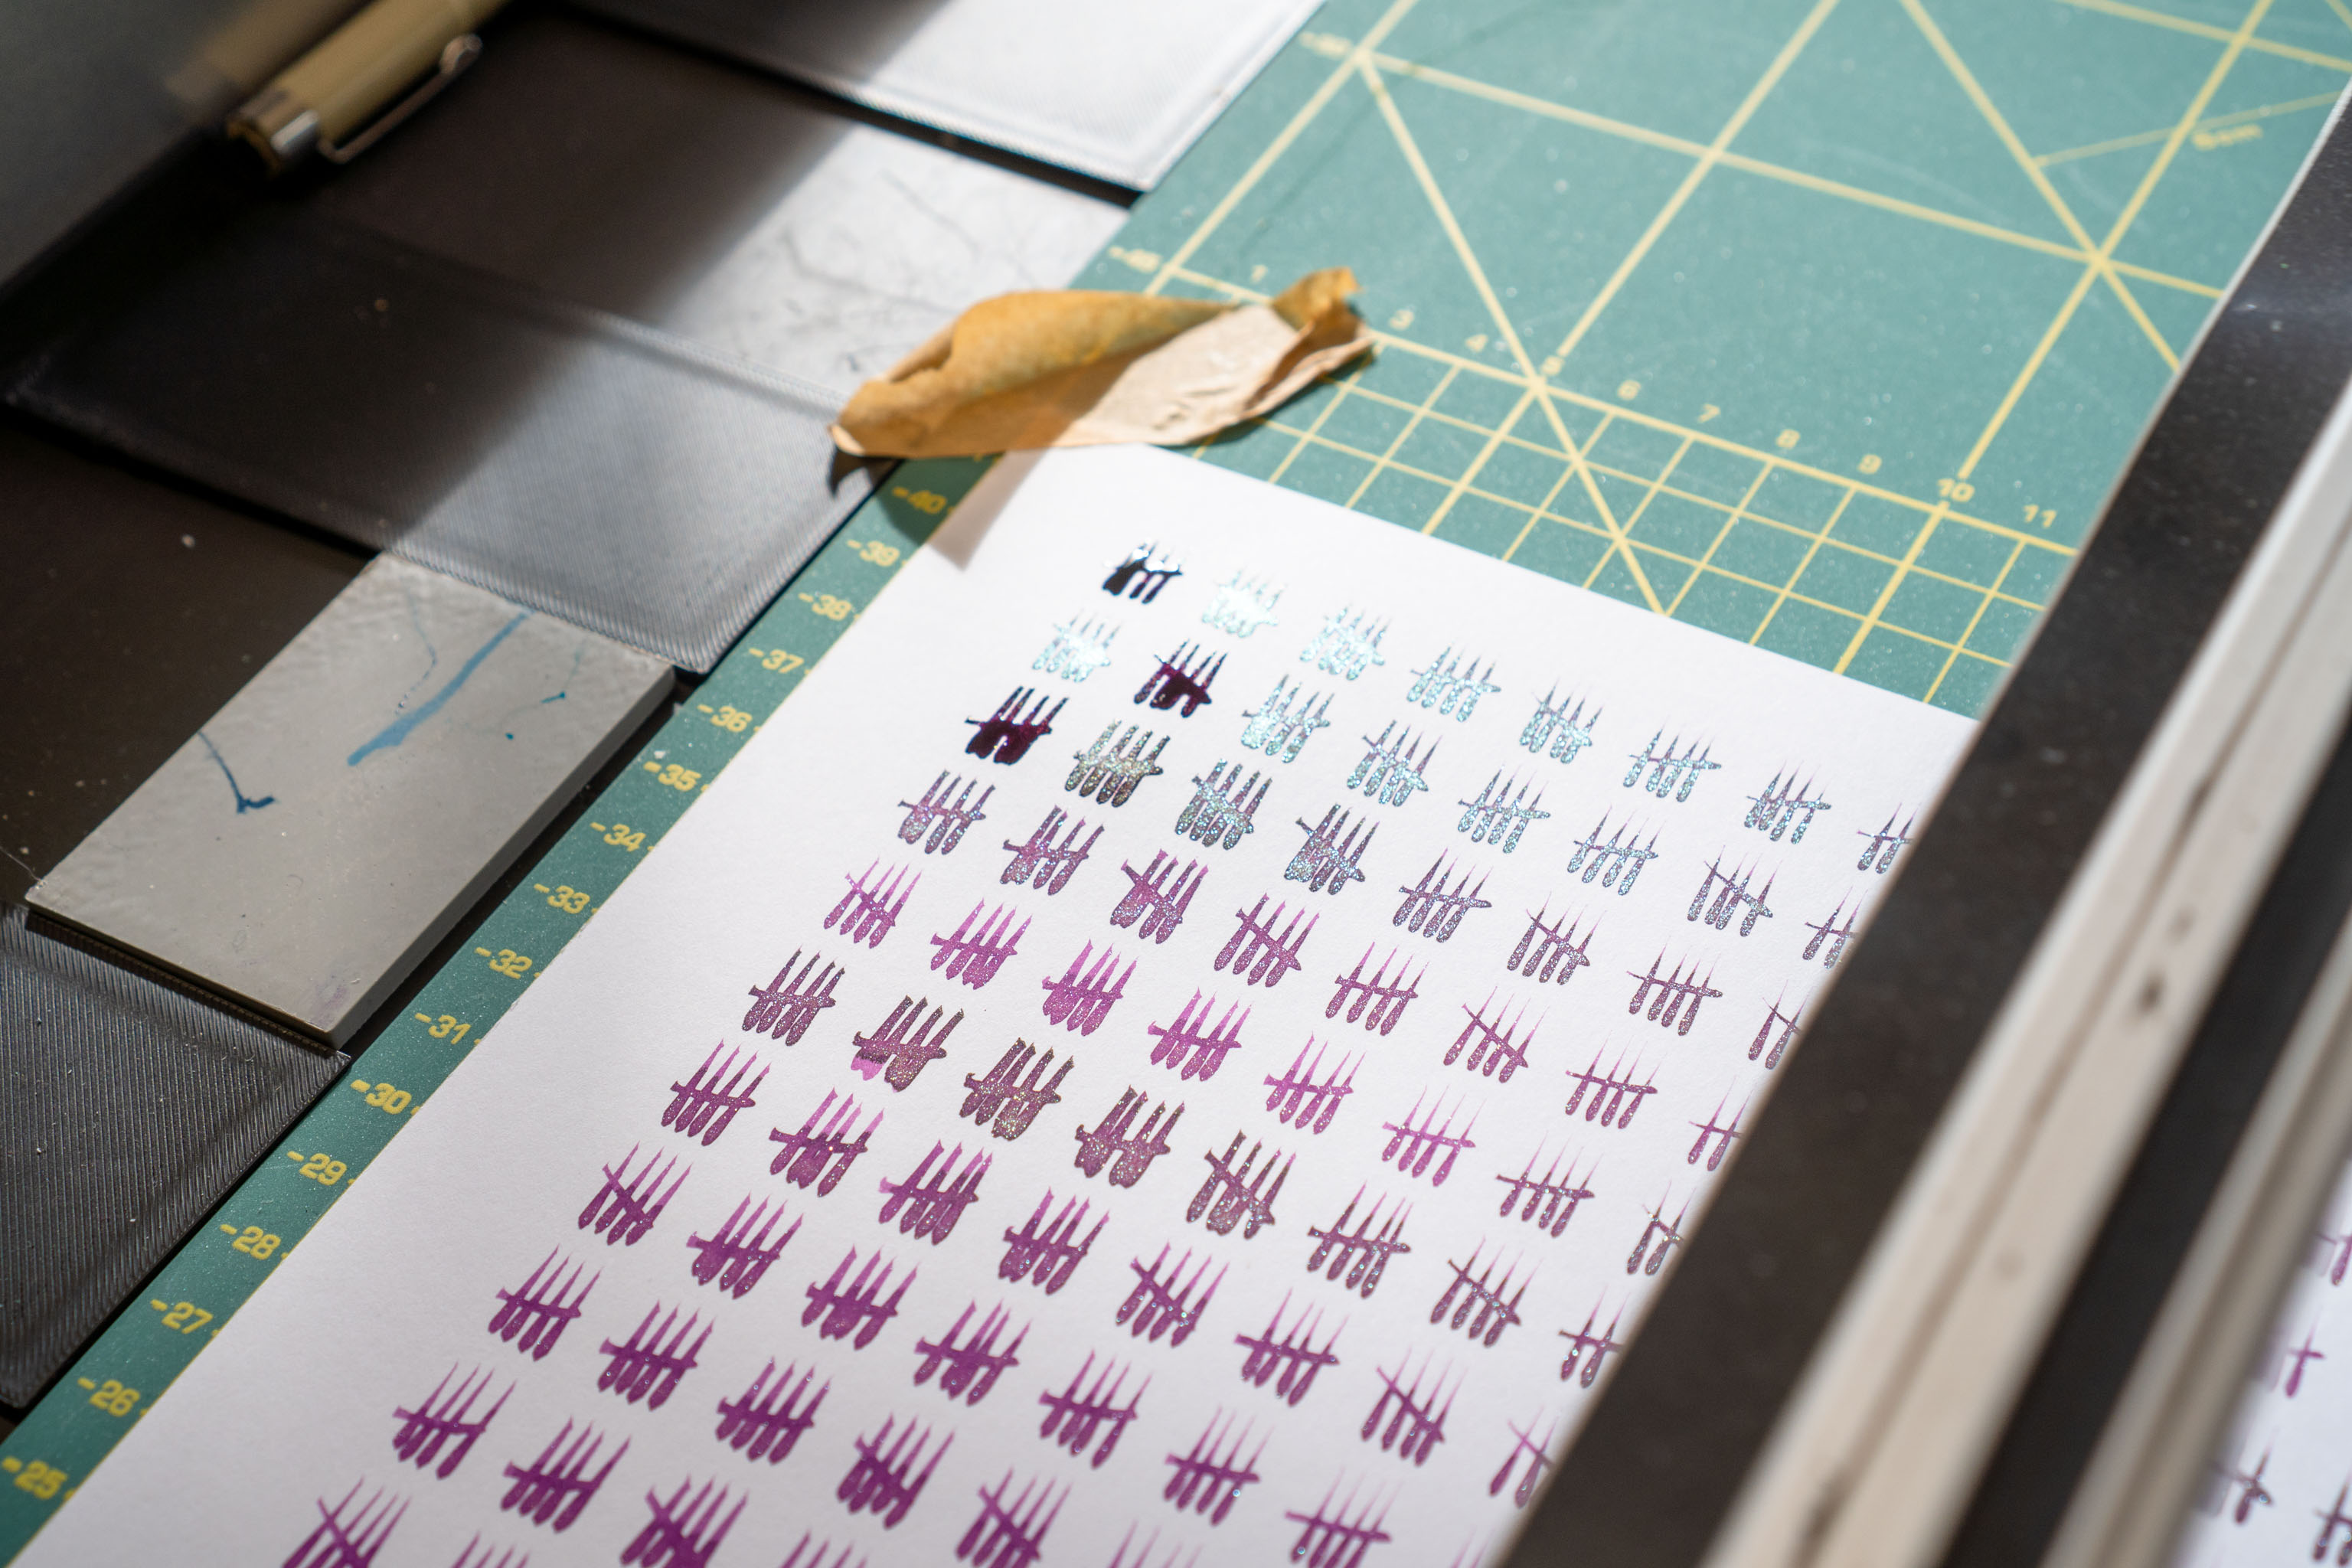
What if, I thought, I keep changing the colour of the ink, and this is the end result!
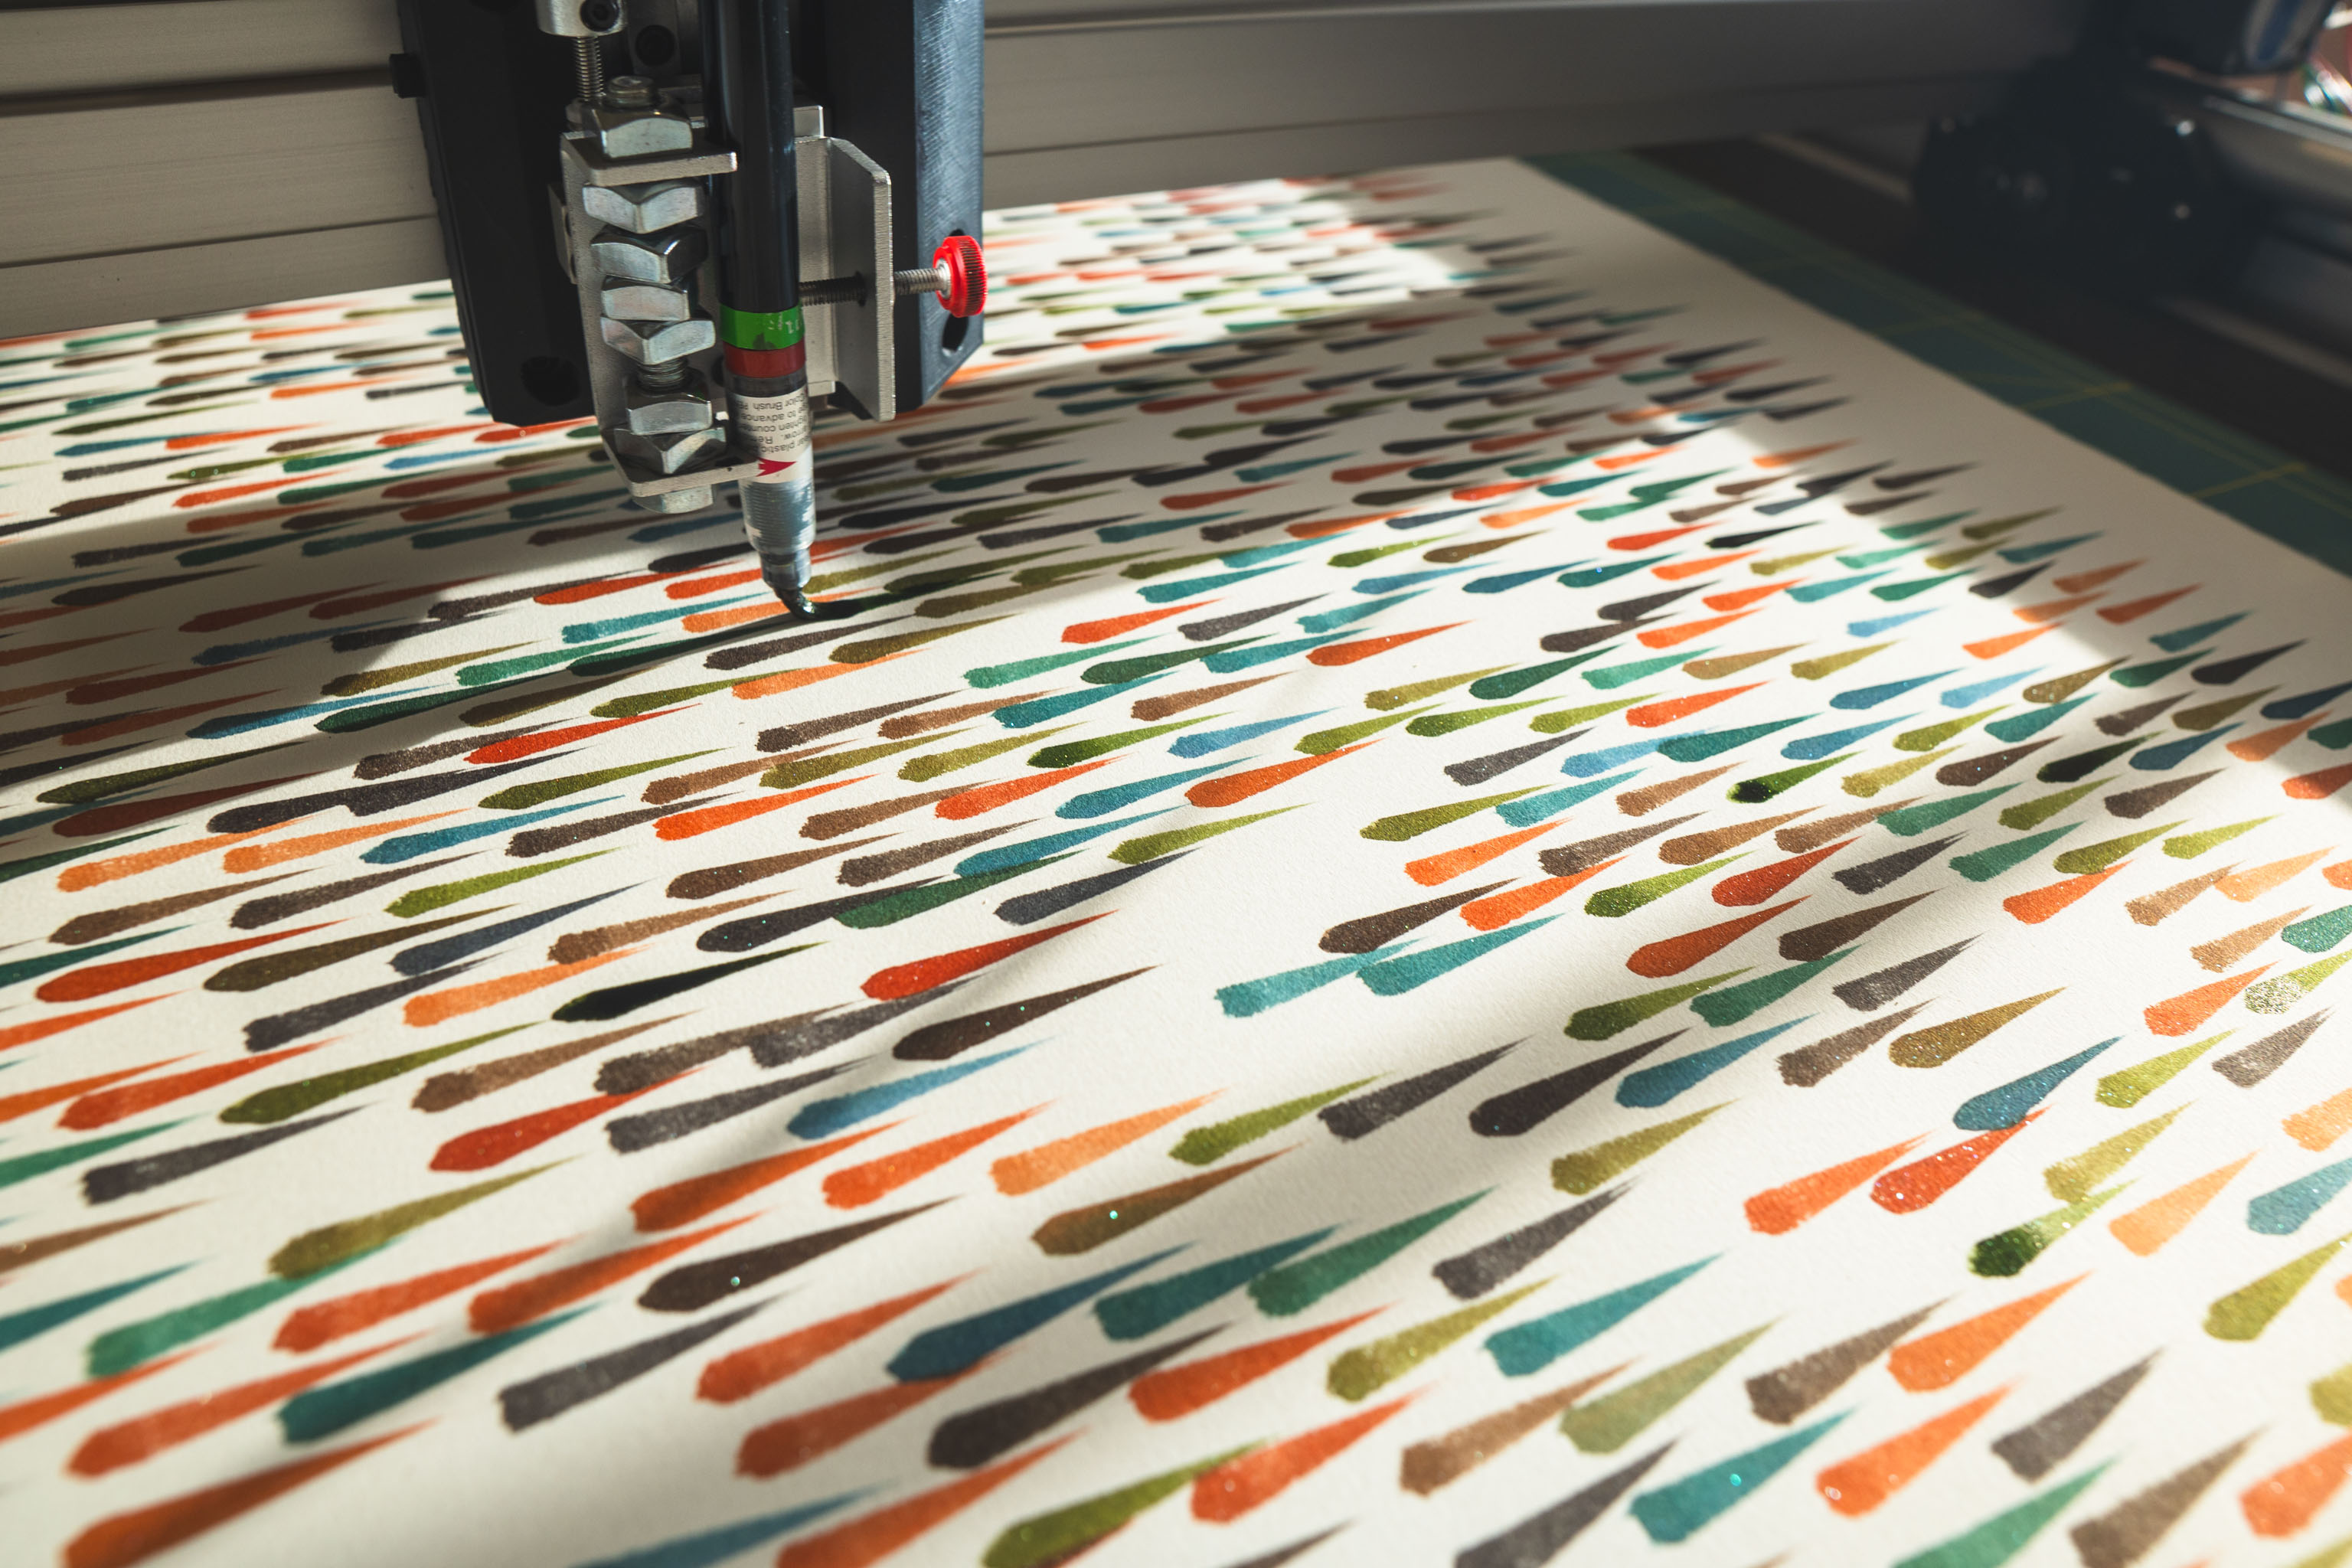
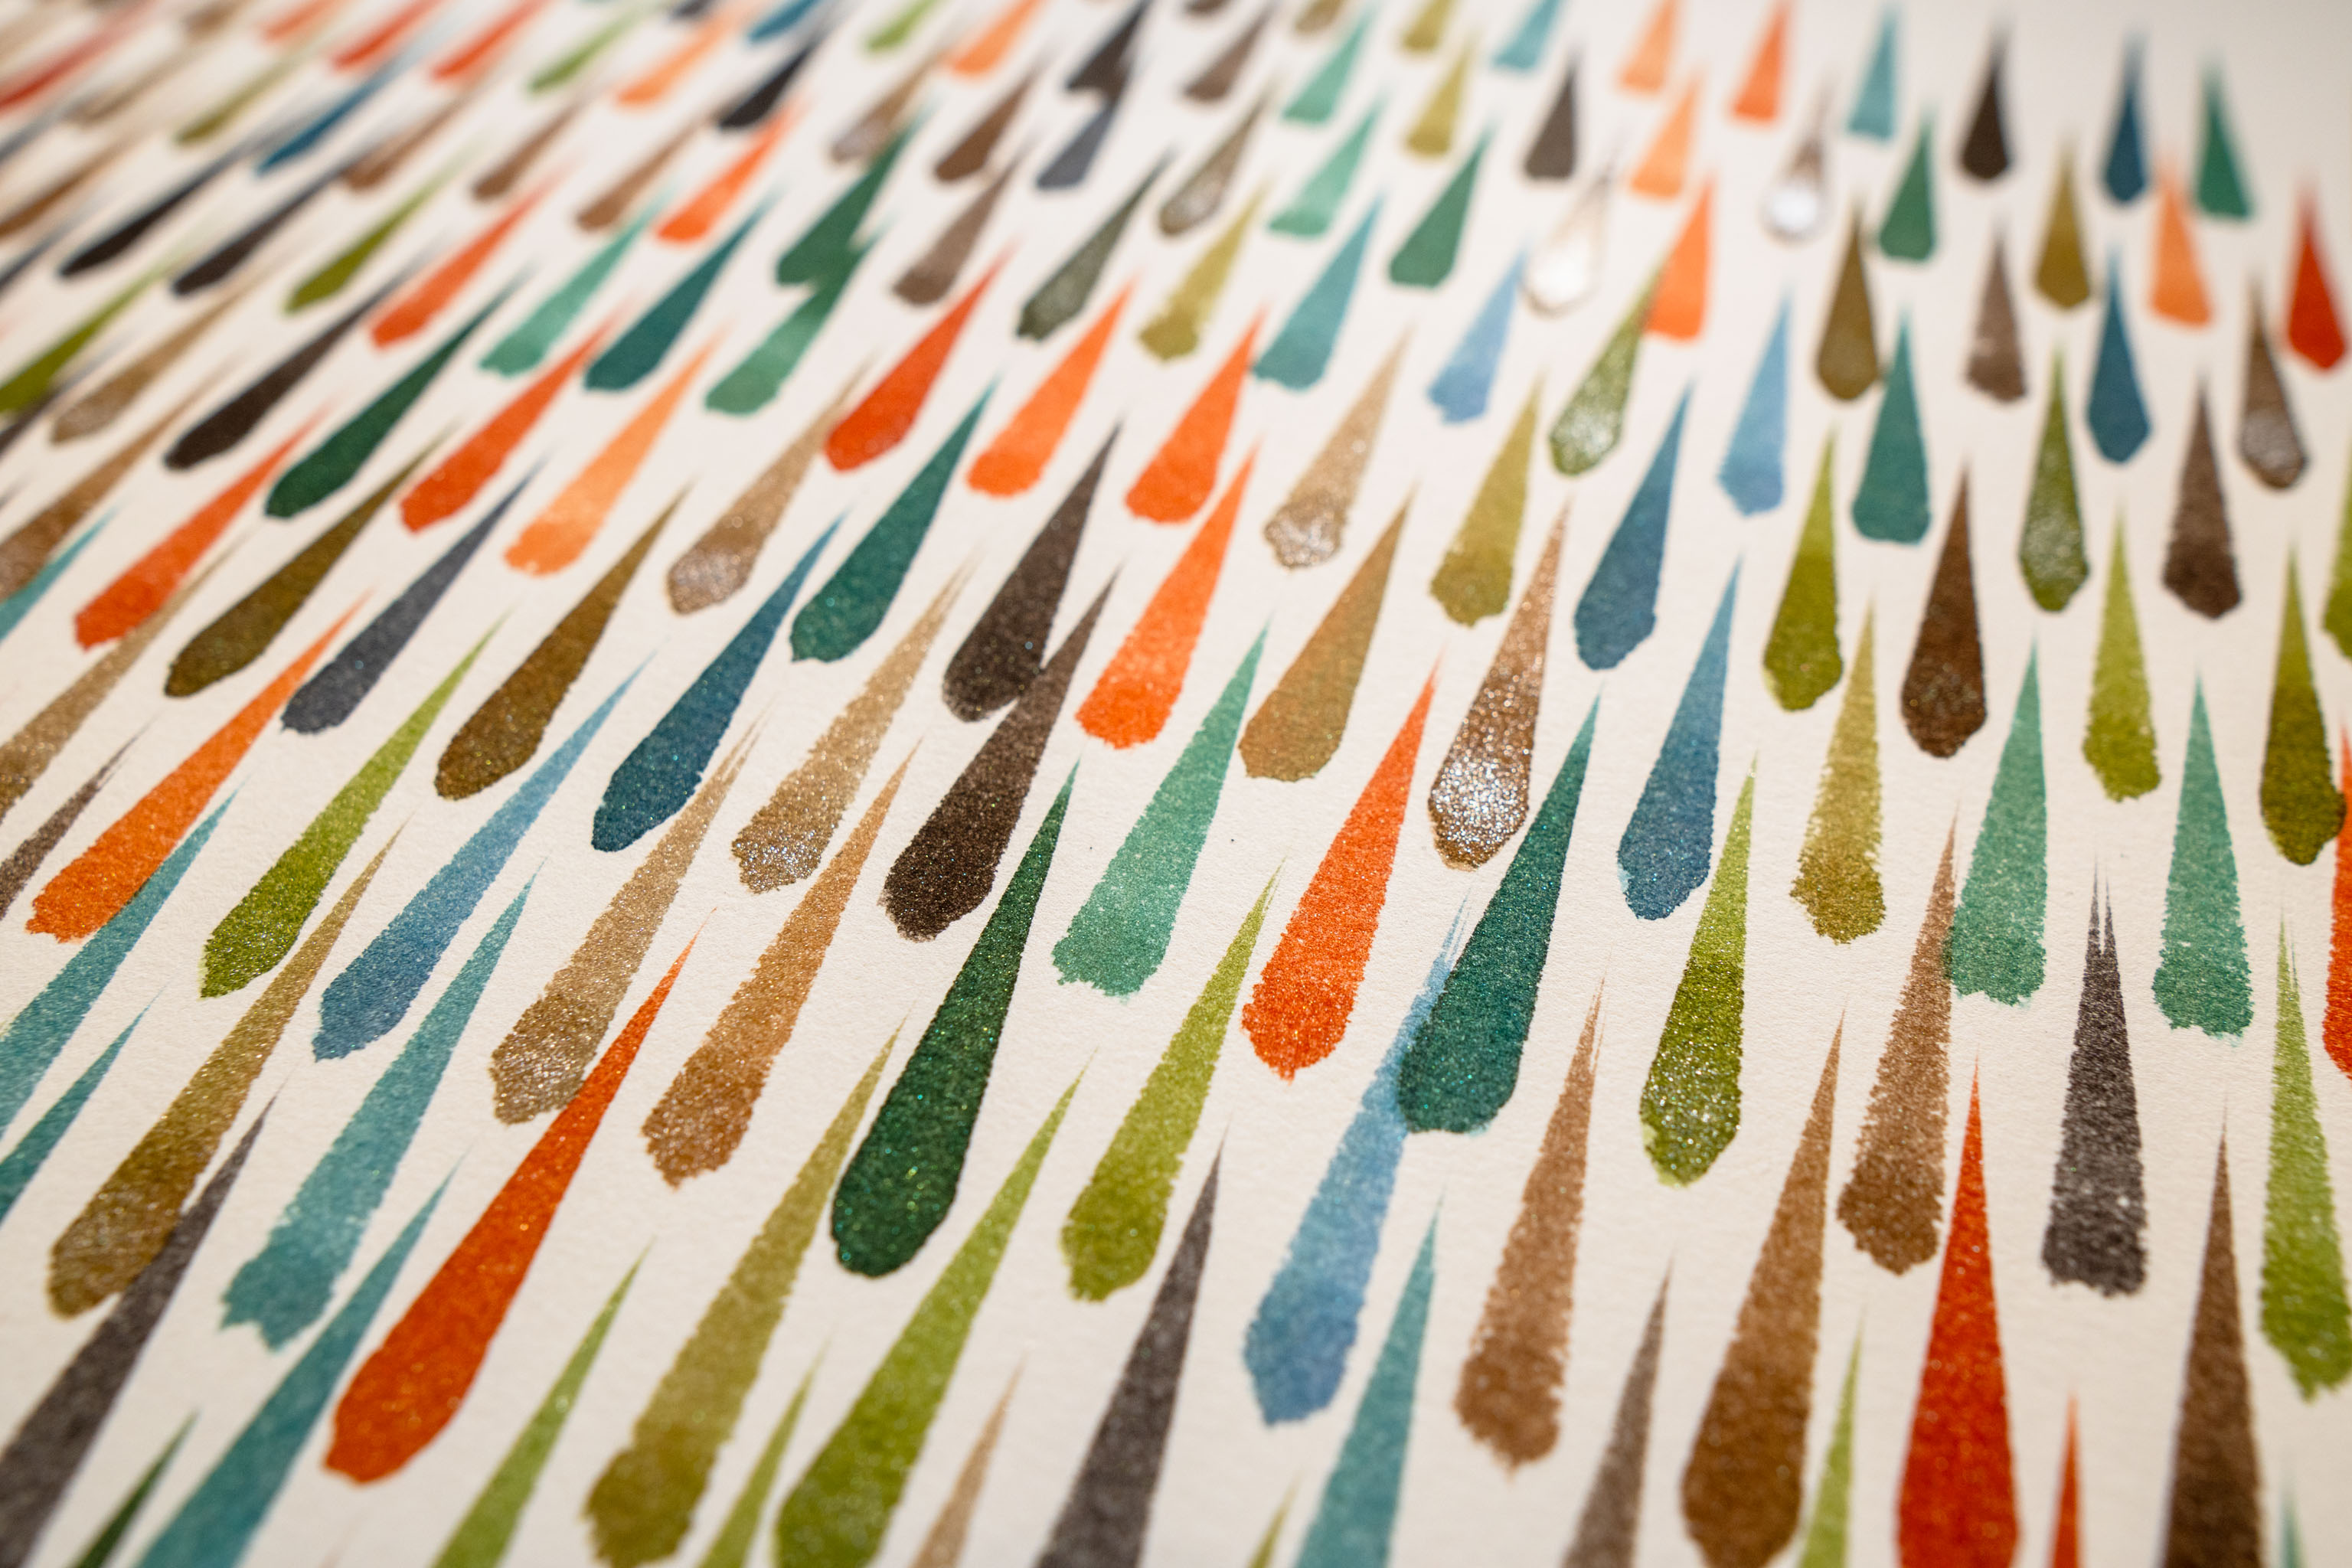
As usual the code I've written fills the page — ultimately that's what I wanted, tally after tally after tally, one-by-one — but, I think I liked how it looked when it was about 80-90% done, a little bit of whitespace here and there.
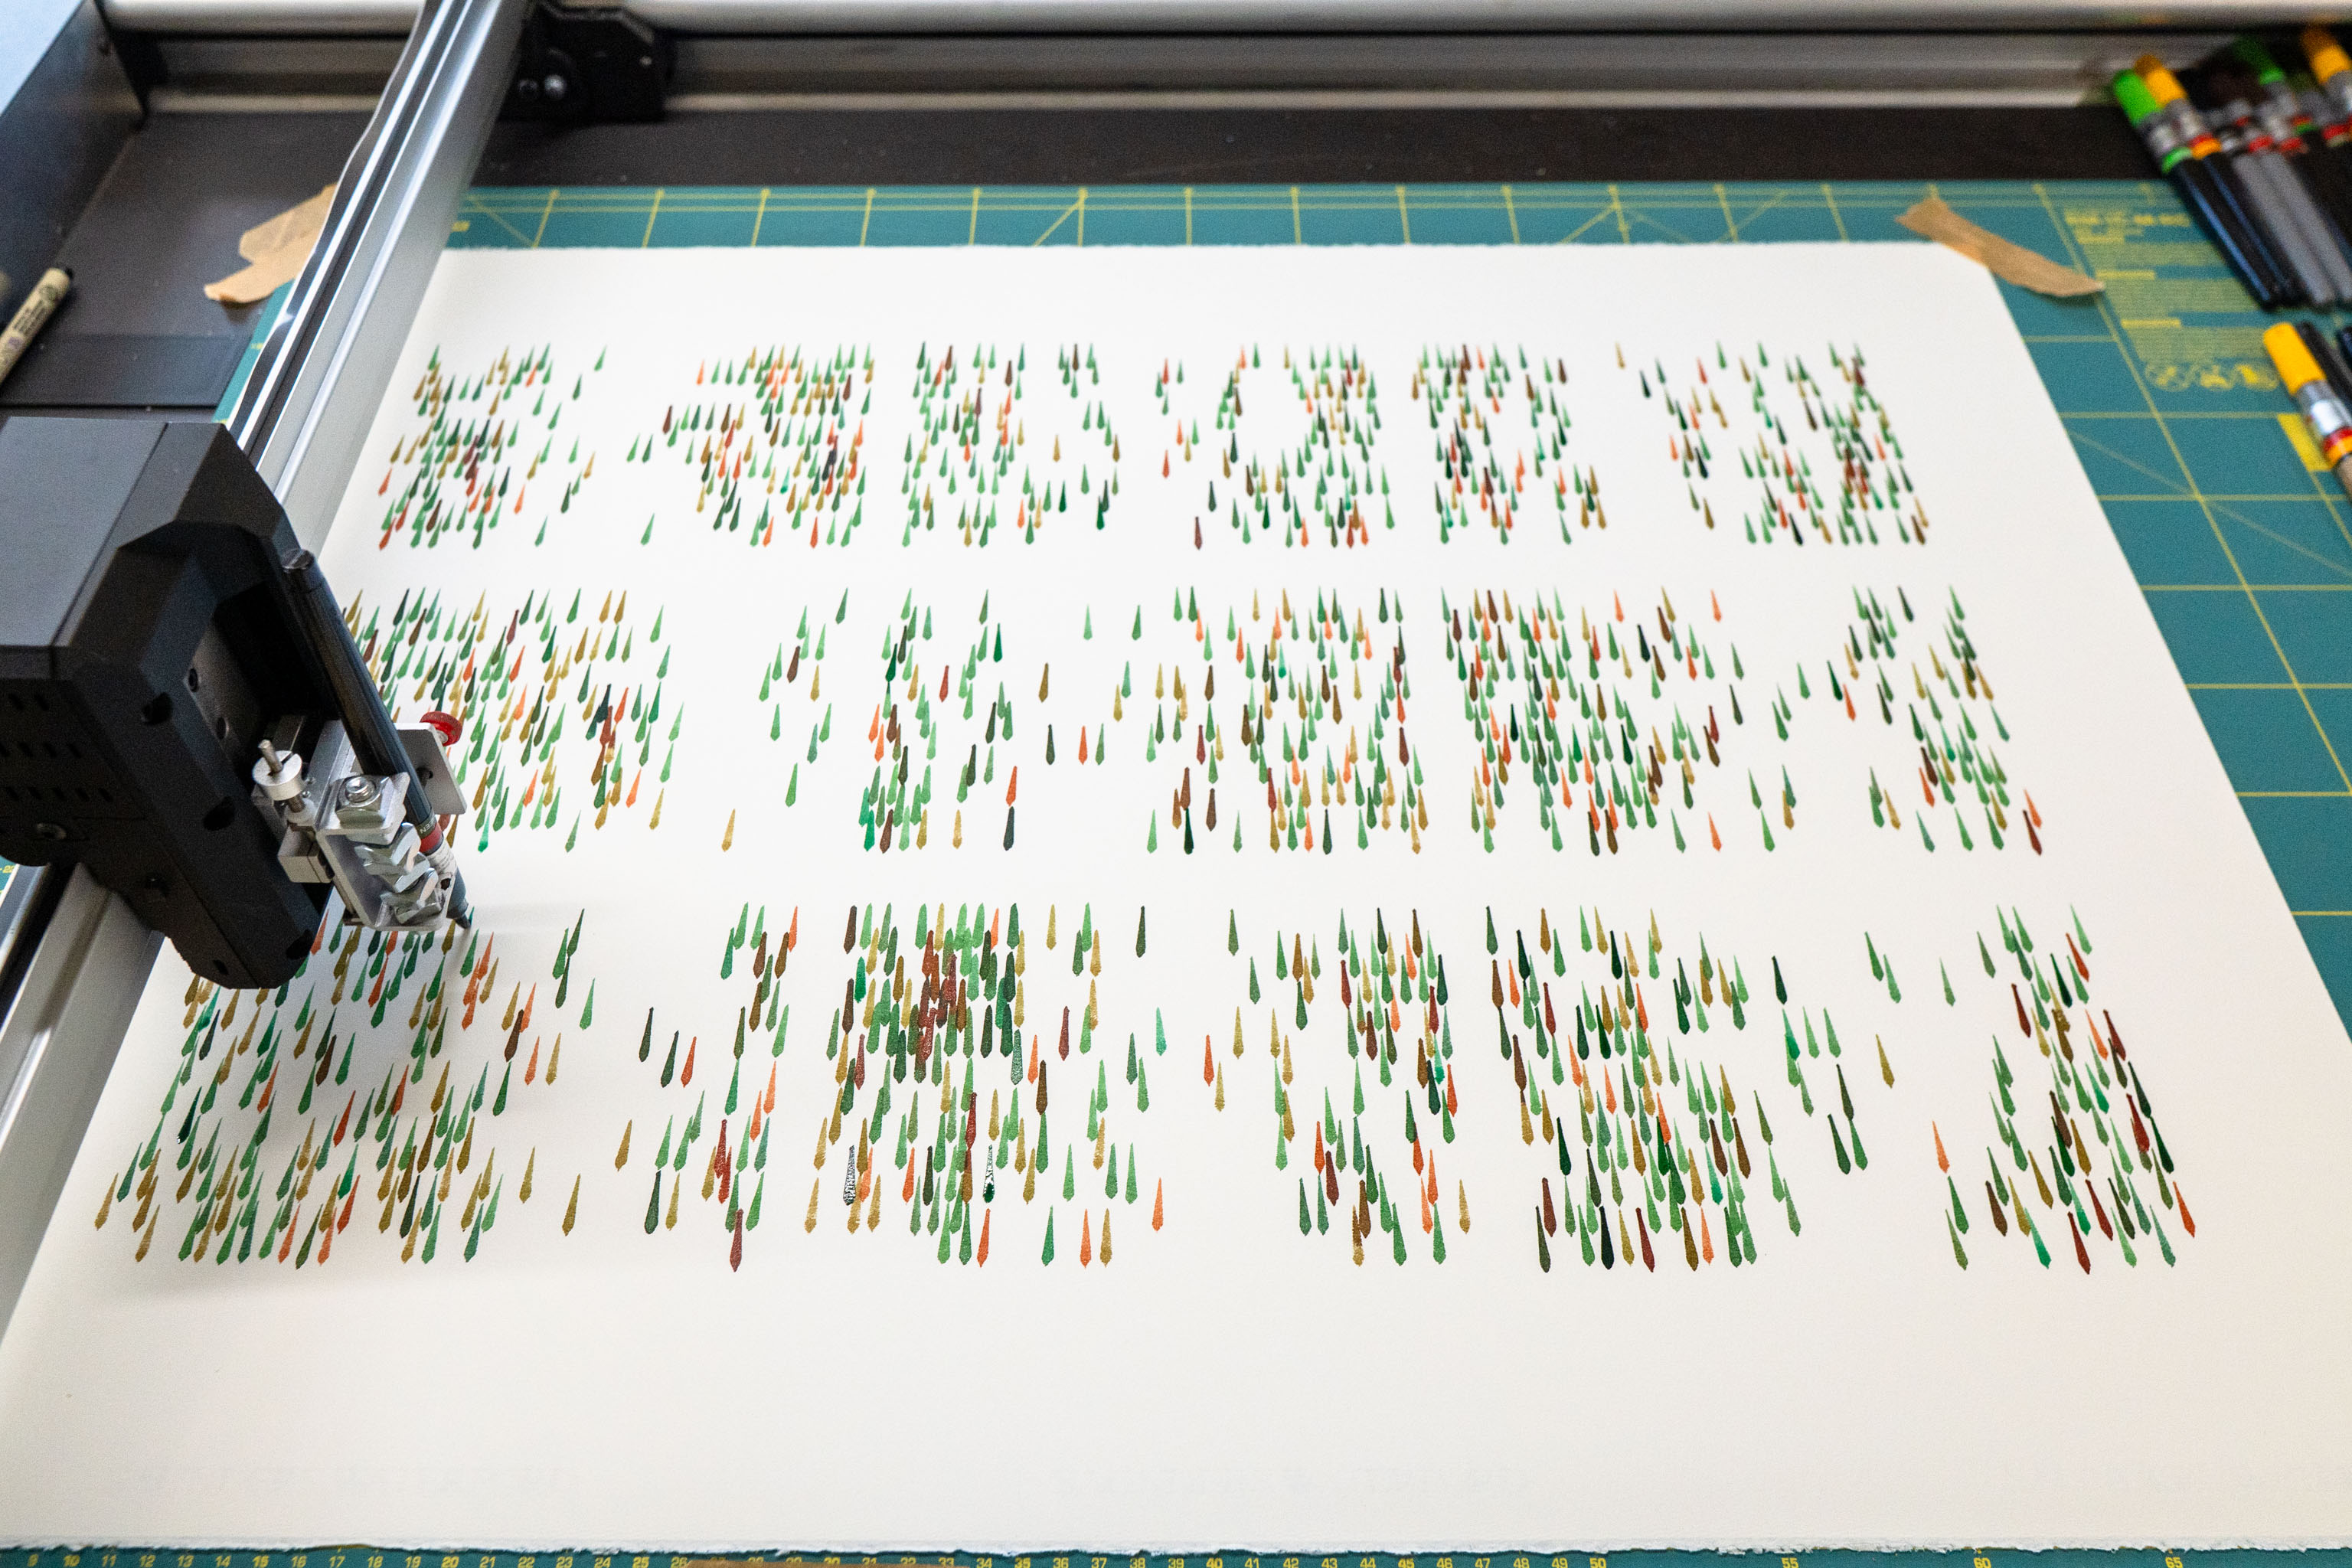
It reminds me of the old game "Horace Goes Skiing" - trees are randomly placed onto a white snow background, and the player has to ski back and forth avoiding them. The randomness is such that the main ski area is less dense than the edges.
I think I could create a zig-zag line (not much of a zig-zag, but more than just a straight line) about ⅔rds of the way over, running from the top to the bottom. Then have the distance from that line + some randomness decide if a stroke gets drawn or not.
It looks like a whole bunch of trees, especially when there are some missing, so why not lean into it?
The downside of all this is I'm supposed to be making postcard and A5 sizes plots for the Patreon, and I'm not sure scaling down the lines will have the same effect; it looks good large, but will it look as good small?


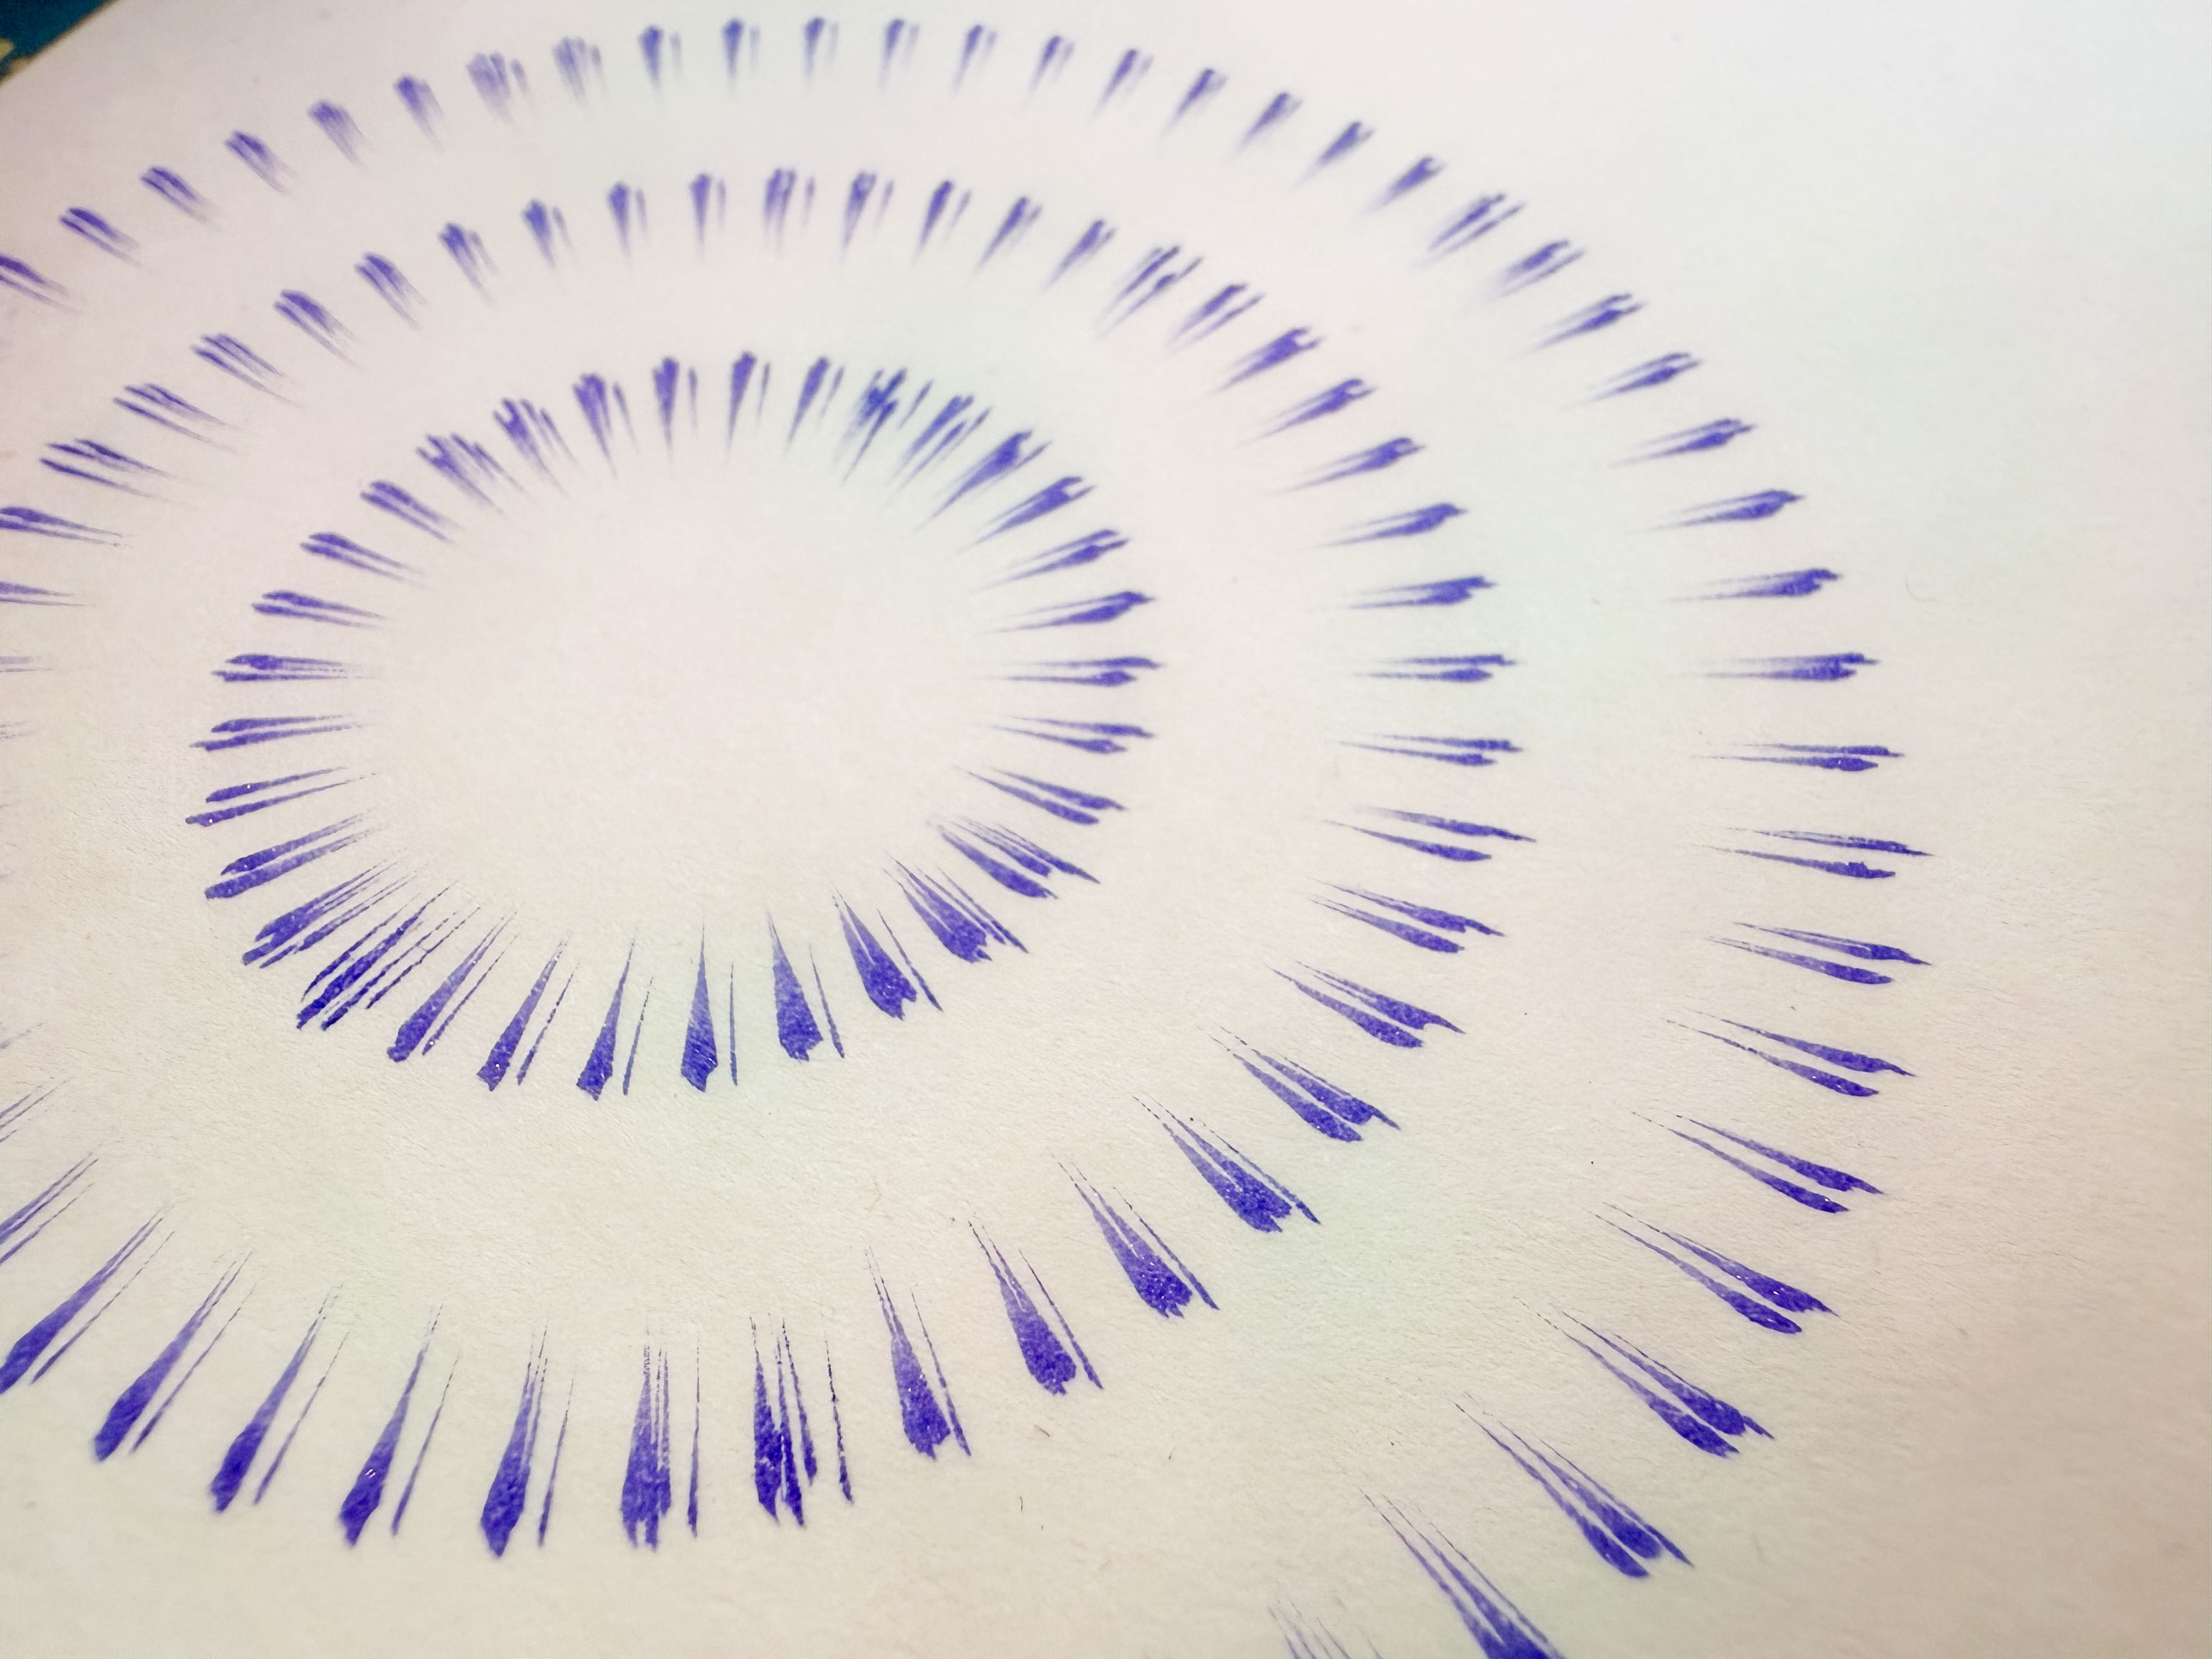
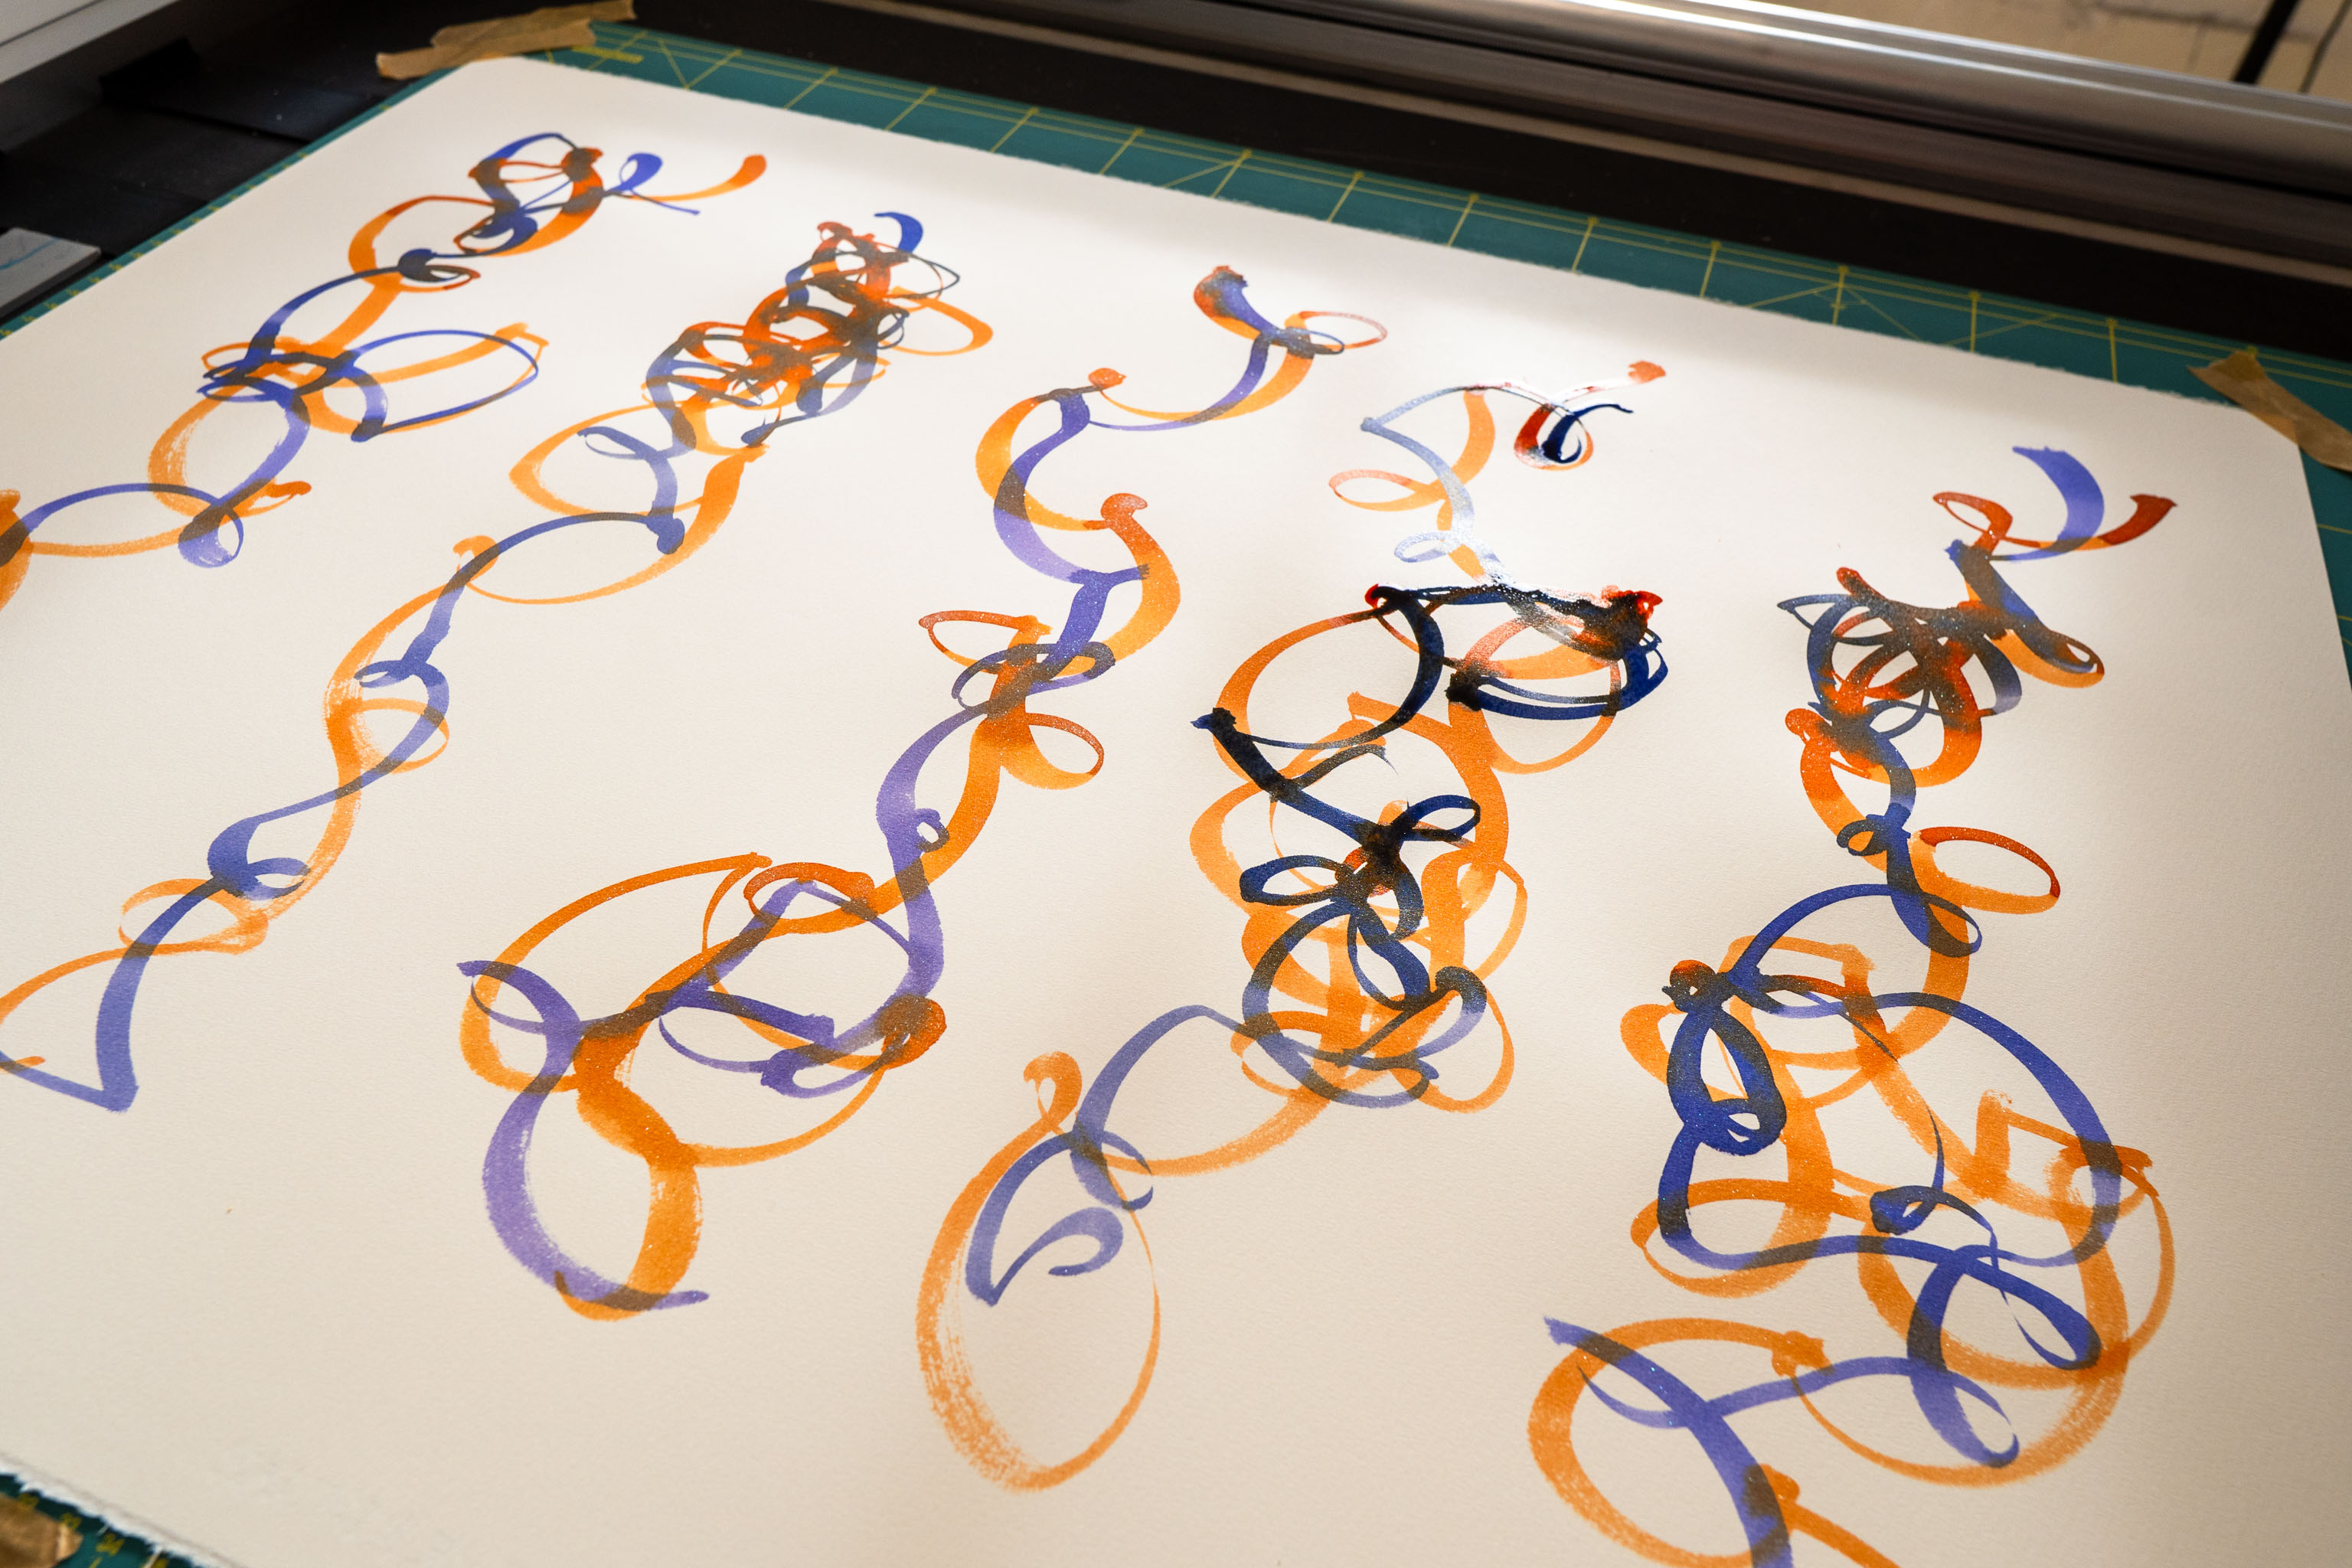
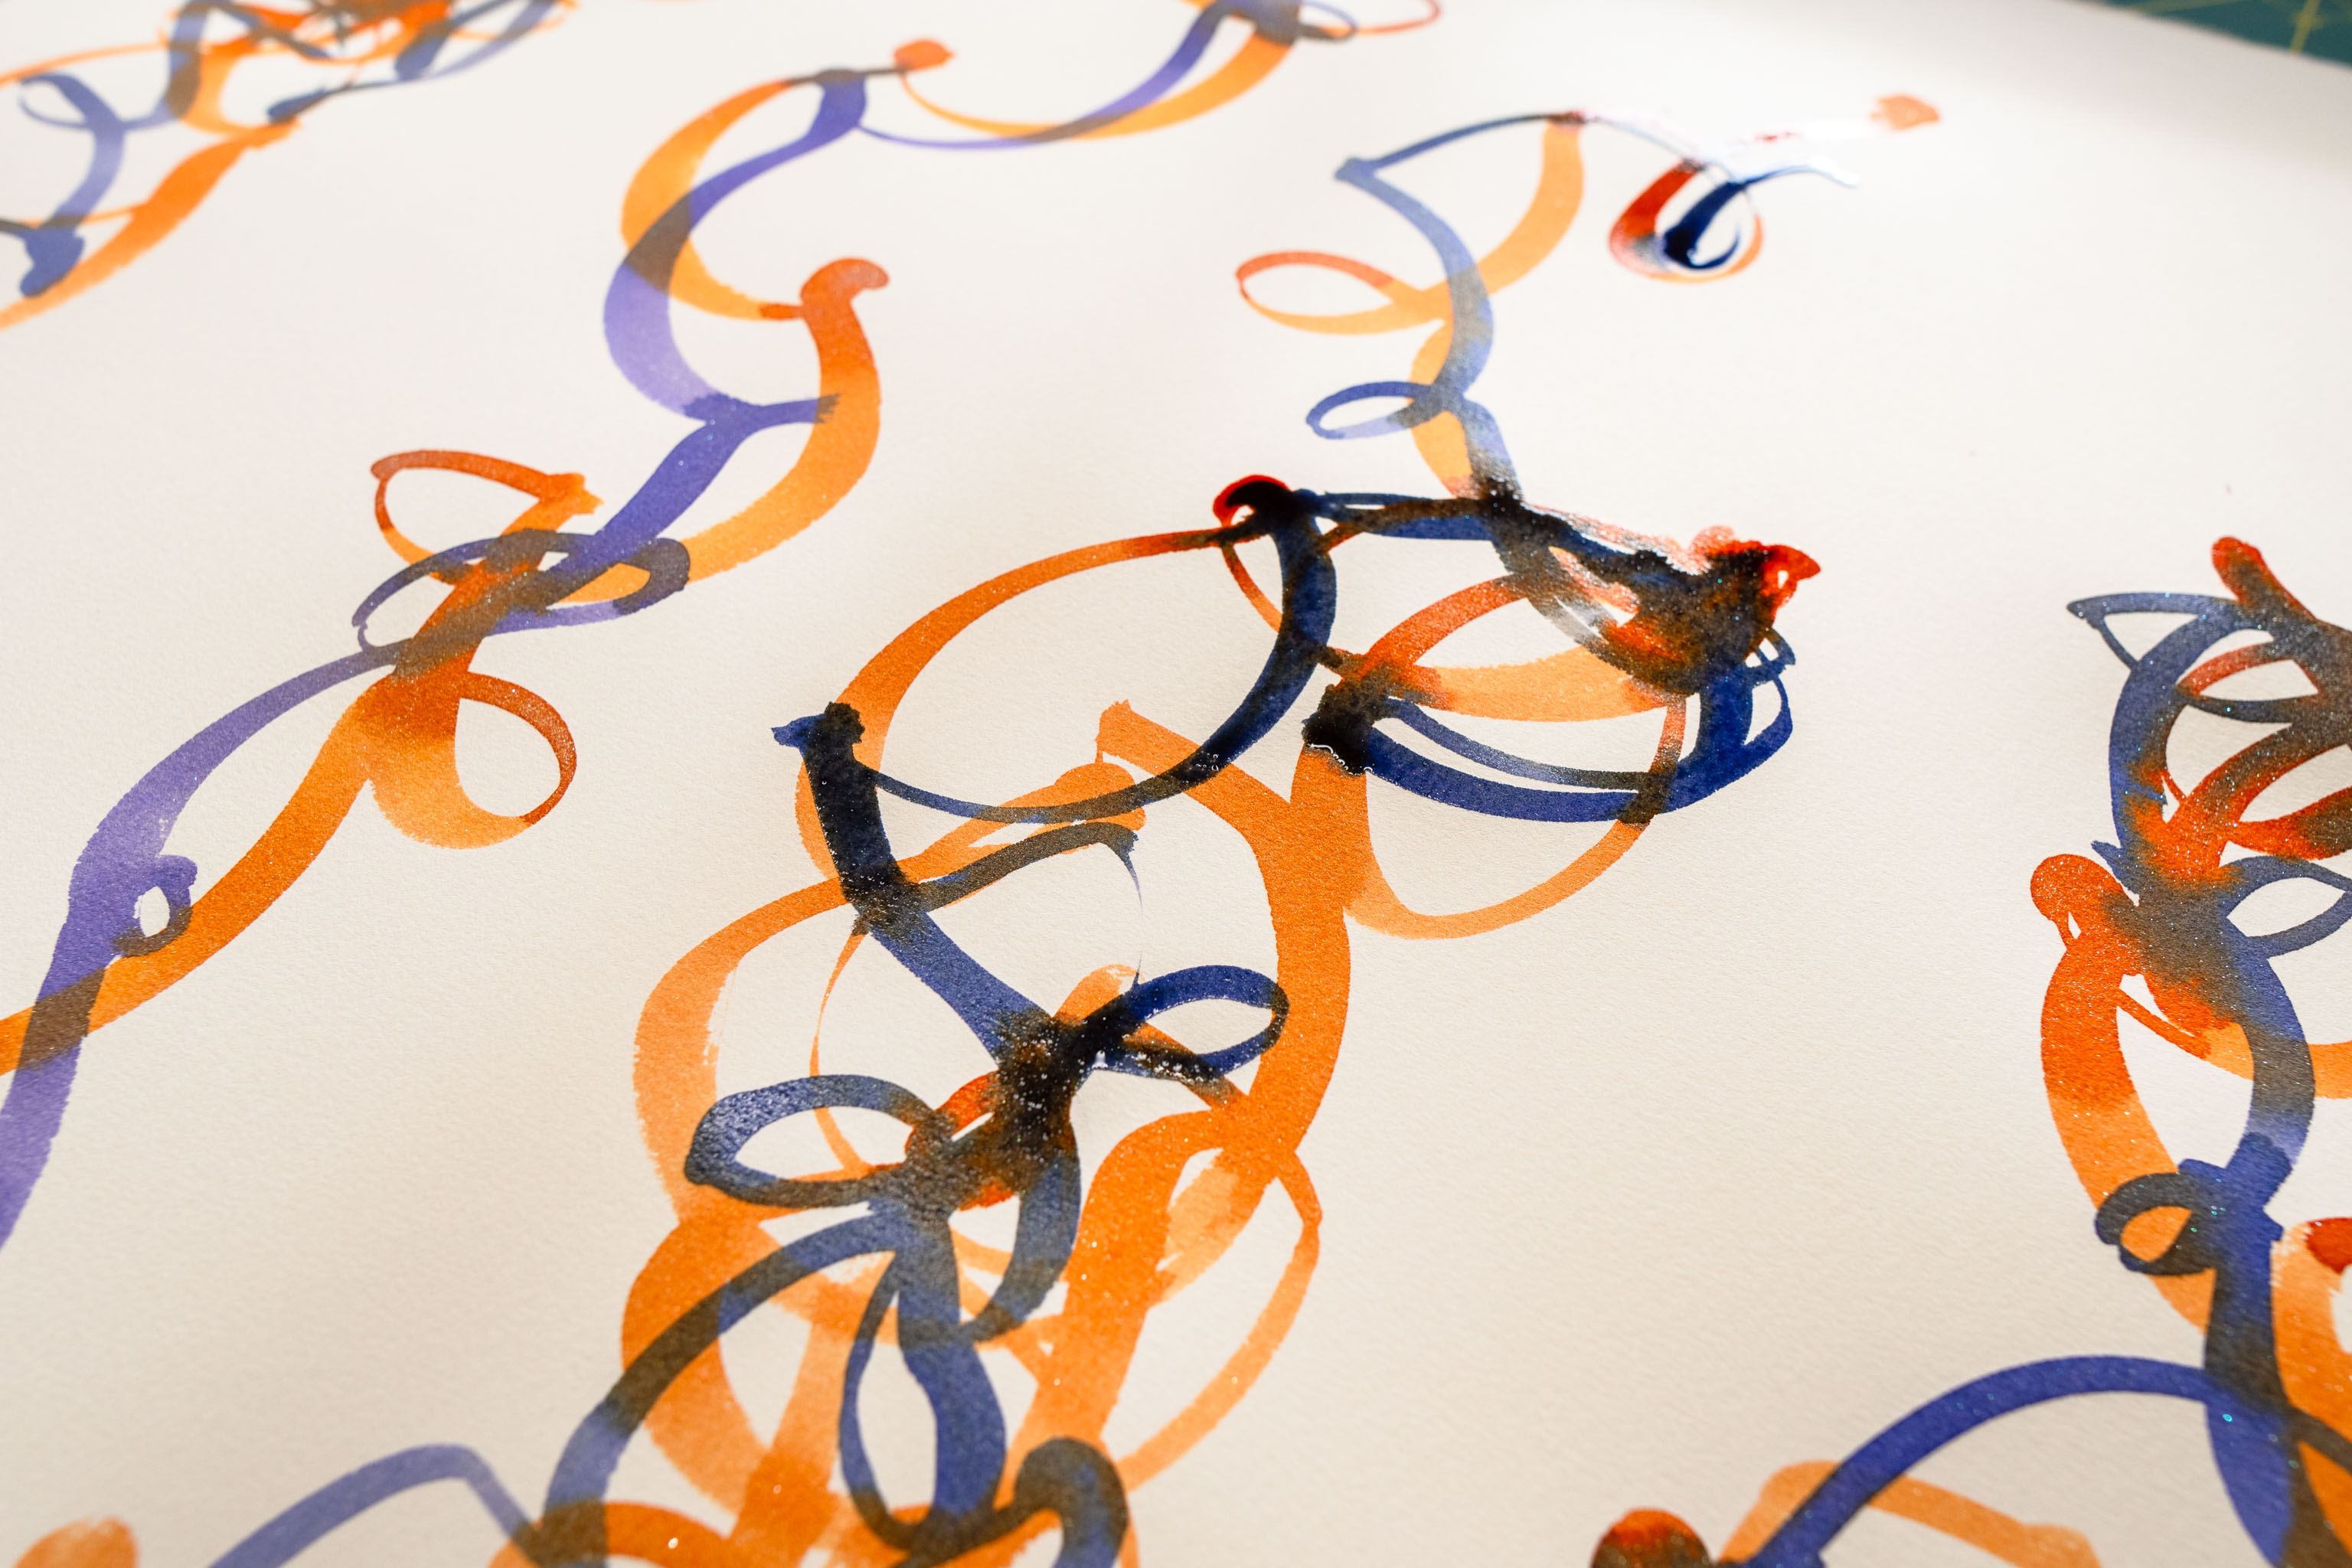
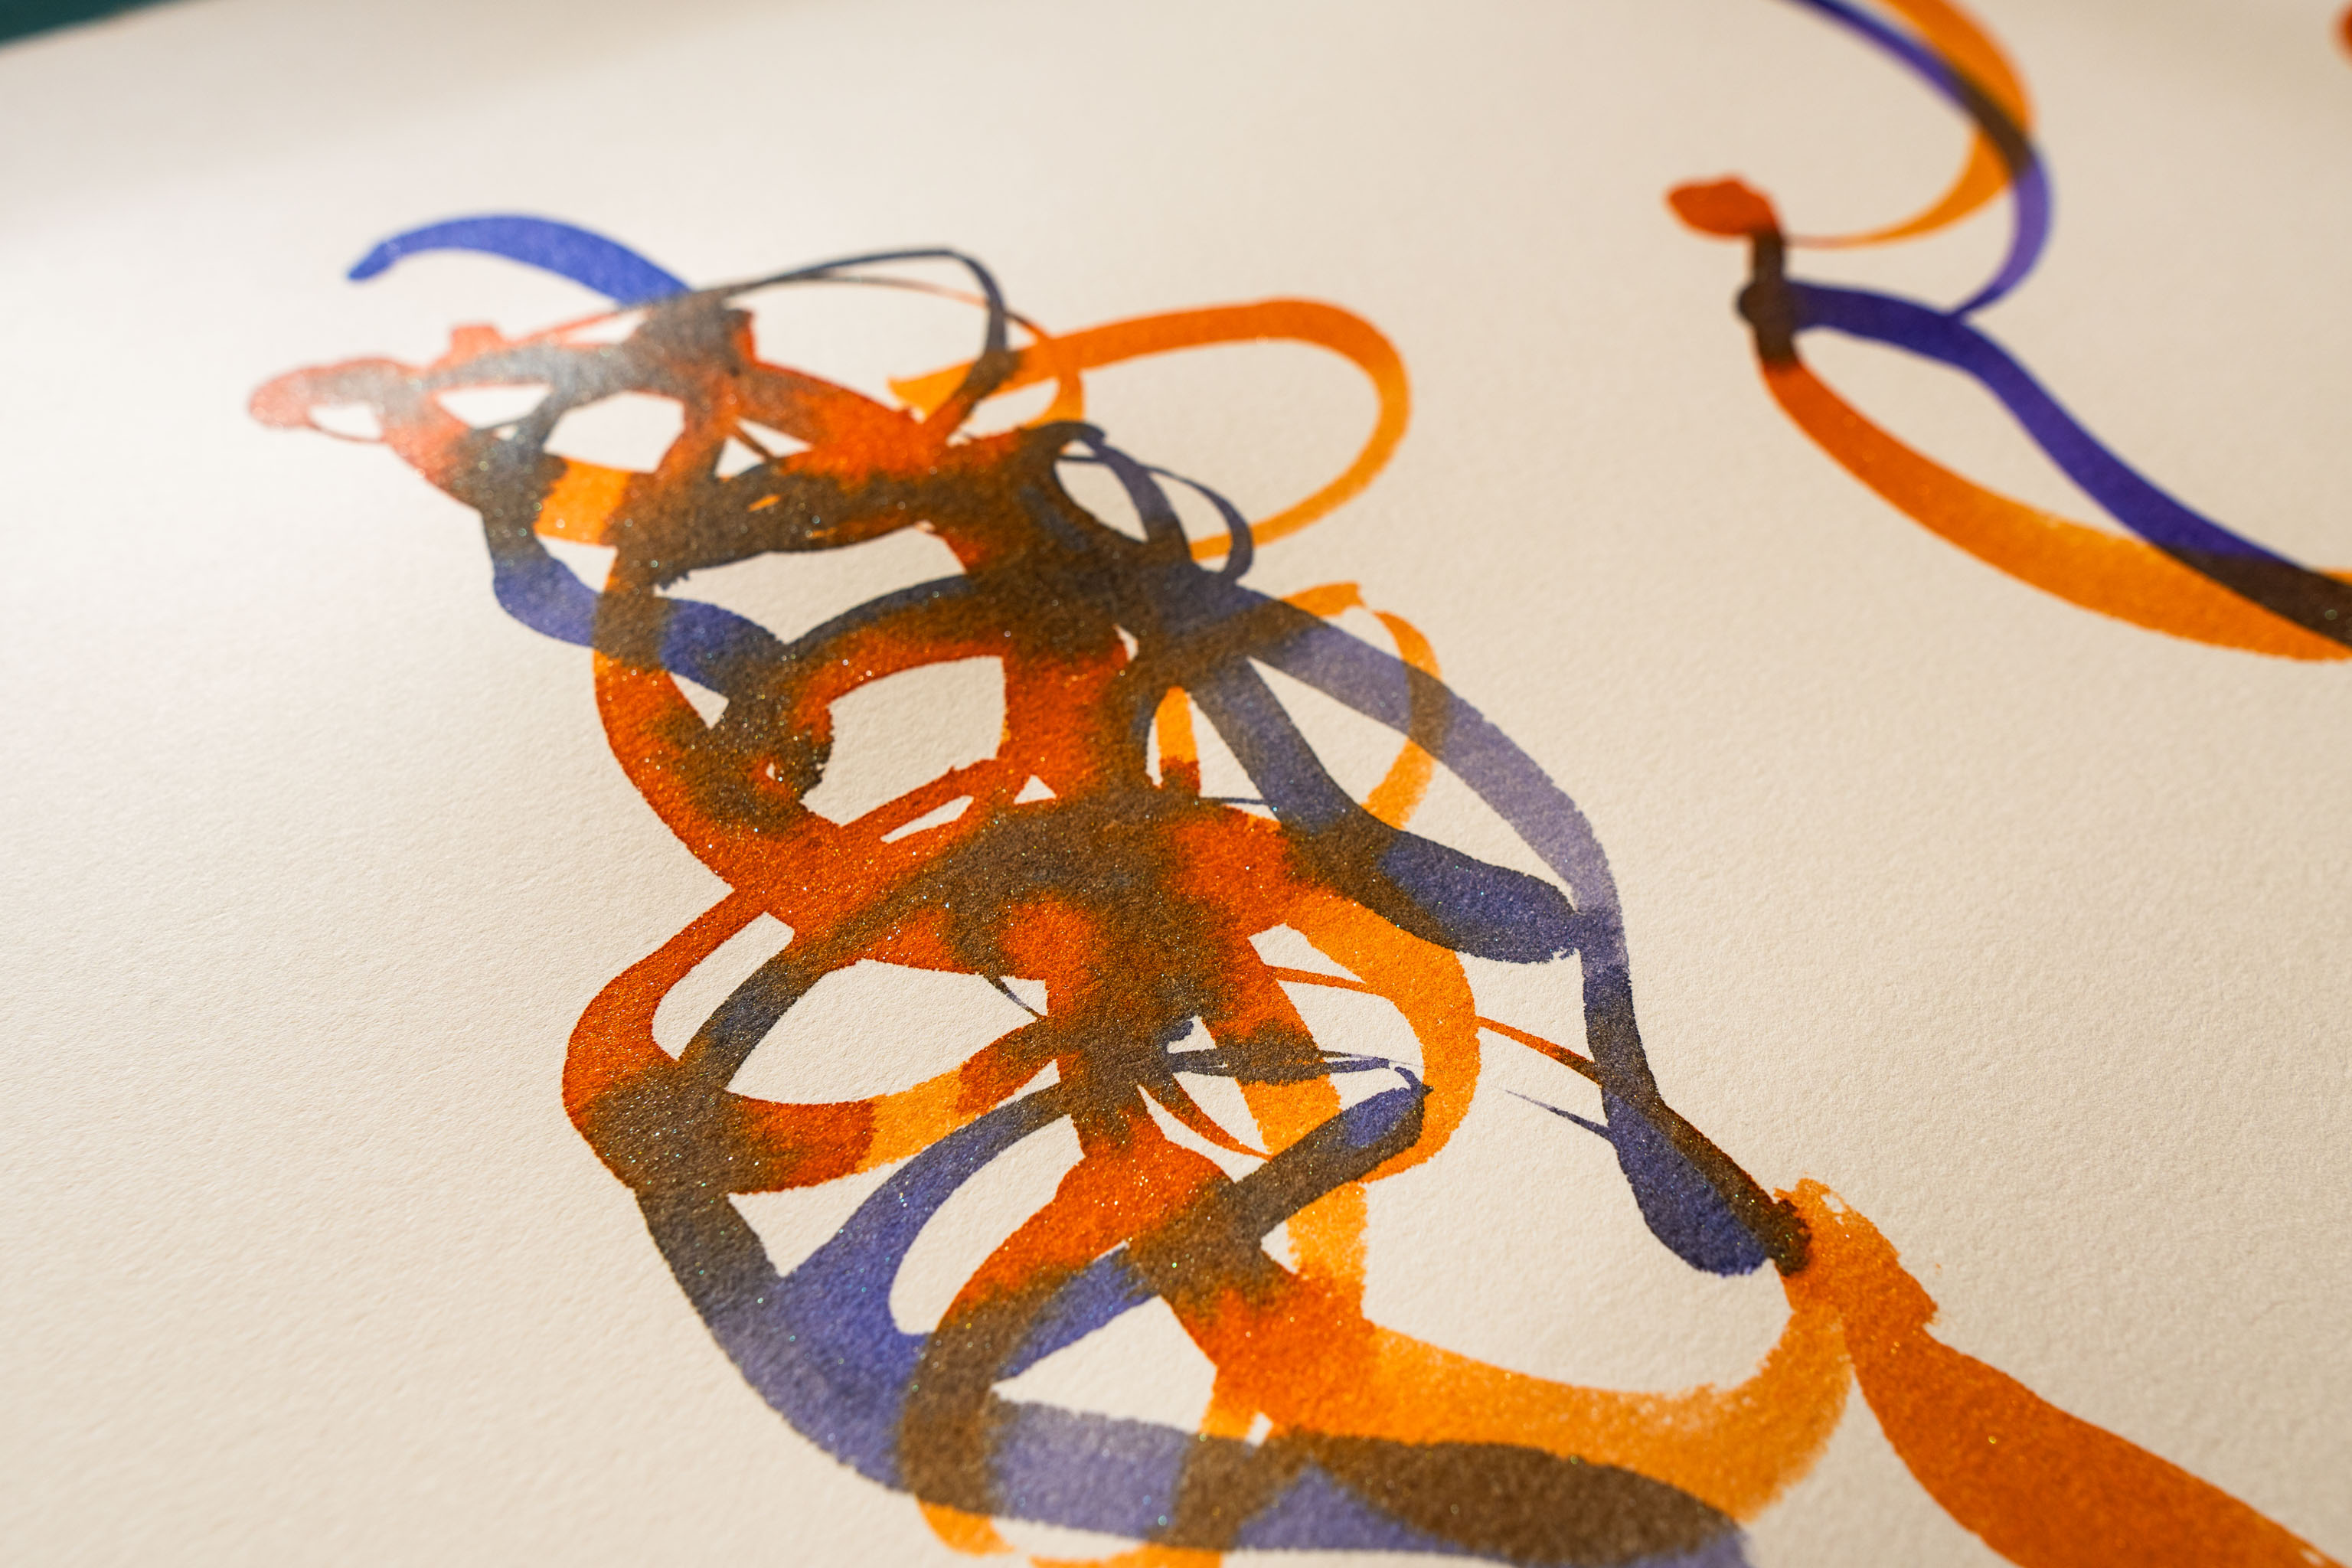
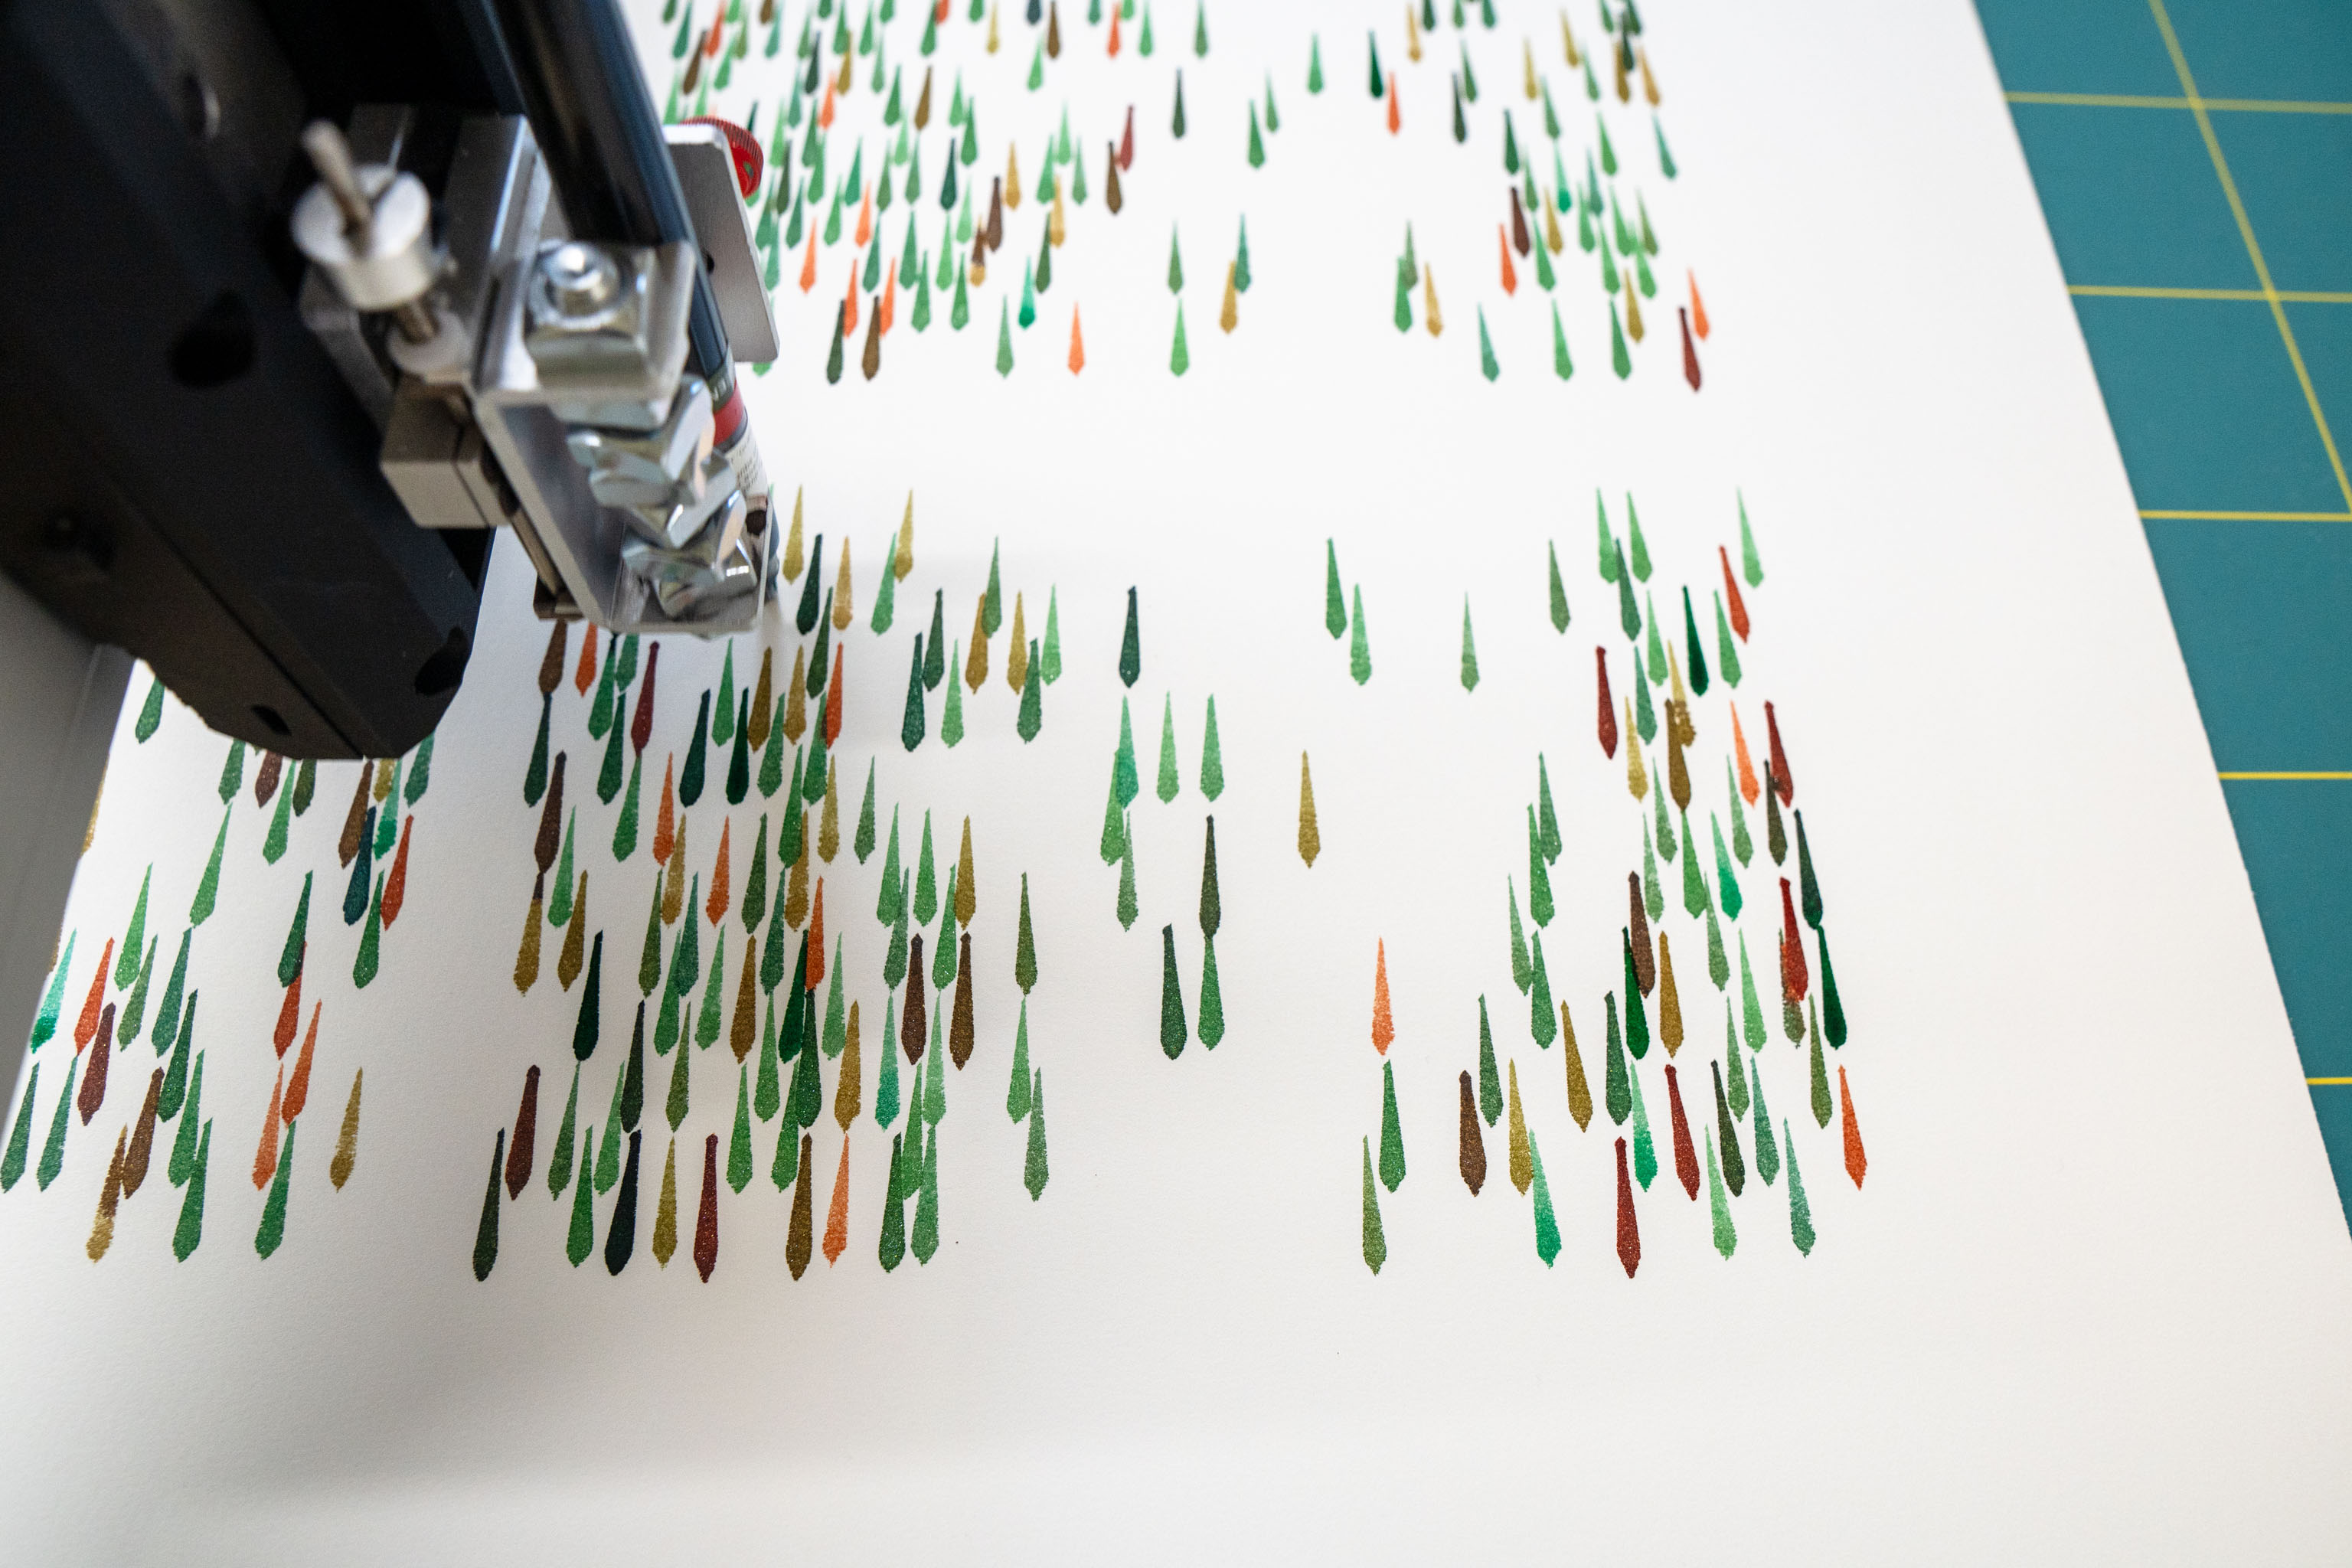
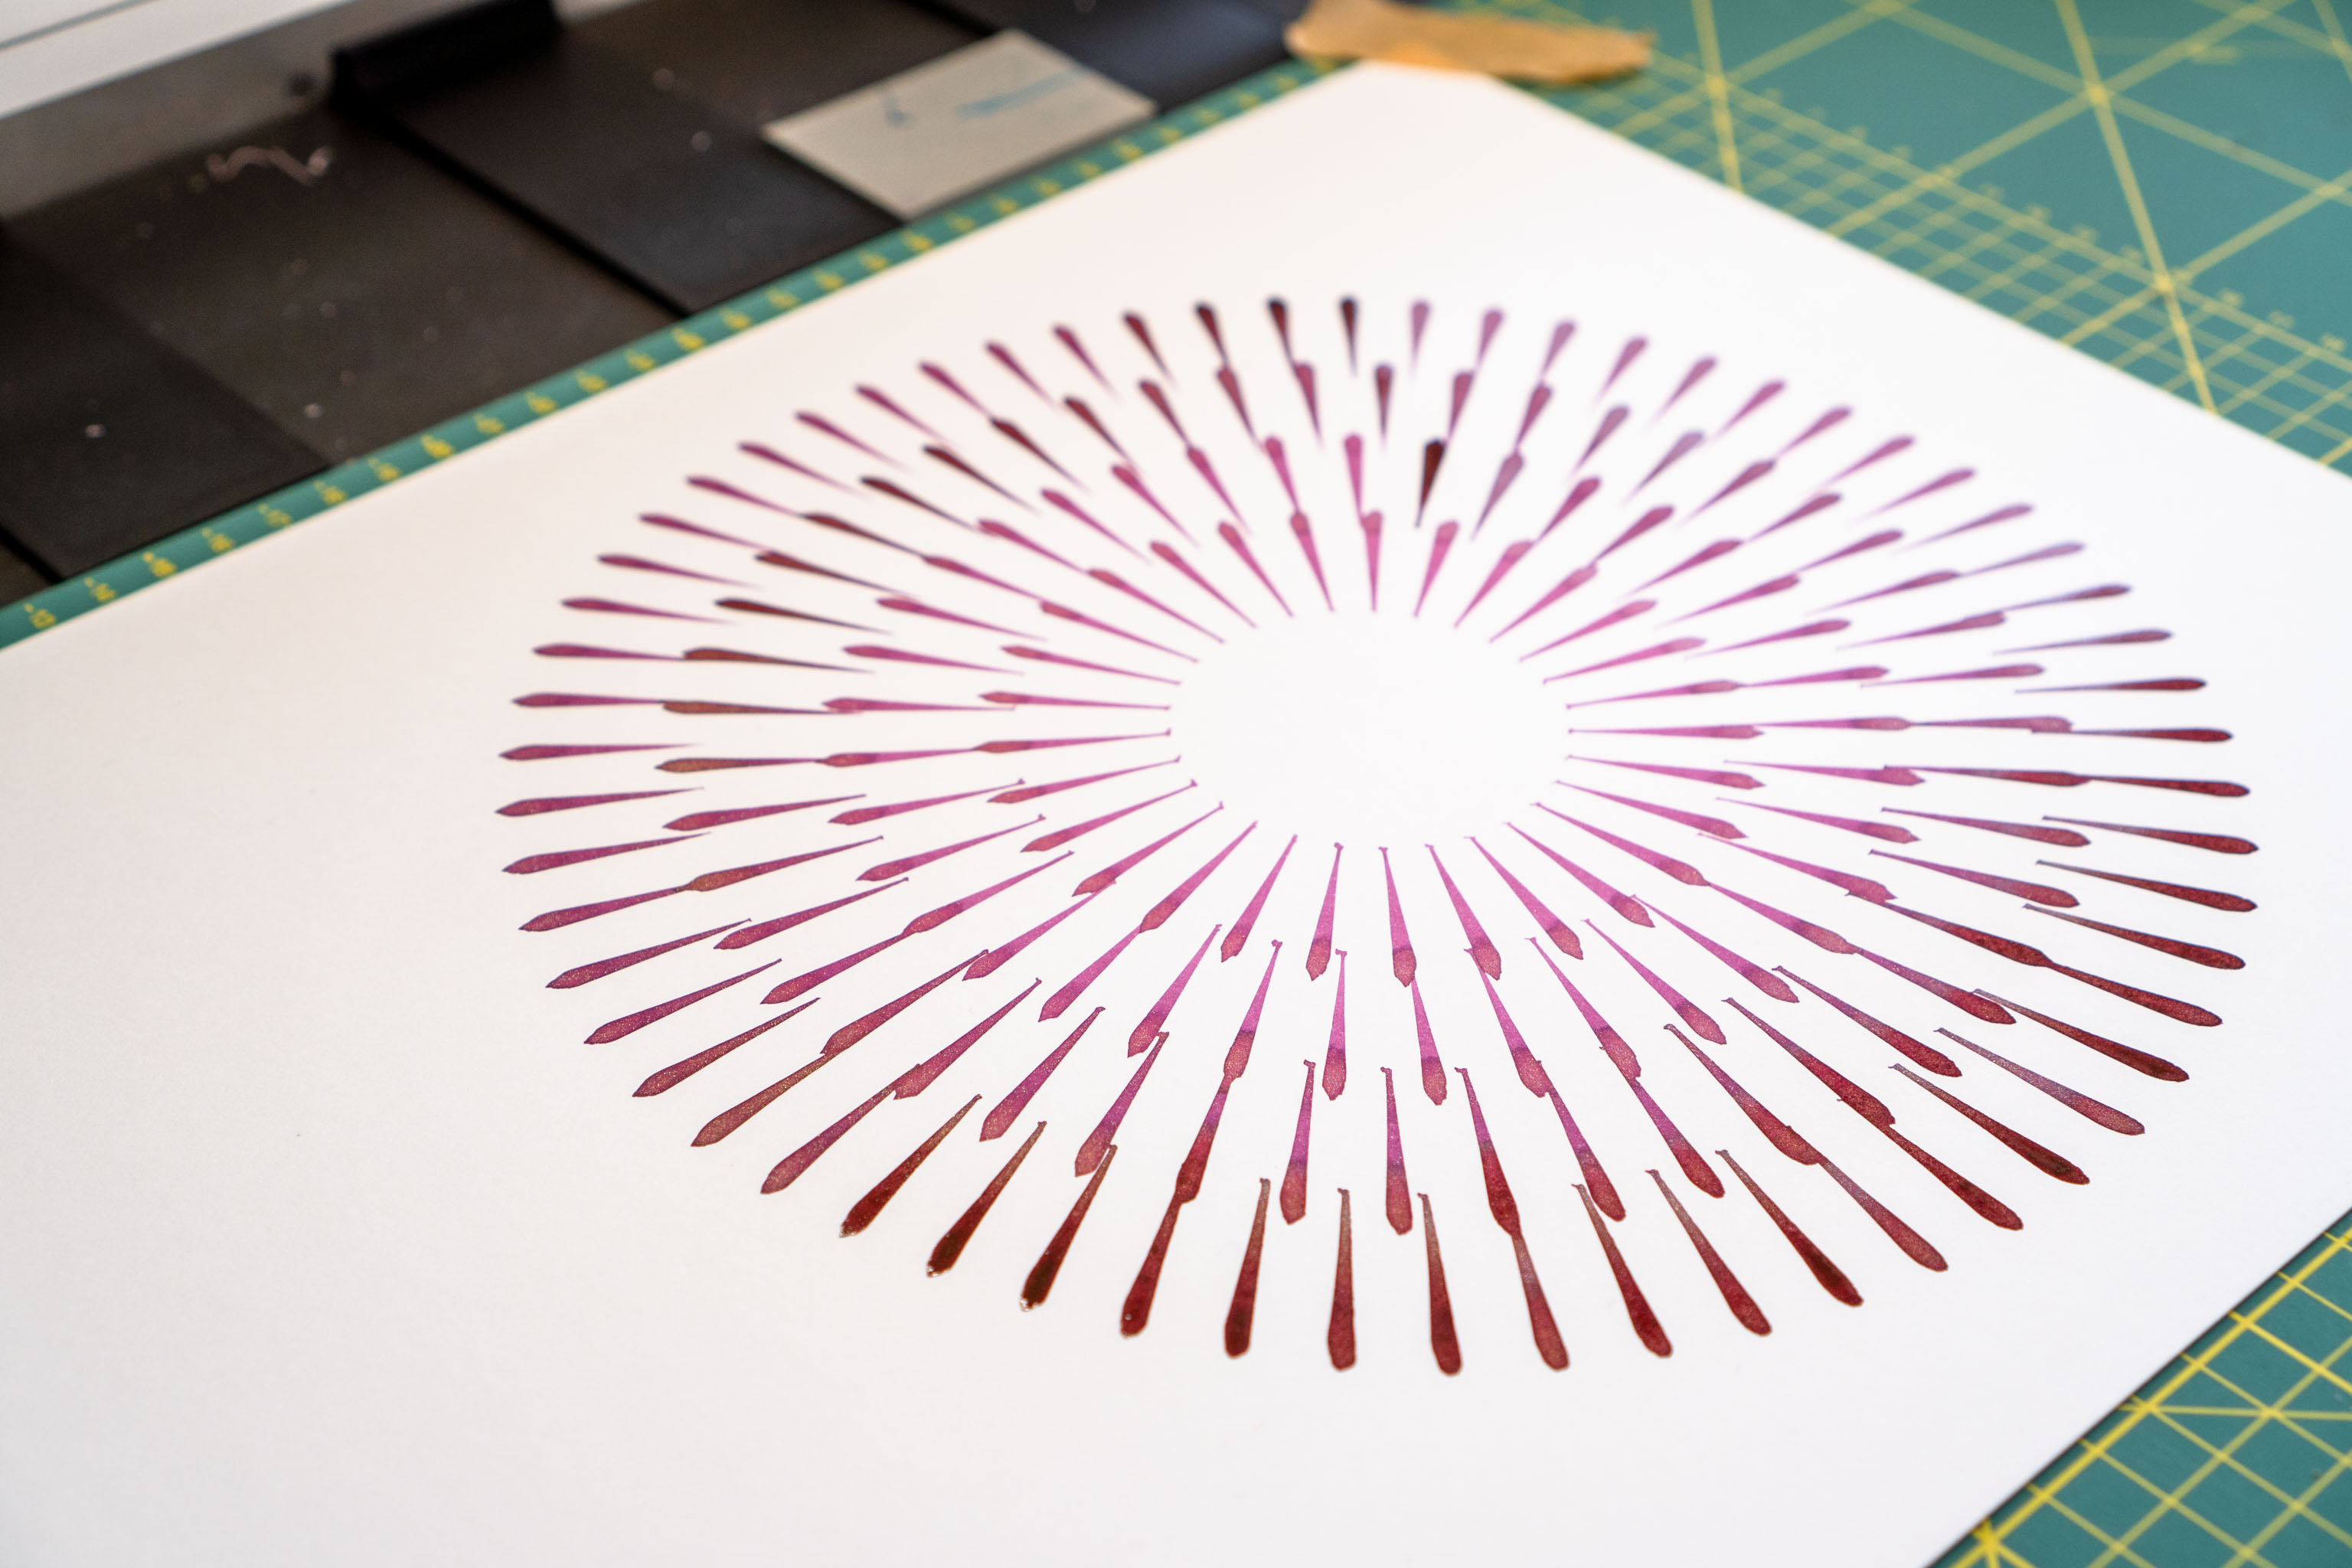
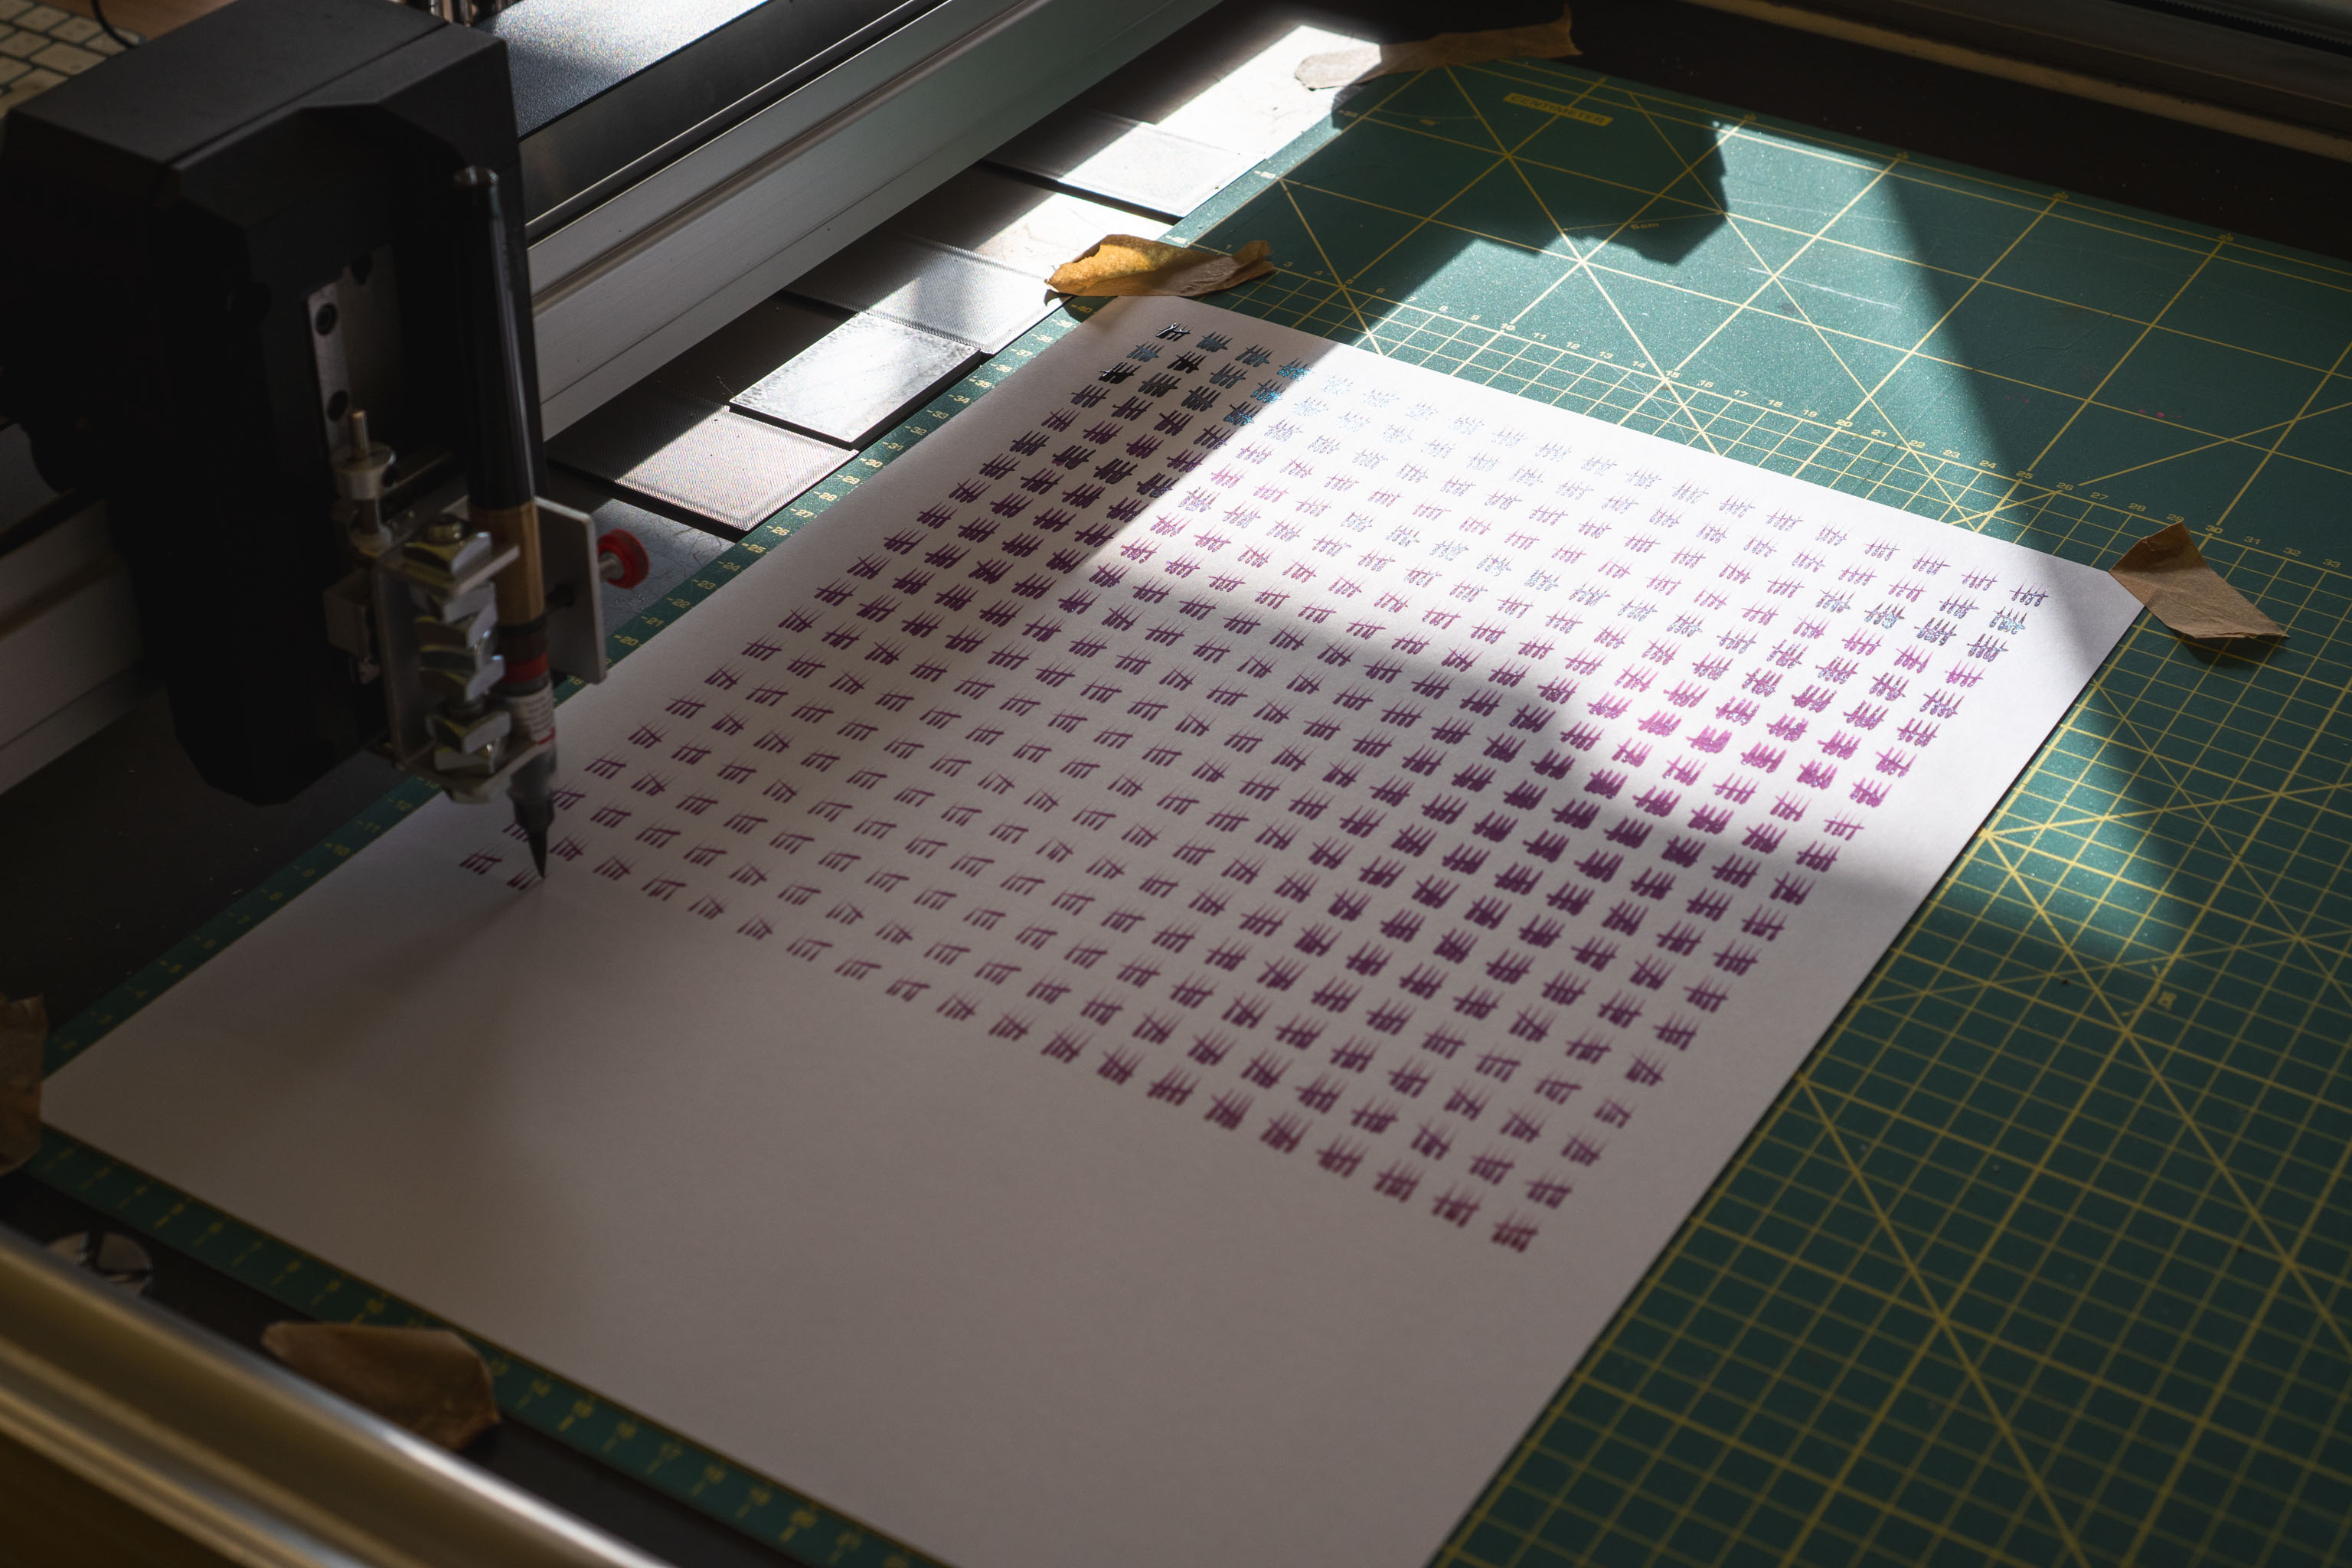
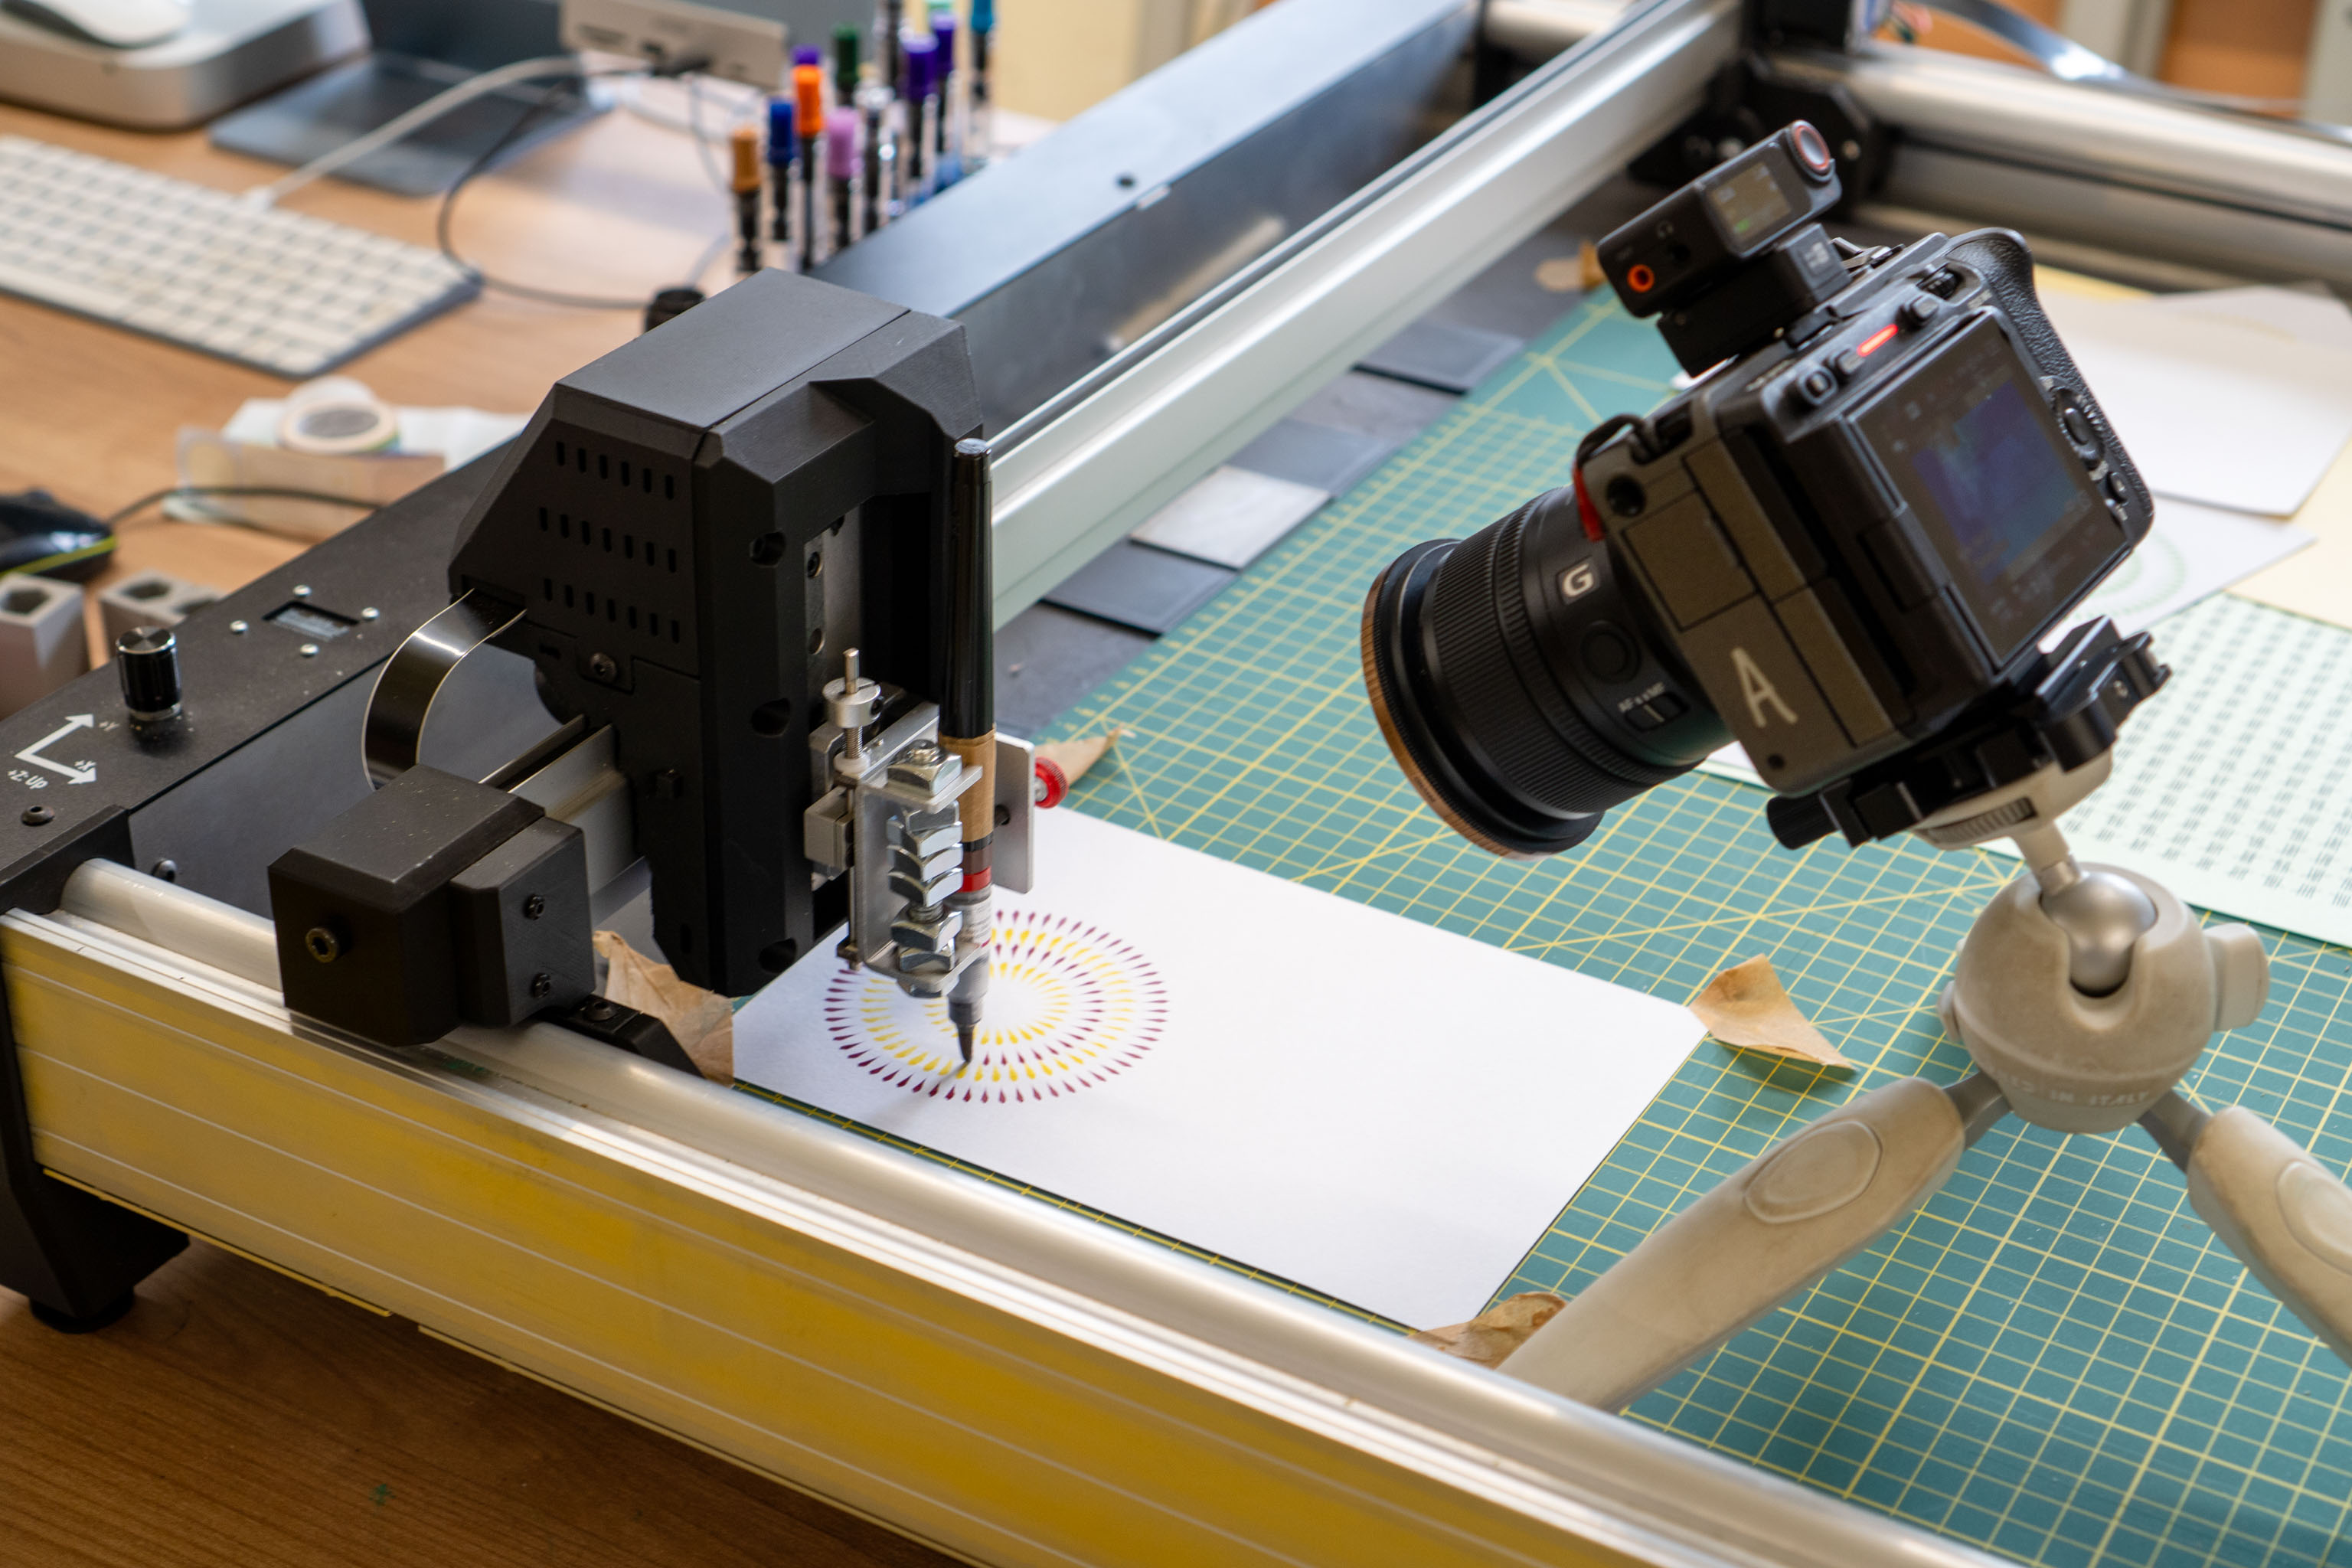
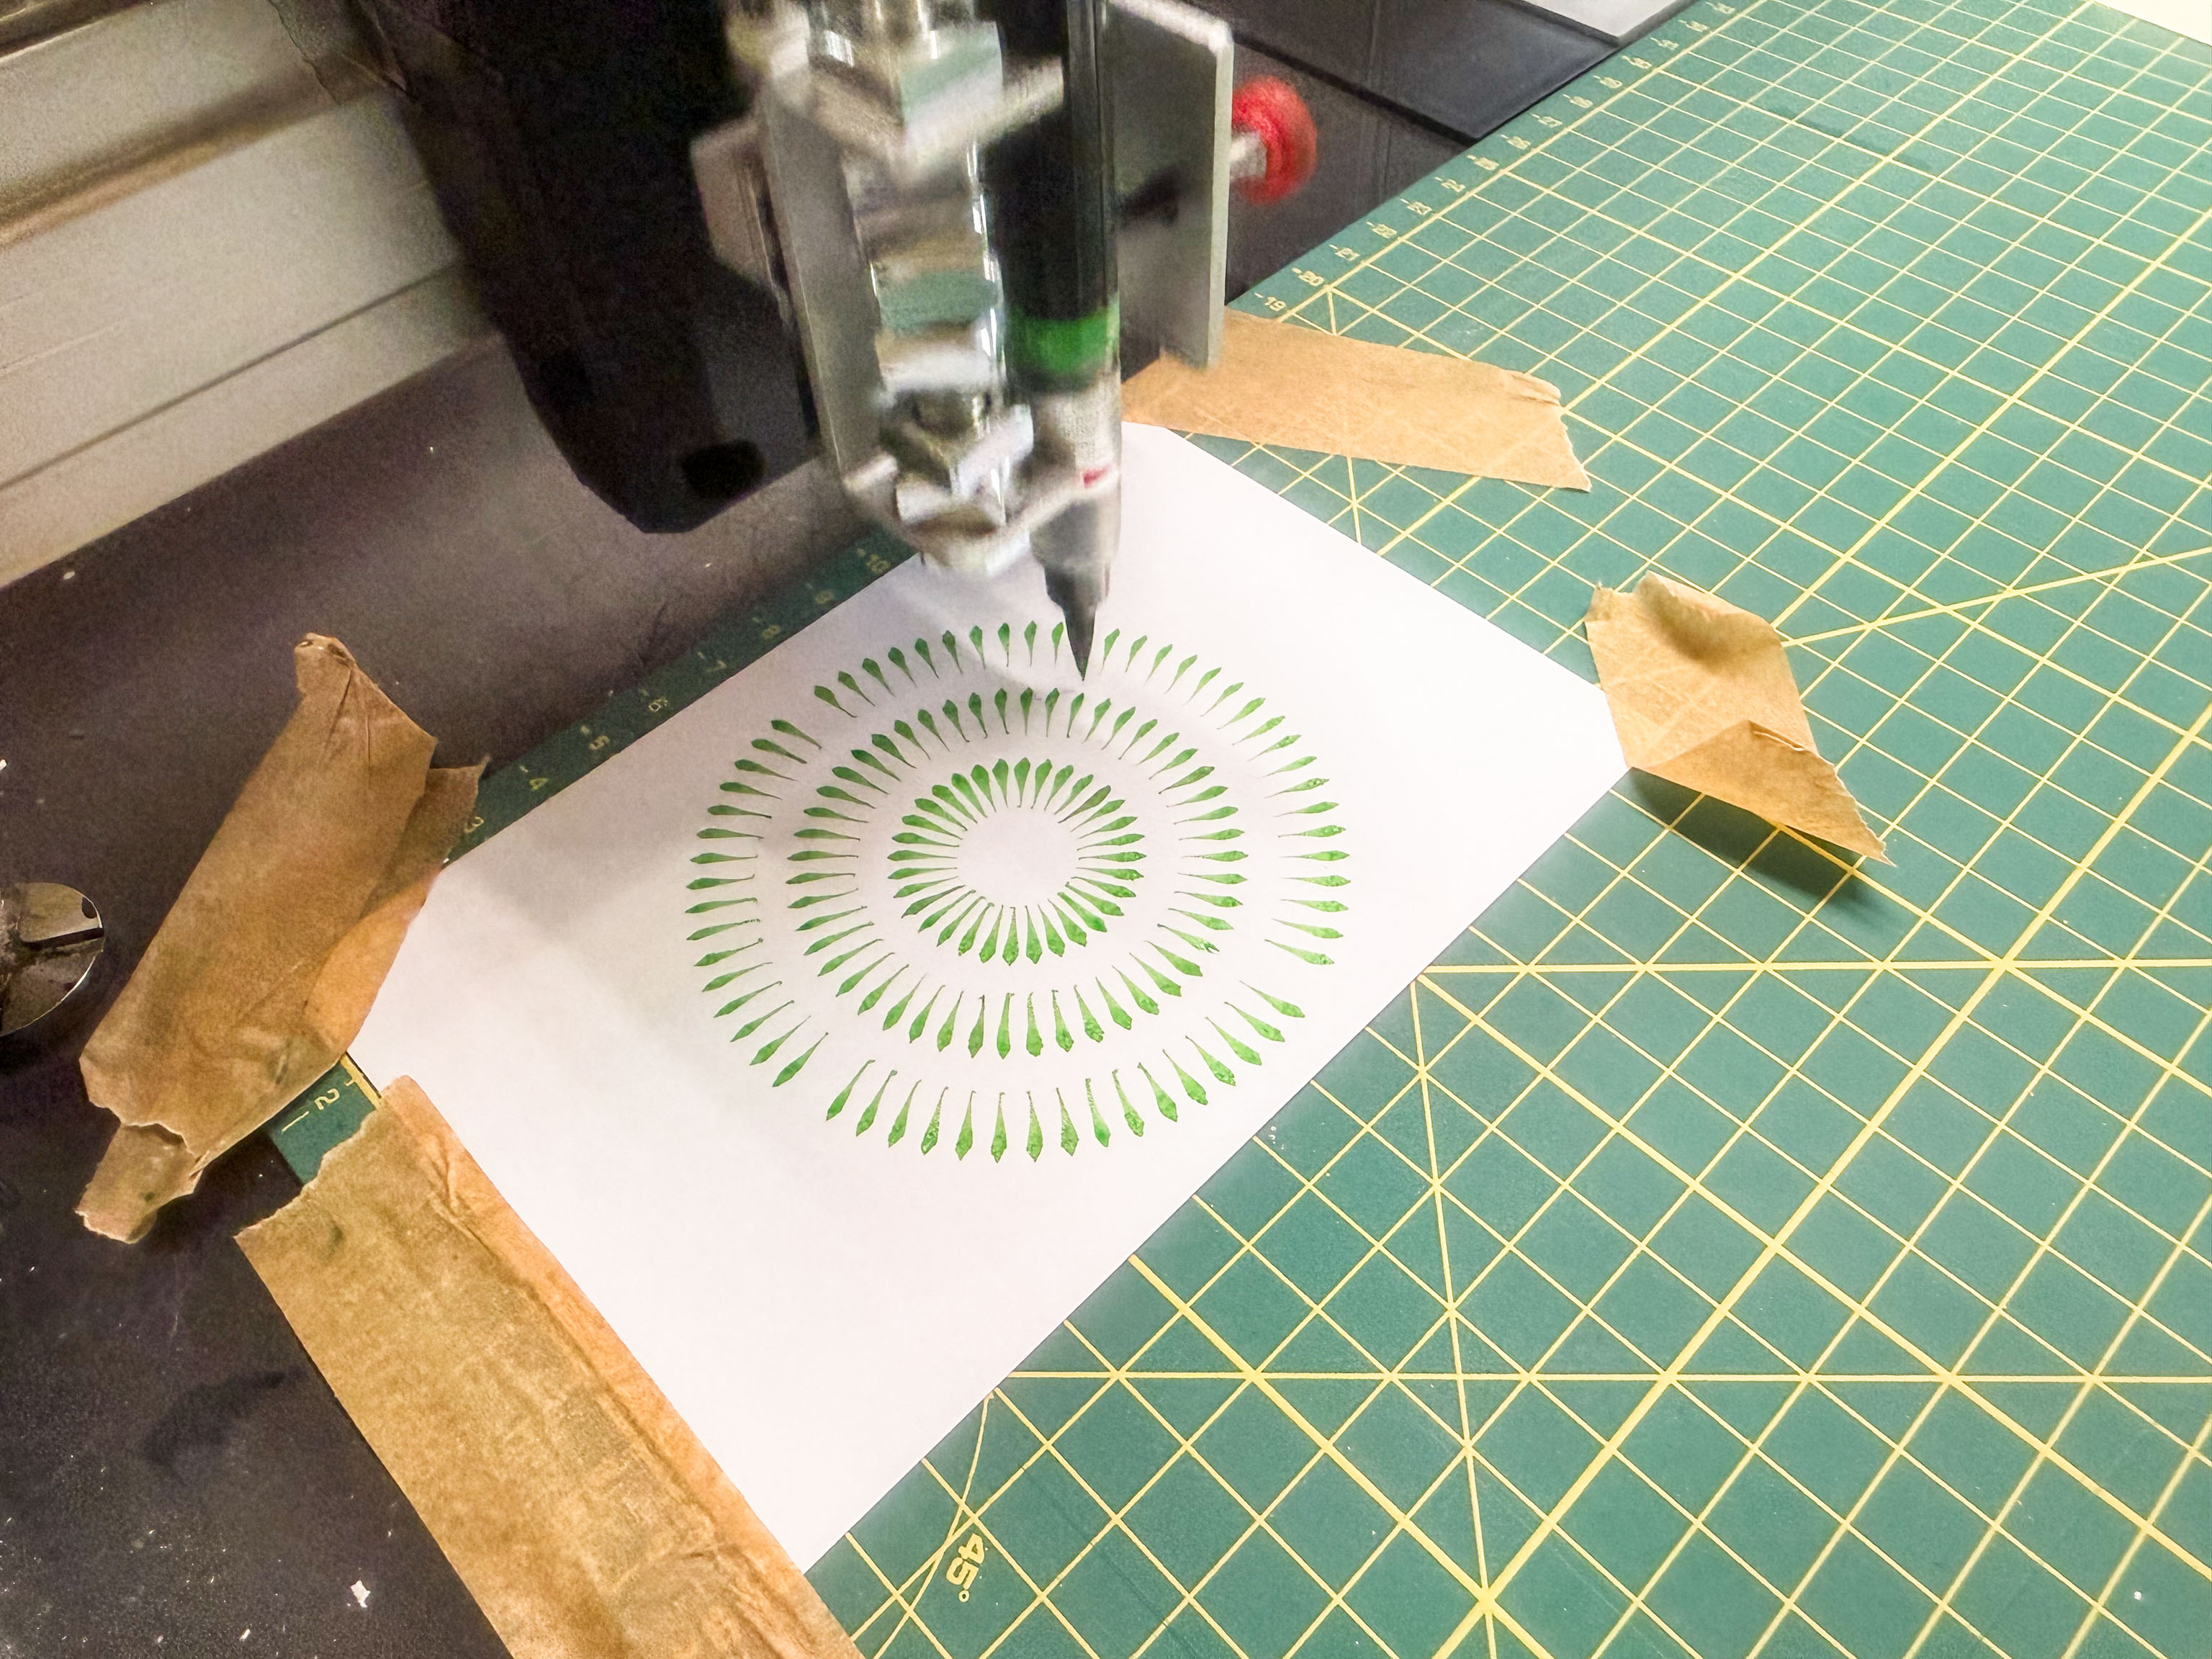
After the previous mark making brush code I wanted to go bigger. I wanted to see how many brushstrokes I could make before the ink ran out, or dried up. Making the tiny marks is fine, but I had this feeling that I wanted to fill a large sheet in marks just to see what happened.
I didn't do that right away, I just scaled up the circle code as a first pass at seeing how many marks I could make.
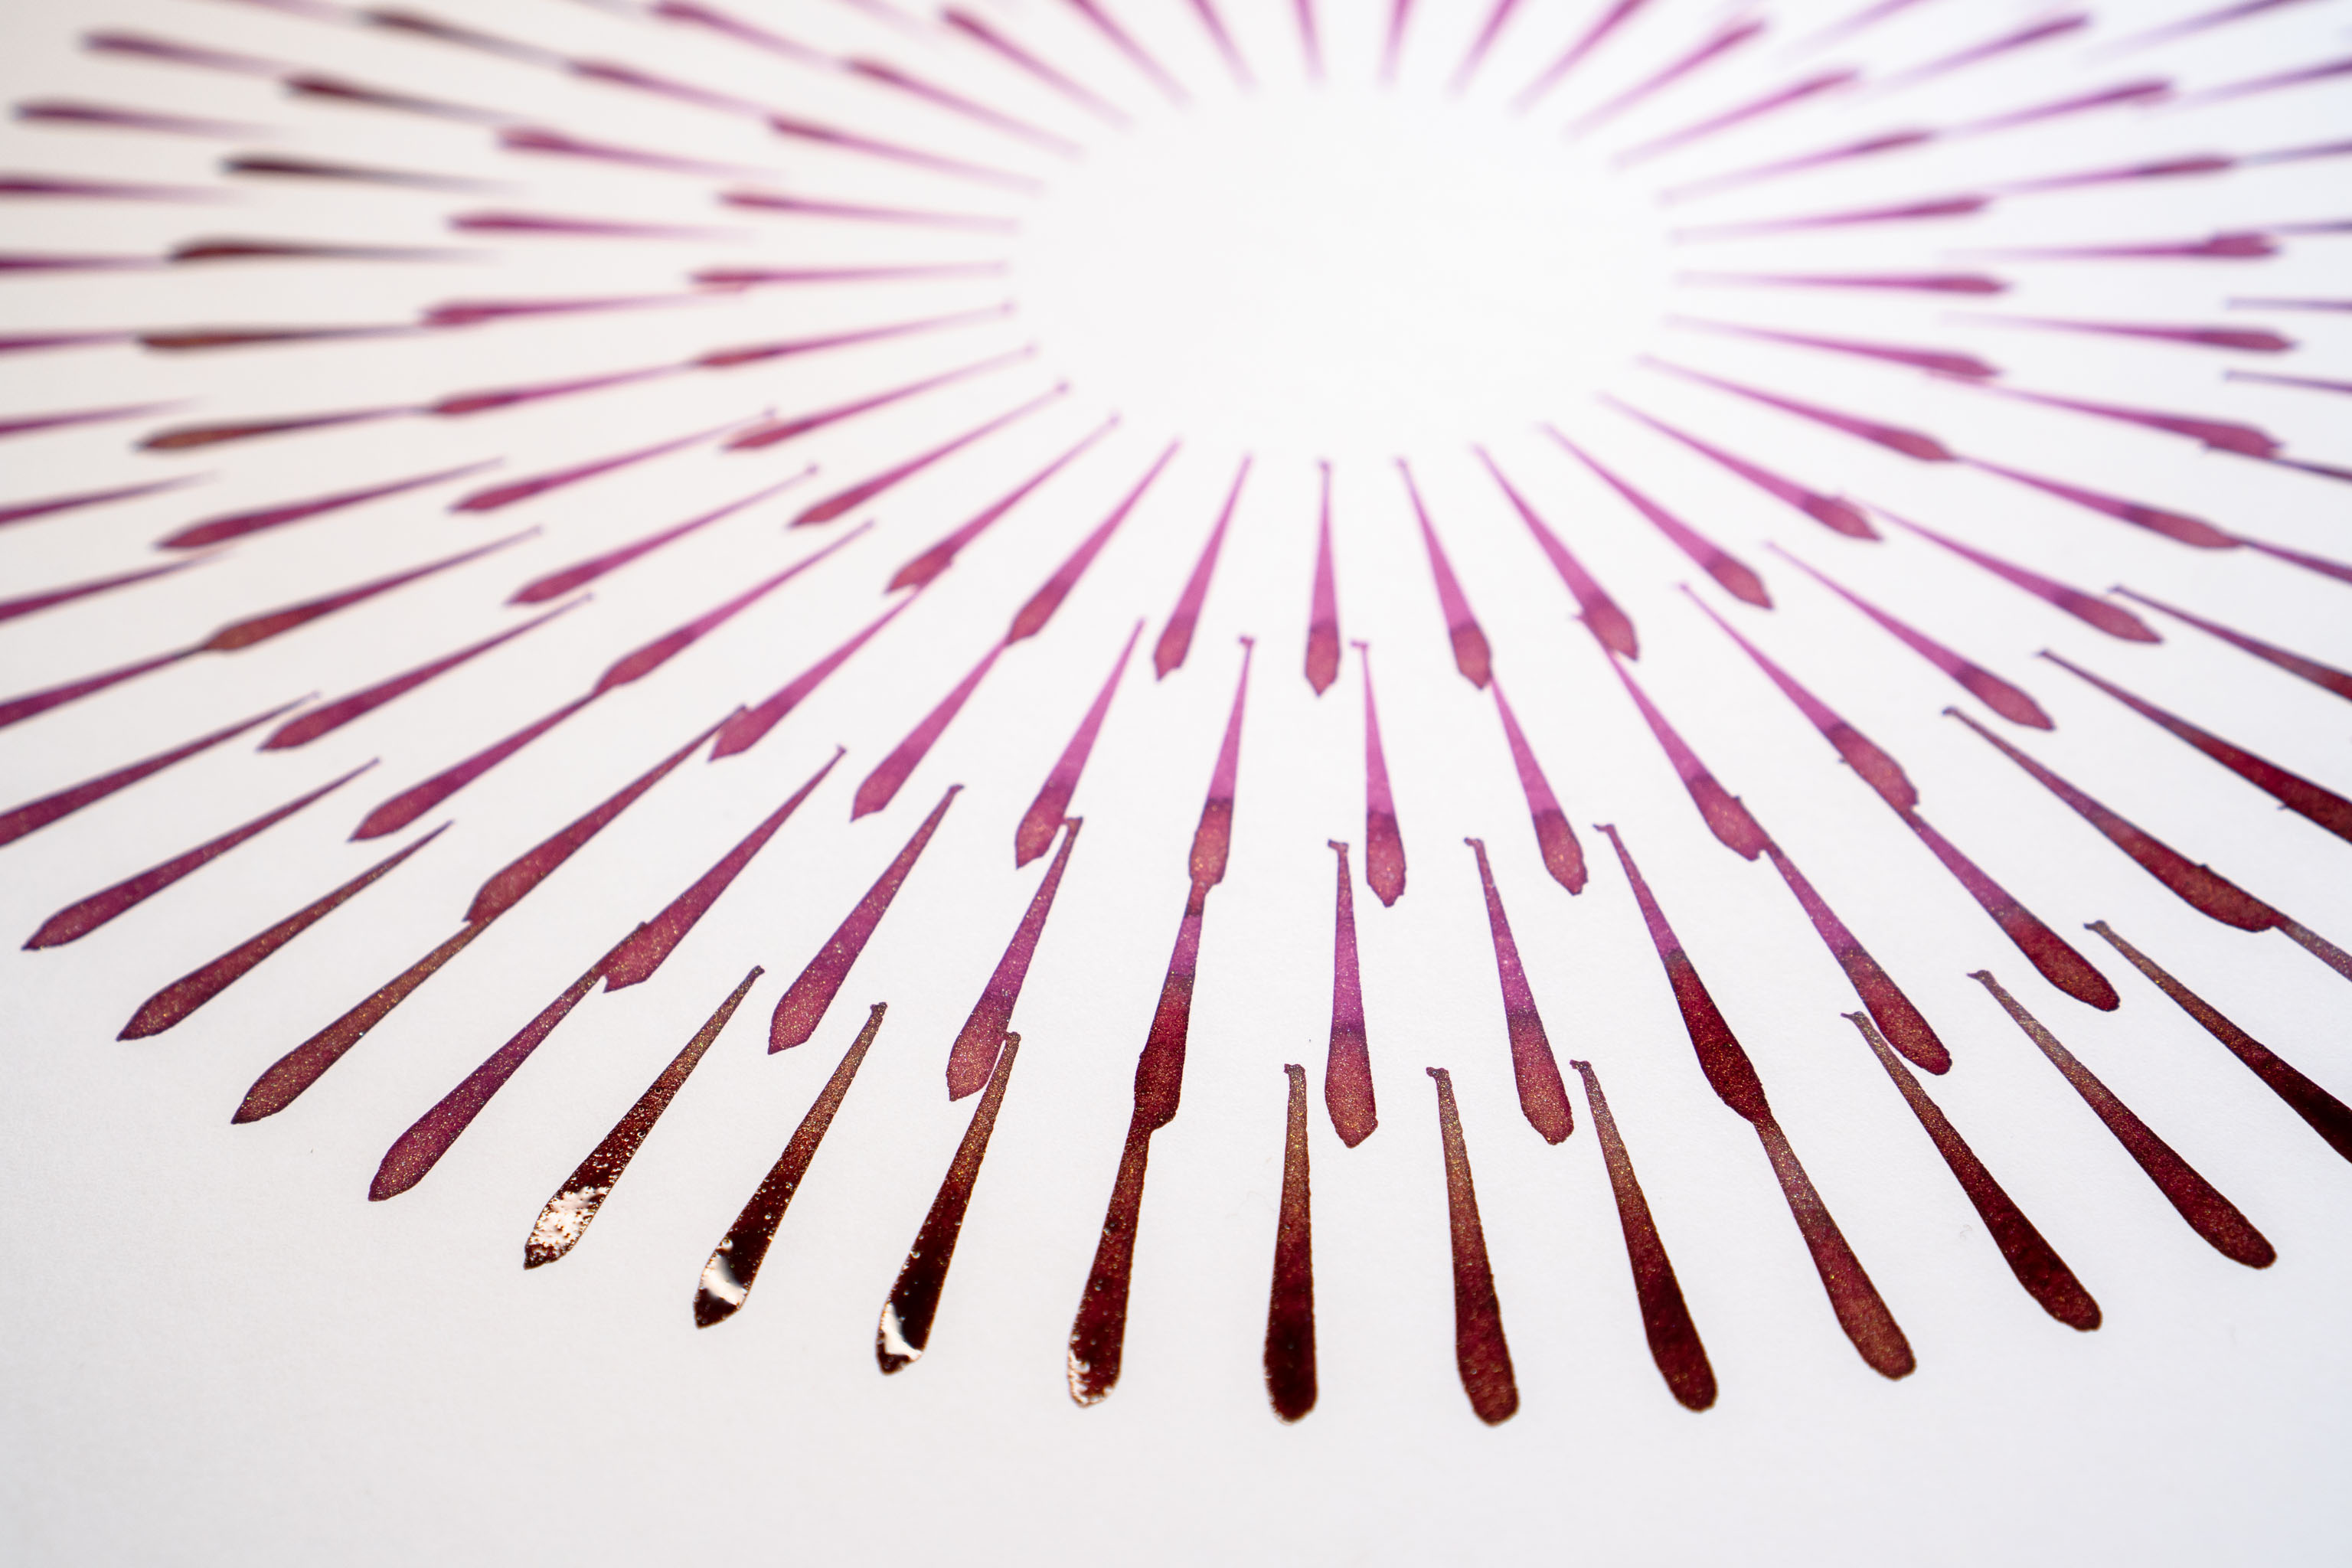
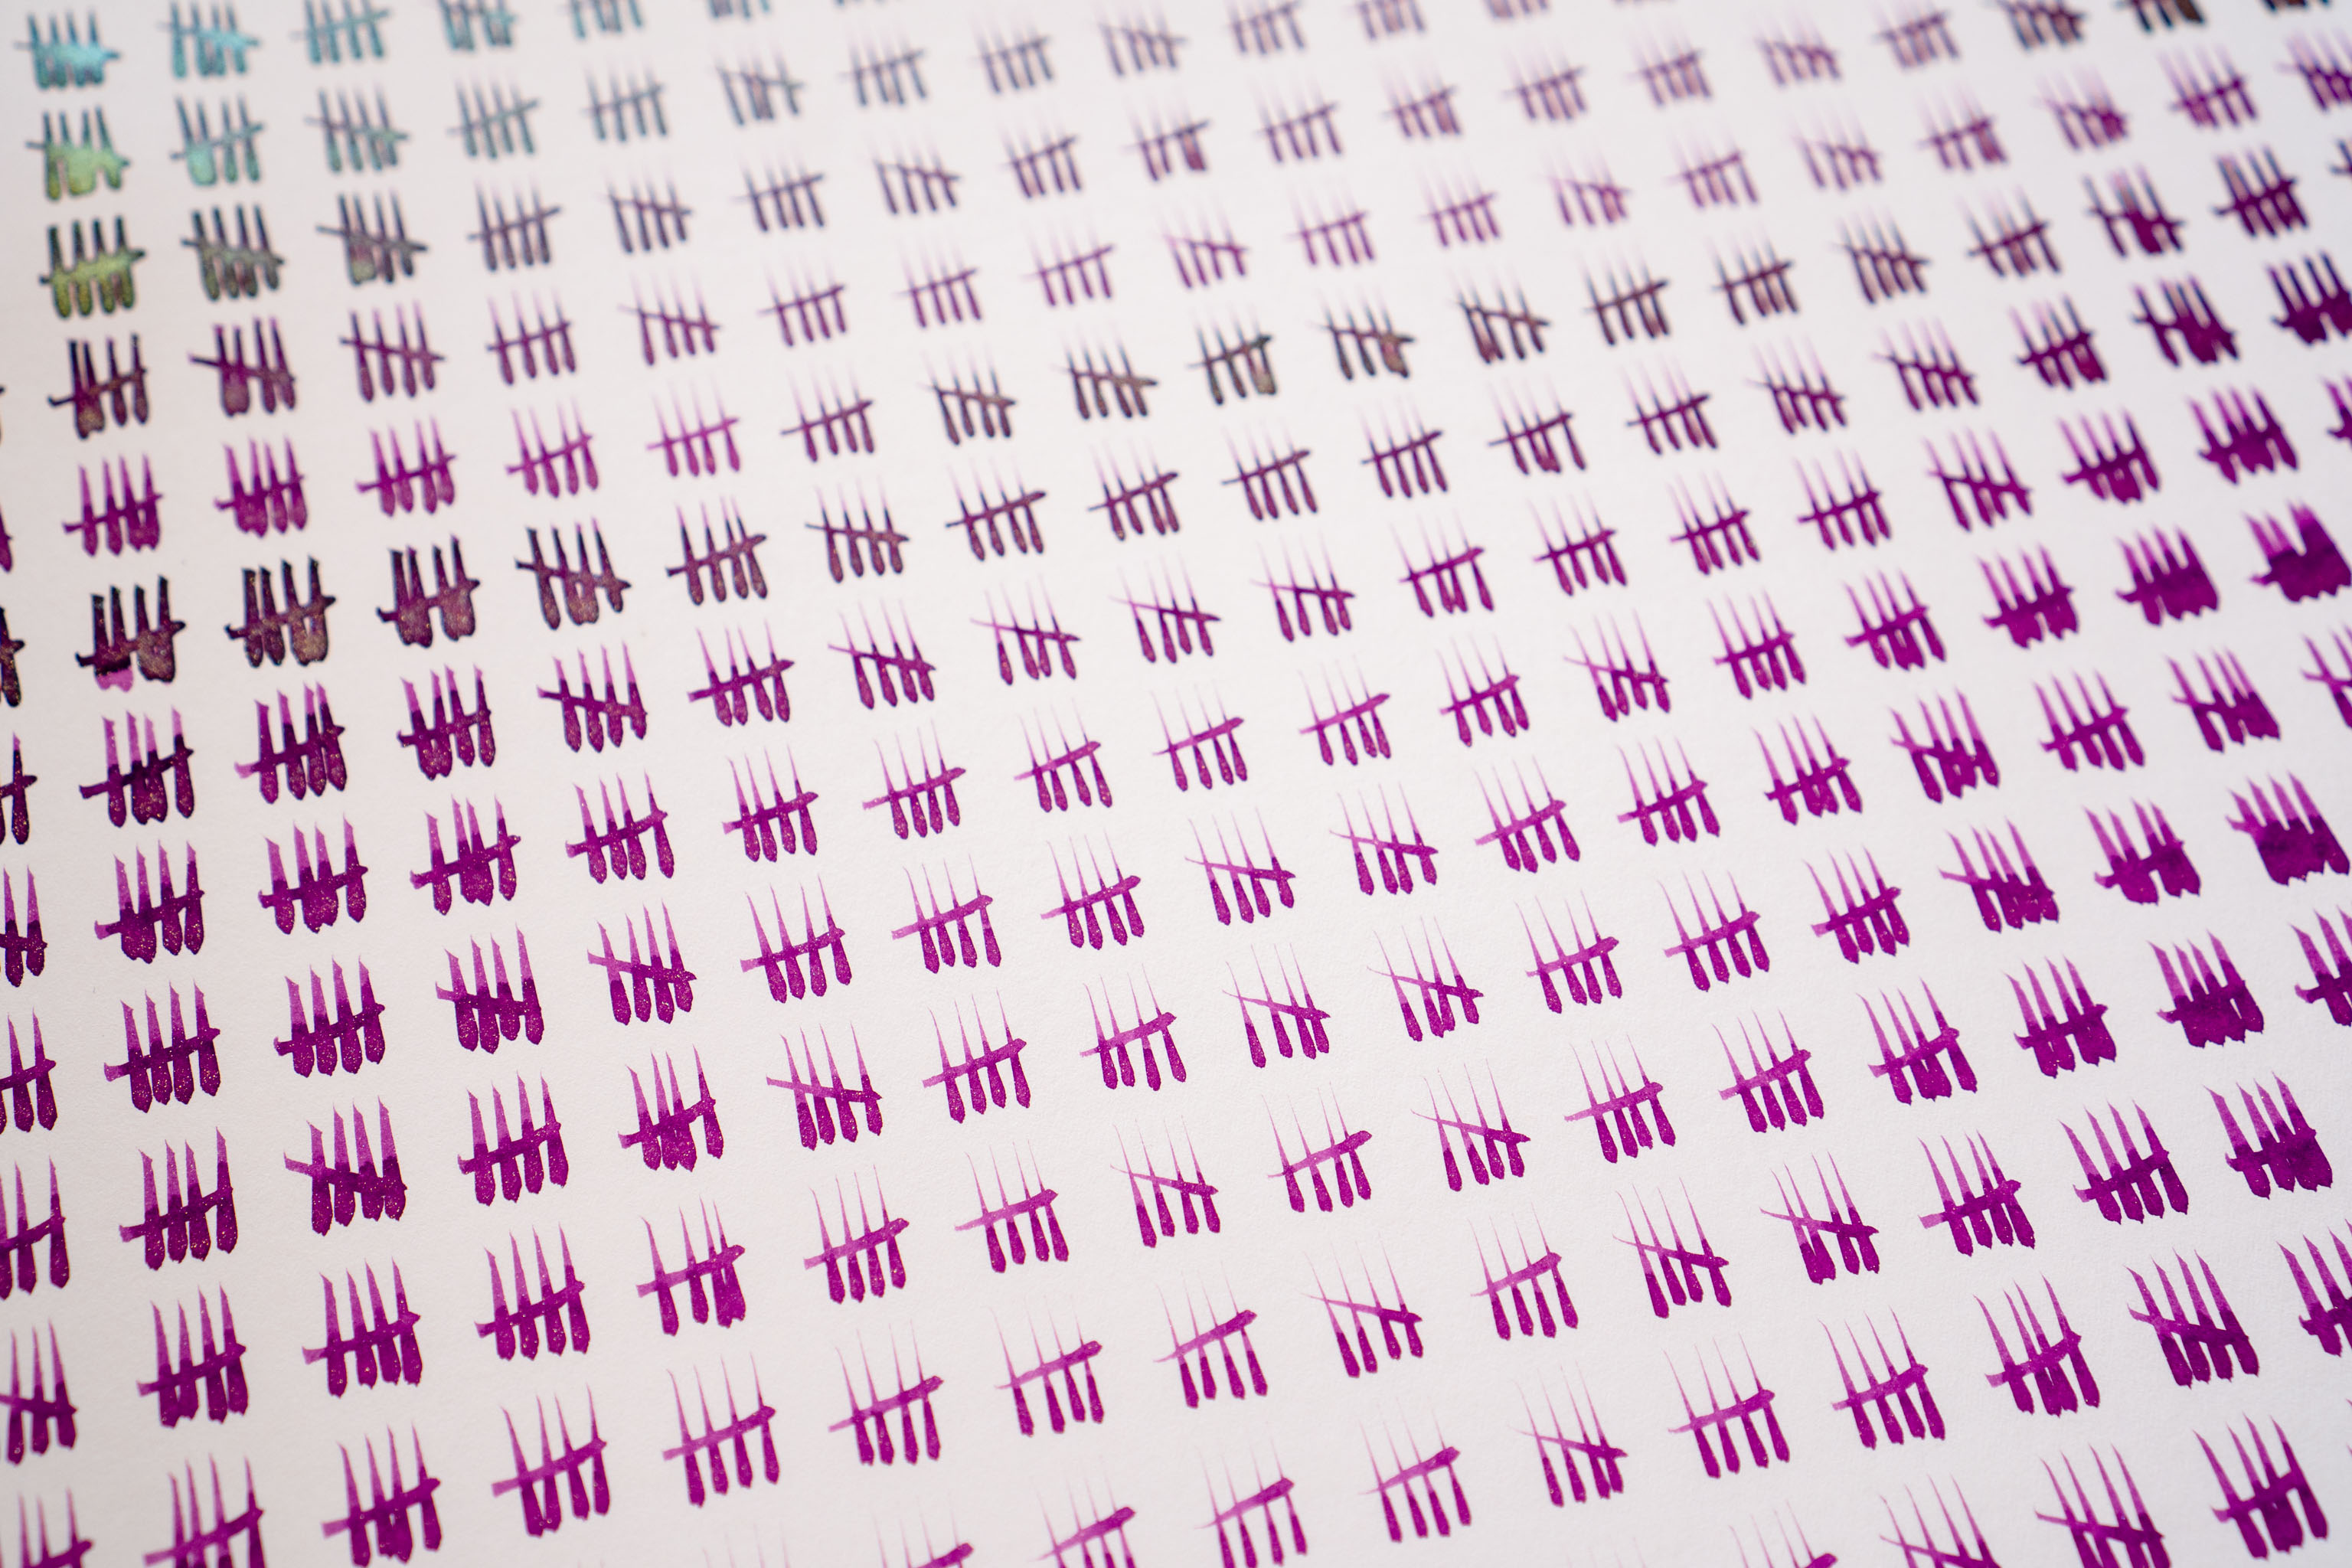
The first thing was to just draw the marks in a sequence around each circle, which I already knew I didn't really want; experience had already shown that the first few brushstrokes are always much darker, and the brush starts to dry out at around 40-60 strokes.
A tweak to the code and I had it randomising the lines, which lead to a far more satisfying second plot, where the different tones and saturation of the ink mixed in with each other worked much better. If the first handful of strokes were always going to be darker than the rest, may as well have the mixed in.
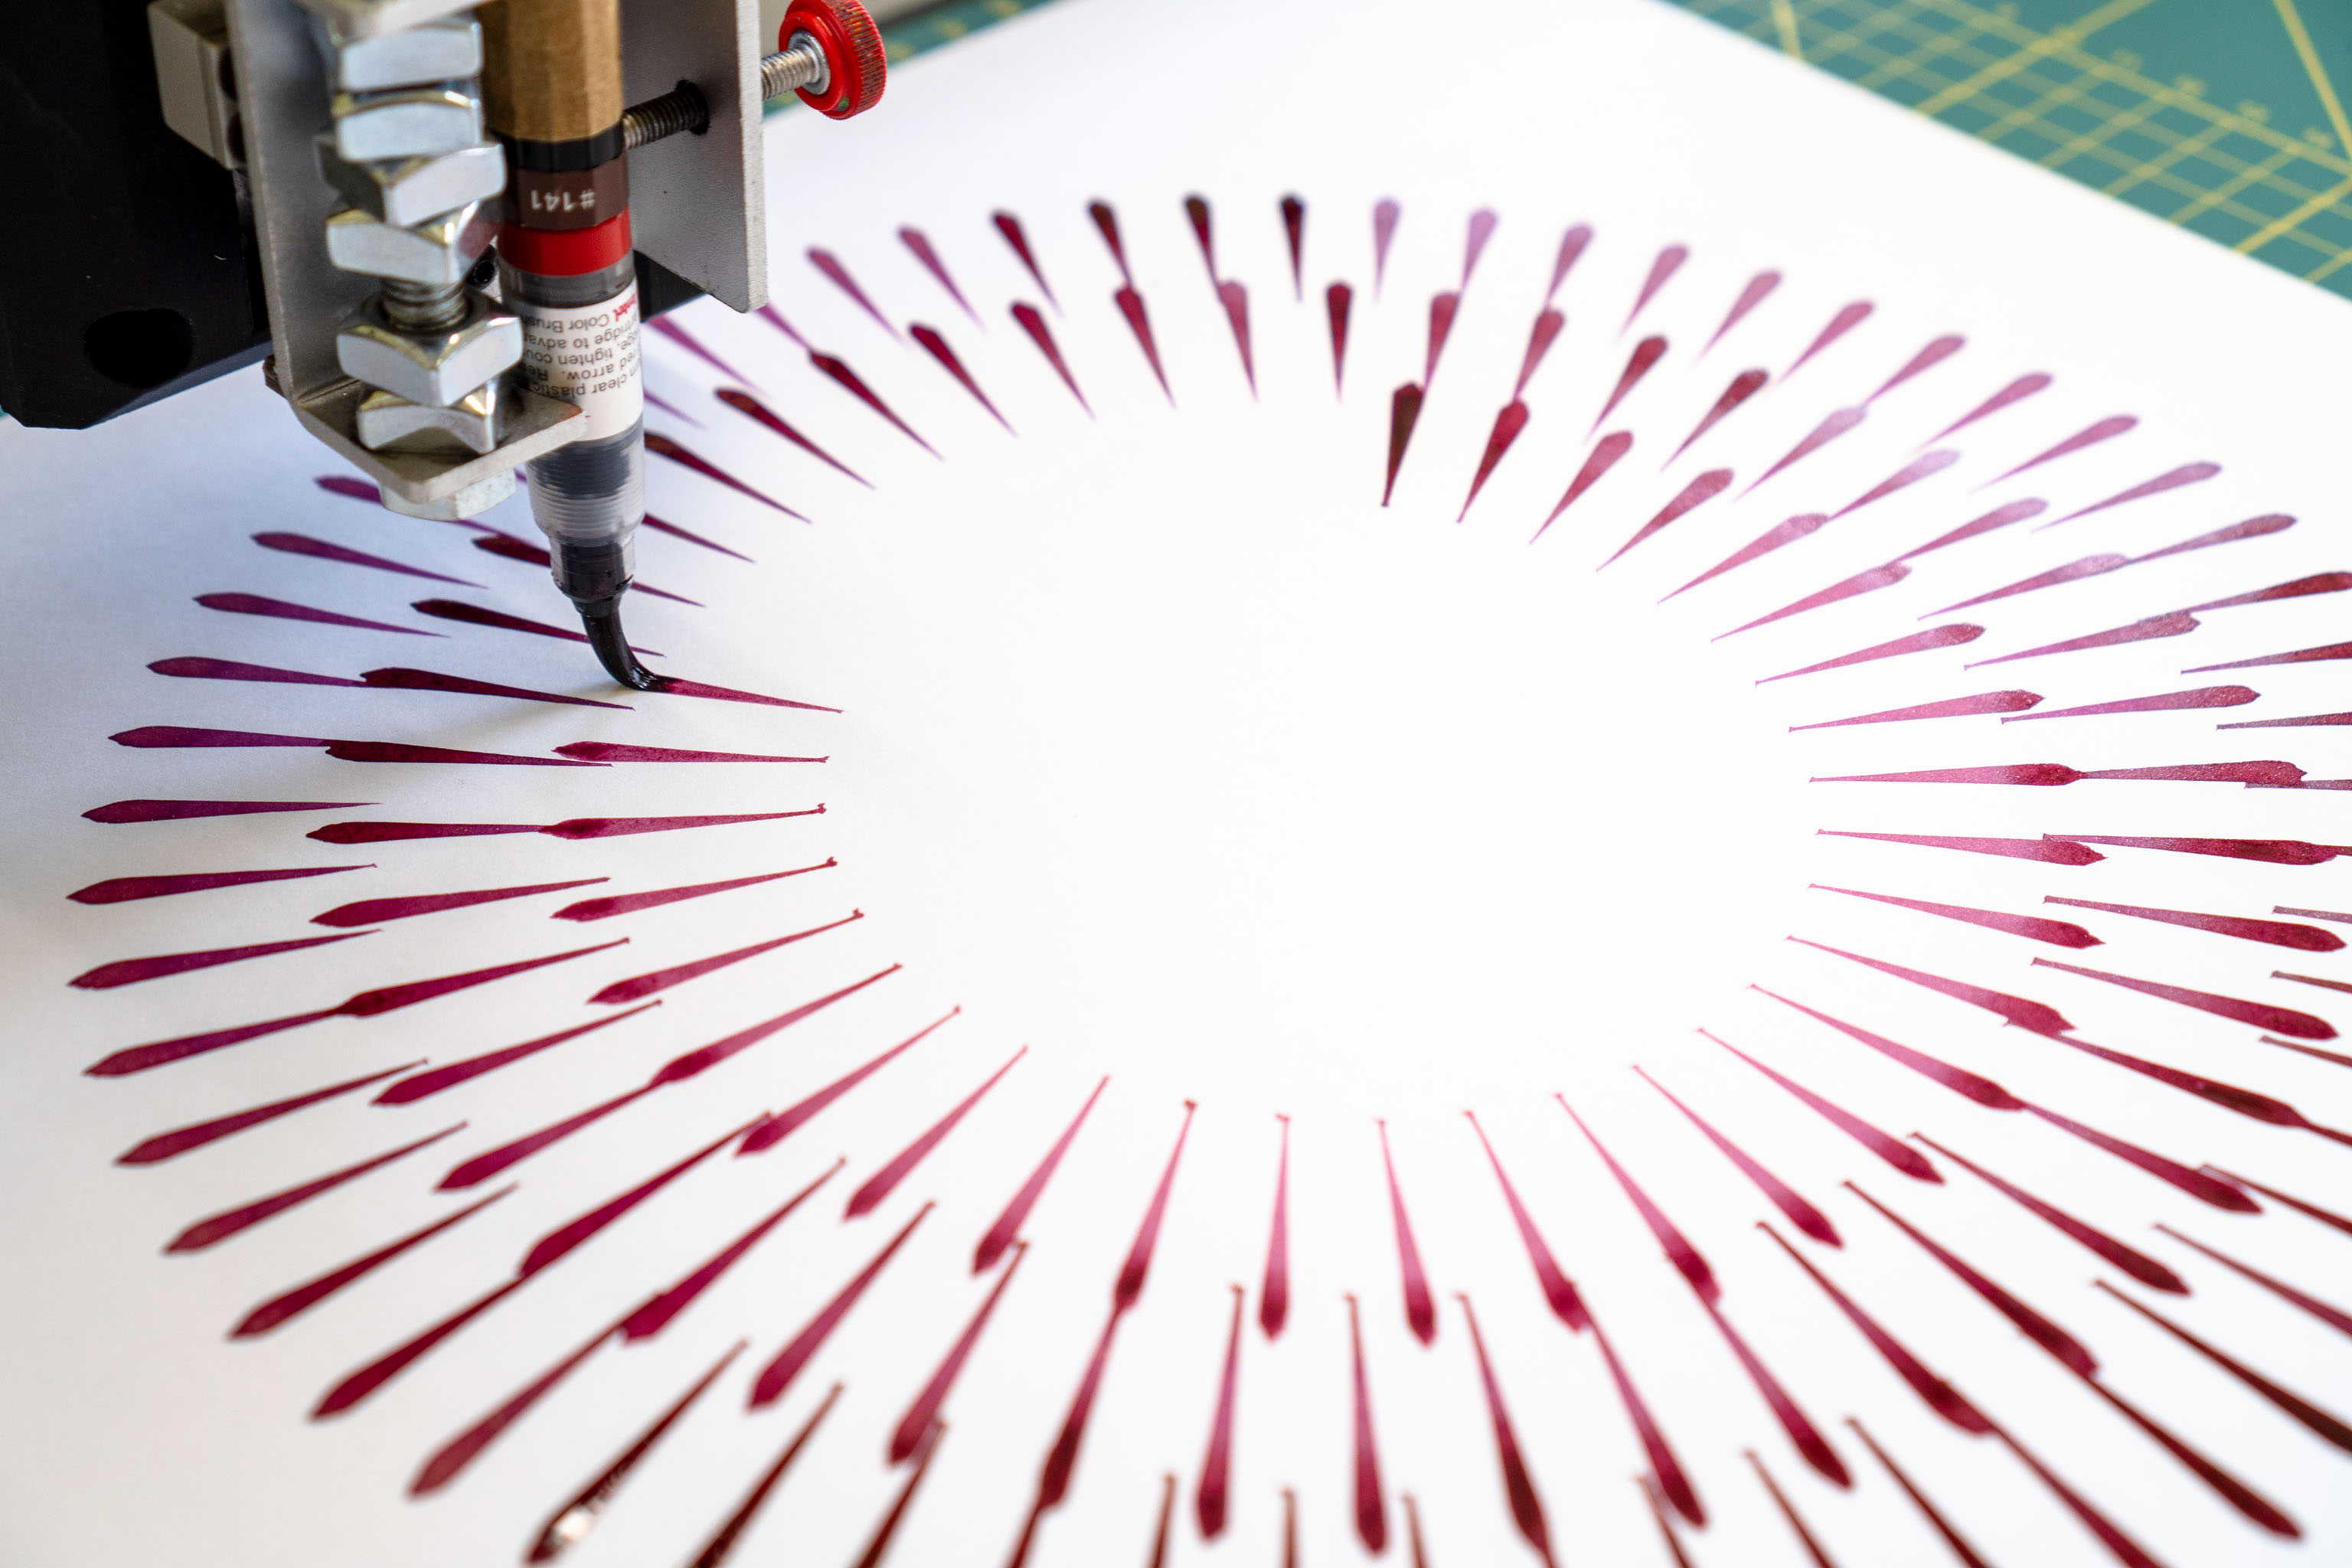


The circles still weren't quite what I wanted to do, which was fill up a page. Back to the original tally code and LOTS of smaller tally marks on a sheet. I think around 1,404 of them in total on an A3 sheet.
In this case, while some lines are denser than others the whole thing didn't actually run out of ink. Noted: smaller marks, even though there are more of them = not running out of ink as quickly.
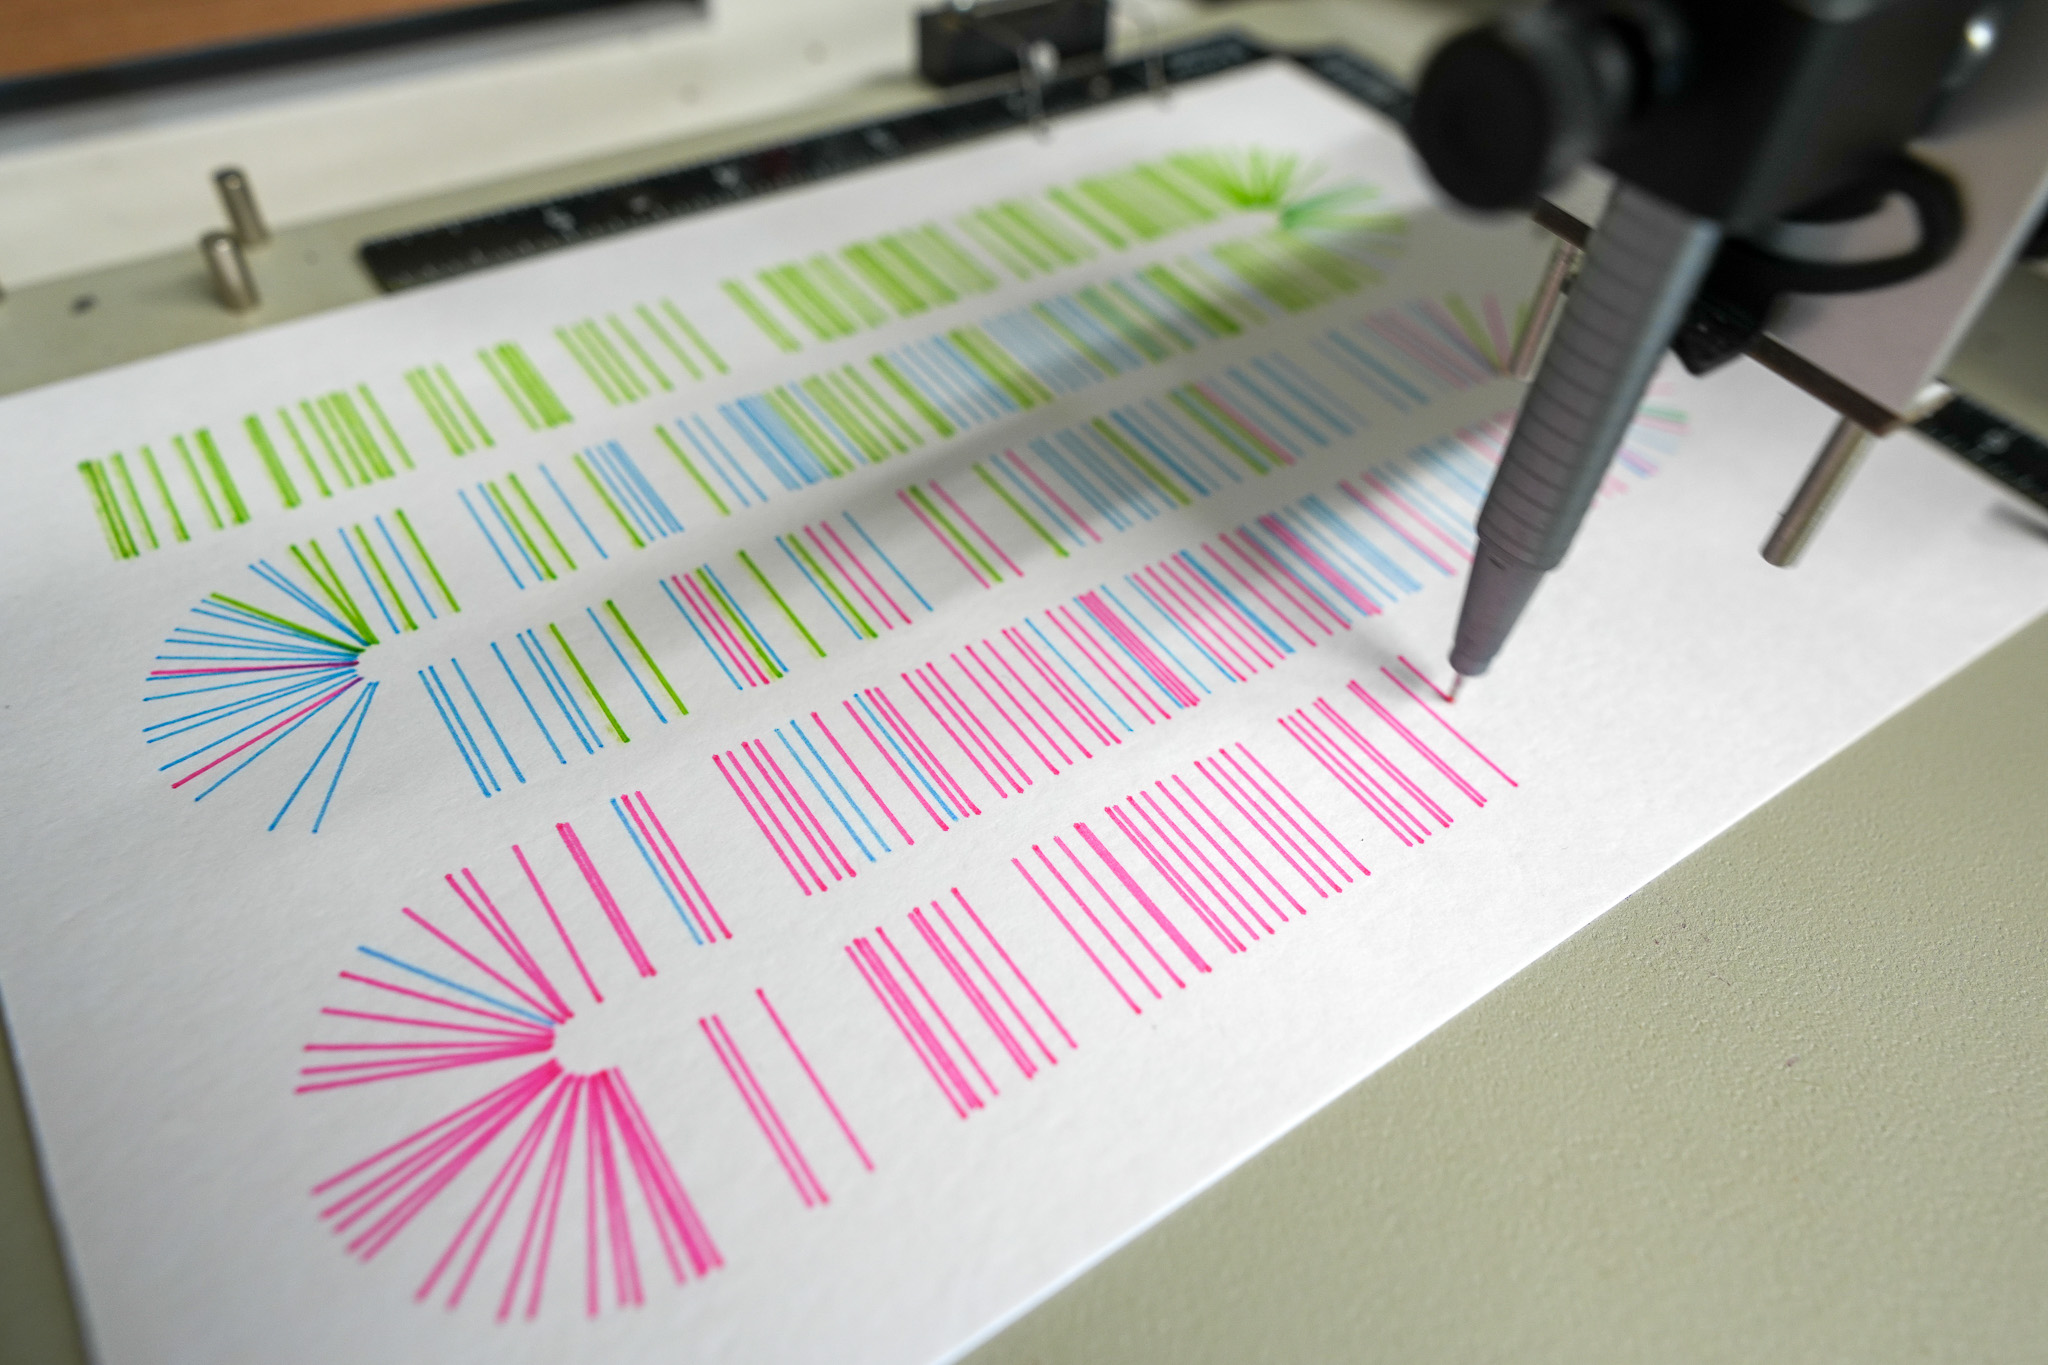
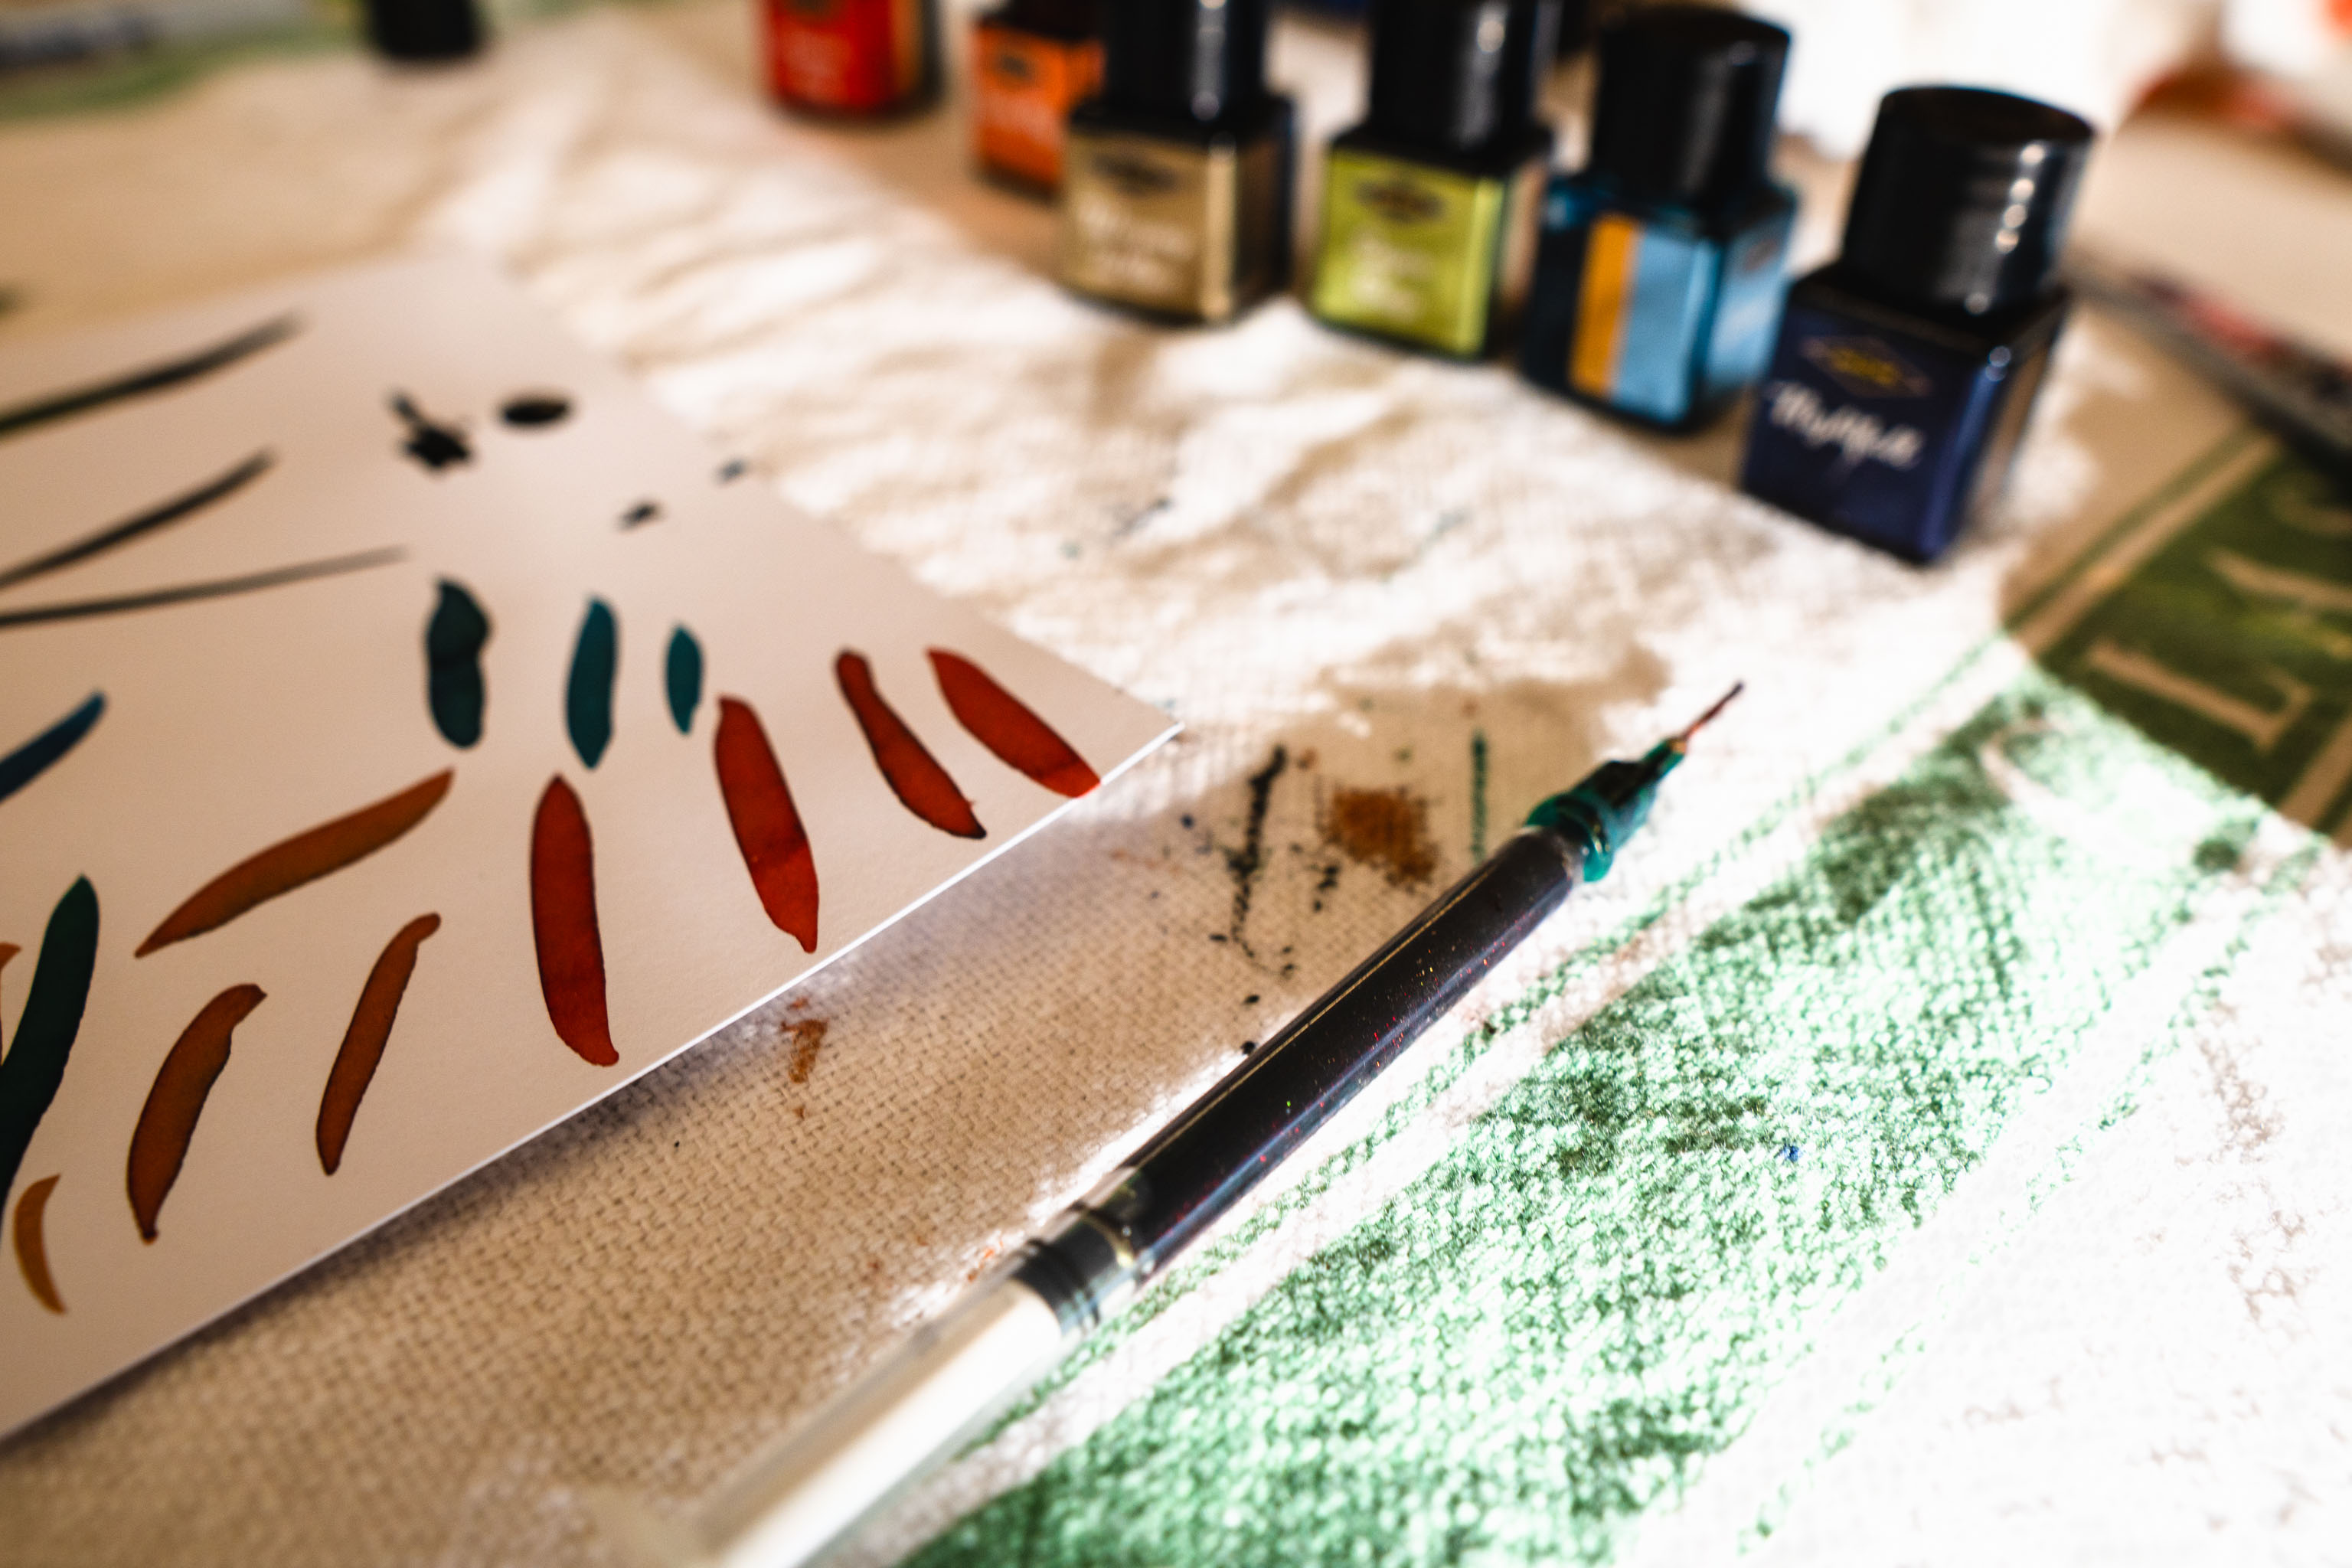
Doing a little more with the mark making brush work. One of them in two colours yellow-ish & purple, and then a second one making the brush lower down more for wider marks.


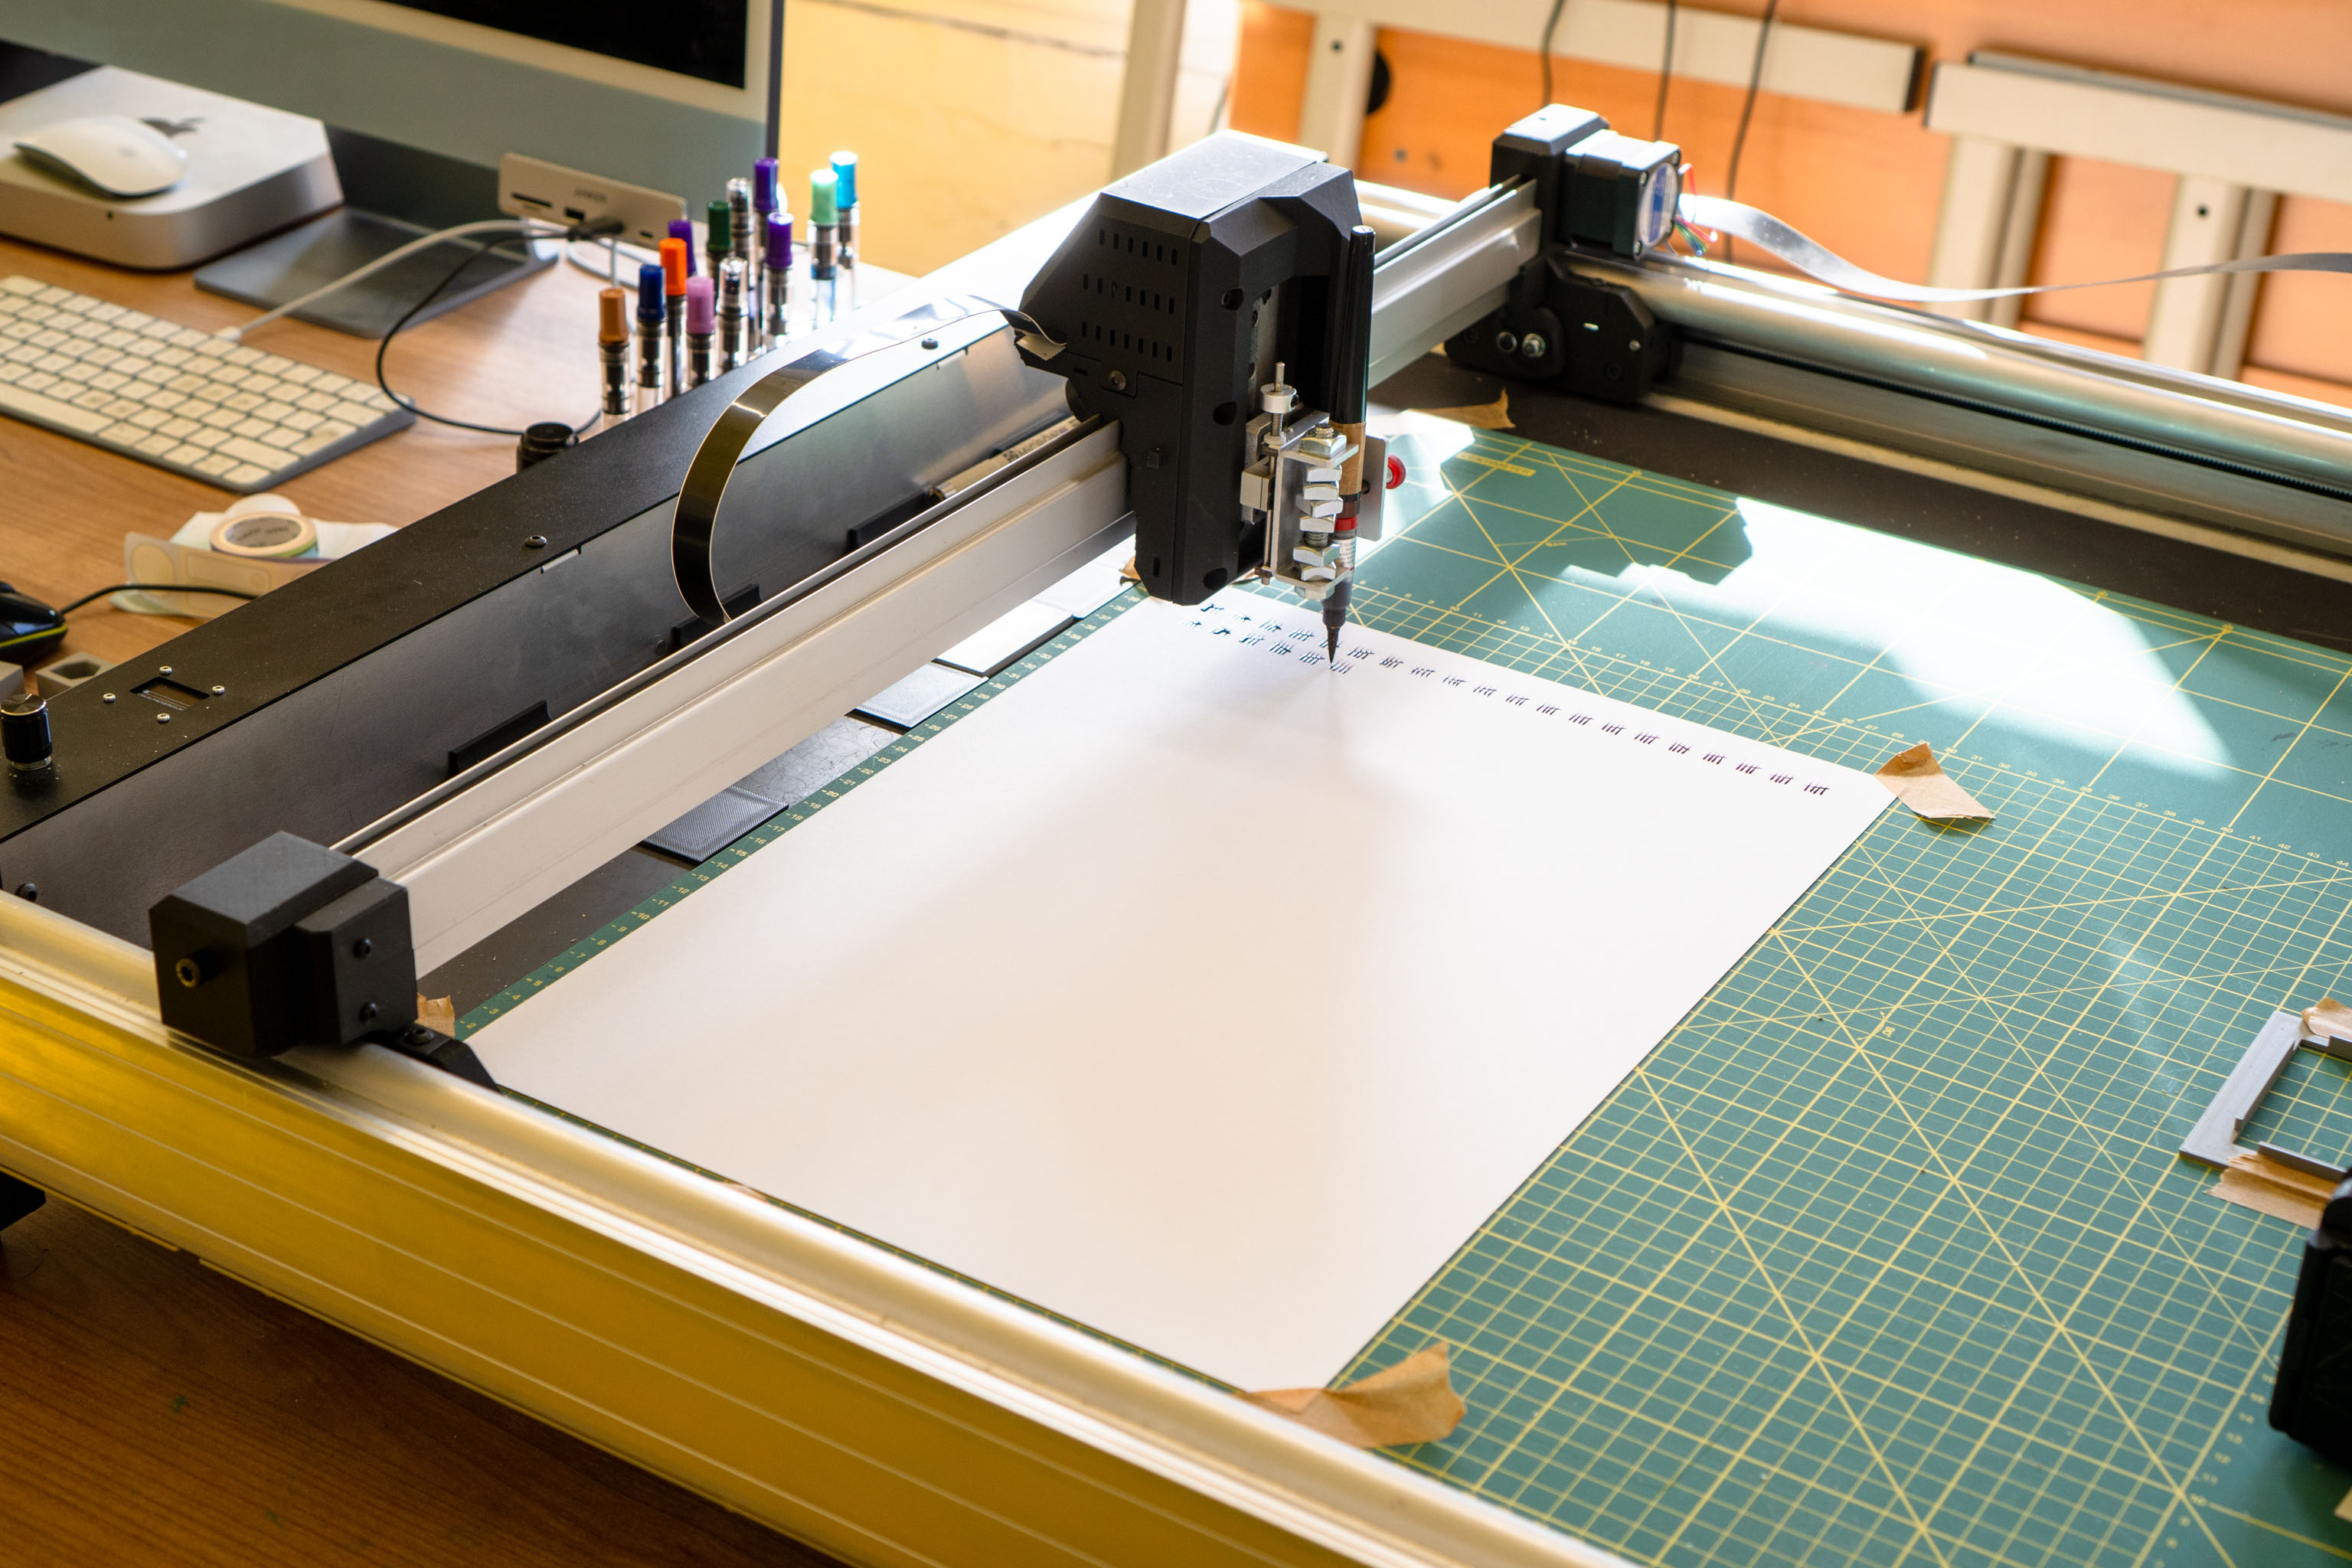
As we still won't have gotten to actual code for the DM101 videos, we're still in the introduction stage, I have to create some extra pen plots this month for Patreon peeps.
I'm going to be doing some variation on tally marks, in this case small strokes with the drawing machine, adjusting the height as it goes; basically setting the z-height of the start and end points differently.
Getting some interesting effects and this pretty cool circular patterns.
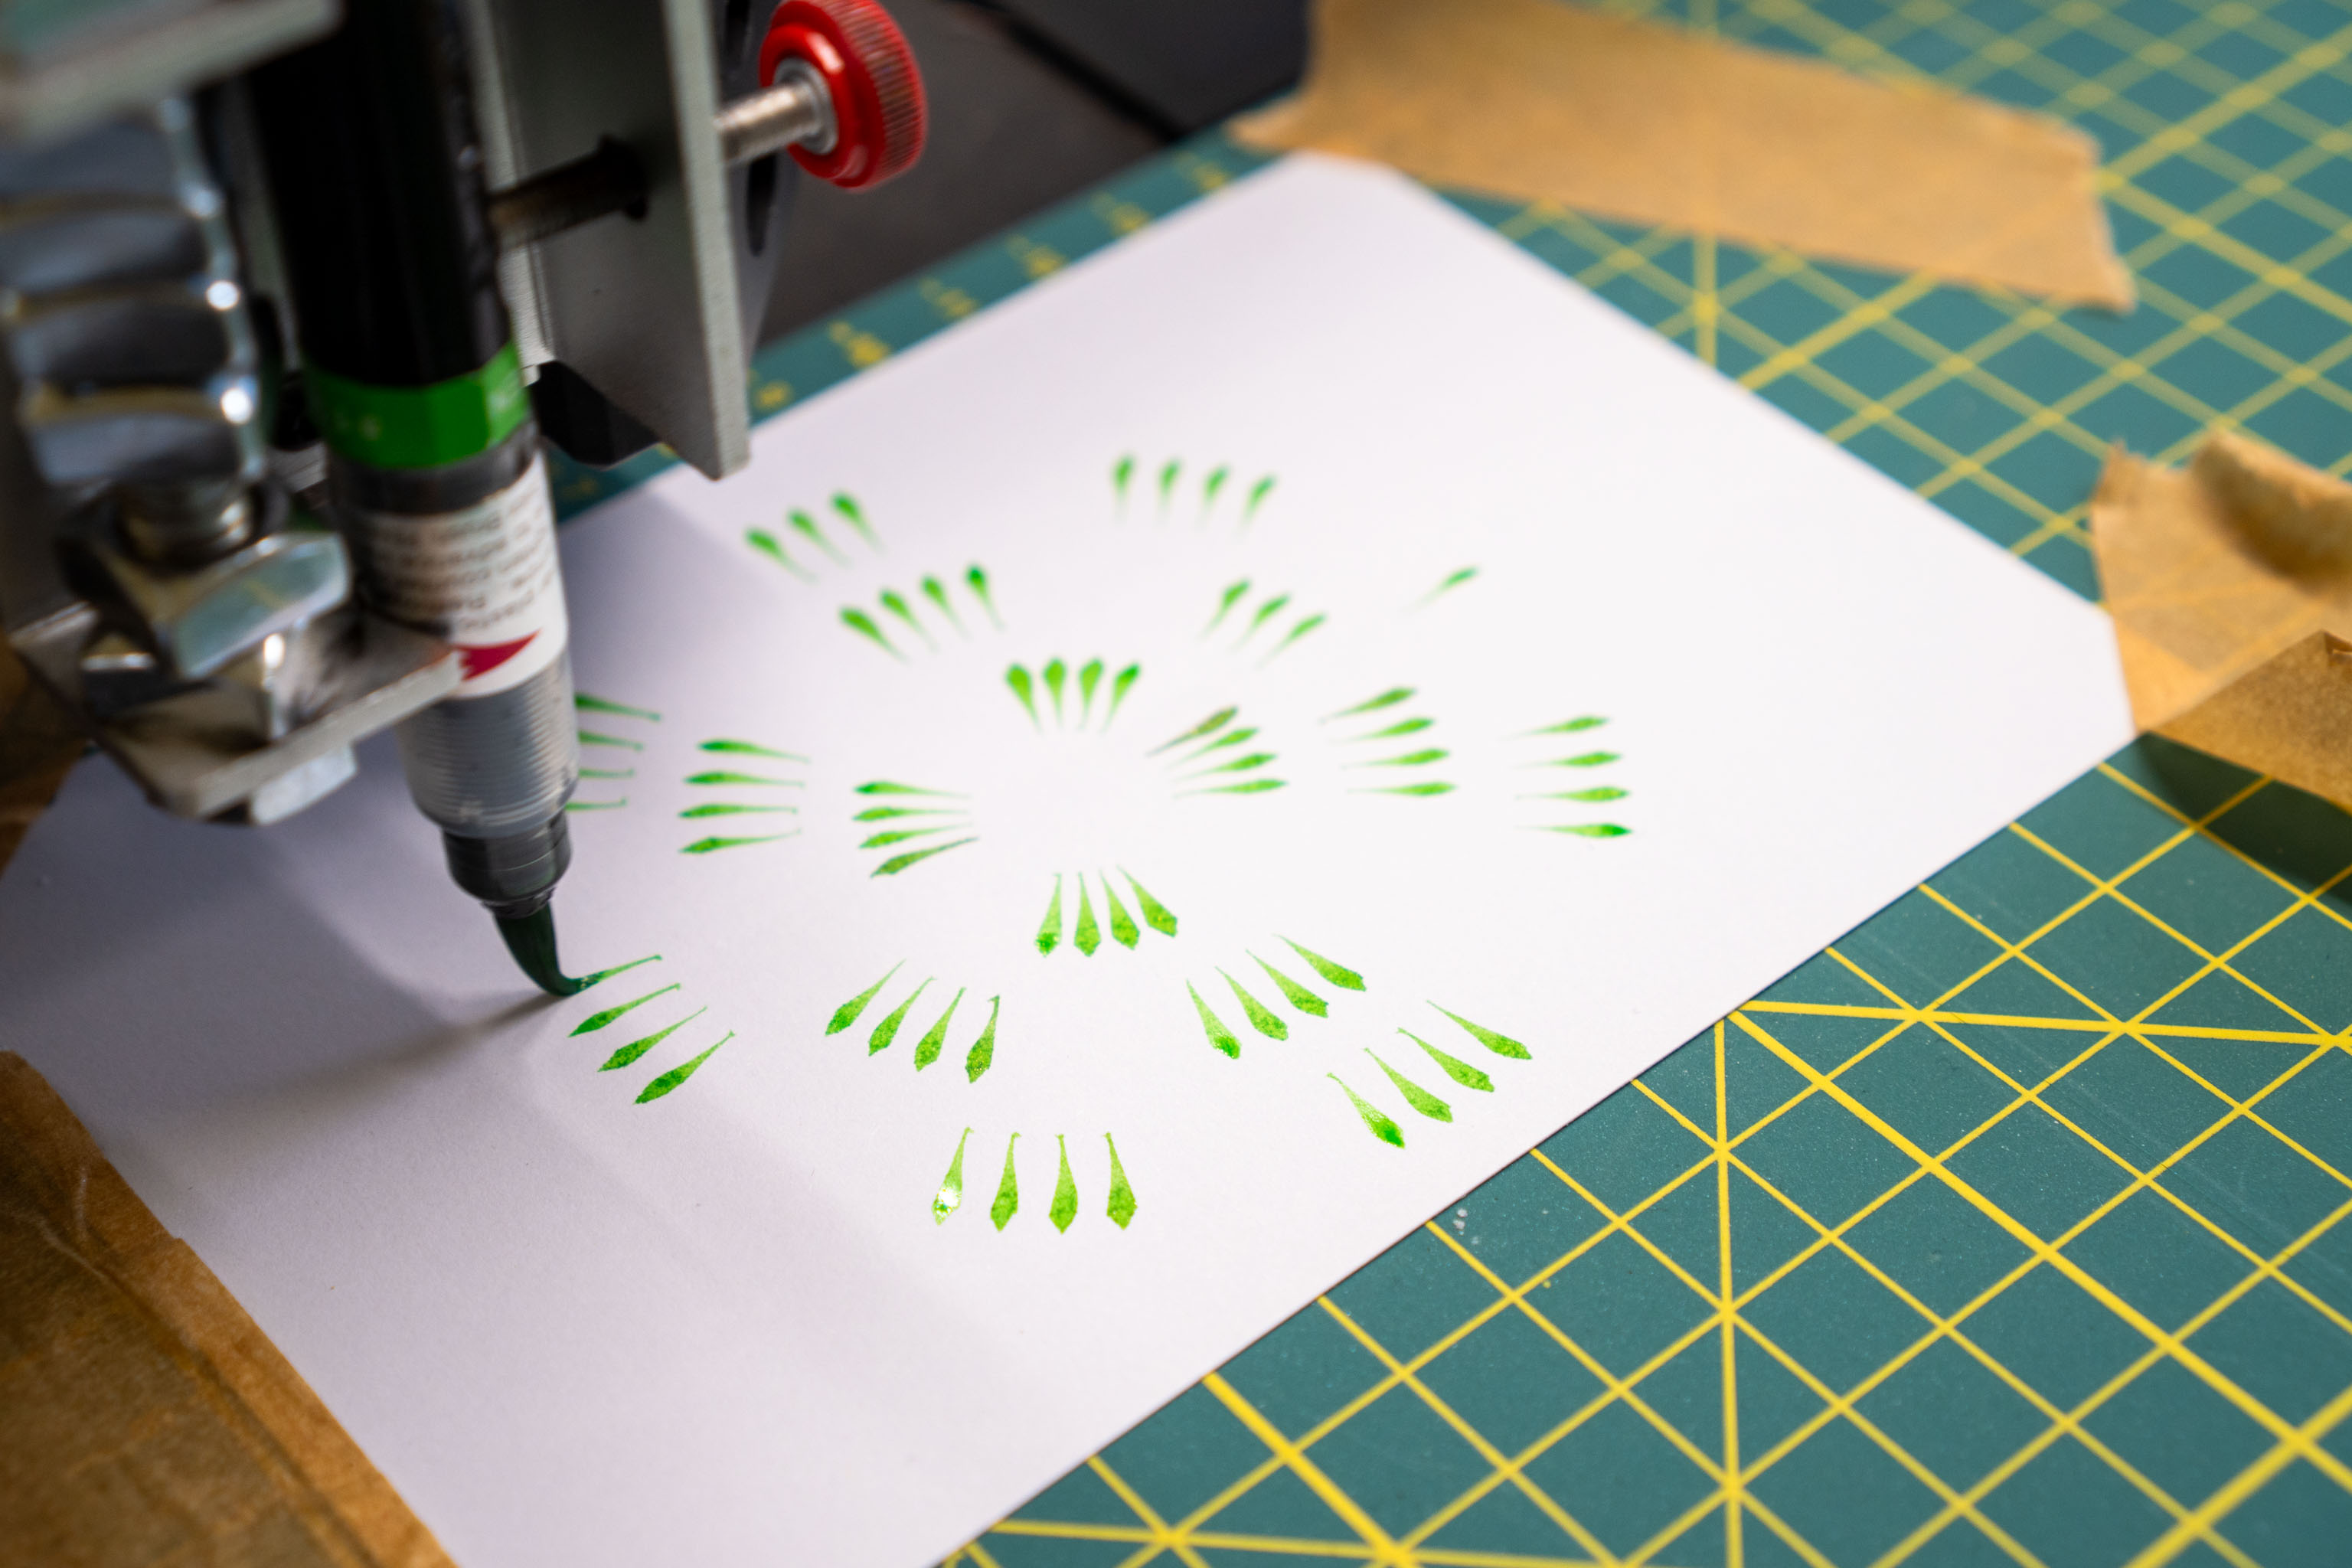


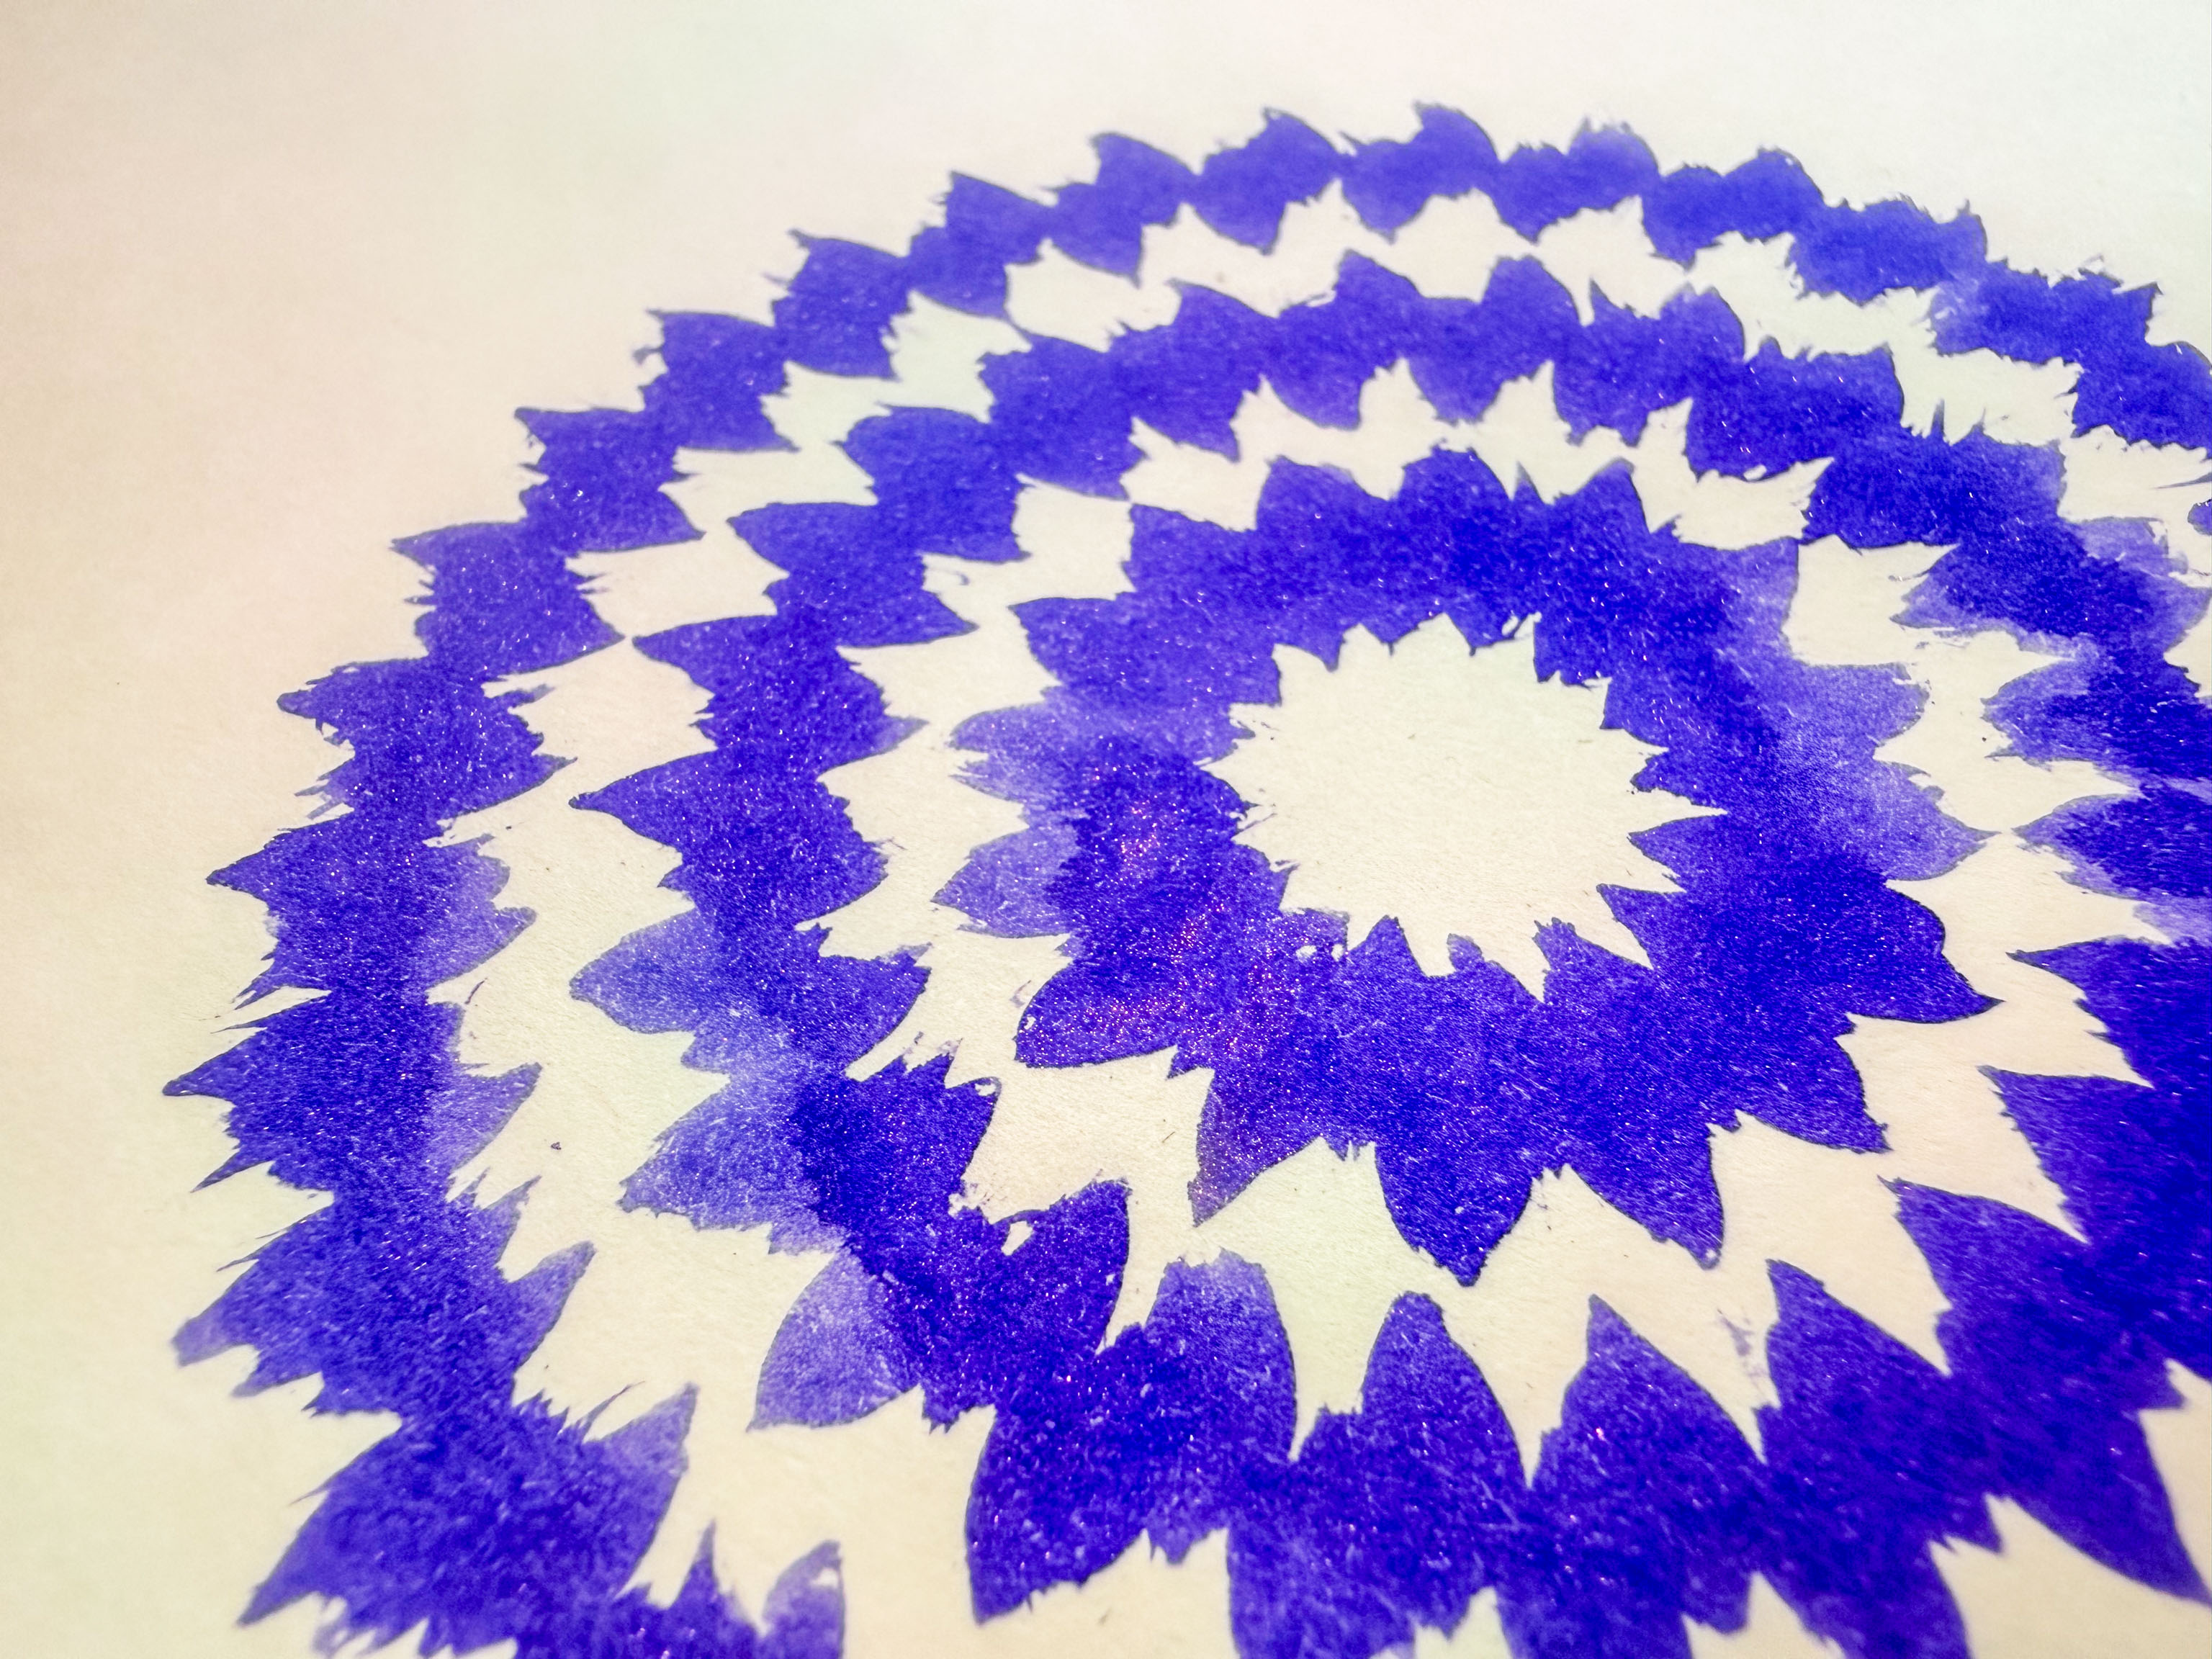
I particularly like this one, which happened because the plot before this had the brush height set wrong, so it scrunched the brush down into the paper splaying the bristles a bit.
So with this next plot, instead of having one neat brush tip there's a slightly different effect.
Next step is figuring out how to make it repeatable.