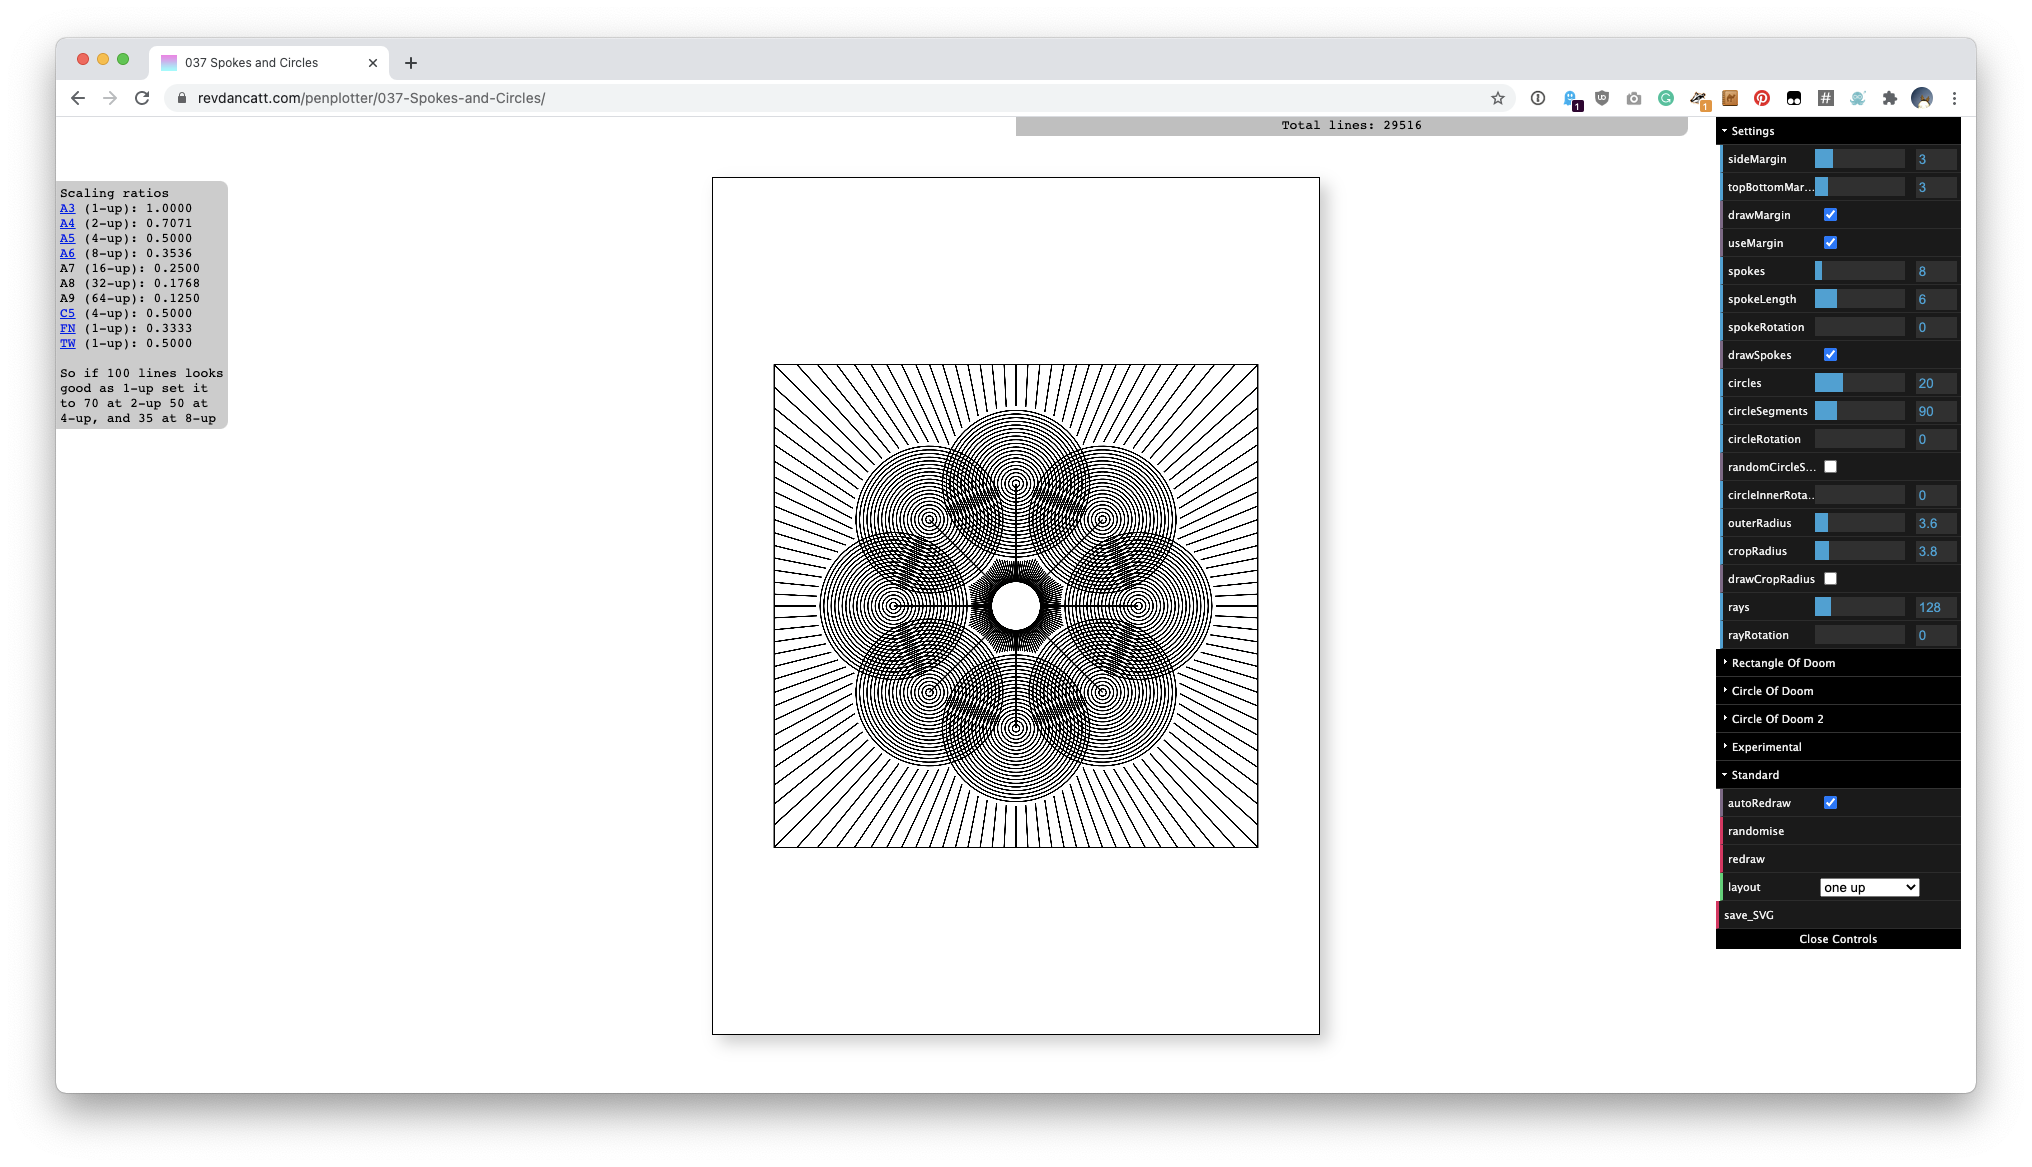
SVG Generator - Spokes and Circles
Another generator mainly for pen plotting, but as it spits out SVG files, I guess they can be used for all sorts. This one is based on spokes and (loosely) circles, and can be found over here: revdancatt.com/penplotter/037-Spokes-and-Circles.
The tool will only work on desk/laptops, not mobile.
 >
>
 >
>
 >
>
 >
>
🤖 🤖 🤖
The UI is once more a bit complex with some parts hidden away. It's mainly there for me, and as I wrote the code it generally (but not always) does what I expect it to do. I've decided this time it'll be easier to explain the core principle and then add in the extra layers which allow you to do different things with it.
As with all these tools, there's a limited design space in which you can move around, so all the results will definitely have a theme, but there's some wiggle room for expression. You can, of course, always take the results into some other art package to build on it further.
Unlike most of my other tools, there's no randomness in this one, once you've dialled in the settings you're going to get what you get. Finally, I'm sticking this generator under the "Sacred Geometry" moniker, probably as it's generated with code and deals with geometry it tends towards that aesthetic.
🤖 🤖 🤖
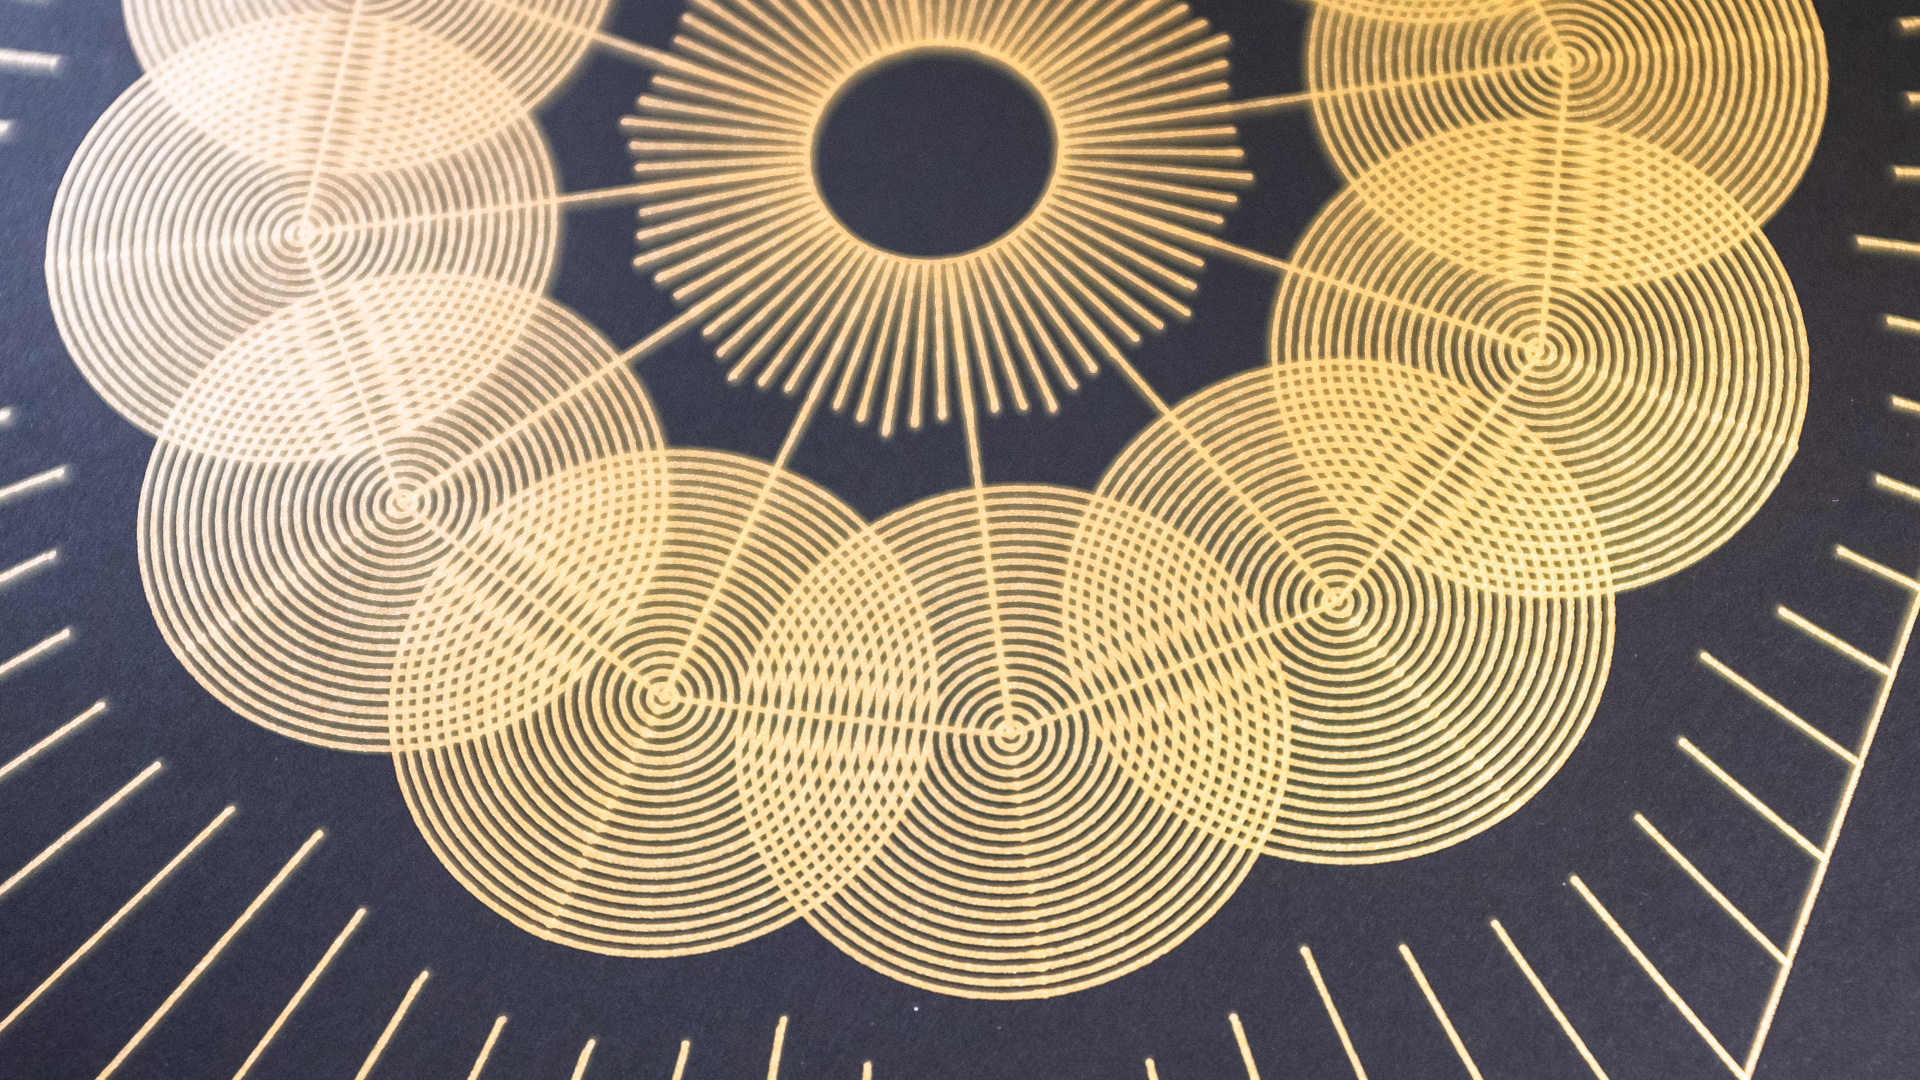
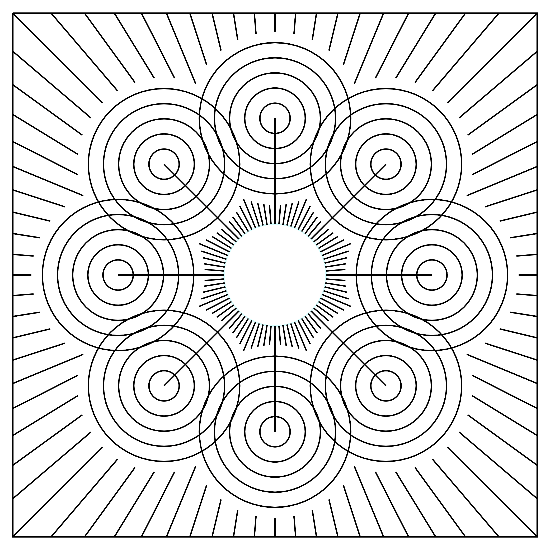
Spokes and Circles
(The examples below are shown with rays set to 0 for clarity)
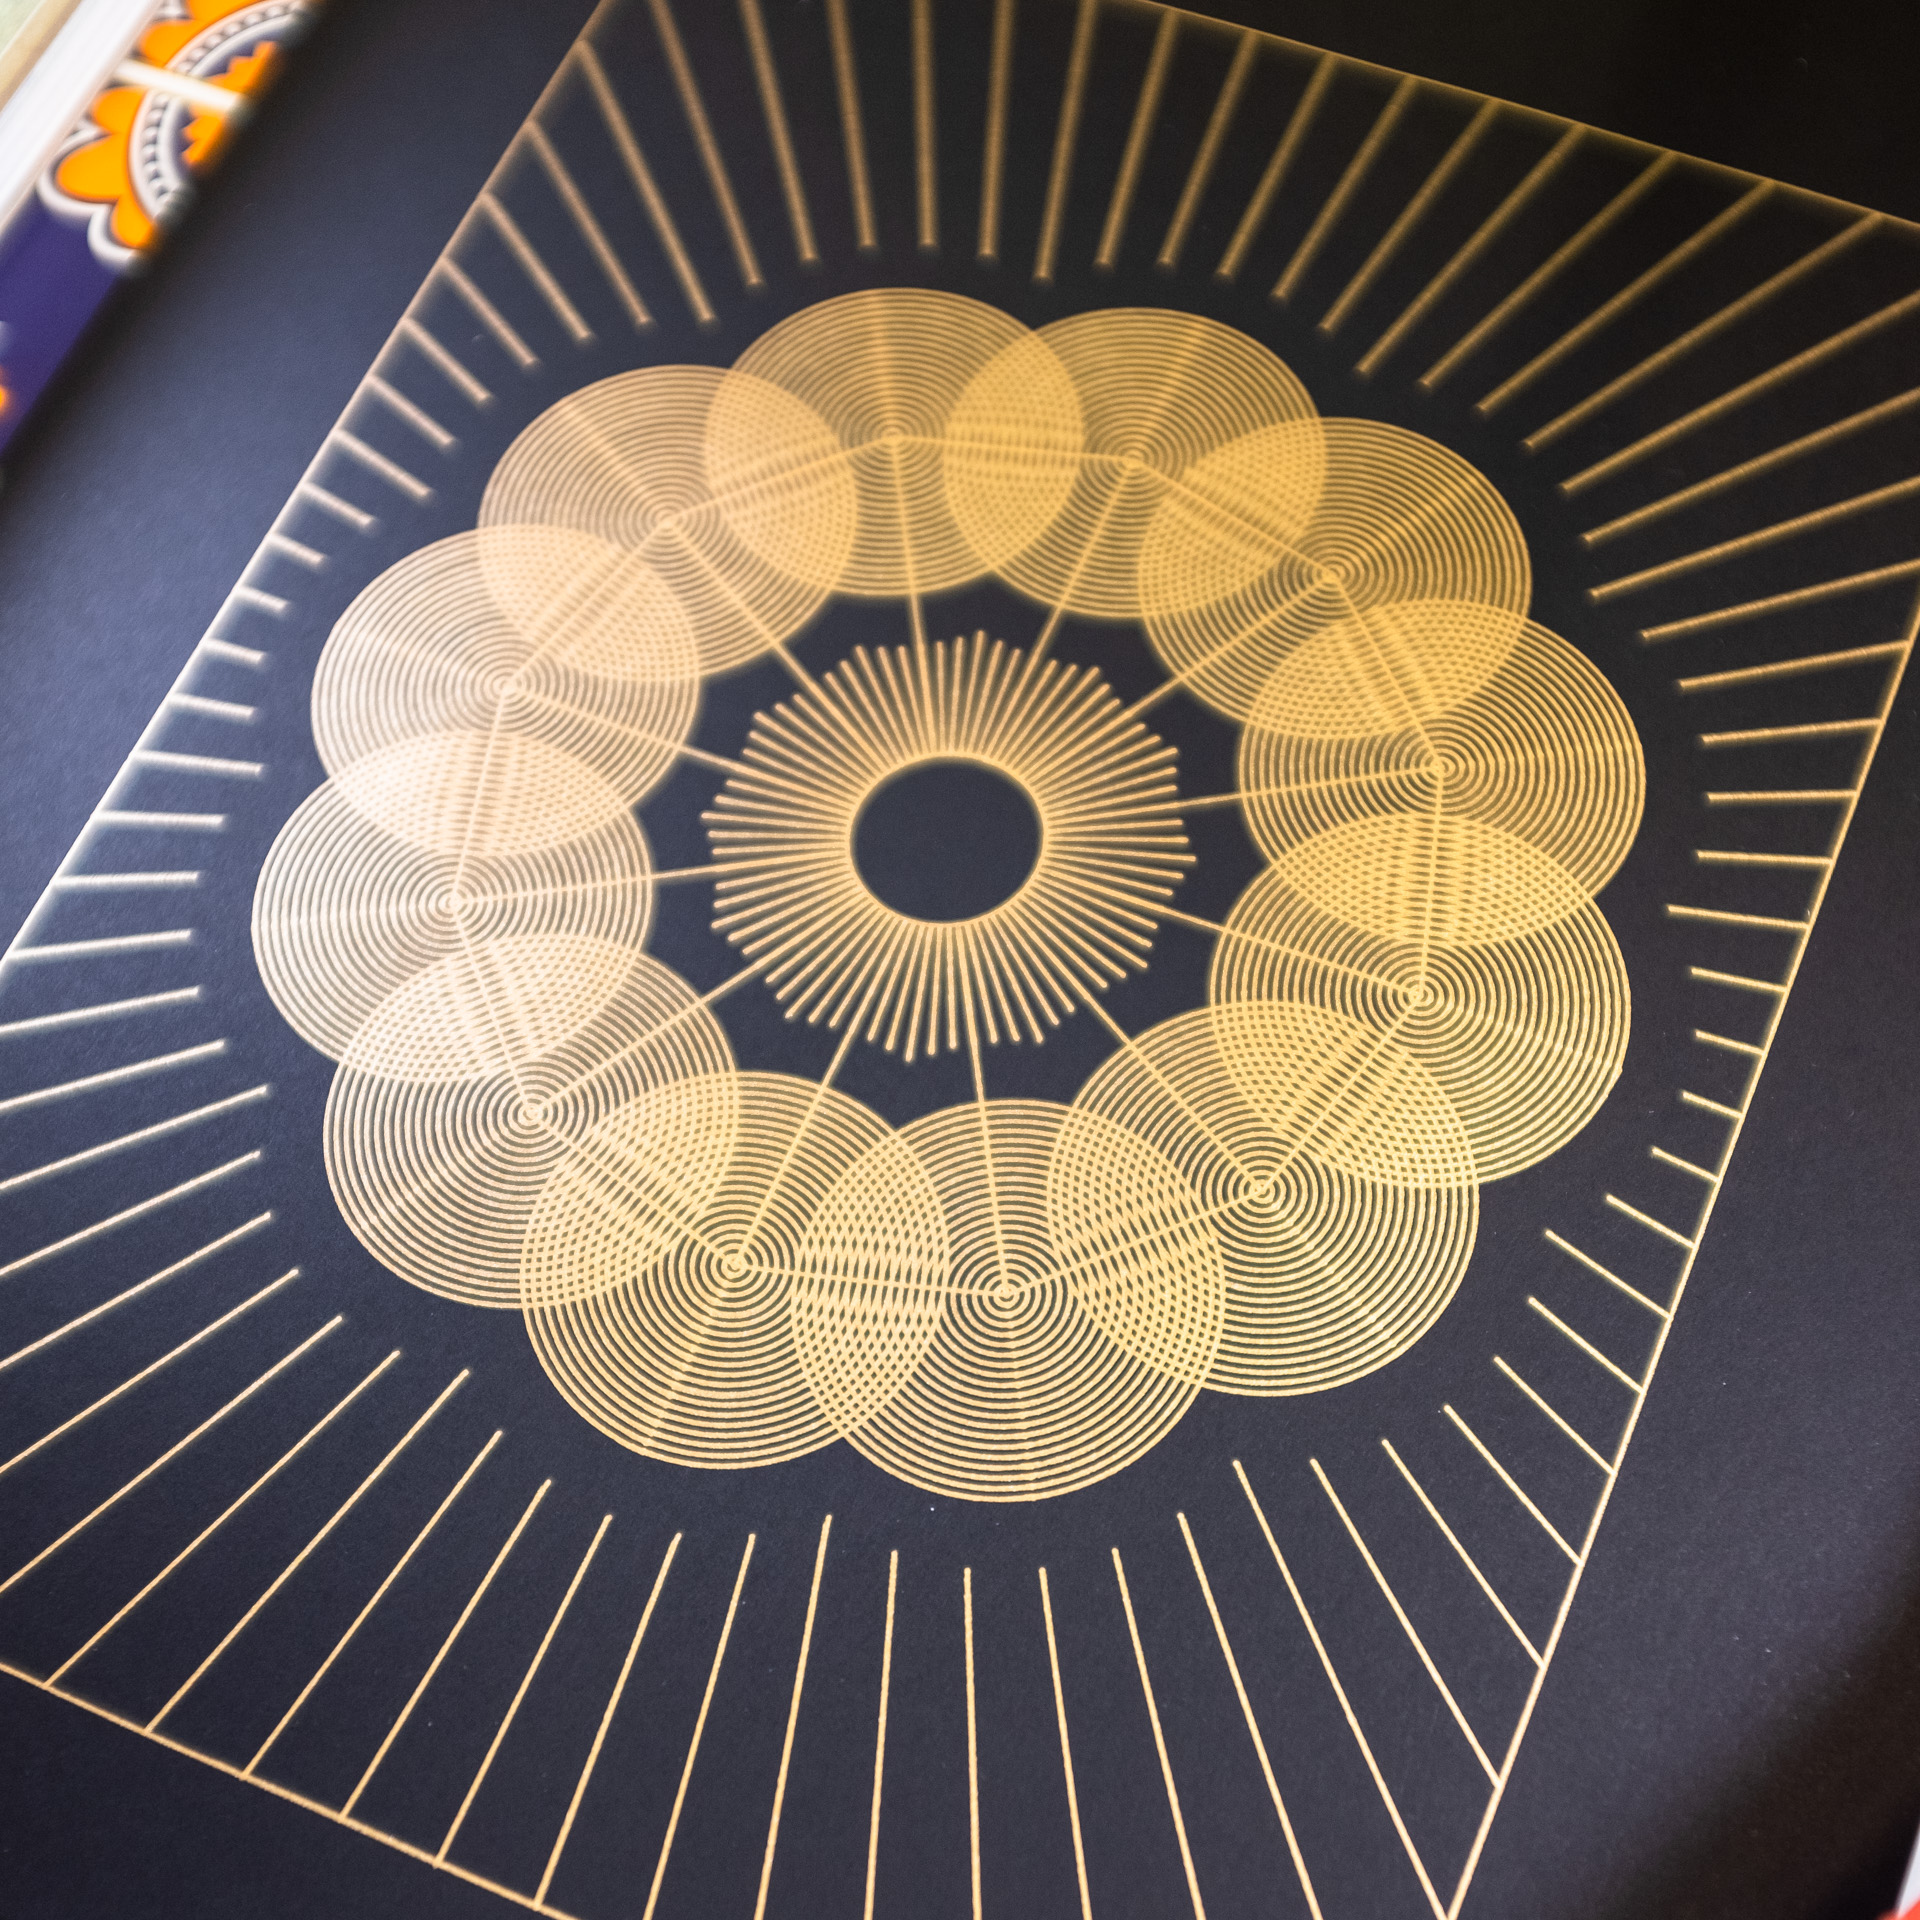
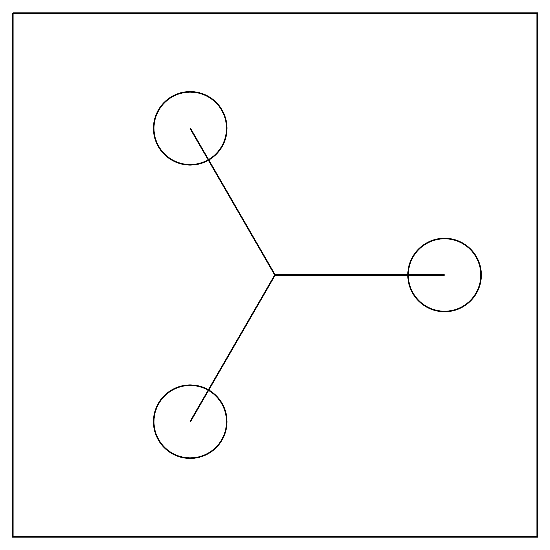
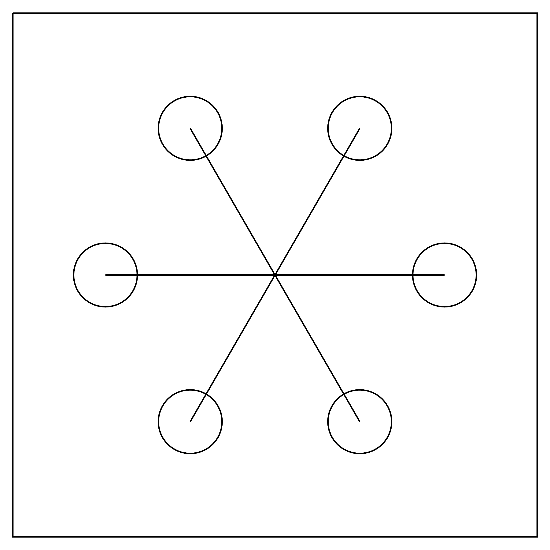
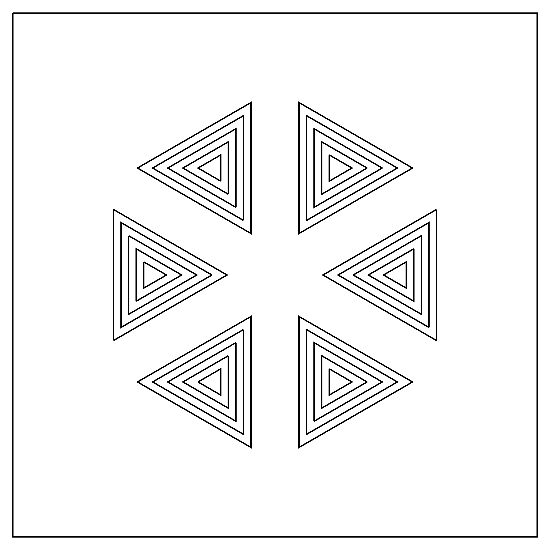
The main idea is that you have a bunch of spokes, with, well, circles at the end, rather like this...
 >
>
 >
>
 >
>
You can use spokes, spokeLength and spokeRotation to control them pretty much how you'd expect, while drawSpokes toggles them on and off.
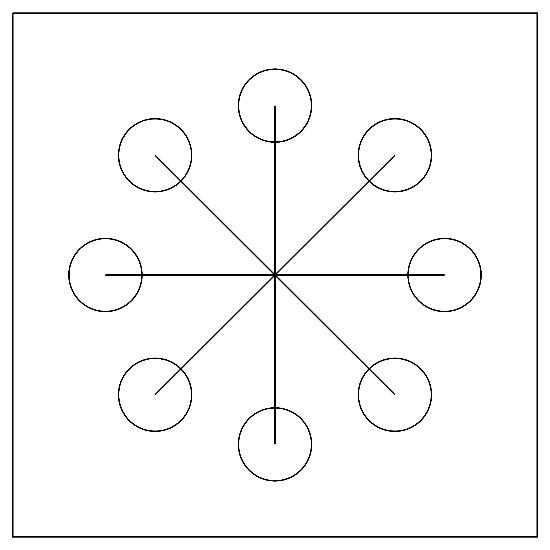
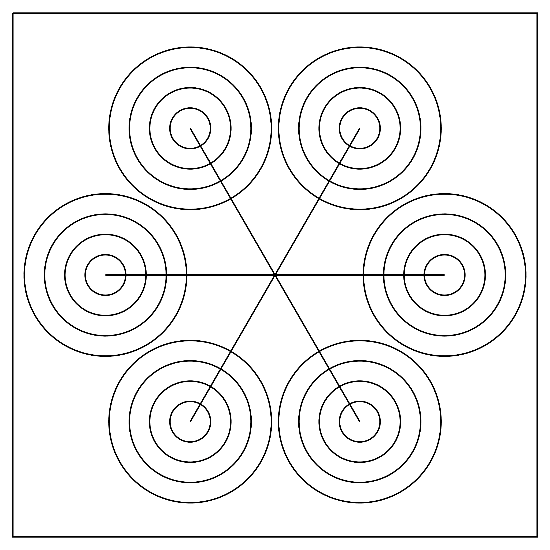
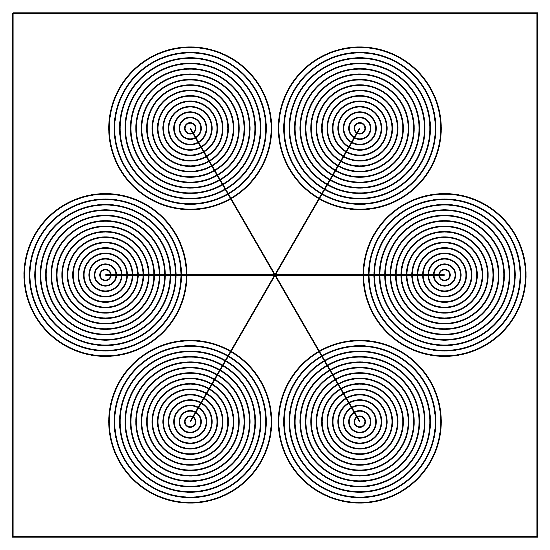
The next part is the circles...
 >
>
 >
>
 >
>
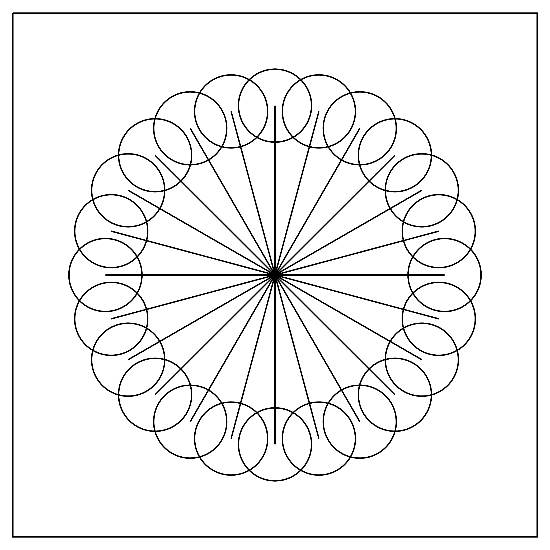
With circles and outerRadius controlling how many circles are nested and how large they are. Pretty simple so far.
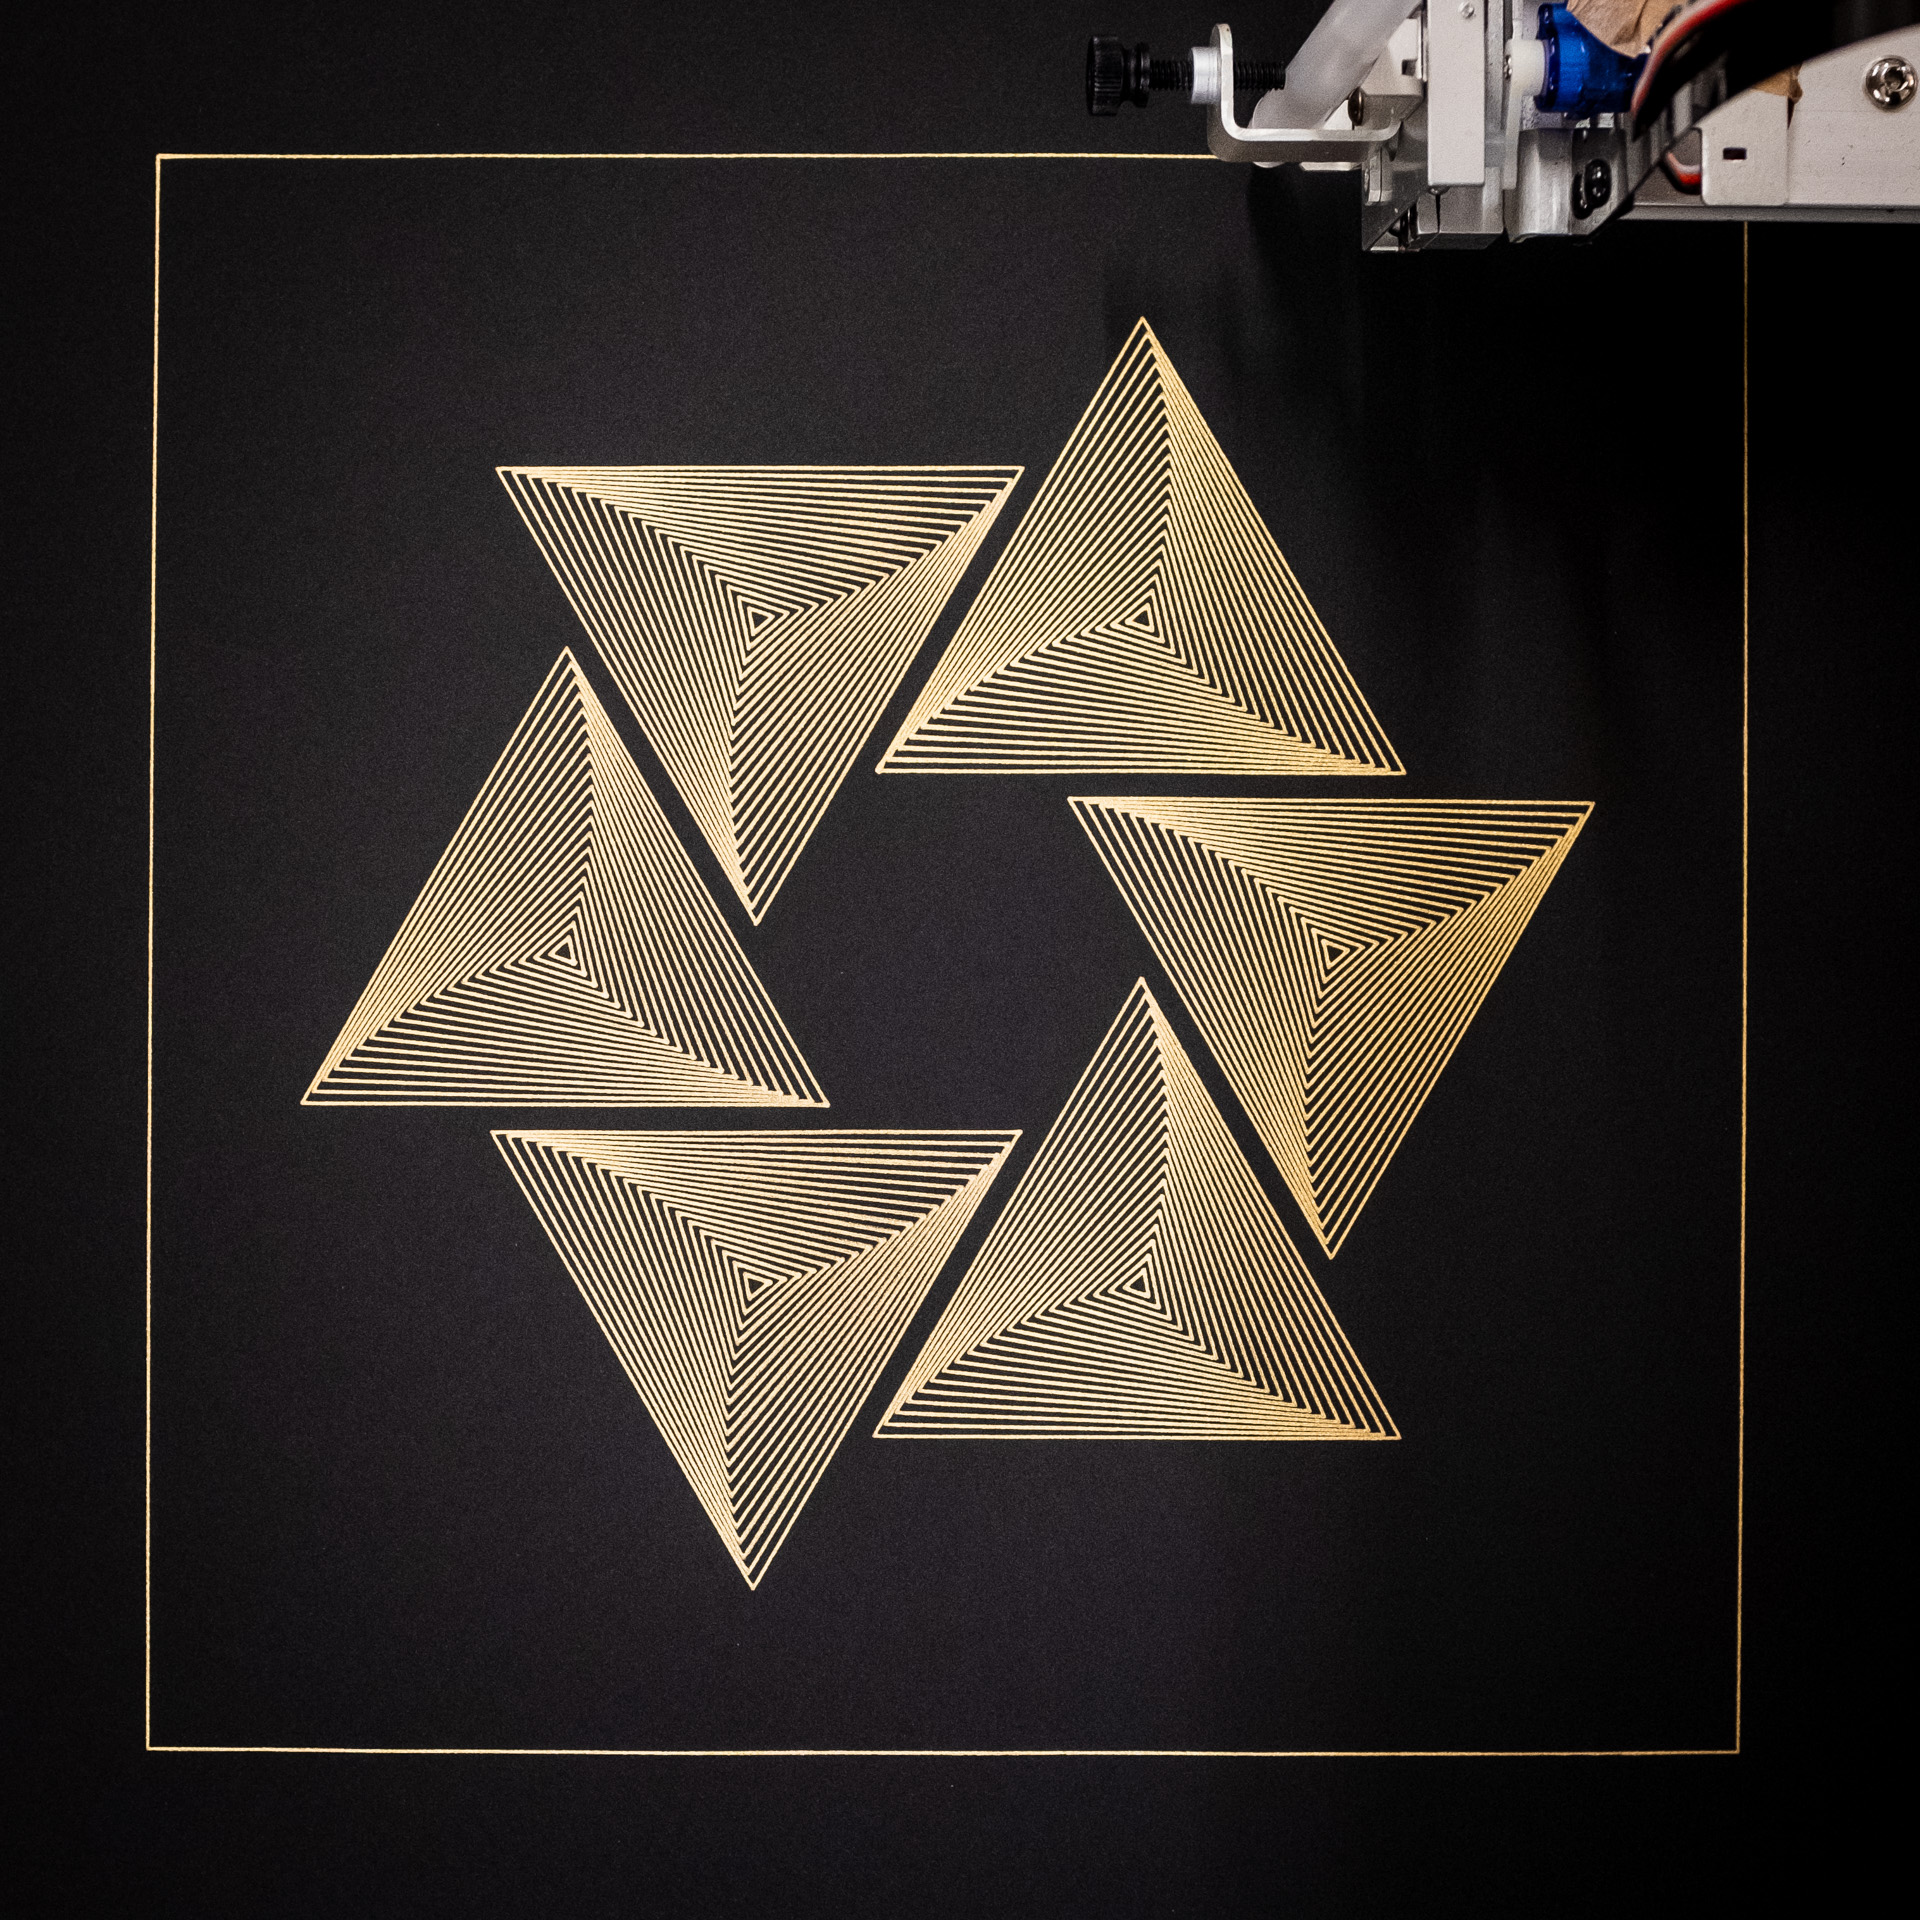
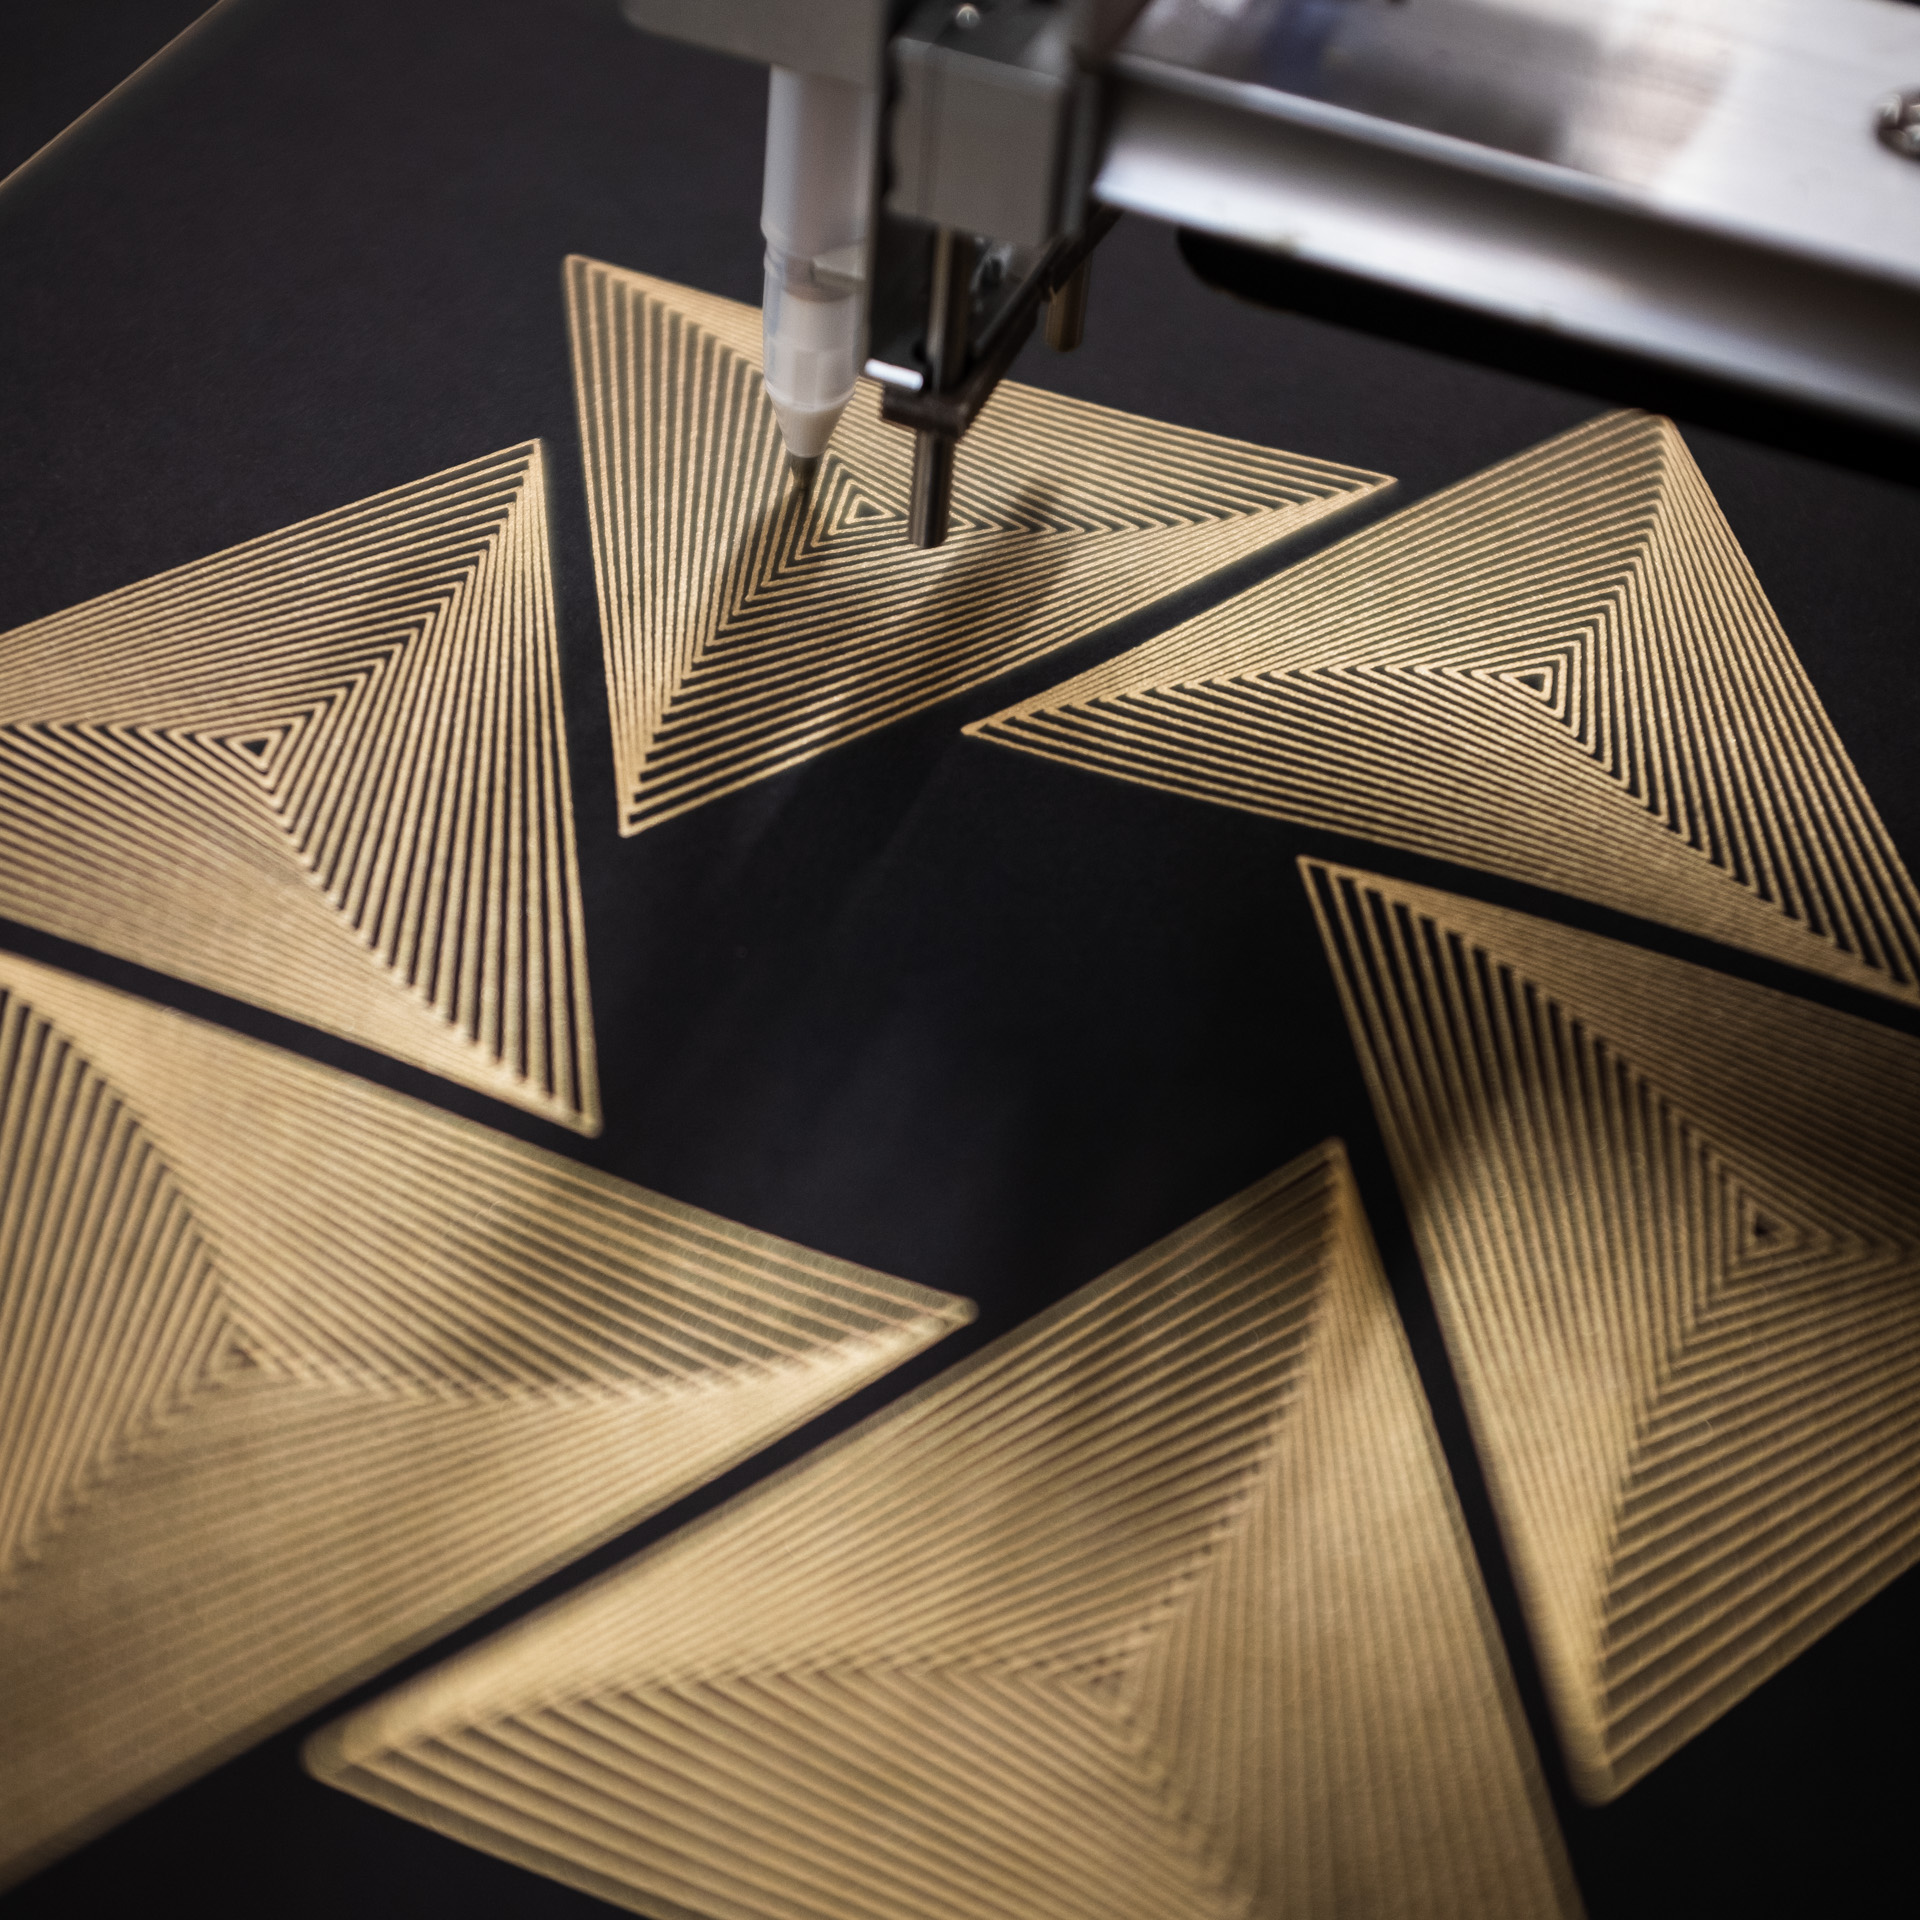
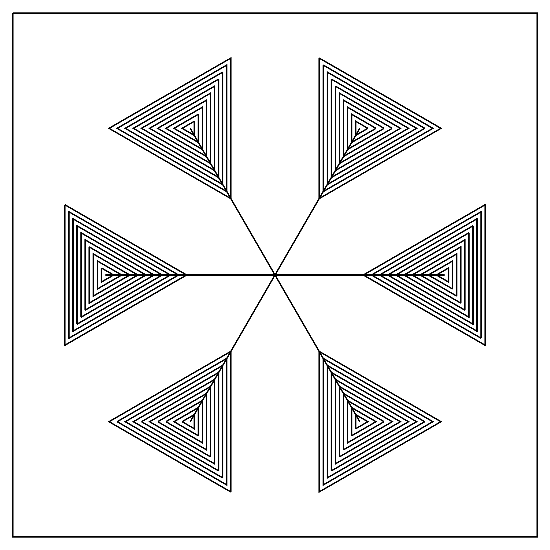
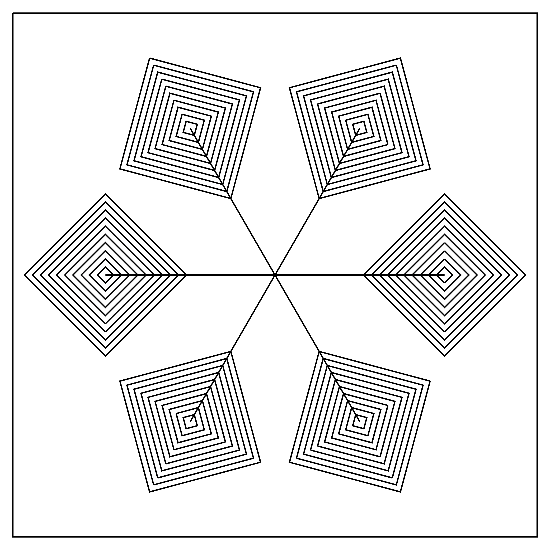
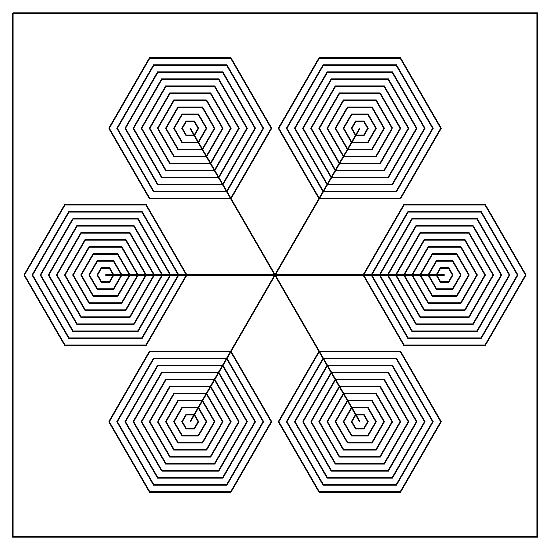
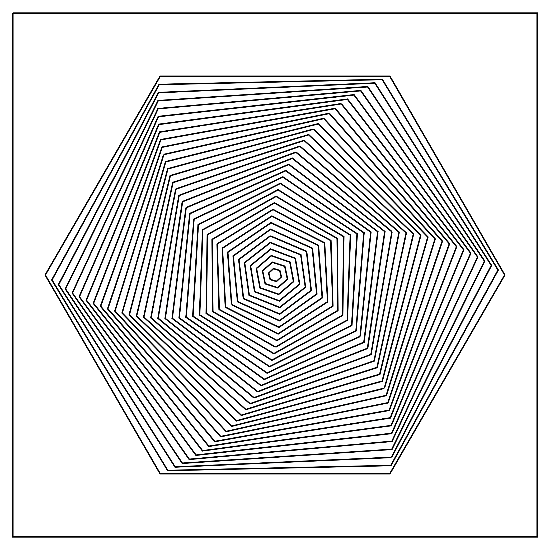
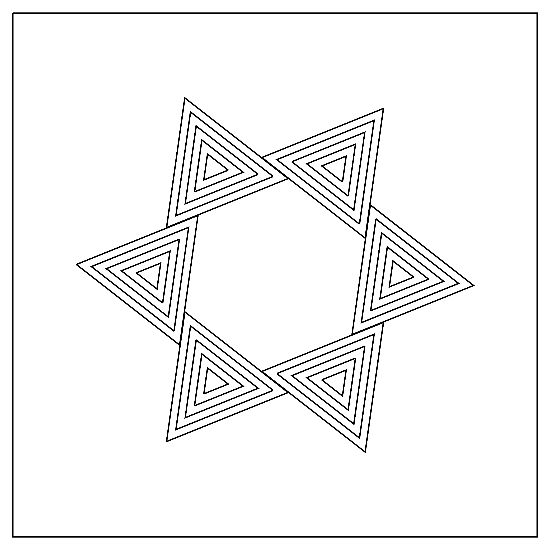
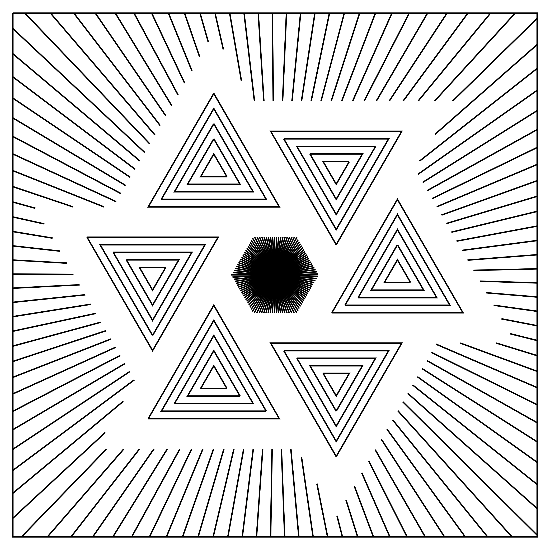
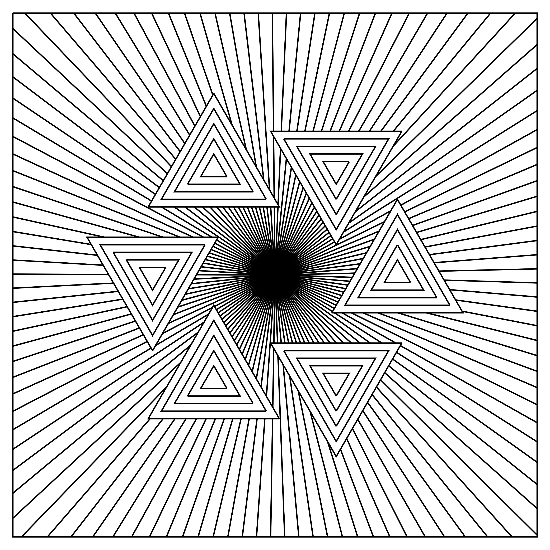
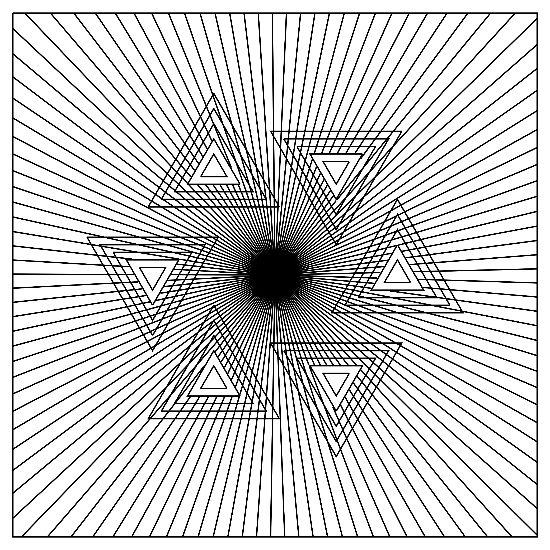
Things start to get interesting when you play with the number of sides the "circle" has until it's no longer a circle, giving us triangles, squares, hexagons, octagons and so on.
 >
>
 >
>
 >
>
🤖 🤖 🤖
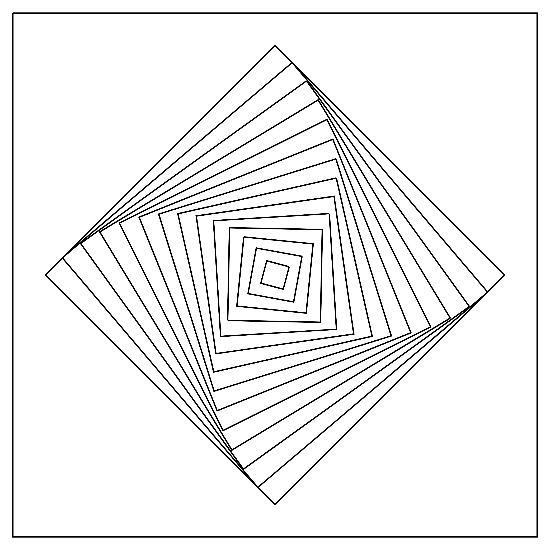
If you want just a single shape, give yourself one spoke of zero-length, and then toggle it off.
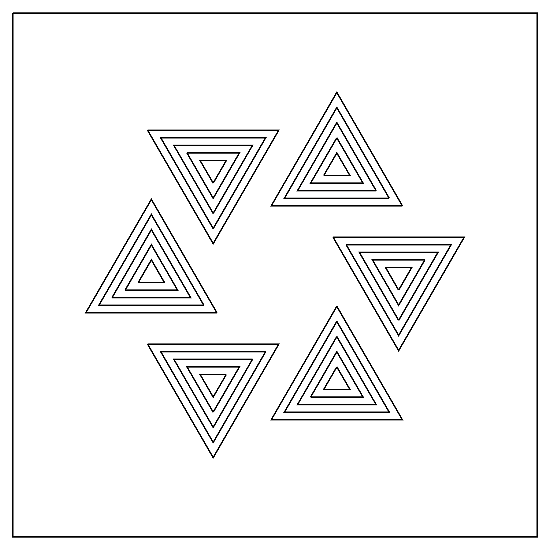
Playing with the circleInnerRotation slider rotates the inner circles, which doesn't make much difference when it's actually a circle, obviously, but more interesting when there are fewer sides.
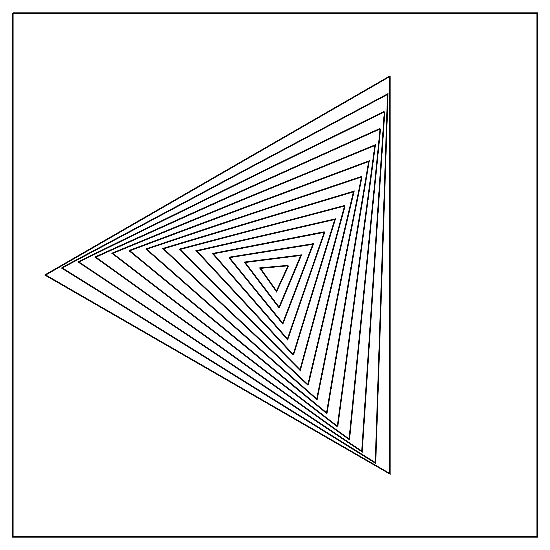 >
>
 >
>
 >
>
Meanwhile circleRotation rotates the whole circle's starting state.
 >
>
 >
>
 >
>
🤖 🤖 🤖
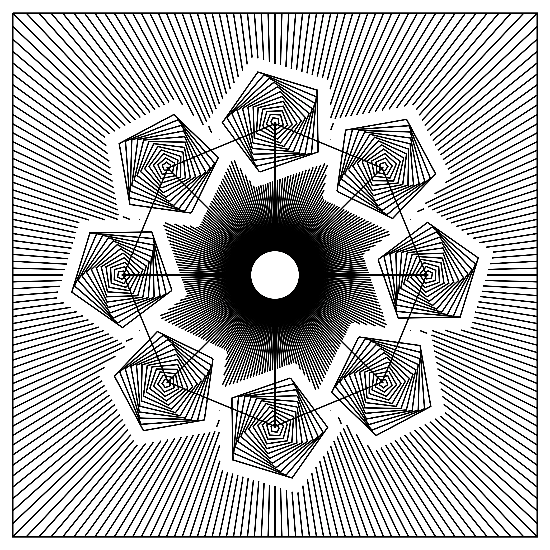
The final option to mention on circles is the randomCircleStart utility. Typically when drawing circles, the pen start and end position is always the same. In our case, it starts at the very outer edge point. When a series of circles are plotted like this with a pen plotter, you end up with a visible "seam", which you can see in the image below...
I could have fixed this just by using a starting rotation of 180, which would have hidden the seam under the spoke line, that's what I'll do in future. But if we are doing a design where the spoke line is hidden, randomising the starting point will remove the seam. There will still be visible starting and ending points, more or less depending on the pen used, but at least it'll be less noticeable.
🤖 🤖 🤖
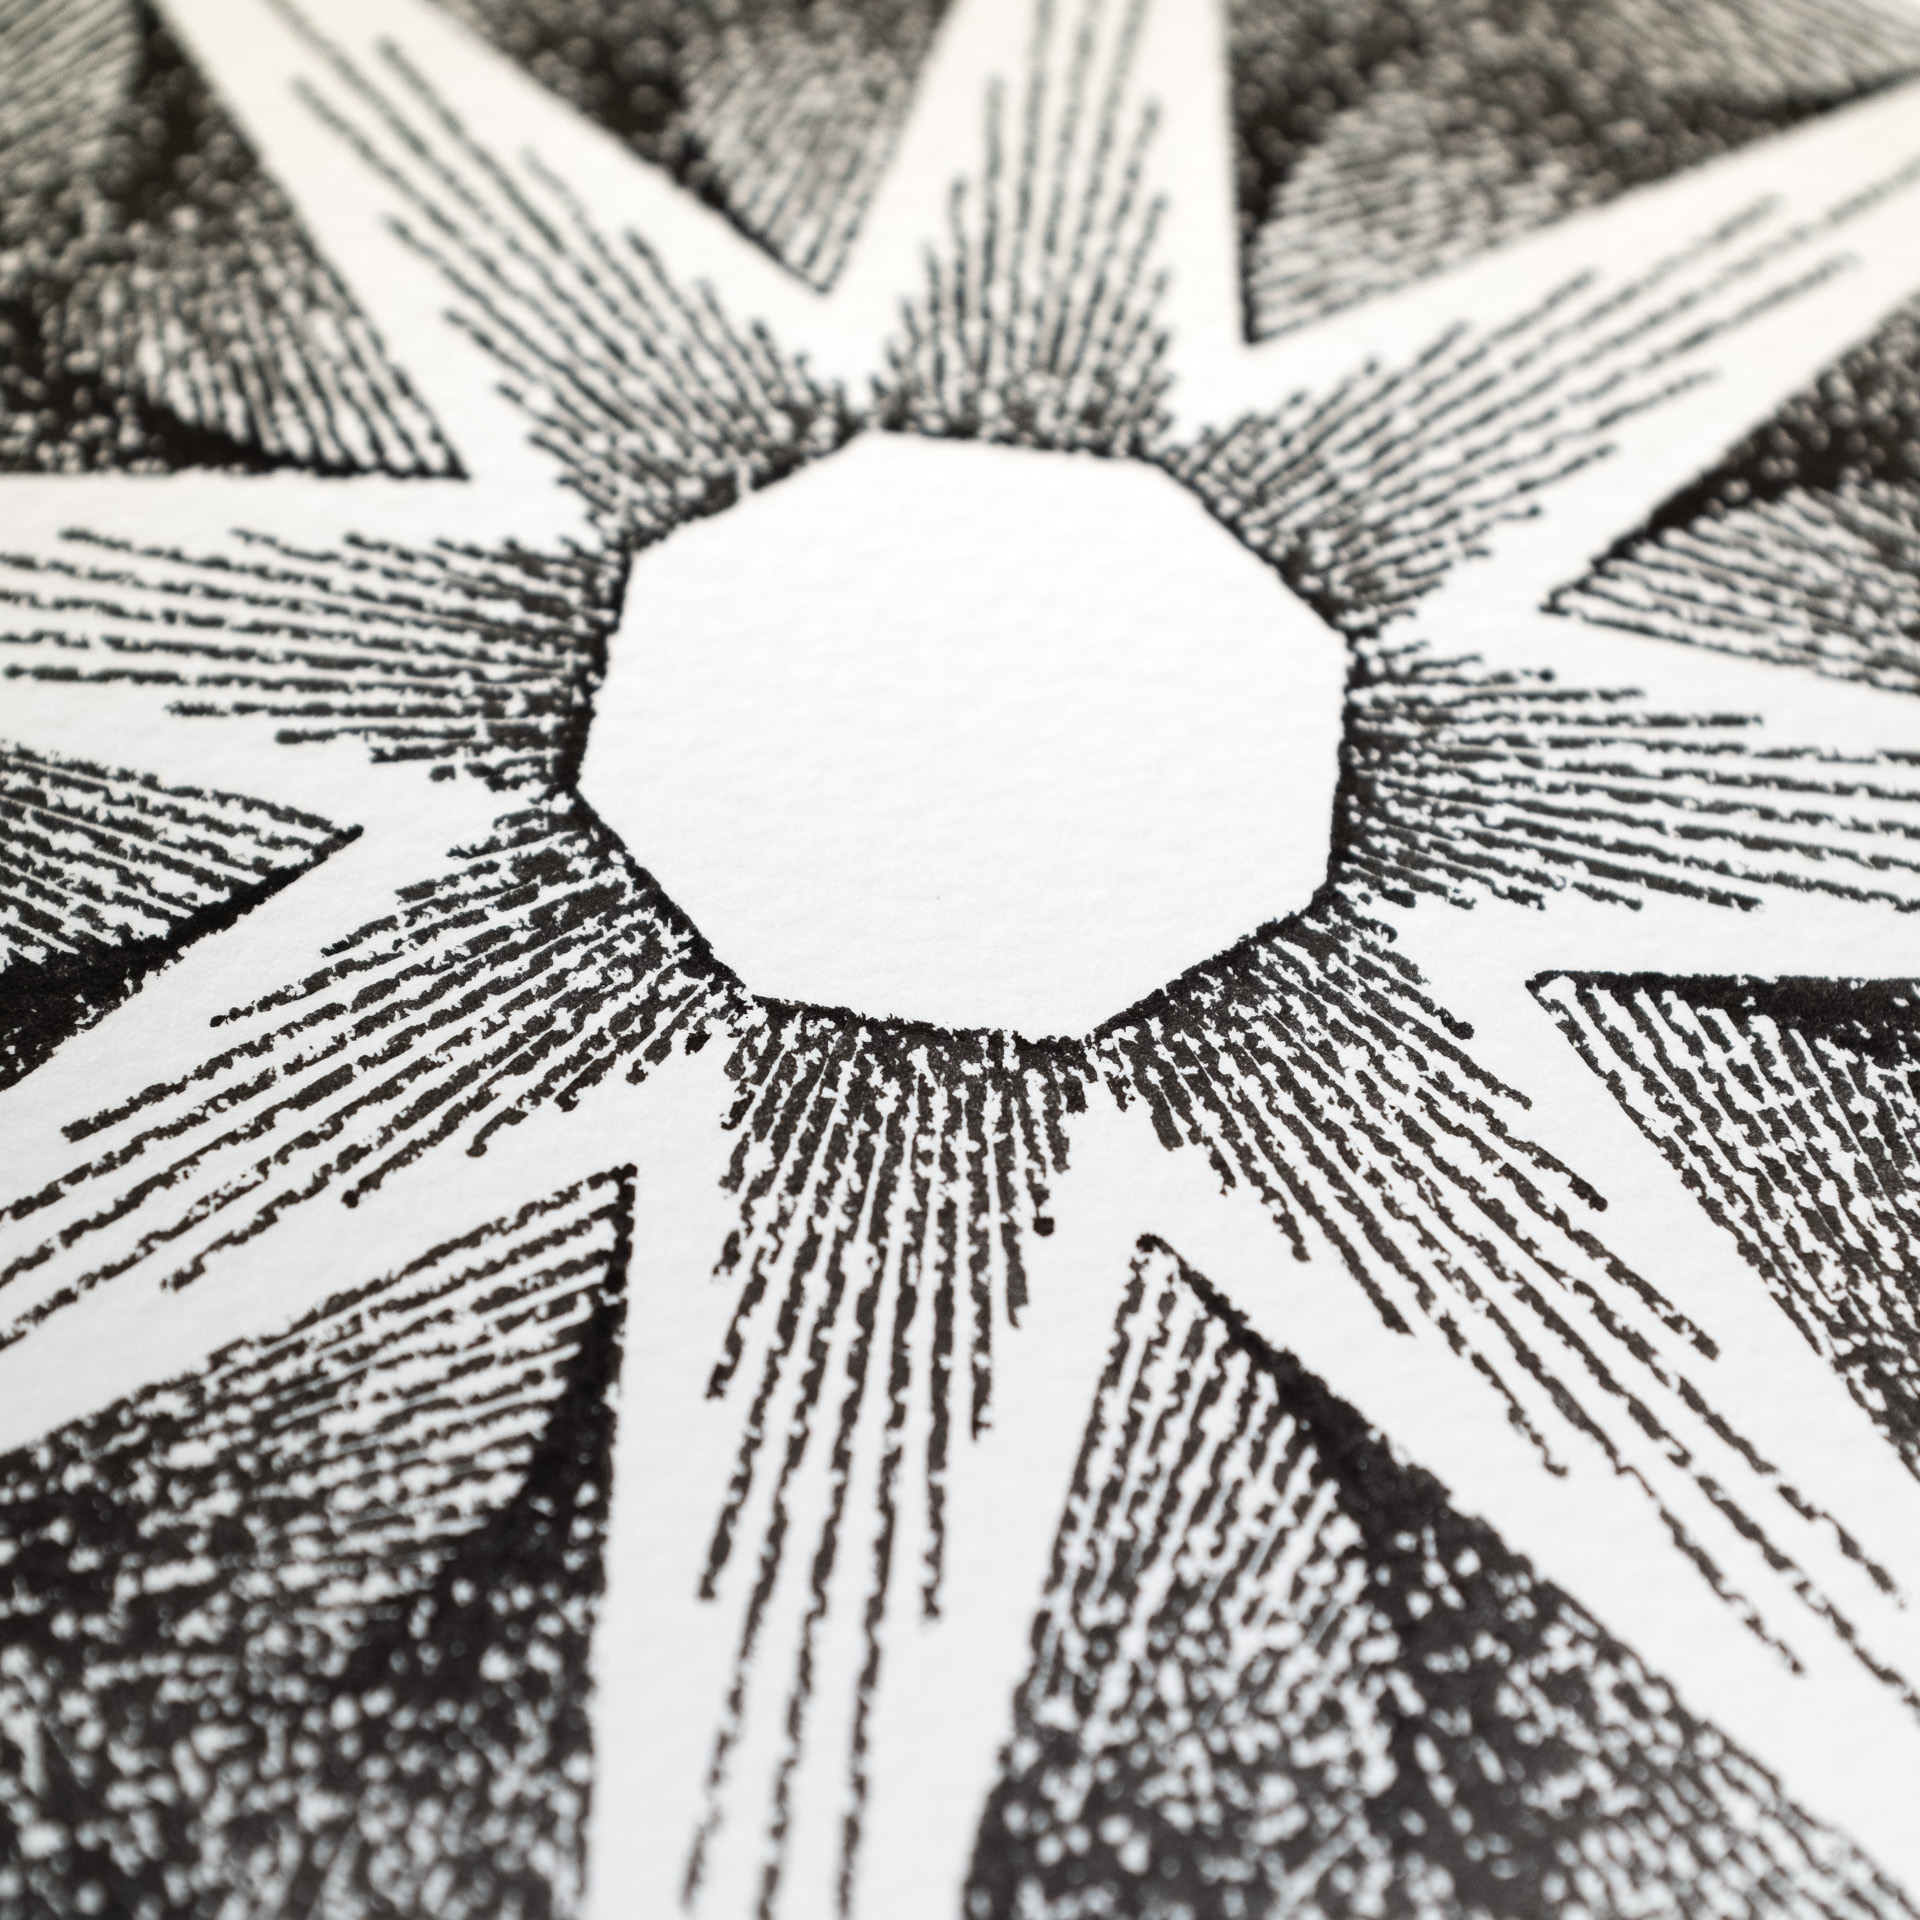
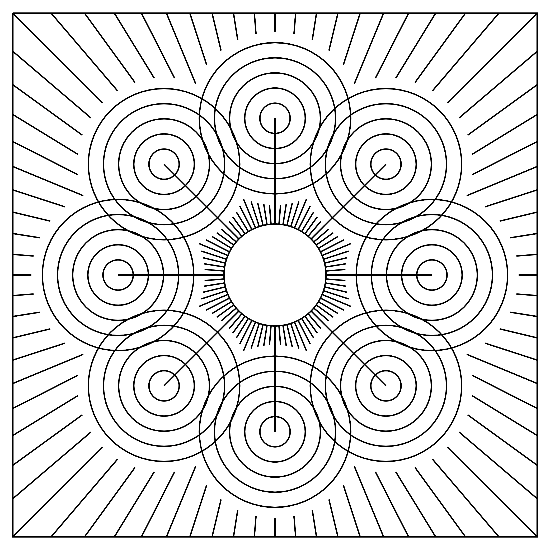
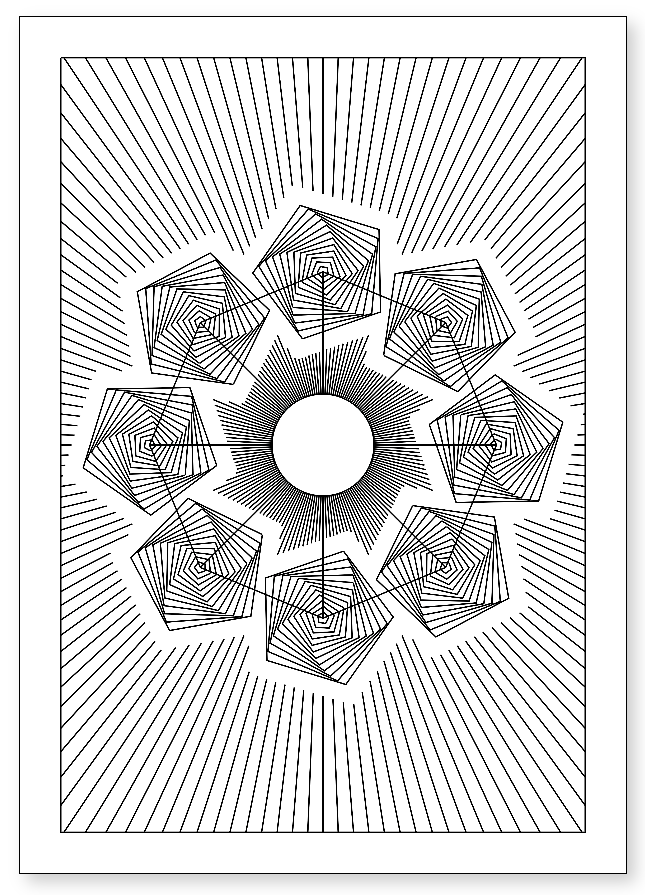
Nearly finally we have rays and cropRadius, I like a good sunburst background, so I added the ability to add some rays in, while cropRadius allows you to stop the rays from drawing over your "circles".
Setting the cropRadius to the same value as the outerRadius will get the rays to stop at the edge of your shape, making it larger will give you a buffer, and making it smaller will have overlap which you generally want to avoid.
 >
>
 >
>
 >
>
🤖 🤖 🤖
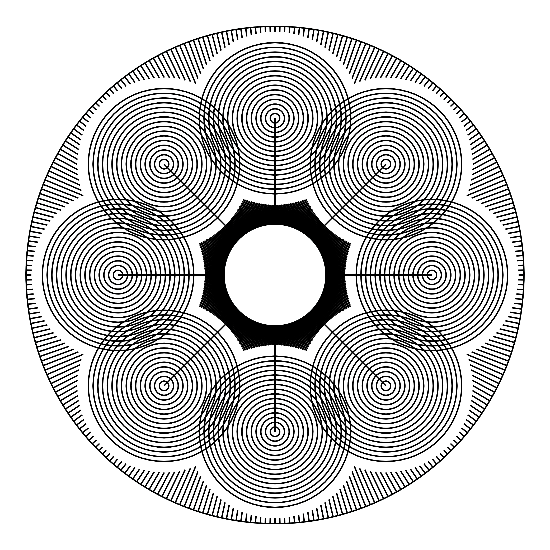
Actually finally, the weird "Circle of Doom" things and the "Experimental" section. These "CoD" settings are generally so I can set parts of one design into a circle on another design. But because of how this whole tool is set up, they serve some useful secondary functions here.
The first is that having all the rays finish in the middle can cause problems with some pens; the ink can overload the paper, the paper can get torn, the ink builds up and either smears or clogs up the pen.
The first "Circle of Doom" I use to crop out the middle to avoid that, you can decide if you want that circle drawn or not.
 >
>
 >
>
The second "CoD" I've used to both crop the whole design into a circle, by turning the margins off and cropping outside of the circle.
 >
>
 >
>
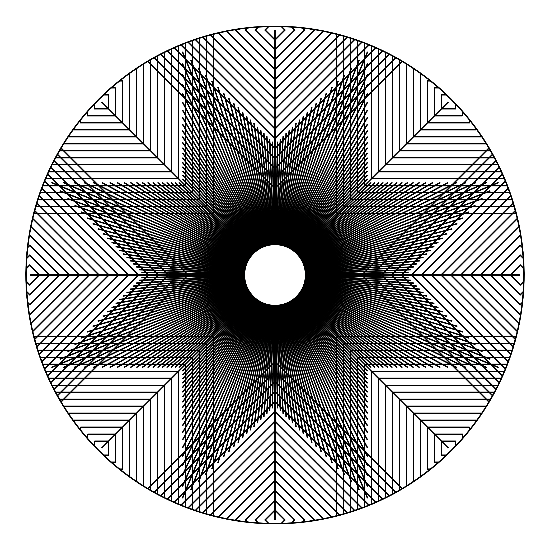
I've also used it to join up the ends of the spokes, by setting the size to be the same as the length of the spoke. It's not really what it's supposed to be for, but hey, getting to draw an extra arbitrary circle is nothing to be sniffed at.
Hidden away in the "Experimental" section is the squarify option, which sets everything nicely into a square. If you don't want that, then you'd play around with the margin setting to get what you want.
The scale option is useful if you want to work "big" to see what you're doing and then just shrink everything down a bit. If you go in the other direction and scale everything up beyond the edge of the page, you could end up damaging your pen plotters as it attempts to go beyond the boundaries of its movement.
🤖 🤖 🤖
General notes
- With this one, I had a specific design in mind, but rather than just design that in an art package, or write the code to specifically create that one result, I decided to (as I generally do), make most of the parameters editable. Then I had fun creating several works.
- Because my cropping code is somewhat experimental, sometimes you'll find a background ray missing, if this is the case just change size value a little bit and it'll probably sort itself out.
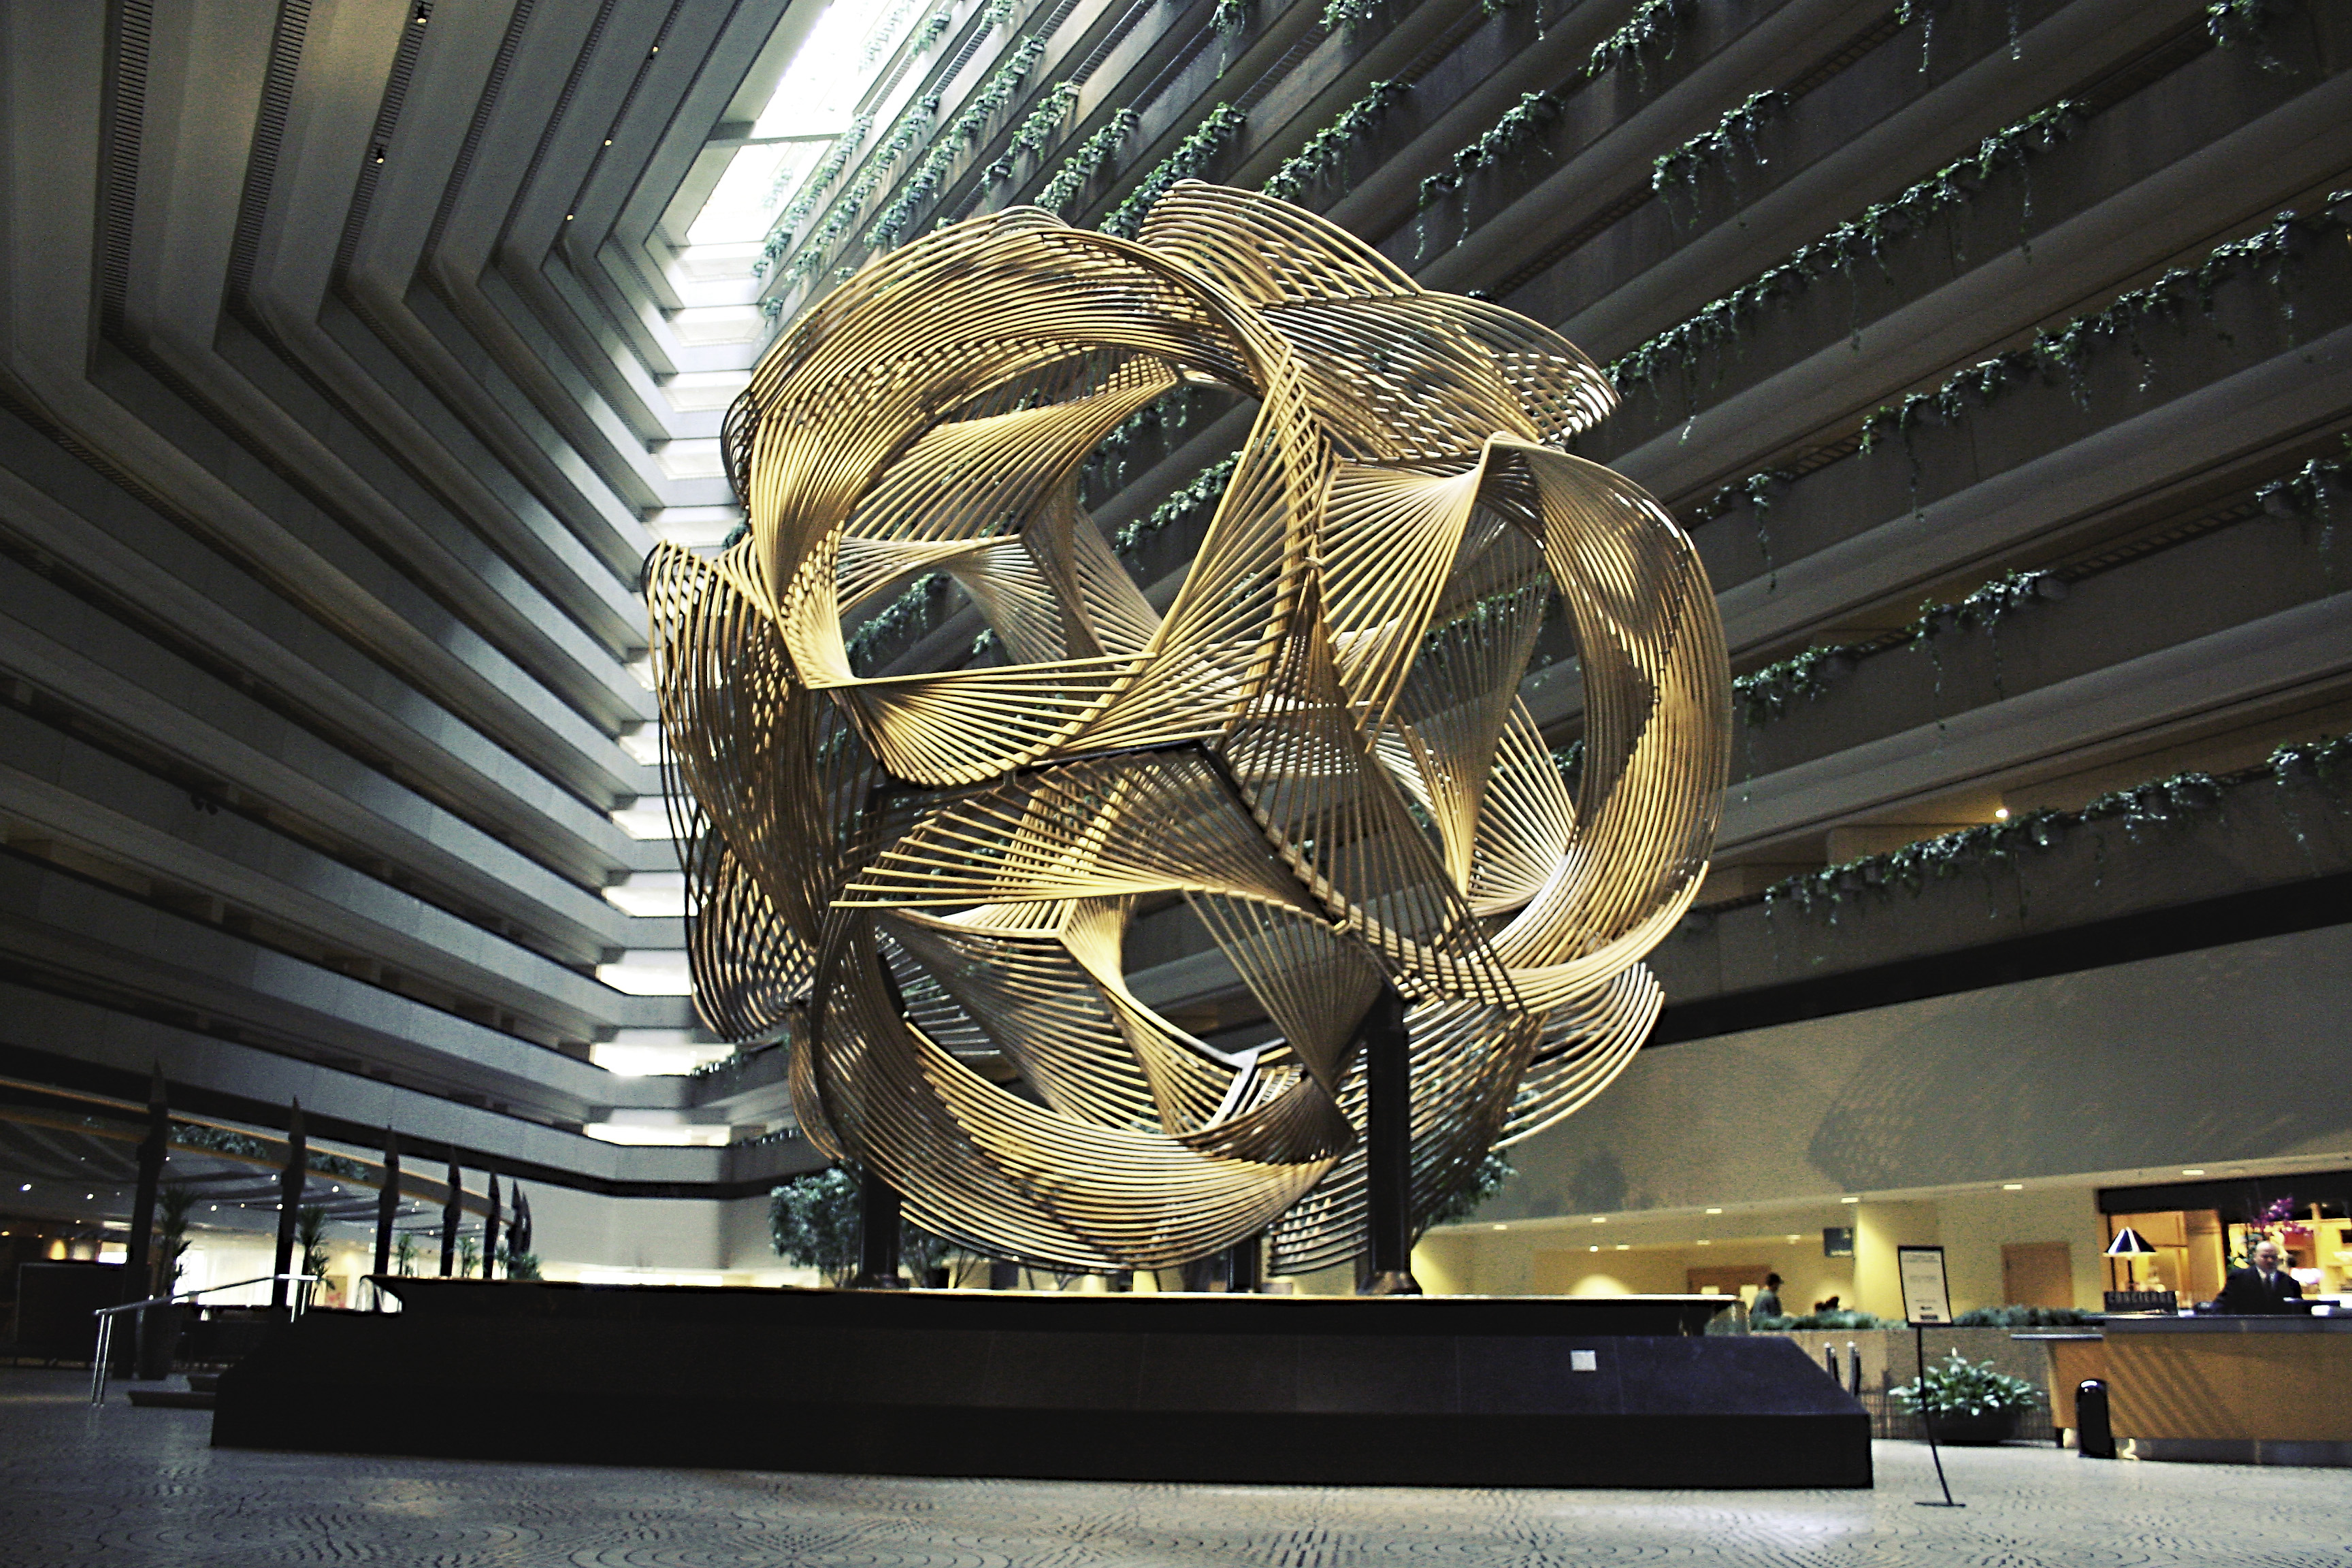
- The plots with hexagons and triangles remind me of the "Eclipse" sculpture by Charles Perry found in the atrium of the Hyatt Regency Hotel in San Franciso.
🤖 🤖 🤖